
Cute Free Crochet Cat Keychain Pattern Every Cat Lover Needs
Update your keychain game with this adorable crochet cat pattern that’s super easy, beginner friendly, and perfect for creating fun gifts or cute accessories.
Crochet is a fun and creative way to turn a simple strand of yarn into something beautiful and useful. It allows you to crochet unique items that show off your style and personality. One delightful project that has captured the hearts of many is a crochet cat keychain. This tiny creation is not only adorable but practical too, as it can be added to your keys or used as a cute bag charm. It’s the perfect blend of charm and functionality that makes it a popular pick for crochet enthusiasts and animal lovers.
Free Crochet a Cat Keychain That’s Just Too Cute to Handle
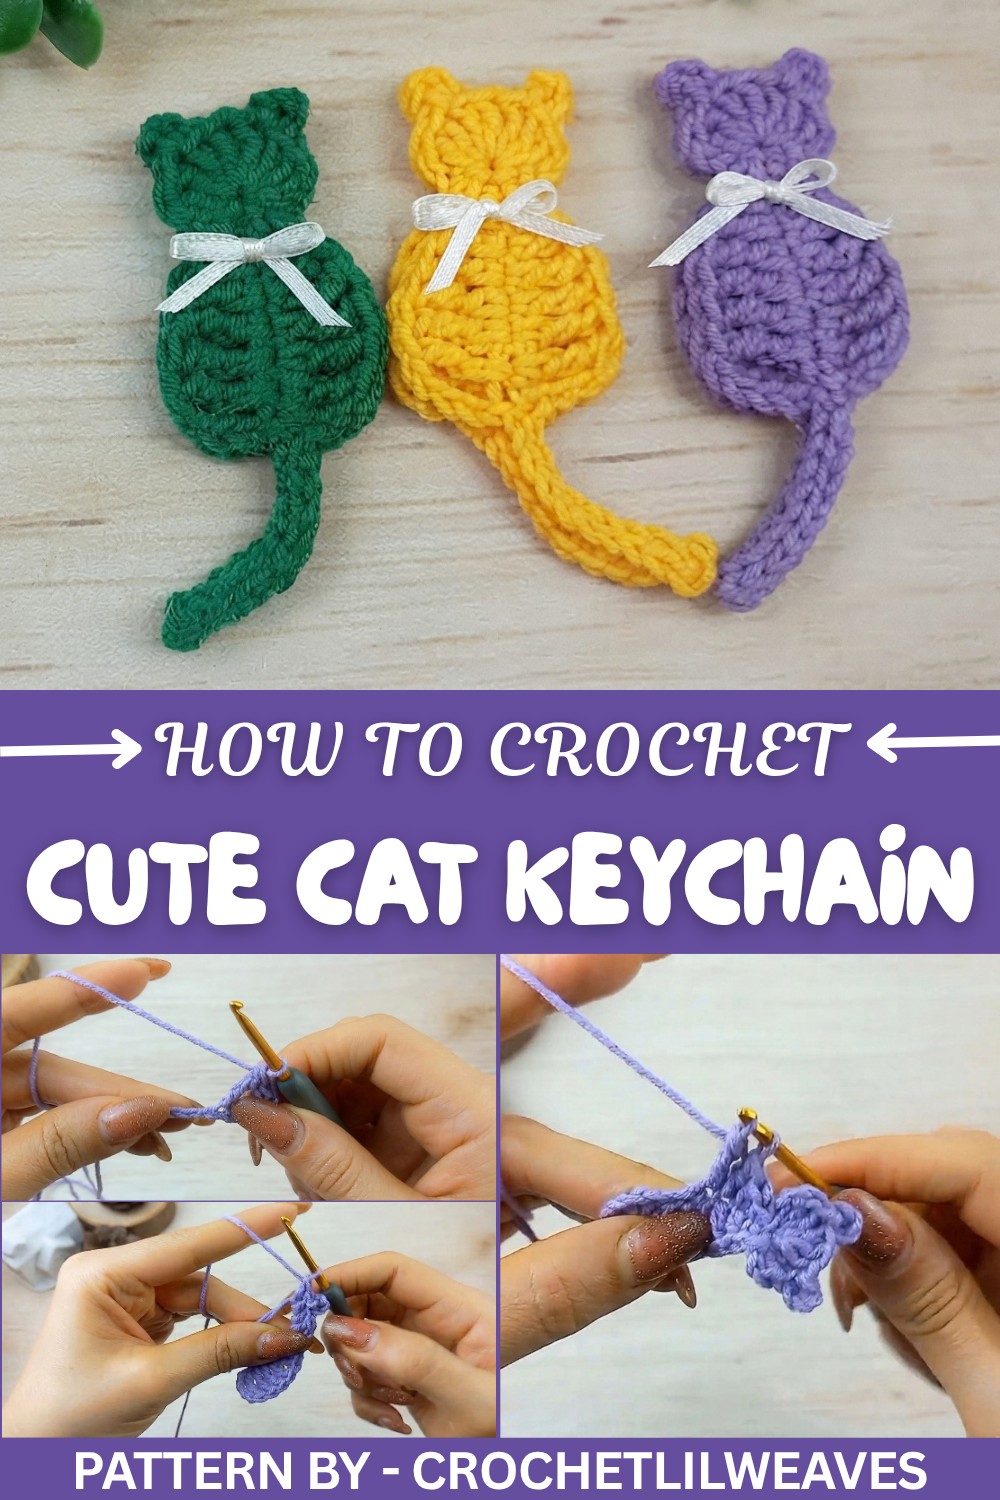
The tutorial for making this crochet cat keychain can be found on the CrochetLilWeaves YouTube channel. The video provides a step by step guide on how to create the keychain using simple crochet techniques like single crochet, double crochet, and a magic ring. The process involves creating two identical crochet pieces for the cat's body, which are later stitched or glued together, making the keychain sturdy and neat. The addition of a keyring brings the whole project together into a functional and whimsical accessory.
What truly makes the crochet cat keychain special is its captivating design. It features rounded shapes to resemble a playful little cat, complete with tiny ears, a curled tail, and a cute bow or embellishment to add personality. You can customize it with different colors or even experiment with creative additions. Quick to make and eye catching, this keychain is not just an accessory, it’s a mini piece of art that can cheer up any outfit, bag, or set of keys.
With its elegant design, ease of creation, and versatility in use, the crochet cat keychain is an enjoyable project that allows you to turn simple yarn into something beautiful and practical. Perfect for gifting or personal use, this is a crochet worth trying.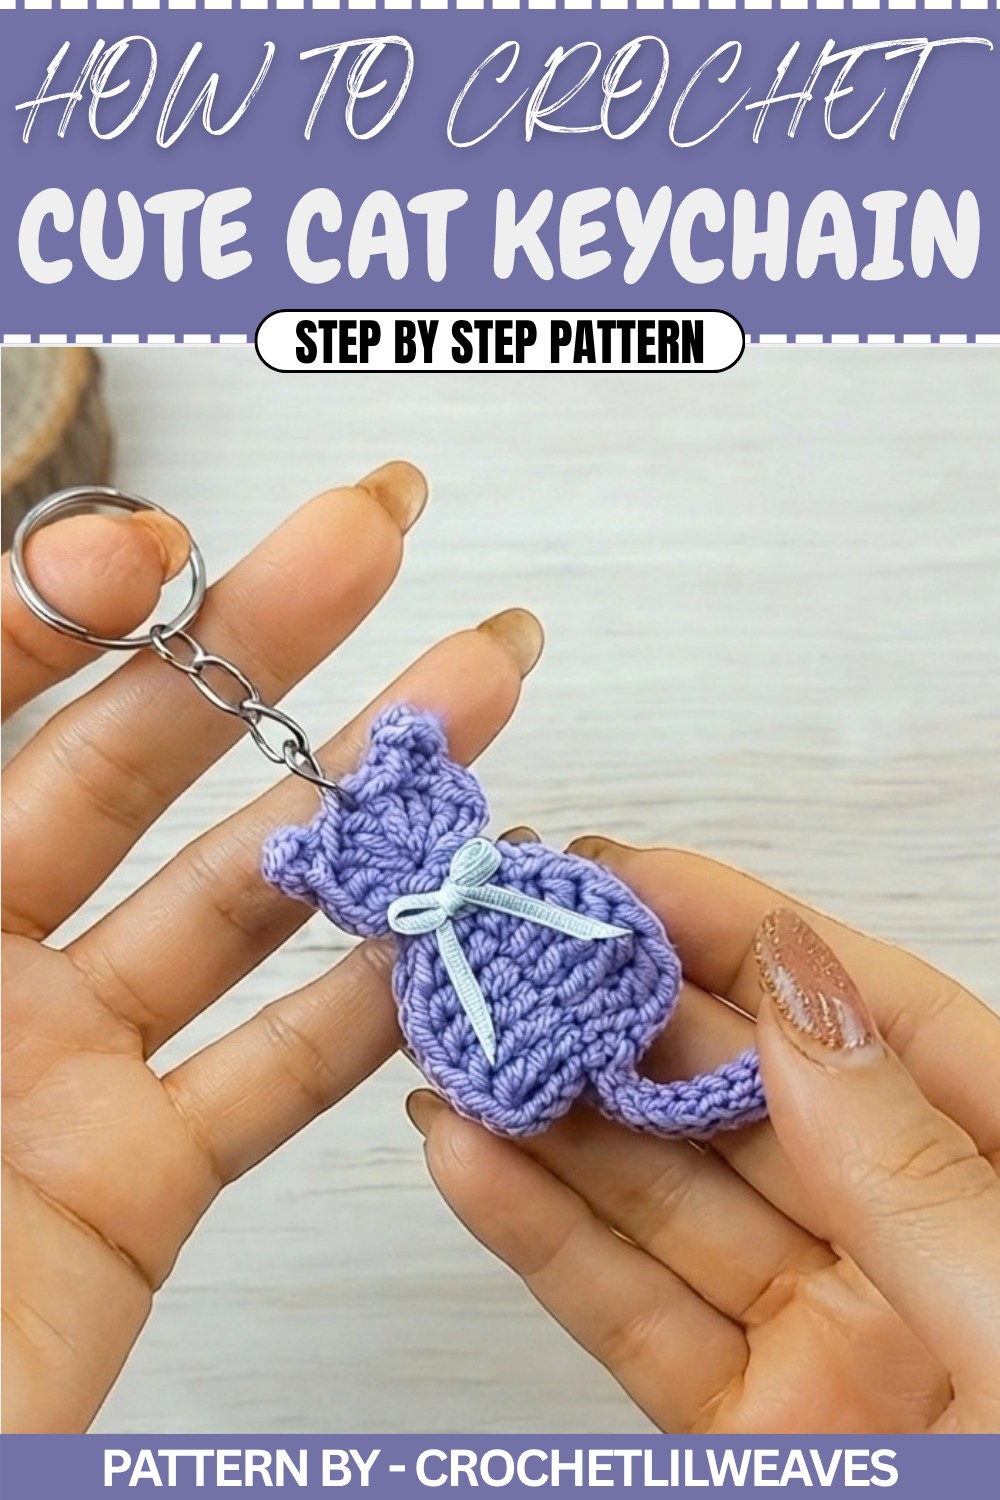
Crochet Cat Keychain Pattern
Today, we’ll make a beautiful and simple crochet cat keychain. This project is great for gifting or using as a cute accessory. Follow this step by step guide to create your own adorable keychain.
Quick Overview of Pattern
- Project Name: Crochet Cat Keychain
- Skill Level: Beginner friendly
- Yarn Type: Category 2 (Fine)
- Hook Size: 3 mm crochet hook
- Number of Pieces: 2
- Time to Complete: Approximately 2–3 hours
- Uses: Keychain, bag charm, or small gift
Notes
- You will crochet two identical pieces and glue them back to back for a finished look.
- Use a 3mm crochet hook and keep your stitches tight to ensure the keychain holds its shape.
- Work carefully when creating the magic ring to ensure the base is secure.
Skill Level
This is a Beginner Friendly pattern.
Materials
- Yarn: A small amount of category 2 (fine) yarn
- Hook Size: 3.0 mm crochet hook
- Scissors
- Metal Needle for weaving in ends
- Glue Gun for assembling the keychain
- Key Ring
- Optional: Decorative bow
Measurements / Sizing
Final measurement: 3 to 4 inches tall, depending on tension and yarn type.
Gauge
Gauge is not crucial for this project.
Stitch Abbreviations
- ch: chain
- sl st: slip stitch
- sc: single crochet
- hdc: half double crochet
- dc: double crochet
- tr: treble crochet (triple crochet)
The Crochet Pattern
Body of the Cat
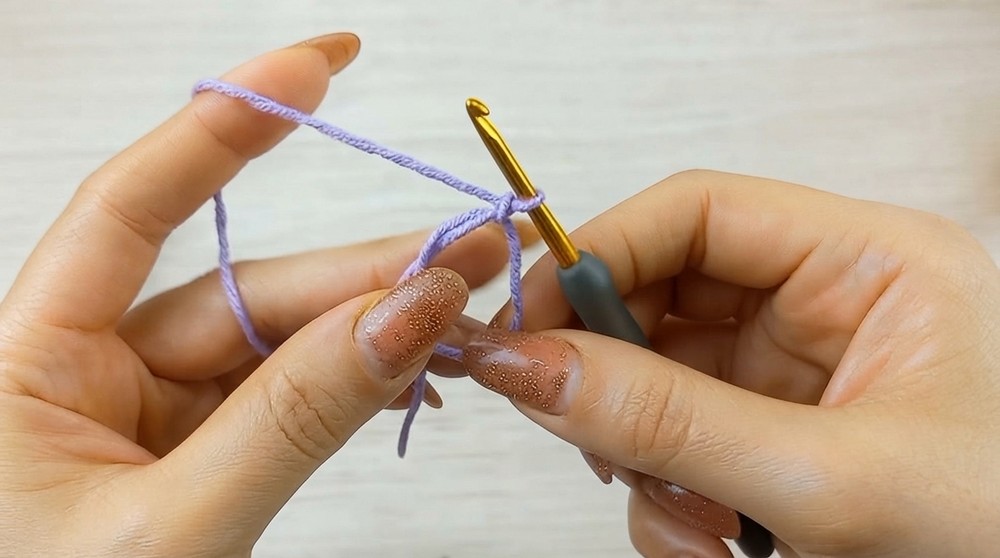
Step 1: Start with a magic ring.
- Make 1 ch to secure the loop.
- Create 11 ch (this will form the base of the keychain).
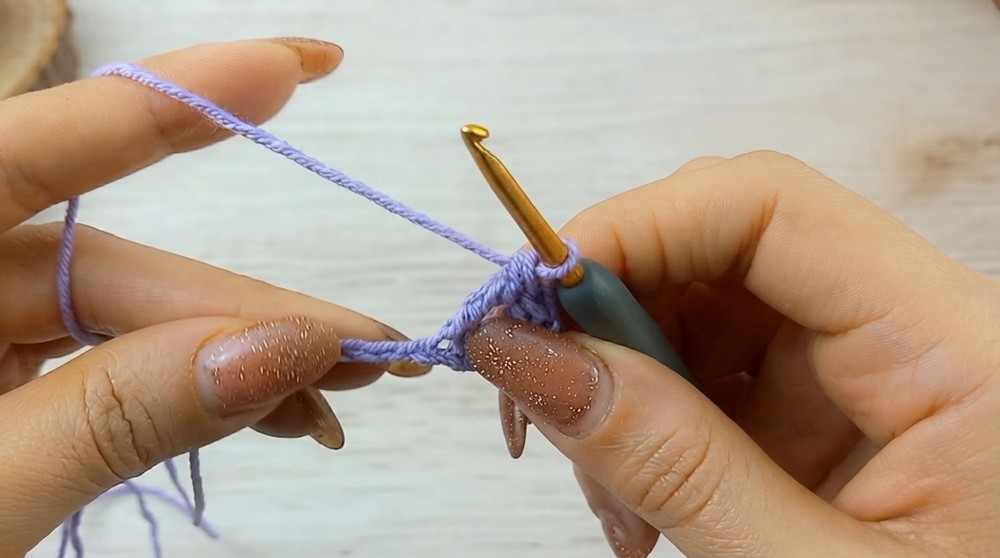
Step 2: Work into the chains:
- Skip the first 4 chains (as they act as 1 treble crochet).
- Make 1 tr in the 5th chain from the hook.
- Work 1 tr in each of the next 3 chains (4 treble crochets total now).
- In the next chain, make 1 dc.
- In the next chain, make 1 hdc.
- In the final chain, make 1 sc.
Head of the Cat
Step 3: Work into the magic ring:
- Slip stitch (sl st) into the magic ring.
- Make 2 ch, then 2 dc into the ring.
Step 4: Form the first ear of the cat:
- Make 3 ch.
- Join to the top of the last dc (between the front and back loops) with a slip stitch (sl st).
Step 5: Add more to the head:
- Work 3 dc into the magic ring.
- Form the second ear by repeating the same steps:
- Make 3 ch, then join to the top of the last dc with a slip stitch (sl st).
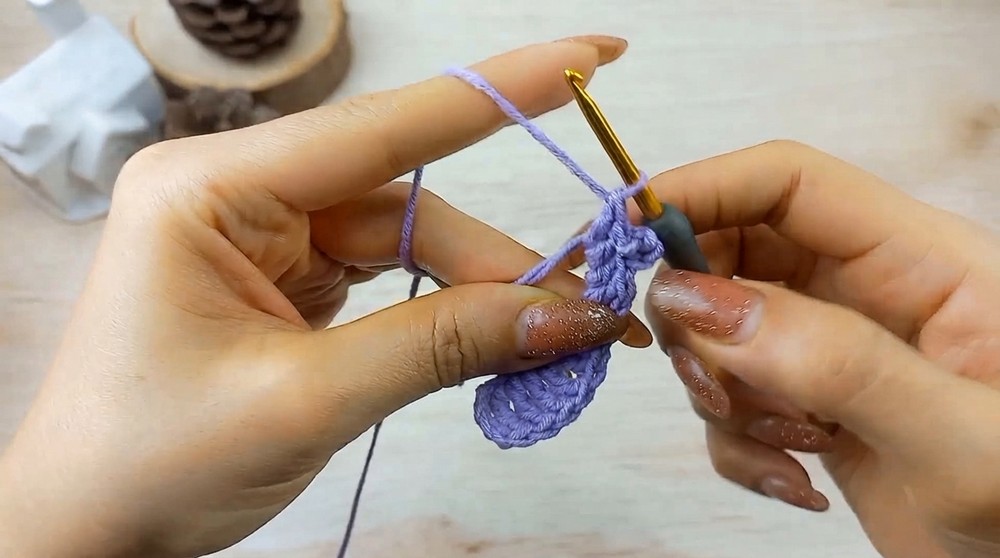
Step 6: Finish the head:
- Work 2 dc into the magic ring.
- Make 2 ch and join to the magic ring with 1 sl st.
- Pull the magic ring tail tightly to close the loop, closing the cat's head securely.
Opposite Side of Body
Step 7: Work along the opposite side of the initial chain base:
- Make 1 sc, 1 hdc, 1 dc, 4 tr.
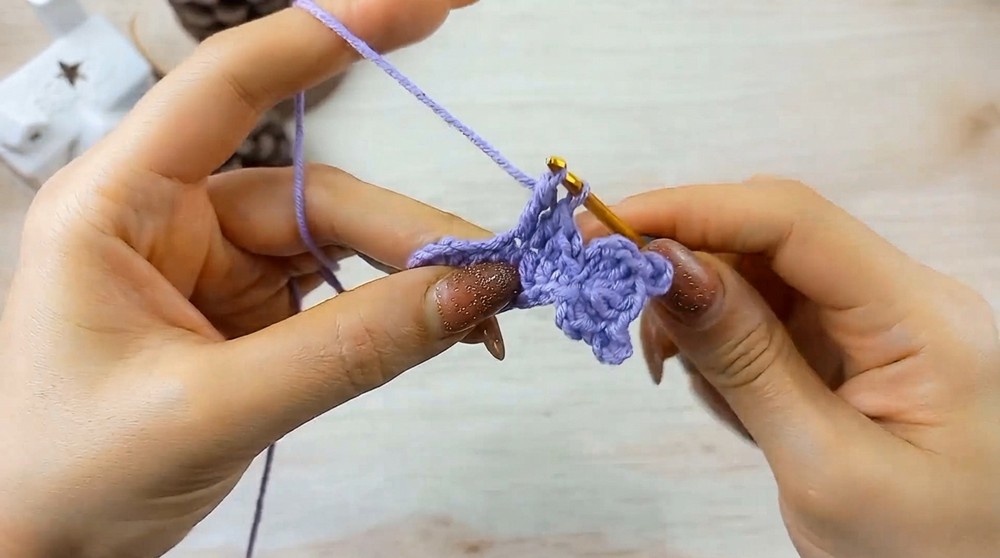
Step 8: To match the other side, make 4 ch to represent the last tr stitches.
- Join with 1 sl st into the initial foundation chain.
At this point, the cat’s body should be finished.
Tail
Step 9: Start with 10 chains (ch):
- Work 9 sl st beginning in the second chain from the hook.
- Once complete, make 1 sl st into the chain where you started.
- Fasten off the yarn and tighten the tail loop.
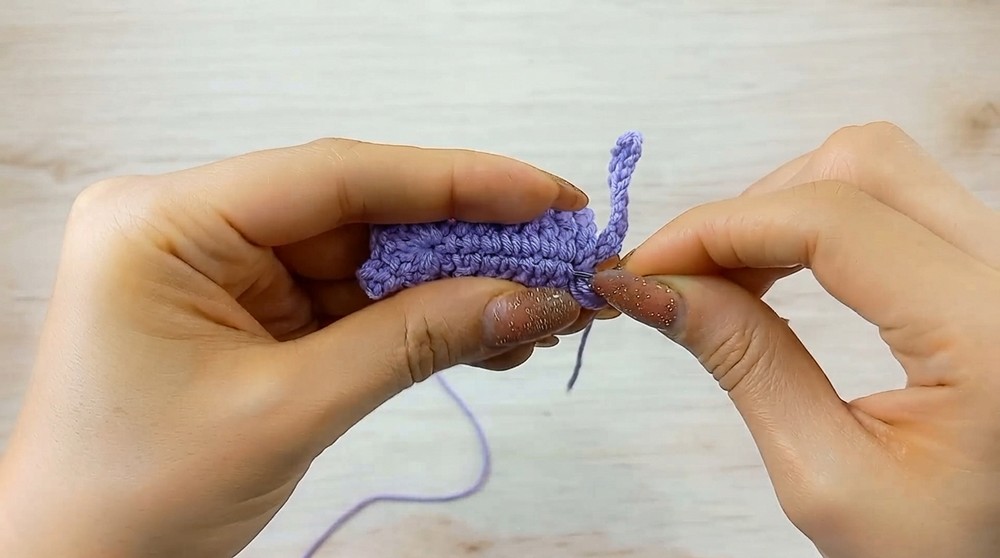
Assembly Instructions:
Step 10: Make a Second Piece
- Repeat the entire pattern to create another identical piece for the back of the keychain.
Step 11: Hide Loose Ends
- Use a metal needle to securely weave in all yarn tails at the start and end of your work on both pieces.
Step 12: Attach Two Pieces
- Align the two pieces back to back. Use a glue gun to attach them together, ensuring they match up along the edges.
Step 13: Add Decorations
- Attach a decorative bow to the neck of the cat using your glue gun.
- Finally, affix the key ring to one of the stitches at the top of the cat’s head.
Finished Size
The final cat keychain should measure around 3–4 inches in height.
Conclusion
Your crochet cat keychain is done. It’s a simple yet beautiful project ideal for gifting to loved ones or creating decorative accessories. I hope you enjoyed this tutorial—you can experiment with different yarn colors and create a whole family of adorable crocheted cats.