
Cute Crochet Happy Piggy Earrings Pattern for Lighthearted Looks
Brighten your day and skip boring earrings with a Free Crochet Happy Piggy Earrings Pattern that brings cute smiles to your ears.
I’ve always been drawn to the cheerful charm of little animals, and nothing says happiness quite like a sweet, smiling piggy! These happy piggy earrings are the perfect way to carry a bit of joy with you wherever you go. Their bright and playful pattern instantly adds a fun touch to any outfit, whether you’re dressing up for a casual day out or looking for a unique gift for a friend who loves animals. This pattern shines with its use of the magic ring to create a neat circular base, combined with single and double crochet stitches that build up the pig’s rounded face and cute little ears.
Learn Easy Crochet Happy Piggy Earrings Pattern for Effortless Fun
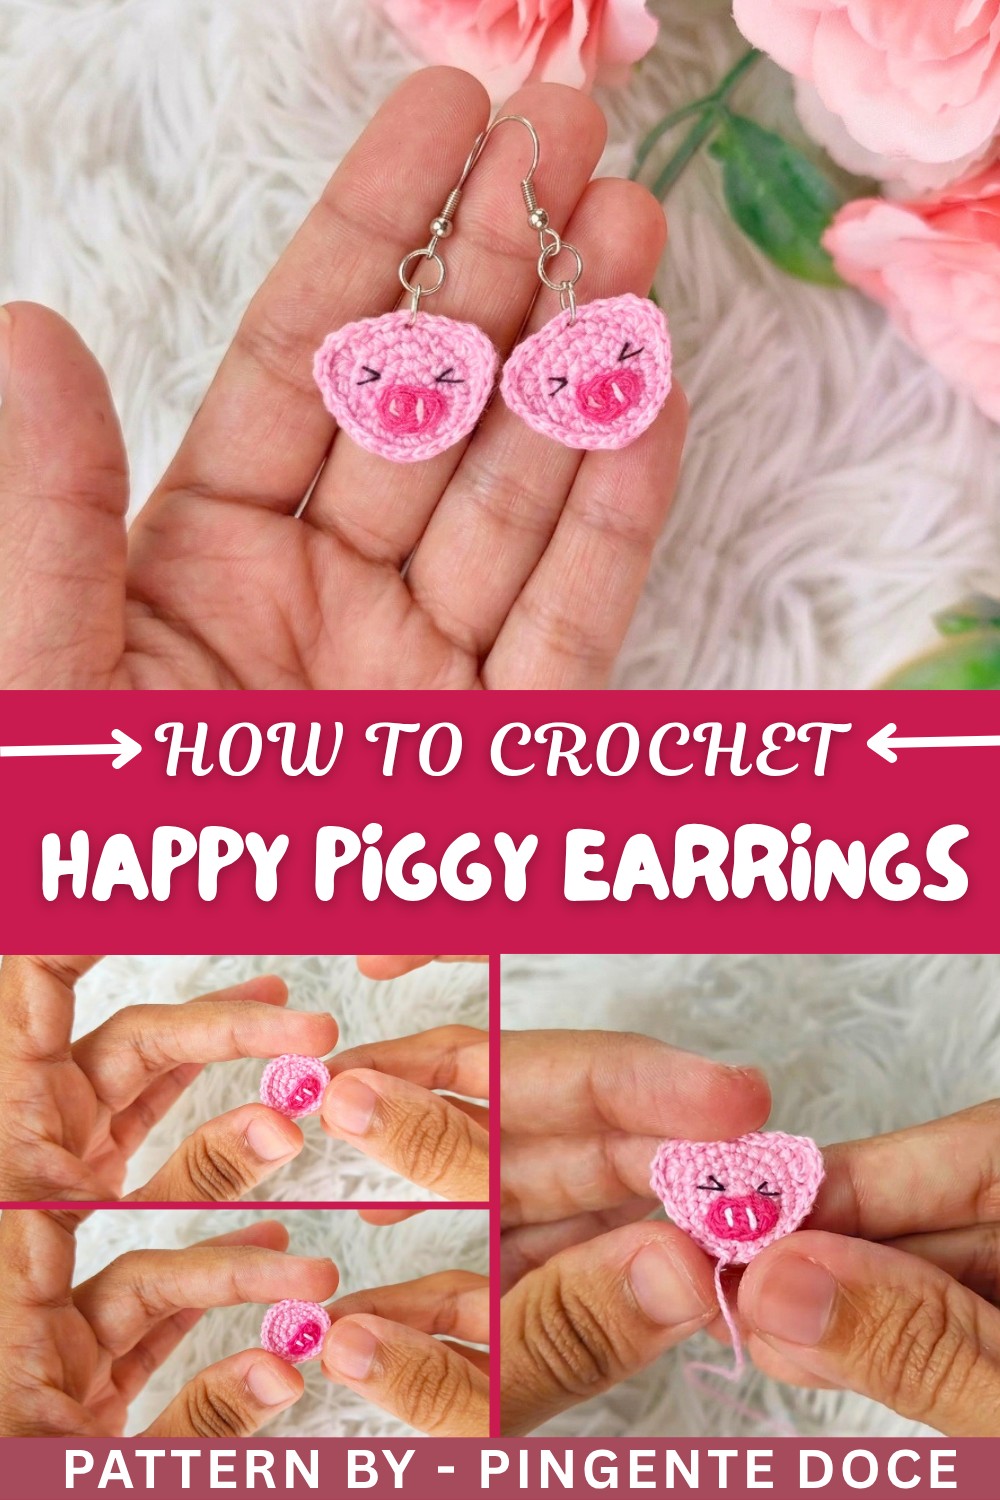
Designed to be beginner-friendly, the pattern breaks down every step clearly. You start by making a magic ring and work your way through simple stitch rounds, carefully building the face and ears. The instructions for attaching the nose and adding the embroidered details are gentle reminders that craft is about patience and joy. Even if you’re new to crochet, you’ll find this project enjoyable and rewarding, as it gradually brings together a charming pair of lightweight earrings that feel as good as they look.
More Creative Ideas with This Pattern
The techniques you learn while making these piggy earrings can open doors to many other projects. You could use the same stitches and shaping methods to create keychains, cute brooches, or tiny animal toys. Experimenting with colors and small details could help you build a whole farmyard of crochet friends. It’s a delightful way to expand your skills and create handmade treasures for yourself or as heartfelt gifts!
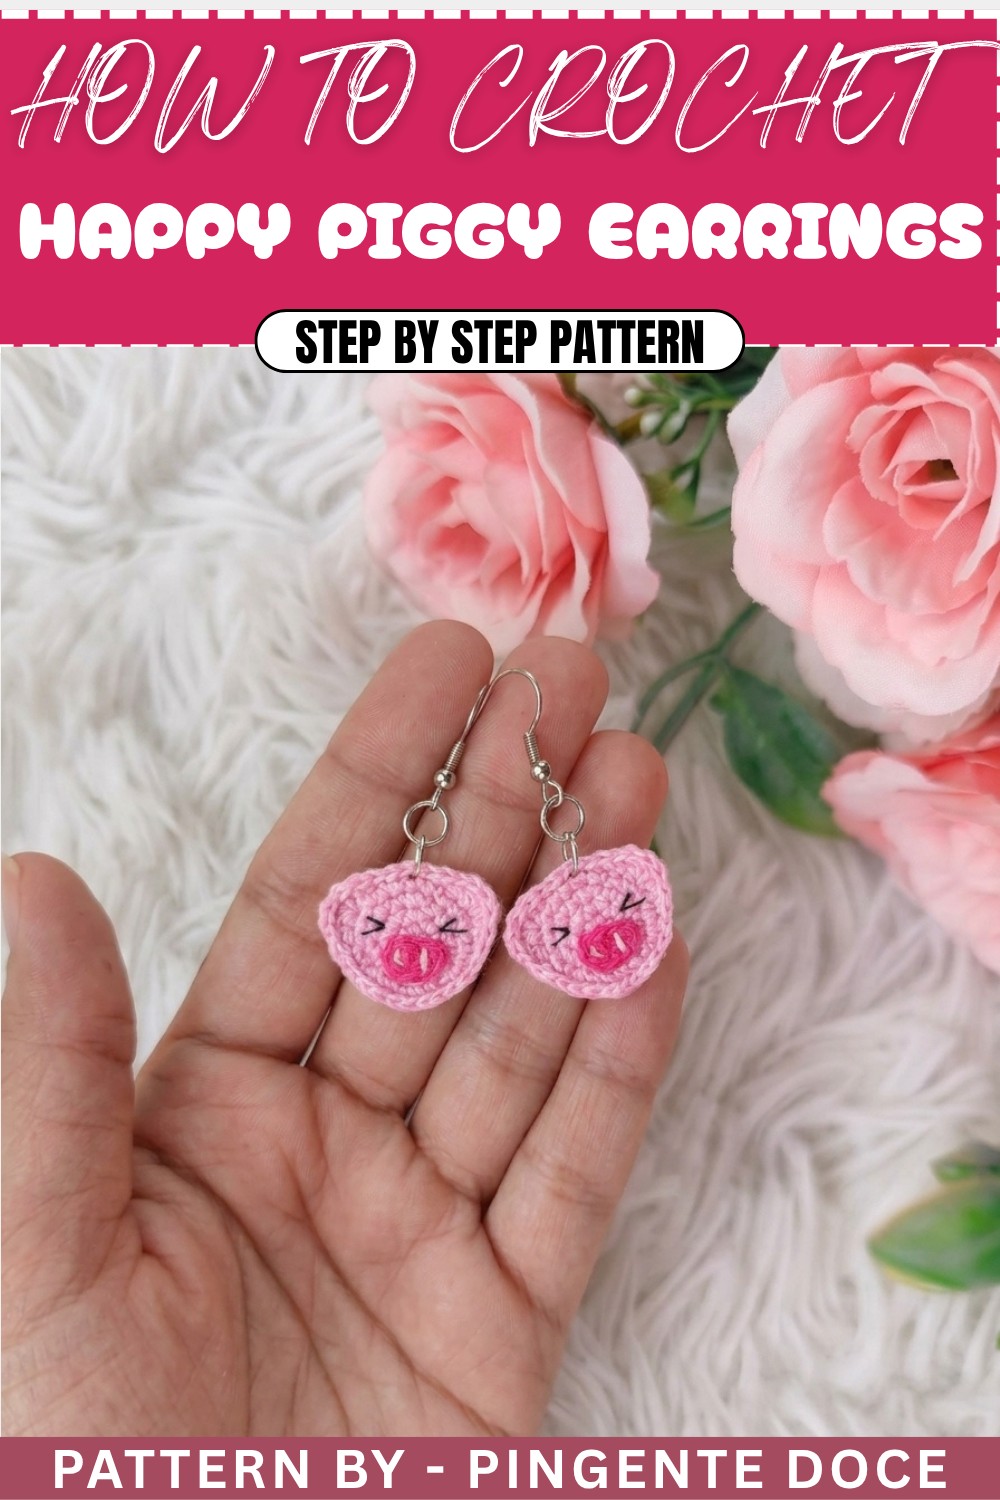
Happy Piggy Crochet Earrings Pattern
Make someone’s day with this adorable Happy Piggy Crochet Earring Pattern! These lightweight and playful accessories are perfect for animal lovers or anyone who loves cute, handmade earrings. This pattern is quick and beginner-friendly, utilizing foundational crochet skills like creating a magic ring, single crochet, slip stitch, and double crochet.
Introduction
This charming Happy Piggy Crochet Earrings Pattern is designed to bring joy to anyone who makes or wears them. Whether you are new to crochet or an experienced crafter, this project is a delightful way to create cute accessories. These quirky earrings are perfect as personal fashion items, gifts, or even as an addition to your handmade jewelry business. The pattern provides clear instructions and offers the opportunity to customize the colors and fine details to make your piggy uniquely yours.
Uses of This Pattern
- DIY Jewelry: Craft your own earrings to match any outfit or occasion.
- Gift Idea: A heartwarming, handmade present for pig or animal lovers.
- Business Inspiration: A wonderful addition to a collection of handmade accessories.
Skill Level & Terminology
- Skill Level: Beginner to Intermediate.
- Terminology: U.S. Crochet Terms.
Materials & Tools
- Thread:
- Light Pink Thread: For the piggy’s body.
- Dark Pink Thread: For the piggy’s nose and facial details.
- Tools:
- Crochet hook (compatible with your thread, approx. 1 mm).
- Scissors for trimming loose threads.
- Pliers for assembling the earrings.
- A pair of metal rings for earrings.
- Earring hooks.
- Sewing needle for finishing and embroidery.
- Fabric glue (optional), to secure the embroidered details.
Gauge
While gauge isn’t essential due to the small size of the project, keeping even tension will ensure consistent earring dimensions.
Abbreviations List
- MR: Magic Ring
- ch: Chain
- sc: Single Crochet
- hdc: Half Double Crochet (also called medium stitch, as described below)
- dc: Double Crochet
- sl st: Slip Stitch
- inc: Increase (2 stitches in the same stitch)
Special Stitch Instructions
Magic Ring (MR):
- Wrap the yarn around your fingers to form a loop, leaving a 4–5” tail. Insert your hook into the loop, pull up a loop, chain 1 to secure, and begin crocheting your stitches into the loop. Pull the tail tight to close the ring after completing the round.
Finished Size
Each earring measures approximately 1.5–2 inches in diameter, making them cute and lightweight.
Pattern Overview
This pattern consists of three interconnected elements:
- The Piggy’s Face: Two identical circular pieces form the piggy’s face.
- Details: Add the nose, eyes, and ears for character.
- Assembly: Join all parts to create the adorable piggy earring.
You’ll finish the project by attaching metal rings and an earring hook, making these fun earrings wearable!
Step-by-Step Pattern
Part 1: Crochet the Piggy’s Face
- Foundation (Magic Ring):
- Using light pink thread, create a magic ring (MR).
- Crochet 6 sc into the ring and pull the tail tight to close the ring.
- Row 2:
- Work an increase (2 sc in each stitch) into every stitch around.
- You will have 12 sc at the end of the row.
- Row 3:
- [1 sc in the next stitch, increase] work this sequence around the circle.
- By the end of the row, you will have 18 stitches in total.
- Row 4:
- [2 sc in two stitches, increase] repeat the sequence all the way around.
- Finish the row with 24 stitches.
- Finish Off the First Piece:
- Slip stitch into the first stitch of the row, cut the thread, and weave in loose ends.
- Make a Second Piece:
- Repeat the above steps to create a second identical piece.
→ You now have two round bases that will form the piggy face when joined later.


Part 2: Make the Nose
- Foundation:
- Using dark pink thread, create a slip knot and then chain 4 ch.
- Work Across the Chains:
- Skip the first chain and crochet 1 sc into each of the next two chains.
- In the final chain, crochet 3 sc (this creates a curve for the top of the nose).
- Work Back Along the Chains:
- Crochet 1 sc into the next chain, and in the final chain, crochet 2 sc.
- Finish the Nose:
- Slip stitch into the first sc of the row and cut the thread.
→ You now have a standalone nose piece ready to be attached to the face.
Part 3: Add Embroidery Details
- Attach the Nose:
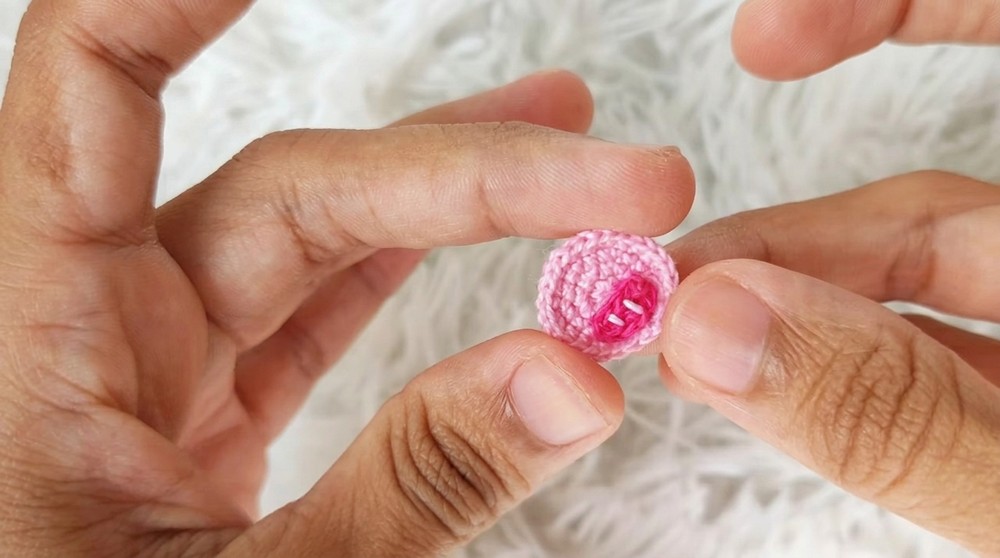
- Use fabric glue to attach the dark pink nose to one of the circular face pieces. Position it at the bottom center.
- Embroider the Nostrils:
- Thread a sewing needle with dark pink thread and sew two short vertical lines onto the nose to resemble piggy nostrils.
Part 4: Join the Two Pieces
- Position the Pieces:
- Place the two circle pieces back-to-back (wrong sides facing inward).
- Join with Slip Stitches:
- Start at one edge and work 5 slip stitches through both pieces to begin joining them.
- At the sixth slip stitch, start creating the first ear.
Part 5: Crochet the Ears and Finish the Edges
- Make the First Ear:
- 1 sc, 1 hdc, 3 dc into the same stitch, 1 hdc, 1 sc in the same space.
- Continue Joining the Edges:
- Work 5 more sl st through both pieces to continue joining.
- Make the Second Ear:
- Repeat the steps from the first ear at the corresponding location on the opposite side.
- Complete Assembly:
- Continue slip stitching around until both pieces are completely joined, and the ears are in place.
→ The piggy face is now a cohesive 3D piece, with ears, eyes, and a nose adding all the charm.

Part 6: Attach Jewelry Components
- Rings and Hook
- Insert the two metal rings into the top of the piggy face. Use pliers to secure them.
- Attach an earring hook to the second ring for easy wearing.
- Optional Hardening:
- To make the earrings sturdier, apply fabric glue or crochet resin to harden the finished pieces. Let them dry completely.
→ Attach the second piggy face to its own earring hardware, and your cute crochet earrings are ready!

What You’ll Learn
- Working in Rounds: Learn how to create symmetrical, circular pieces using the magic ring.
- Color Changes: Practice switching threads for colorful designs.
- Earring Assembly Skills: Understand how to attach crochet pieces to jewelry components.
Difficulties and Solutions
Common Challenges
- Magic Ring Issues:
- Loose or uneven rings can leave gaps in the center of the base.
- Solution: Ensure you pull the short end of the yarn tightly to properly close the ring.
- Uneven Ears:
- Inconsistent tension when crocheting the ears can lead to lopsided shapes.
- Solution: Practice creating an identical number of stitches per ear to keep the pair symmetrical.
- Joining the Pieces:
- Uneven stitches might make the edges of the circles misalign when joining.
- Solution: Work slowly and ensure alignment by inserting your hook evenly through both pieces before making each stitch.
Why You’ll Love This Pattern
This pattern is an easy, relaxing project with heartwarming results. It combines basic crochet techniques with your creativity to create a delightful design. You can create pairs in various colors to suit any outfit or occasion. Plus, it's great for gifting or for making cute handmade jewelry to sell.