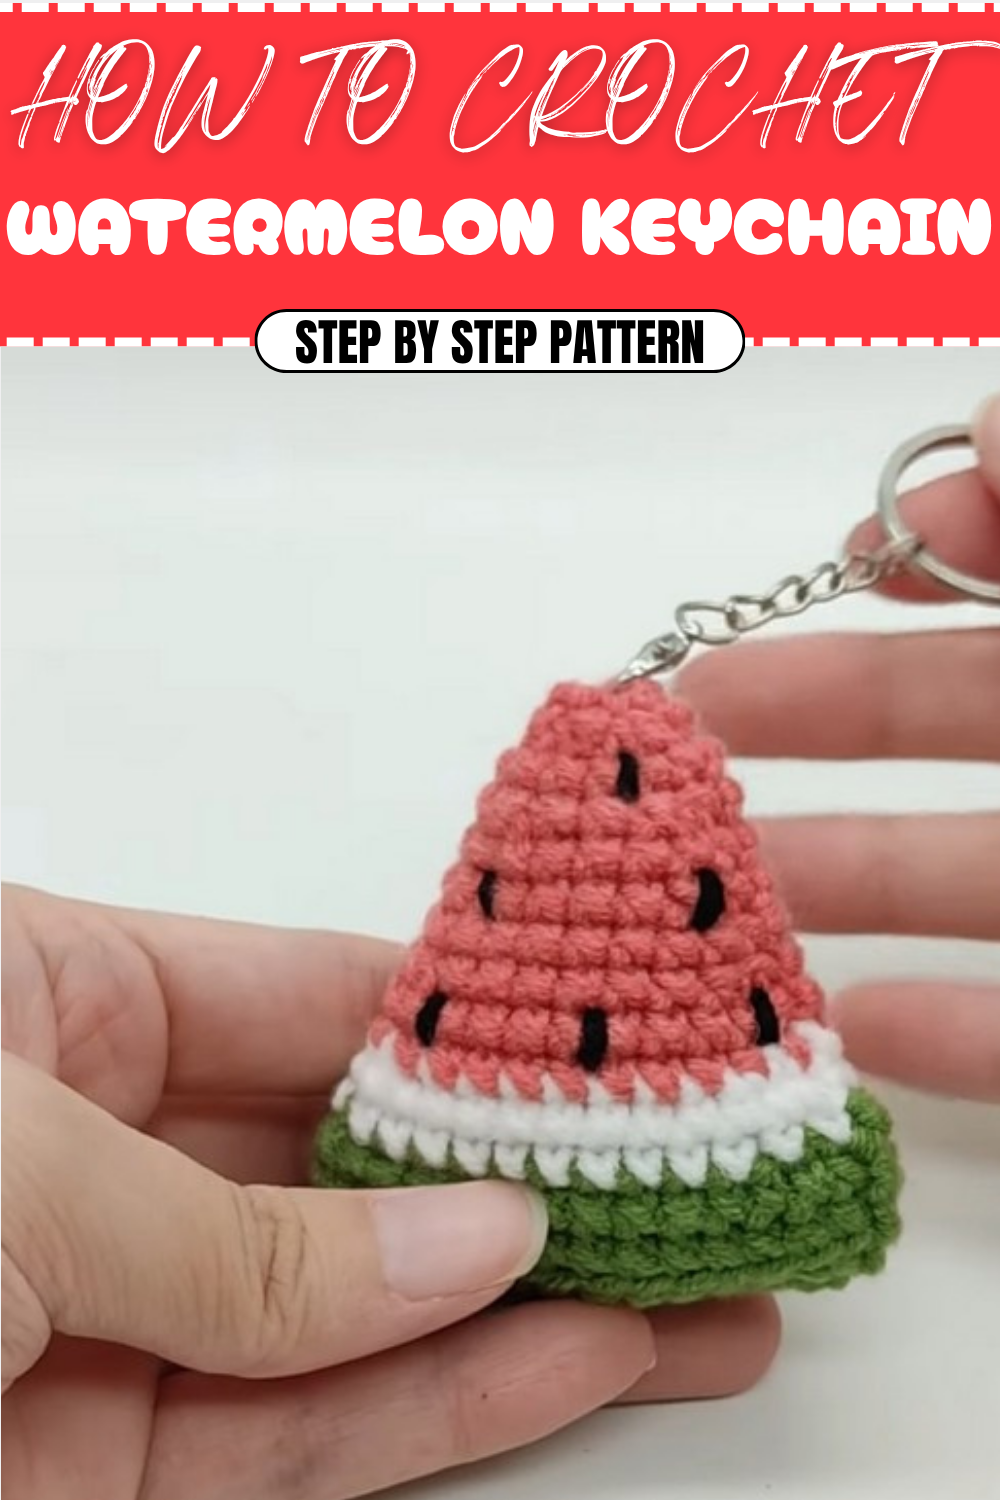
Crochet Watermelon Keychain Pattern For Fun Accessories
Fresh solutions highlight a free crochet watermelon keychain pattern, making it easy to personalize your accessories with cute flair.
Bringing a splash of summer sweetness into your crochet projects can be so much fun, especially when it’s something as cute and handy as a tiny watermelon keychain. This little creation captures the fresh, bright colors of a juicy watermelon slice and turns them into a delightful accessory you can carry everywhere. The keychain is mainly crocheted using single crochet stitches, which are perfect for beginners because they’re easy to learn and create a tight, sturdy fabric that holds up well to daily use. The neat shaping and color changes make the watermelon slice really pop with charm and personality.
Adorable Crochet Watermelon Keychain Pattern For Summer Cheer
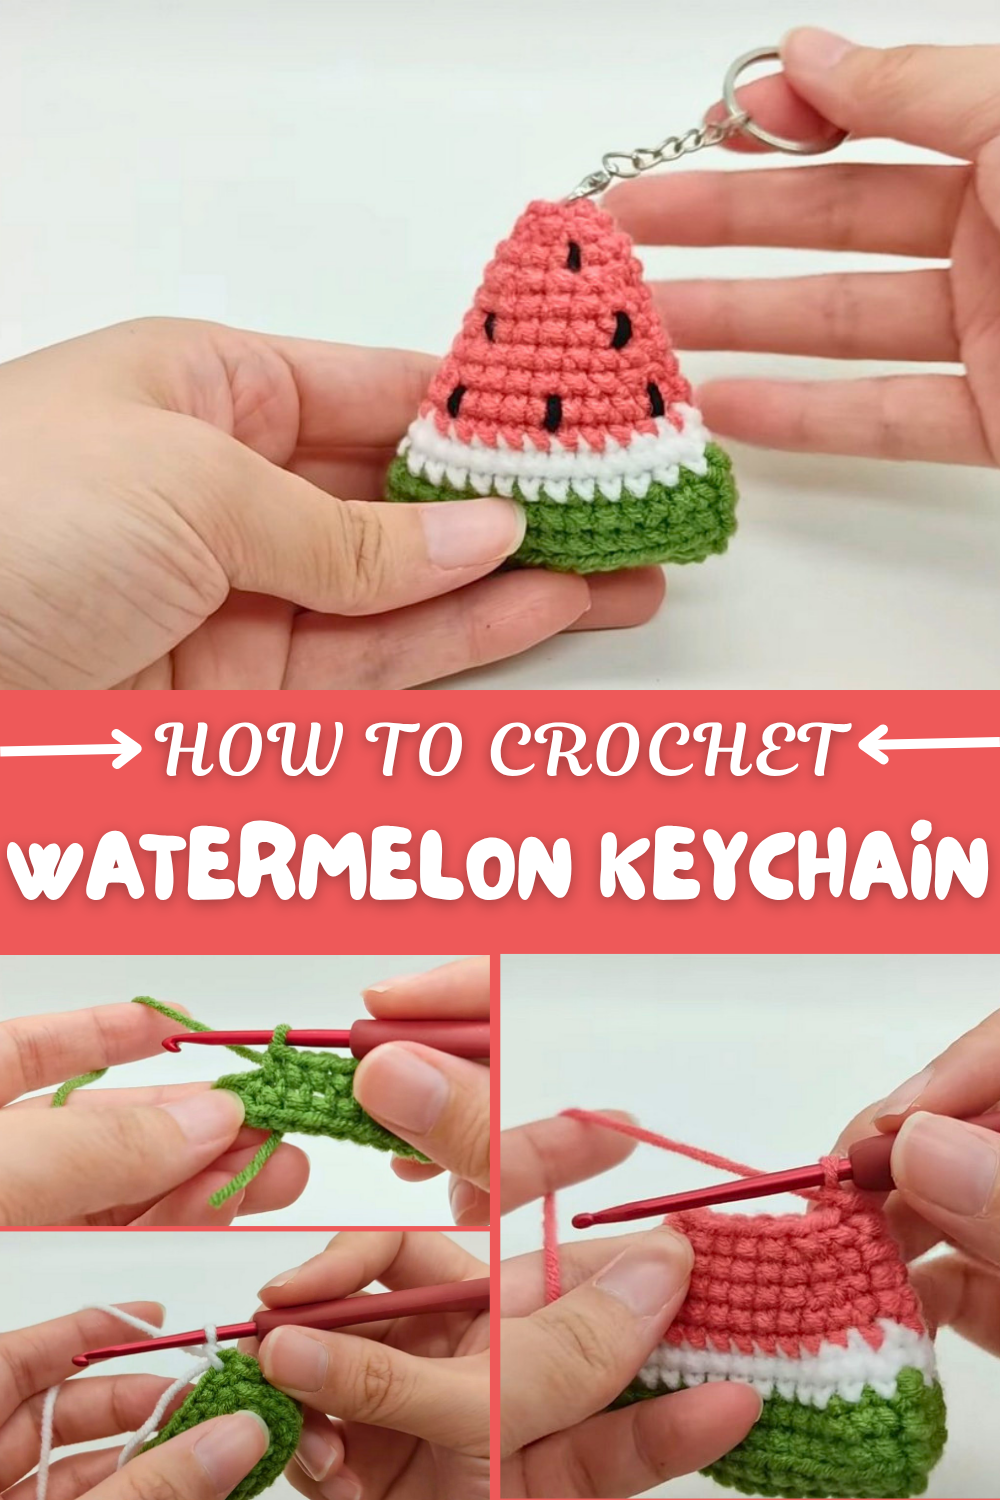
Making this keychain pattern begins with crocheting a simple chain, followed by rows of single crochets that gradually shape the fruit slice with increases and decreases. The colorwork changes from green to white and then to red, mirroring the natural layers of a watermelon. Adding the little black “seeds” at the end with embroidery stitches brings the whole piece to life. You can easily attach a keyring or a clip to this compact size, making it a perfect gift or a fun personal accessory for your keys, bags, or backpacks.
Other Fun Projects to Try from This Pattern
Once you’re comfortable with the basic shapes and color changes, you can use similar techniques to crochet other fruit-inspired accessories like mini pineapple charms, strawberry keychains, or lemon slices. By adjusting stitch counts and colors, you could also make coasters, small appliques, or even playful earrings. This pattern opens a sweet door to exploring creative, colorful, and cute crochet creations that add a touch of joy to everyday life.
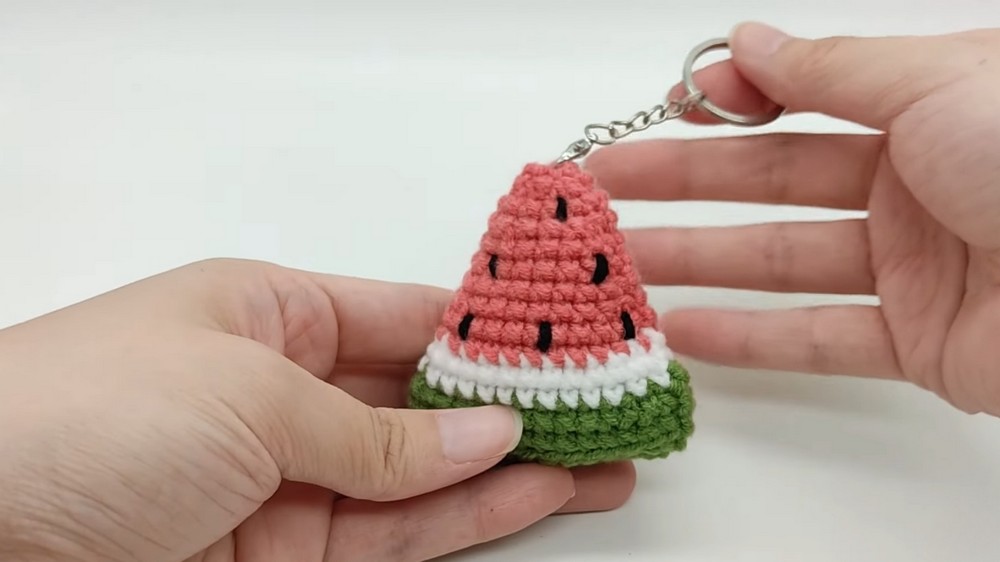
Crochet Pattern: Watermelon Keychain
This fun and vibrant crochet watermelon keychain is the perfect accessory for your bag or keys. Its charming summer-inspired pattern makes it a great gift or a stylish piece to brighten your everyday look. This is a simple and beginner-friendly project, ideal for new crocheters wanting to practice basic techniques such as single crochet (sc), increases, decreases, and color changes.
Uses of This Pattern
- Accessories: Attach to your keys, backpack, or tote bag.
- Room Décor: Make multiples for a string of fruity decorations!
- Gift Idea: Create a set of fun keychains for friends or party favors.
Skill Level & Terminology
- Skill Level: Beginner. This pattern uses basic crochet techniques and is a small, simple project.
- Terminology: This pattern uses US crochet terms.
Materials & Tools
To make your watermelon keychain, you will need:
- Yarn:
- Green yarn for the rind.
- White yarn for the transition color.
- Red yarn for the main part of the watermelon slice.
- Black yarn for the seeds.
- Crochet Hook: Size 3.5 mm or as desired for tight stitches.
- Darning Needle: For sewing pieces and weaving in ends.
- Scissors: For cutting yarn.
- Keychain Ring: Metal keyring for attaching the watermelon slice.
- Fiber Cotton (Stuffing): To fill the slice.
Gauge
Gauge is not critical for this project, but tight stitches are recommended to prevent fiberfill from peeking through.
Abbreviations List
Here’s a helpful guide to the abbreviations in this pattern:
- ch: Chain
- sc: Single Crochet
- sl st: Slip Stitch
- inc: Increase (2 sc in one stitch)
- dec: Decrease (single crochet decrease)
Special Stitch Instructions
Single Crochet Decrease (sc2tog):
- Insert hook into the front loop of the first stitch.
- Insert hook into the front loop of the next stitch.
- Yarn over and draw up a loop through both front loops.
- Yarn over again and pull through all loops on the hook.
Finished Size
The completed watermelon slice will measure approximately 3 inches in diameter.
What You’ll Learn From This Pattern
- Master Basic Stitches: Learn single crochet, increases, decreases, and weaving.
- Color Transitions: Practice seamlessly switching between colors to achieve clean rows.
- Shaping: Understand how to use stitch counts to shape round and curved designs.
This project is a fantastic way to practice key techniques, whether you’re a new crocheter or revisiting the fundamentals. The result is a bright, cheerful keychain that’s both functional and fun!
The Pattern
Step 1: Foundation Chain
- Using green yarn, chain 13.
- This will serve as the base of your watermelon slice.
For Beginners: Don’t pull your chains too tightly; this will make it easier to insert your hook in the next step.
Step 2: Row 1 – Single Crochet Foundation
- In the second chain from the hook, work a single crochet (sc).
- Continue working 1 sc into the next 10 chains.
- In the last chain, work 3 sc (increase) to create the curve for the watermelon slice edge.
- Continue down the opposite side of the chain by crocheting 1 sc into the next 10 stitches.
- Work 1 increase (2 sc into the same stitch) in the final chain.
- Join with a slip stitch into the first sc to close the round.
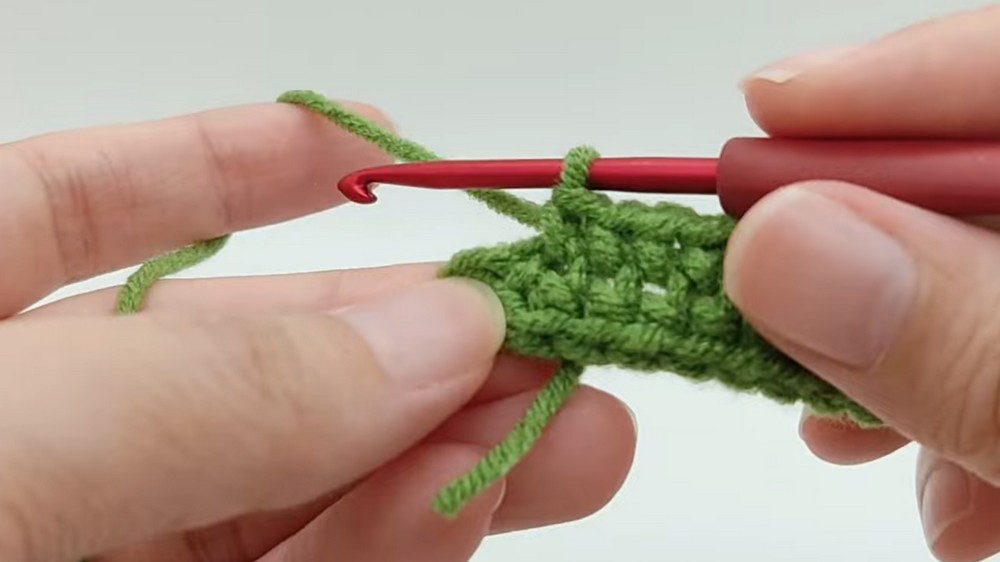
Note: You now have an oval shape after completing this step, which should consist of 26 stitches.
Step 3: Row 2 – Increase
- Chain 1 and work 1 increase (2 sc) in the first stitch.
- Work 10 sc into the next 10 stitches.
- At the curve (the 3 sc from Row 1), work 3 increases (2 sc into each stitch).
- Continue working 10 sc down the opposite side.
- In the last stitch of the round, work 2 increases.
- Join with a slip stitch at the beginning to close the round.
Tip: Your keychain slice will start taking shape with a crisp oval forming the base for the two sides of the watermelon.
Step 4: Rows 3–4 – Green Outer Rind
- Rows 3 and 4: Work 1 sc into each stitch for a total of 32 sc per row.
- For Row 3, crochet only through the inner loops of the previous row to create texture for the outer green rind. Attach white yarn at the end of Row 4.
For Beginners: Be consistent with your tension to ensure the edges align symmetrically and the slice doesn’t curve unevenly.
Step 5: White Transition Color
- Using white yarn, chain 1 to begin Row 5.
- Work the following sequence:
- 1 sc, 1 dec, 9 sc.
- 1 inc 3 times (in one stitch).
- 9 sc, 1 dec, 1 sc.
- You should have 30 stitches.
- Join with a slip stitch, finish color transition, and weave in the ends of the green yarn.
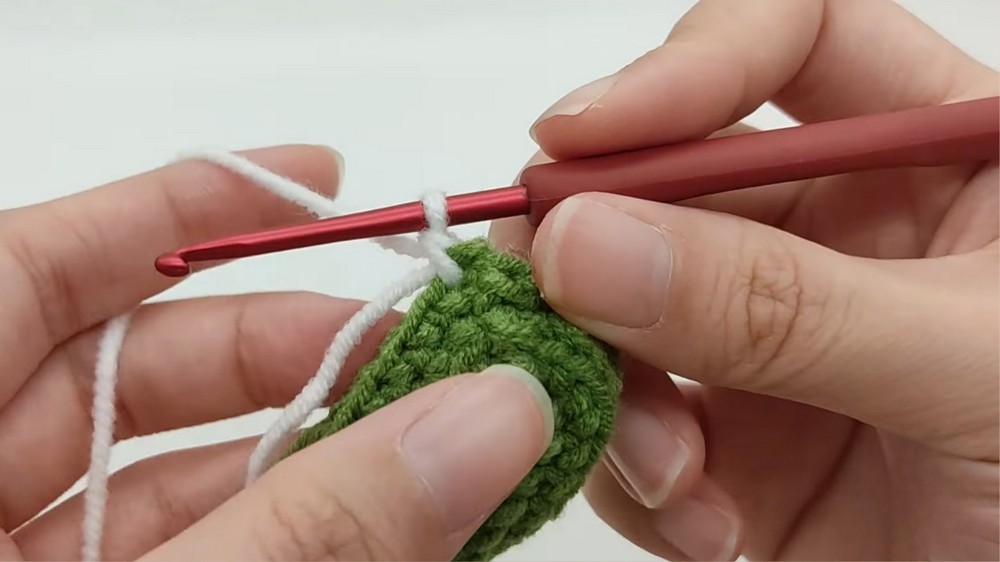
Note: The white section ensures a smooth color transition from the green rind to the red watermelon.
Step 6: Red Inner Slice
- Attach the red yarn into the stitch where the slip stitch was made. Chain 1.
- Row 7 starts by reducing the highlighted single crochet sections from 10 sc to 8 sc:
- 1 sc, 1 dec, 8 sc, 3 increases, 8 sc, 1 dec, 1 sc.
- Join with a slip stitch.
- Row 8: Work 1 sc into each stitch (28).
- Row 9: Highlighted part changes again, with 8 sc reduced to 6 sc:
- 1 sc, 1 dec, 6 sc, 3 increases, 6 sc, 1 dec, 1 sc.
- Join with a sl st.
- Row 10: Work 1 sc in each stitch (24 sc).
- Continue decreasing as follows:
- Row 11: The highlighted part decreases again to 4 sc with a total of 20 stitches at the end of the round.
- Row 12: Work 16 sc, decreasing the highlighted portion to 4 sc.
- Add fiberfill before proceeding to the next round.
- Row 13: Highlighted part decreases to 2 sc, totaling 12 sc.
- Row 14 (Final Round):
- Work 6 decreases (sc2tog) to close the watermelon slice.
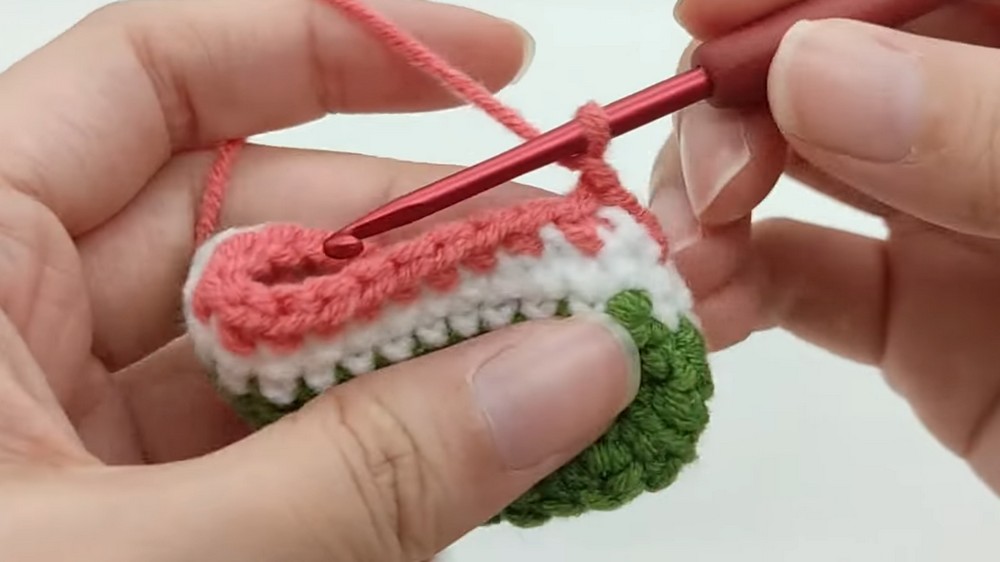
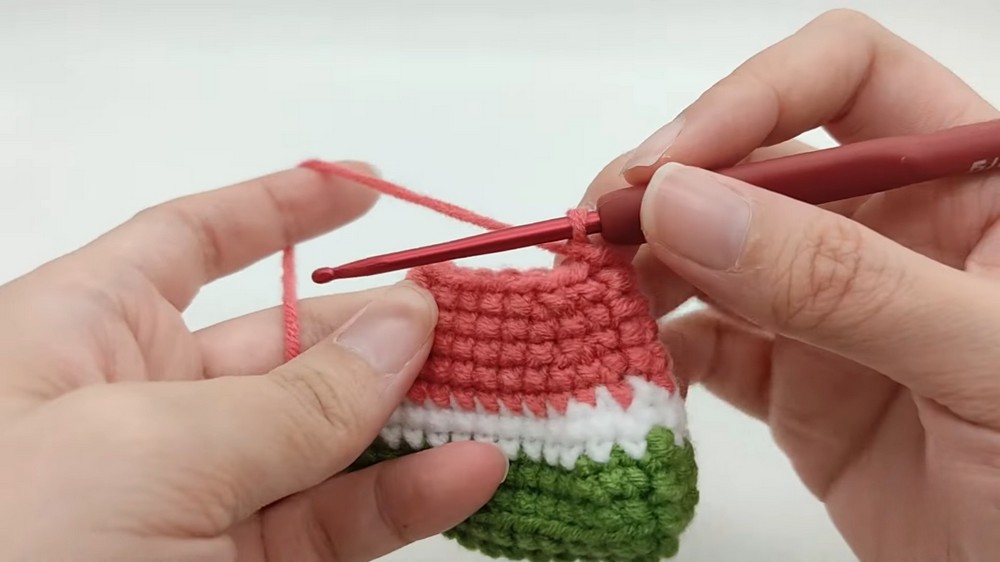
For Beginners: Keep adjusting the tension as you fill with fiber cotton to avoid over-stuffing, which can cause uneven stitches.
Step 7: Closing the Watermelon Slice
- Cut the yarn, leaving a long tail for sewing.
- Use a darning needle to weave through the final stitches, closing the hole. Secure the yarn with a knot and weave in the ends.
Visual: At this point, you should have a clean watermelon slice with stuffing securely contained.
Step 8: Adding Details
- Using black yarn, sew small stitches into the red section to mimic watermelon seeds. Scatter them evenly for a realistic effect.
- Attach your keychain ring into the stitches at the top center of the rind.
Creative Add-Ons: You can embroider a small message onto the keychain or attach a tiny tassel for extra charm.
Difficulties You May Encounter
Difficulty: Maintaining Stitch Count
Losing track of increases or decreases may result in an uneven shape.
- Solution: Use stitch markers to highlight corner increases or decreases. Count stitches carefully as you work.
Difficulty: Tight Stitches with Fiberfill
Stuffing the slice too much may stretch the stitches.
- Solution: Add small amounts of fiberfill gradually as you progress, ensuring tight stitches without distortions.
Assembly & Finishing
- Sew the Top: Ensure the final hole is securely closed with tight, even stitches.
- Attach Keychain Ring: Insert the metal ring at the top or side of the rind.
- Final Touches: Trim any loose ends and add accents, such as tassels, charms, or extra decorations.
Final Notes: Why This Watermelon Keychain Pattern Stands Out
This playful watermelon crochet keychain is a hit for summer-themed projects or accessories. It combines simple techniques and creative shaping to create a project that’s as fun to make as it is to use. From start to finish, you’ll love how quickly this pattern works up and how much joy it brings—whether you’re keeping it for yourself or gifting to others.