
Free Crochet Bow Hairband Pattern that Suits Your Look
Pair your favorite dress with the Crochet Bow Hairband Pattern for a sweet hair accessory that looks lovely with loose curls or a simple everyday ponytail.
Pattern By Teera handmade
Hair accessories can easily reflect personal style, and a crochet bow hairband is no exception. This project results in a charming piece that’s soft, textured, and stylish, perfect for adding flair to any look. With its rectangular bow that cinches neatly in the center, it brings a touch of elegance while remaining functional and versatile for daily wear.
Soft, medium weight yarn works best for this project, providing structure while keeping the bow lightweight. Yarn with a slight sheen adds a polished touch, enhancing the texture created by rows of double crochet. These stitches form a clean, uniform surface, giving the bow a sturdy yet delicate aesthetic. The rectangle comes together with a simple center wrap, turning it into an eye catching bow that’s then secured onto a hairband.
Free Crochet Bow Hairband Pattern that Makes Simple Hair Shine
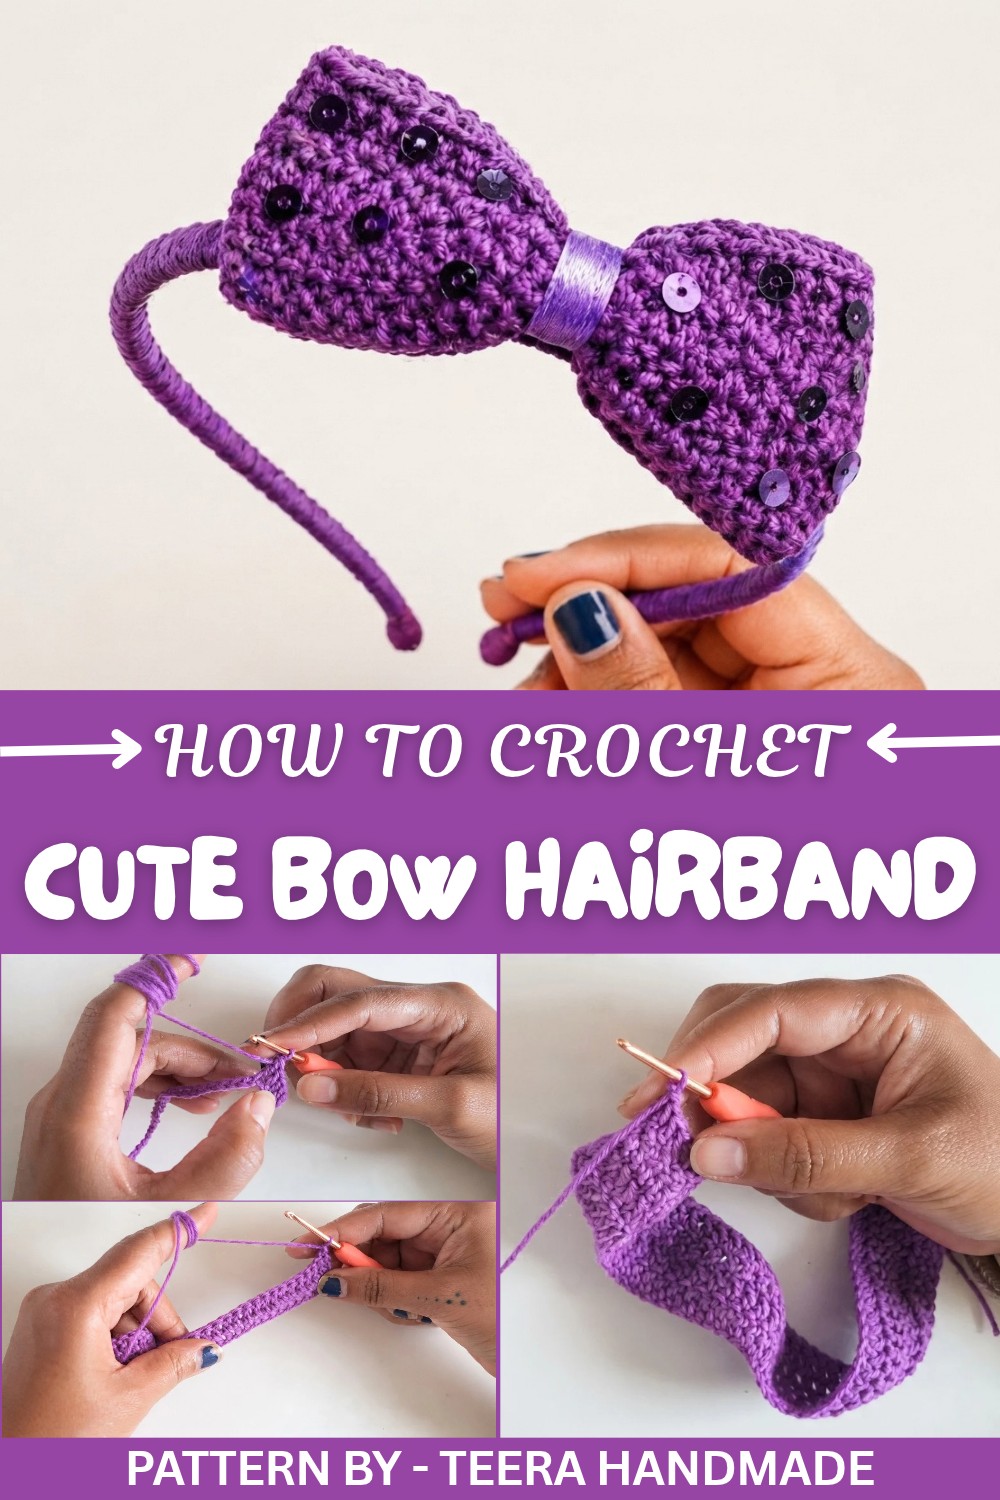
This idea was inspired by a desire to revive tired, everyday accessories with something playful and personalized. It's perfect for reusing old hairbands that might otherwise stay tucked away in a drawer. Adding optional embellishments, like pearls or sequins, can elevate the finished look, making it perfect for both casual outfits and special occasions.
For those looking to begin, it’s helpful to keep an even tension while crocheting, as this ensures a neat outcome. The project is quick and approachable, suitable for beginners yet satisfying for those looking for something stylish and fun. In no time, you’ll have a beautiful new accessory that’s equal parts practical and delightful.
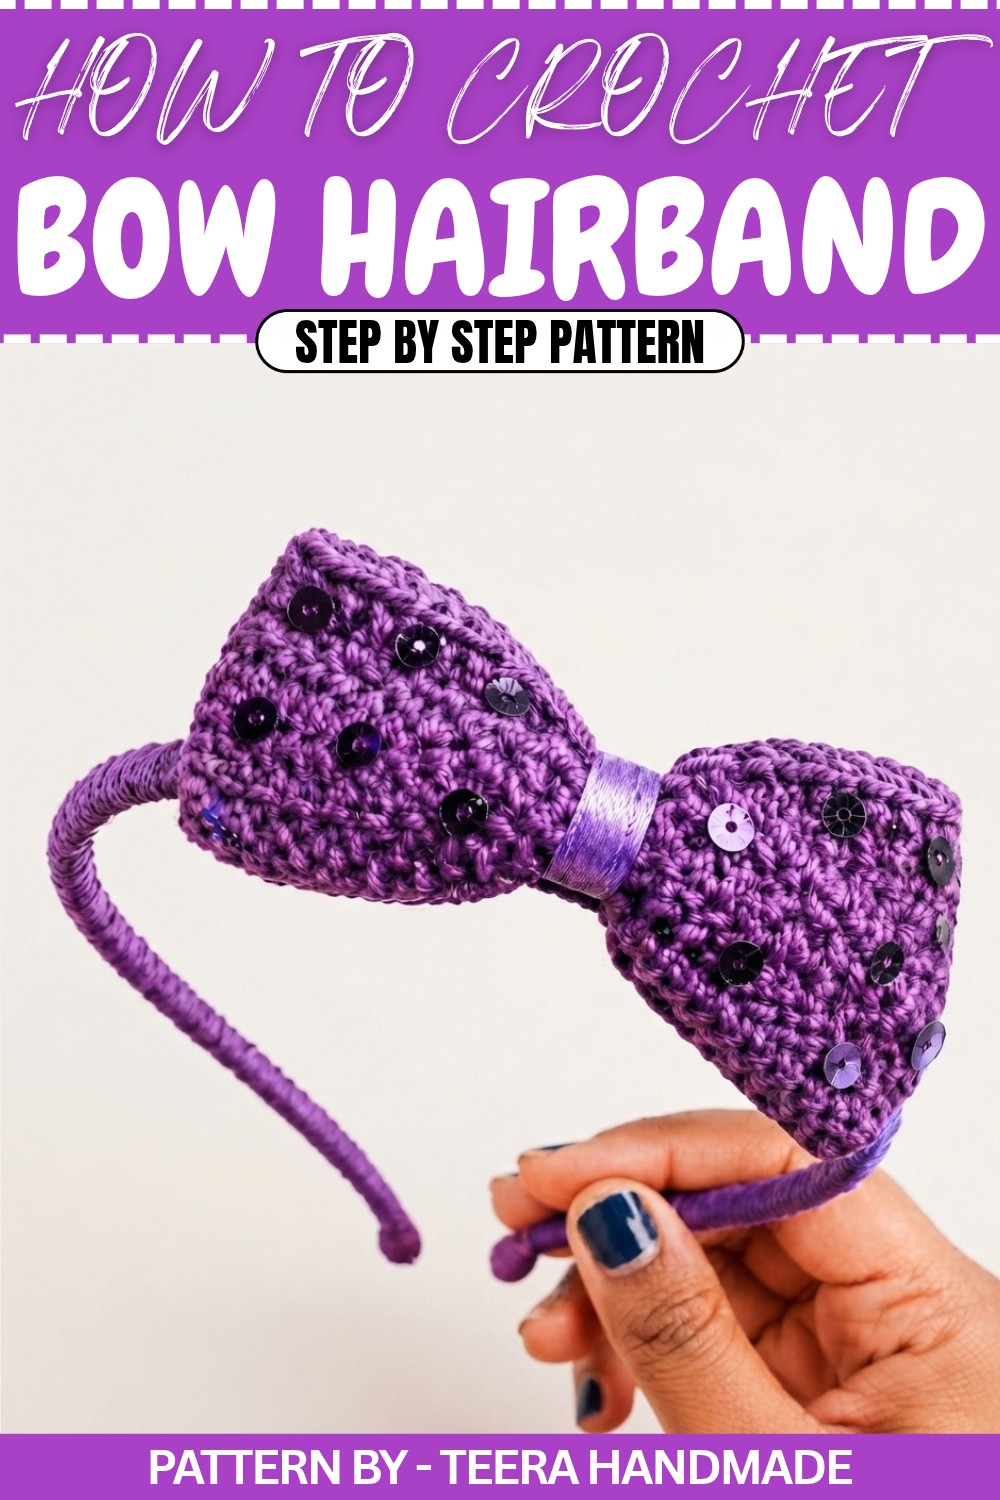
Crochet Bow Hairband Pattern
In today’s crochet project, we will show you how to turn an old hair band into a charming and stylish bow. This beginner friendly pattern uses basic crochet stitches and simple assembly techniques. Follow along step by step to create a unique accessory that’s perfect for gifting or personal use.
Quick Overview of Pattern
- Project Type: Crochet Bow Hair Band
- Uses: Hair accessories or small gifts
- Techniques Covered: Chain stitches, double crochet, and basic assembly
- Estimated Completion Time: 1–2 hours
Notes
- Adjust Size Easily: Customize the bow to suit your preference by altering the chain stitch count and row numbers.
- Optional Embellishments: Add sequins, pearls, or stickers for extra style.
- Eco Friendly Crafting: Repurpose an old hair band, giving it a fresh and trendy look.
Skill Level
Beginner to Intermediate: Perfect for crafters familiar with basic chain stitches and double crochet stitches.
Materials
- Old Hair Band: To serve as the base.
- Yarn: Medium weight acrylic or cotton yarn (any color of choice).
- Crochet Hook: Size 3.5 mm or 4.0 mm (depending on yarn thickness).
- Darning Needle: For stitching and weaving in ends.
- Scissors: For cutting yarn.
- Glue Gun: To attach the bow to the band securely.
- Decorative Embellishments (Optional): Pearls, sequins, or small stickers.
Measurements / Sizing
- Bow Size: Approximately 5 inches wide (can be adjusted).
- Length of Initial Chain: The chain length determines the bow’s length, e.g., 38 chains for a medium sized bow.
Gauge
Gauge isn’t critical for this project. However, consistent tension ensures a neat finish.
Stitch Abbreviations
- ch: Chain stitch
- dc: Double crochet
- sl st: Slip stitch
Special Stitches
- Double Crochet (dc):
- Yarn over, insert the hook into the stitch, yarn over again, and pull through the stitch.
- Yarn over, pull through two loops.
- Yarn over, pull through the remaining two loops.
The Crochet Pattern
Step 1: Start with the Foundation
- Create a slip knot on your hook.
- Chain 38 stitches (or adjust this number depending on the desired bow length).
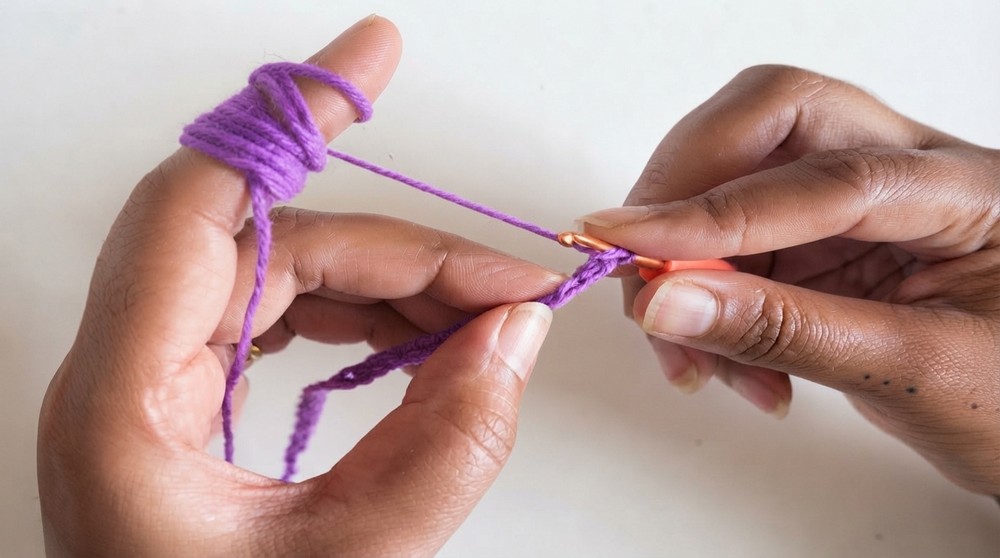
Step 2: First Row of Double Crochet
- Skip the first 2 chains from the hook.
- Work 1 dc into the third chain from the hook.
- Continue working 1 dc in every chain across the row.
- Total stitches at the end of the row: 36 dc (including the initial skipped chains).
- Chain 1, turn your work.
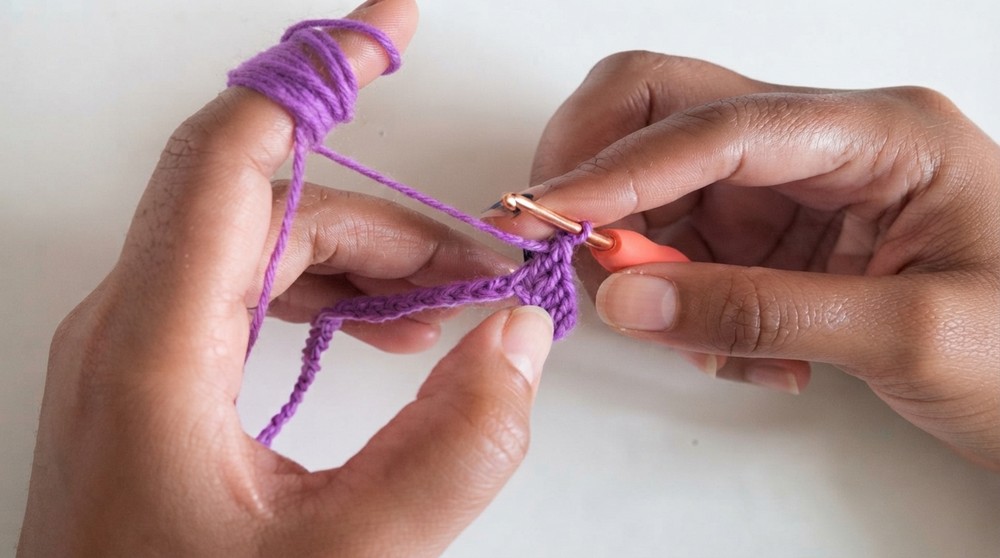
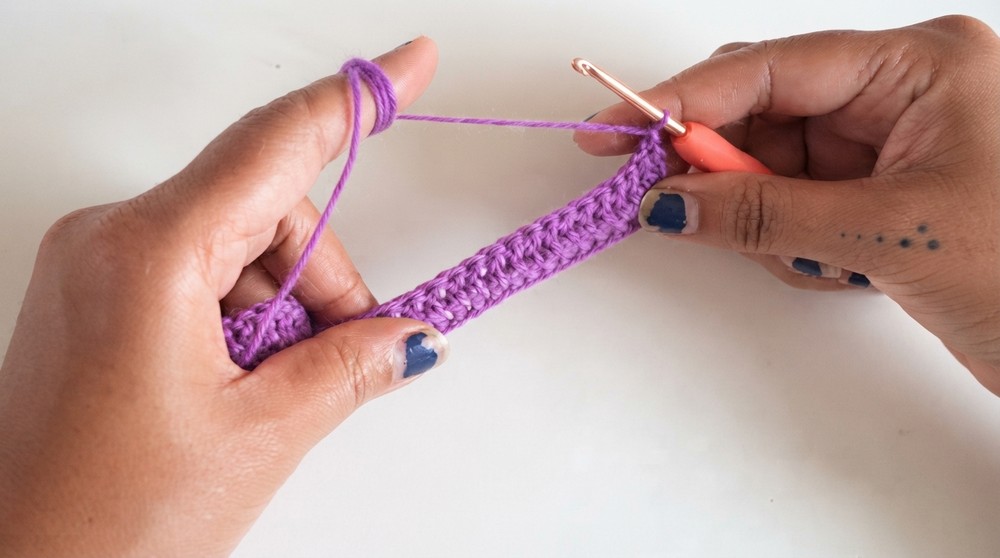
Step 3: Add Rows for the Bow Width
- Work 1 dc in the first stitch of the second row.
- Continue working 1 dc in every stitch across the row.
- At the end of the row, chain 1 and turn your work.
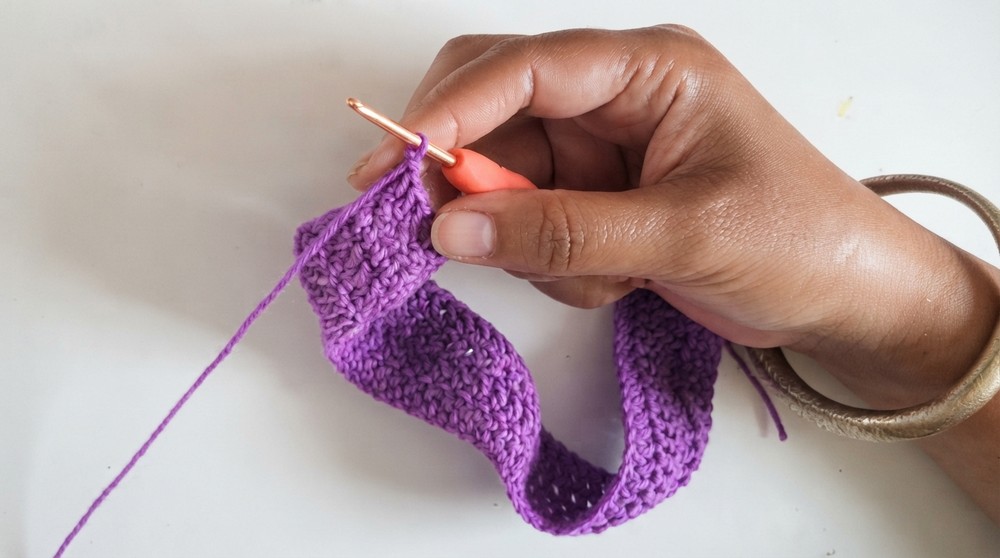
Step 4: Repeat Until Desired Width is Achieved
- Repeat the process outlined in Step 3 (dc, chain 1, and turn).
- The number of rows depends on the desired width of the bow:
- For a medium sized bow, work 6 to 8 rows of double crochet.
- For a smaller or larger bow, adjust the number of rows as needed.
Step 5: Finishing the Bow Section
- After completing the desired number of rows, fasten off the yarn, leaving a tail for stitching.
- Use scissors to cut the yarn.
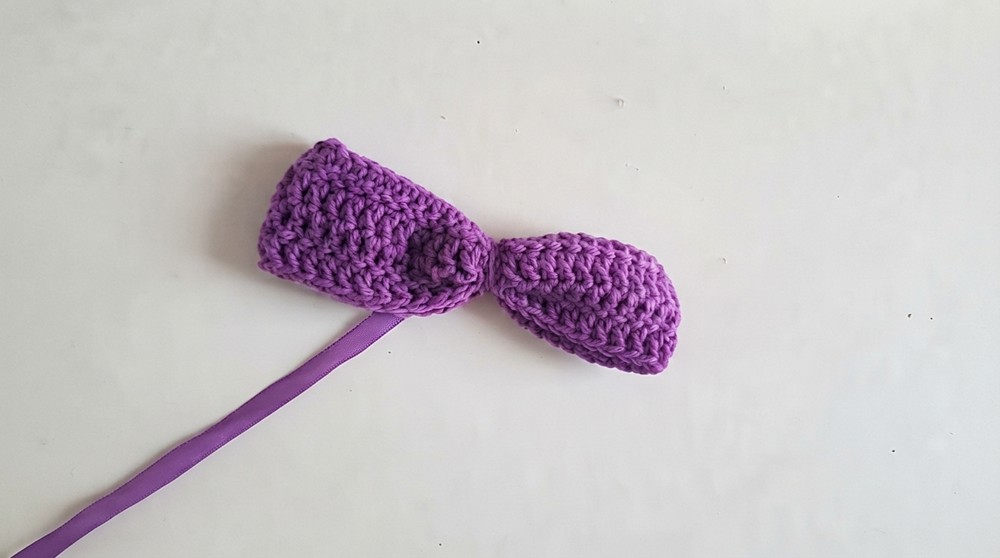
Step 6: Assemble the Bow
- Folding the Crochet Piece:
- Lay the rectangle flat. Fold it in an accordion style to form pleats in the center, creating the bow’s shape.
- Stitch the Center:
- Use the yarn tail and large eye darning needle to secure the center of the bow. Wrap the yarn tightly around the middle several times to hold the shape, then tie off securely.
Step 7: Add Optional Embellishments
- If desired, glue pearls, sequins, or small stickers onto the bow using a glue gun.
- Allow the glue to dry completely for a secure finish.
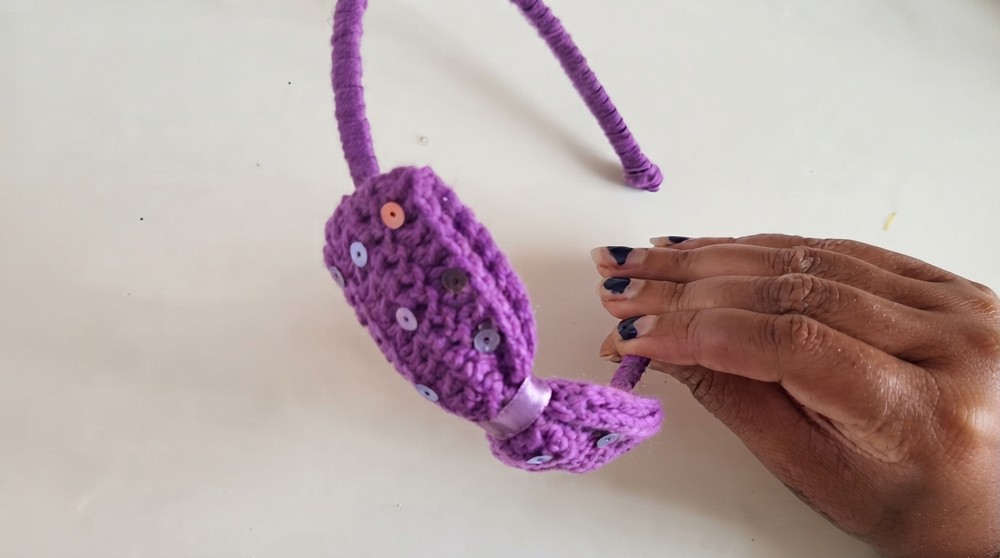
Step 8: Attach the Bow to the Hair Band
- Position the finished bow on the hair band.
- Use a glue gun to attach the bow. Apply glue to the center of the bow and press firmly onto the band.
- Allow the glue to dry before use.
Assembly & Finished Size
The final size of the bow depends on your chain stitches and the number of rows worked. A 38 chain foundation with 6 rows of double crochet produces a medium sized bow about 5 inches wide. Ensure all ends are woven in and secured before attaching the bow to your hair band.
Conclusion and Ending Words
With this simple and enjoyable crochet pattern, you’ve transformed an old hair band into a cute bow accessory. This eco friendly project is perfect for personal use or as a thoughtful handmade gift. Don’t hesitate to experiment with colors and embellishments to make each piece unique. If you loved this tutorial, remember to share it with friends, leave a like, and subscribe for more creative projects.