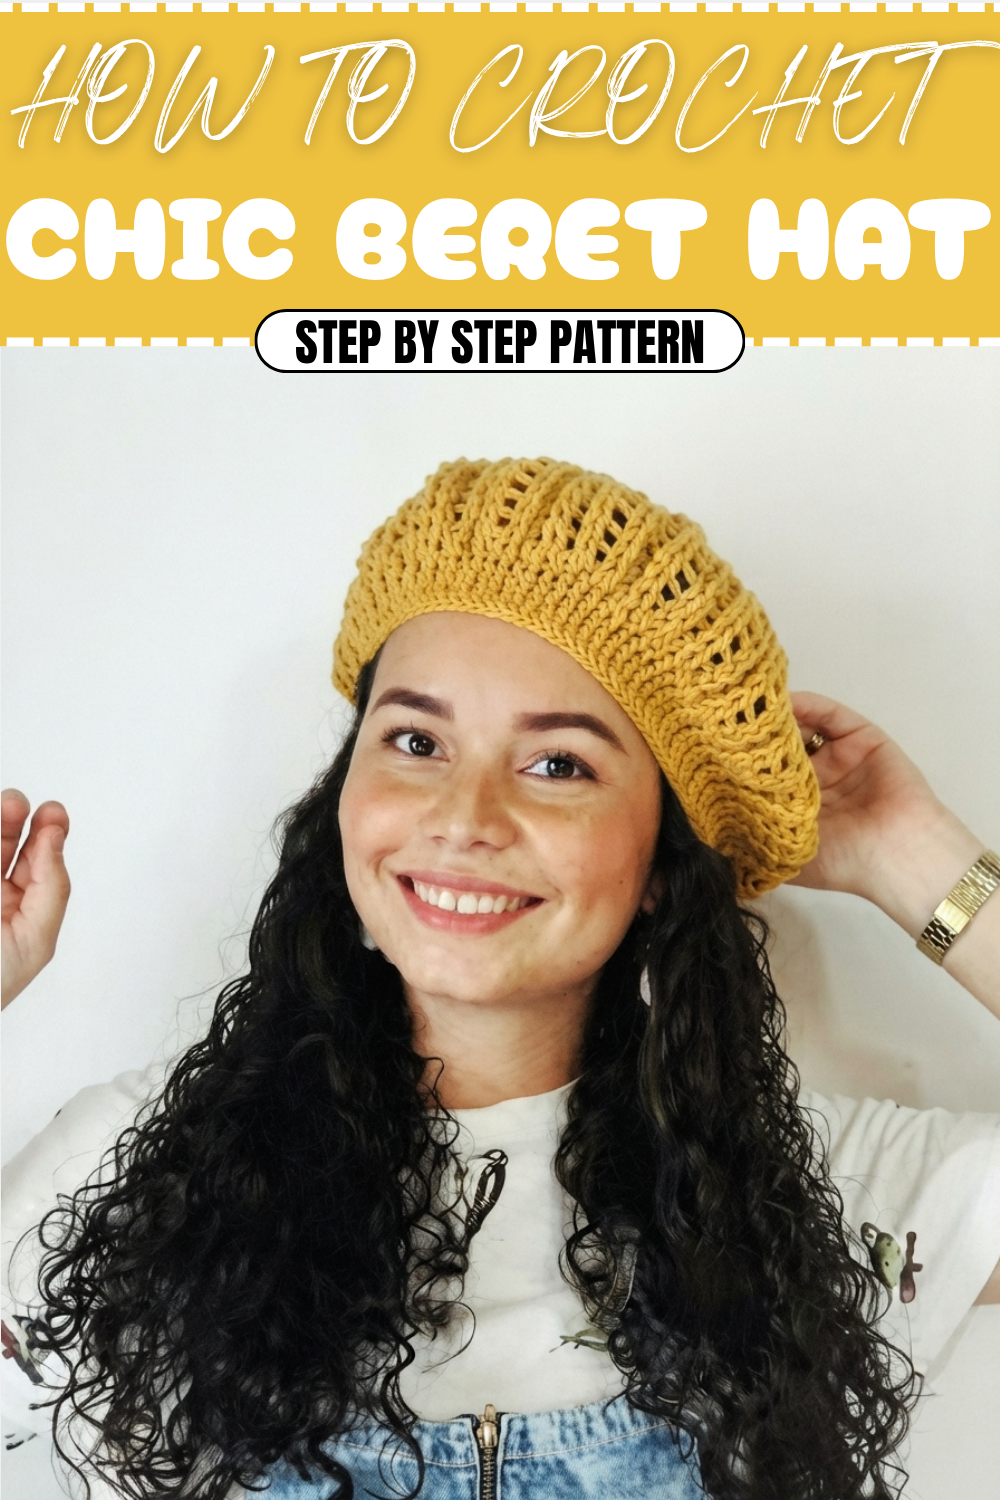
Cute Crochet Beret Hat For Women Pattern for Fashionable Outfits
Smart trends highlight a free crochet beret hat for women pattern so you can top off any outfit with classic sophistication.
One of the most delightful projects I've ever worked on is a cozy, stylish beret that instantly brings a touch of Parisian charm to any outfit. The secret to its lovely texture lies in the combination of double crochet stitches and back loop relief stitches, which create a fabric that is both soft and full of character. This hat isn’t just about looks; it’s perfect for keeping warm on cool days while adding a fashionable twist to your wardrobe.
Creative Ideas Using This Pattern
This pattern is a great foundation for creating other stylish headwear or accessories. By tweaking the size or stitch pattern, you can make matching crochet beret sets, headbands, or playful slouchy hats. The technique of working front and back loop stitches also lends itself well to crafting textured scarves or cozy wrist warmers. With a little imagination, this simple beret pattern opens the door to many charming crochet projects that blend fashion and function.
Learn Easy Crochet Beret Hat For Women Pattern For Beginners
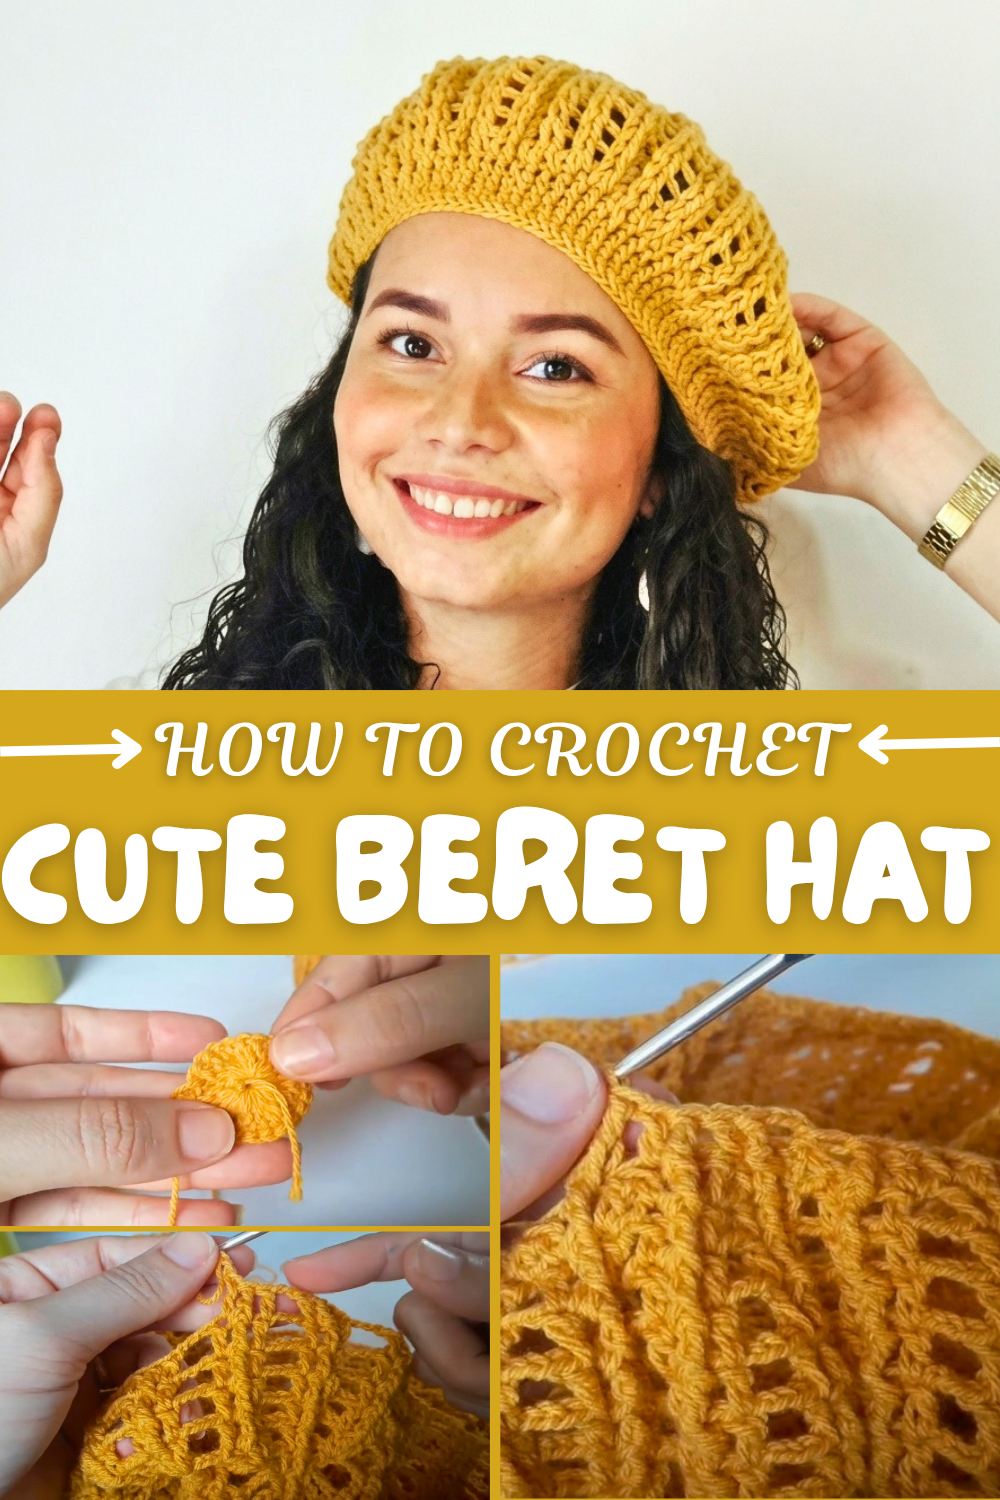
Making this beret involves starting with a magic ring and building up in rounds, carefully increasing stitches to shape the crown perfectly. The pattern uses simple but effective techniques like chaining, slip stitches, and working stitches from behind to add unique raised details. I really enjoyed how the pattern gradually closes in towards the top, giving the beret its classic rounded look. It’s beginner-friendly because the instructions repeat clearly, and the mix of stitches keeps every round interesting without being too complicated.
Besides being a warm accessory, this crochet beret can be a thoughtful handmade gift or a personal project to boost your crochet skills. The lightweight but snug fabric makes it comfortable to wear, and you can customize it with different colors or yarn textures to fit your style.

Crochet Pattern: Parisian Relief Stitch Beret
This crochet beret pattern is perfect for anyone looking to make a stylish, lightweight, and elegant accessory. The uniqueness of this pattern lies in its relief stitches, which add texture and sophistication to the design. The alternating front- and back-post double crochet, along with increases and decreases, create a distinct, Parisian style.
Uses of This Pattern
- Chic Accessory: Perfect for enhancing any outfit, whether for formal or casual occasions.
- Handmade Gift: A beautiful gift to show appreciation for loved ones.
- Skill Builder: Designed especially for crocheters who want to improve their skills with textured stitches and increasing/decreasing techniques.
Skill Level & Terminology
- Skill Level: Intermediate. This pattern incorporates basic stitches such as chains, single crochet, double crochet, and slip stitch, along with post stitches and shaping techniques.
- Terminology: This pattern uses US crochet terms.
Materials & Tools
- Yarn:
- Crochet thread (fingering weight) in the color of your choice.
- Crochet Hook: 2.5 mm.
- Yarn Needle: For sewing ends and finishing.
- Scissors: For cutting yarn.
Gauge
Gauge is not critical to the project if you prefer a custom size. However, for accuracy, aim for approximately 5 double crochet stitches per inch in the round.
Abbreviations List
- ch: Chain
- sc: Single Crochet
- sl st: Slip Stitch
- dc: Double Crochet
- dc inc: 2 Double Crochet in one stitch
- dc post (front/back): Front post or back post double crochet
Special Stitch Instructions
- Magic Ring (MR): Hold the short end of the yarn in one hand, wrap the yarn around your fingers to form a loop, insert your hook into the loop, grab the working yarn, and pull through. Use it as the foundation for the first round.
- Front Post Double Crochet (FPDC): Yarn over, insert your hook from front to back around the post (stem) of the corresponding double crochet, pull up a loop, then complete a double crochet.
- Back Post Double Crochet (BPDC): Yarn over and insert the hook from back to front around the post (stem) of the corresponding double crochet. Pull up a loop, and complete the double crochet.
- Slip Stitch to Join: Insert the hook into the designated stitch, yarn over, and pull through both loops on your hook.
Finished Size
The finished beret measures approximately 11 inches in diameter and 7 inches in height. You can adjust the size by adding or subtracting rounds or increasing/decreasing the number of stitches.
What You’ll Learn From This Pattern
- Master Basic Stitches: You will practice foundational stitches like single crochet, double crochet, and slip stitch.
- Work with Relief Stitches: Get hands-on experience with front post and back post double crochet for creating texture.
- Shaping Techniques: Learn how to use increases and decreases to shape a round structure into a fitted cap.
The structured texture and professional finish offer a rewarding experience. You’ll enjoy wearing the completed beret or gifting it to loved ones.
The Pattern
1. Magic Ring and Foundation
- Round 1: Magic Ring Row
- Start with a Magic Ring (MR). Chain 3 (counts as your first double crochet, or dc).
- Crochet 24 dc into the magic ring. After completing, pull the yarn tail to tighten the magic ring.
- Join the round with a sl st into the top of the chain 3.
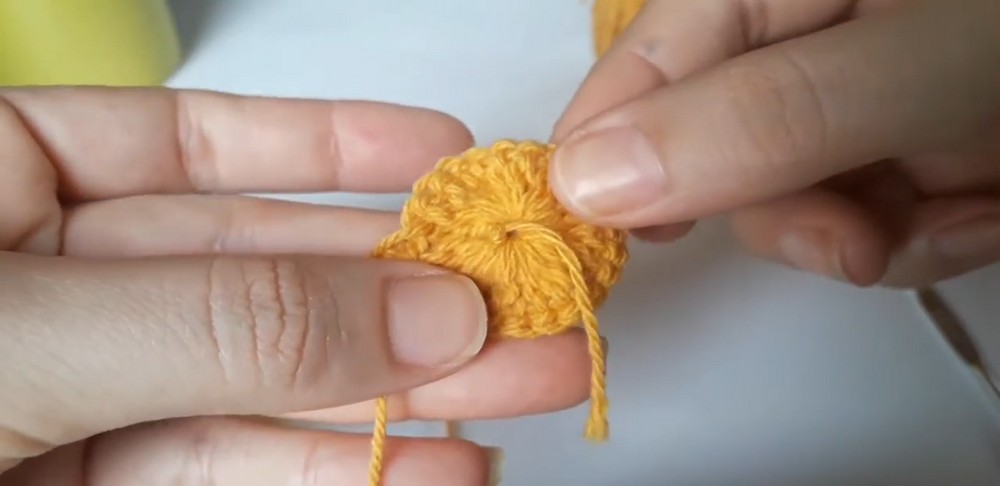
Beginner Tip: If you are not comfortable making a magic ring, you can instead chain 4 and join with a slip stitch to form a small loop, then place your 24 double crochets into the loop.
2. Round 2: Establishing the Pattern
- Round 2:
- Chain 3 (counts as the first dc of the round).
- Work 1 dc into the next stitch. Then, chain 2 and skip 2 stitches.
- Repeat the sequence: 1 dc in the next two stitches, chain 2.
- Continue this pattern around the circle until all 24 stitches are worked.
- Join the round with a sl st into the top of the chain 3.
For Beginners: This round lays the foundation for the decorative relief stitches. Focus on maintaining the pattern of 2 dc, ch 2 around.
3. Building Relief and Texture with Increasing Rounds
The next rounds establish the textured pattern of the beret while gradually increasing its diameter.
- Round 3:
- Ch 3. Work 1 dc in the next stitch and 1 dc in the following stitch.
- Chain 3, skip 2 stitches.
- Work 1 dc in the next 2 stitches (1 dc above each dc of the previous row).
- Repeat the sequence: ch 3, skip 2 stitches, 2 dc.
- Join with a sl st in the top of the chain 3.
- Round 4:
- Ch 3 and work 1 dc in the next stitch. In the same stitch, add another dc (dc inc).
- Chain 2, then work 1 dc in the chain-3 space from the previous row. Follow with 2 ch.
- Continue as follows: 1 dc, 1 dc inc, 2 ch, 1 dc in space, and repeat.
- Round 5–7: Continue adding texture and using relief double crochet stitches. Detail for each round:
- Ch 3 to start (counts as your first dc).
- Work FPDC or BPDC on double crochet stitches.
- Adjust the spacing by increasing the number of ch in each round:
- Round 5: 3 ch, 2 dc (relief stitches).
- Round 6: 3 ch, increase relief stitches to 3 dc.
- Round 7: 3 ch, add 1 additional dc for each set, totaling 5 dc stitches across the relief sequence.
- Continue increasing evenly along the top crown.
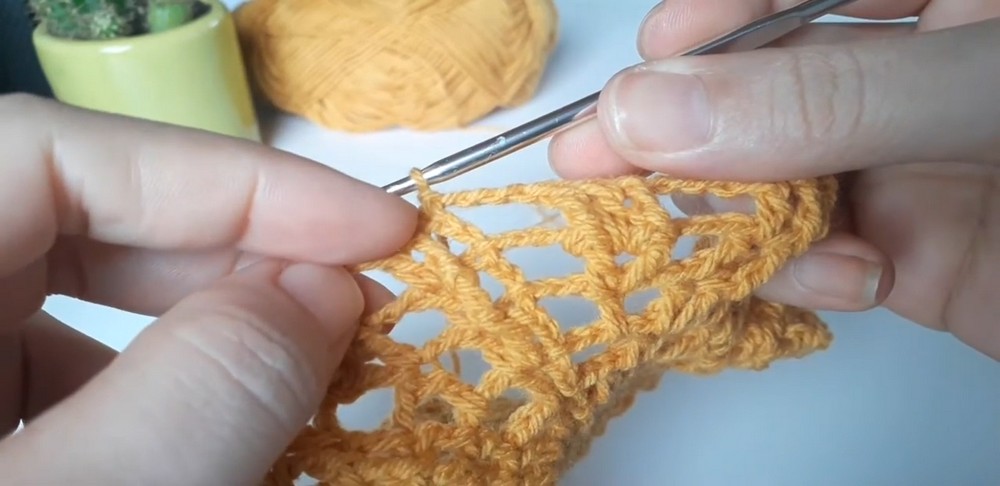
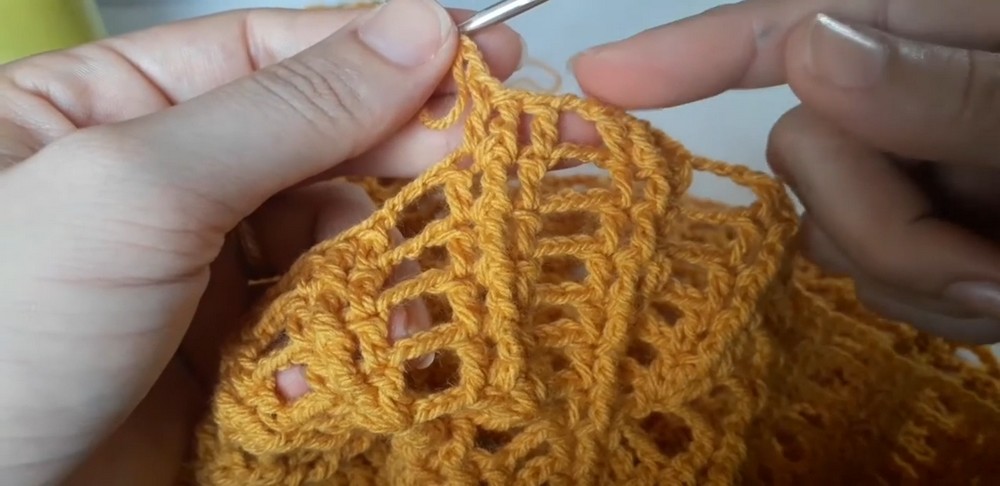
Progress Overview: By now, your beret will have a defined texture in the crown, with beautifully spaced relief stitches and chain spaces. You’ll notice the stylish Parisian design starting to take shape.
- Round 8–10 – Adjusting Distance between Chains
- Round 8: Work 2 chains between relief stitches instead of 3, decreasing the gaps.
- Round 9: Reduce the chain space further to 1 chain between relief stitches.
Note: These decreases begin tapering the circumference to shape the beret snugly. Be mindful of your tension to keep it consistent.
4. Final Rounds for Finishing
The last few rounds complete the taper of the beret and add a polished finish to the brim.
- Round 11–12 – Beginning Decreases:
- Chain 3.
- Work 1 dc and BPDC, then join the next 2 dc into 1 dc to decrease the stitch count.
- Repeat around, alternating between a single relief stitch and a decrease.
- Join the round with a sl st.
- Round 13–17 – Even Rows of Relief Stitches:
- No increases or decreases. Alternate between FPDC and BPDC stitches in each round, maintaining 1 stitch per stitch.
- Final Row (Edge Finish):
- Chain 1. Work 1 sc in every stitch around to create a clean and polished edge for the beret.
- Join the last sc to the starting stitch with a sl st, then fasten off.
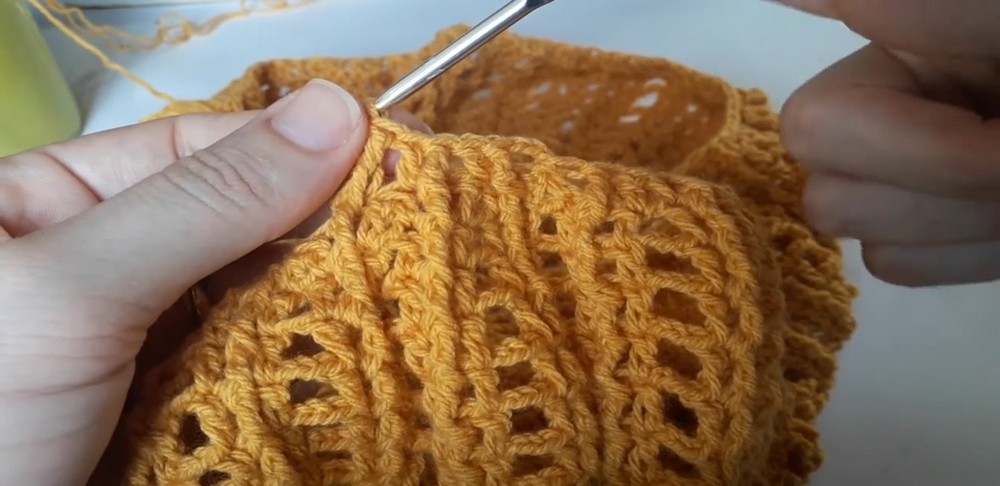
Note for Beginners: In these rounds, we focus on maintaining a smooth and continuous edge while transitioning to the final shape.
Difficulties You May Encounter
Difficulty: Even Shaping
Uneven tension in relief and double crochet stitches may affect the rounded shape.
- Solution: Frequently count your stitches at the end of each row, using stitch markers for visual spacing cues, and maintain even tension.
Difficulty: Relief Stitches
If you struggle with front and back post double crochet techniques, the texture can turn out asymmetrical.
- Solution: Practice FPDC and BPDC techniques on scrap yarn before starting the beret.
Final Notes
This Parisian-style beret is a chic crochet accessory designed to complement any wardrobe. Its textured stripes, decorative relief stitches, and adjustable snug fit make it a versatile and fashionable piece to wear. As you work through each round, you’ll fall in love with both the creative process and the sophisticated charm of the finished hat.
Customize this pattern using colors of your choice to match any outfit or make it a personalized, heartfelt gift. Whether you are crocheting for yourself or creating a handmade present, you’ll enjoy the journey of crocheting this elegant beret.