
Practical Free Crochet Smartphone Case Pattern in Easy Steps
Keep your screen safe from annoying scratches inside your backpack by stitching a soft crochet smartphone case that cushions your device in bright style.
Inspiration From TSUNAMI - Crochet Makers
A touch of charm and functionality can go a long way, especially when it comes to everyday essentials. This practical free crochet smartphone case pattern is a delightful blend of utility and style, made to keep your device safe while adding personality to your daily routine. With a perfect fit and a lightweight feel, it’s easy to carry and transitions effortlessly from casual outings to workdays. Whether you slide it into your bag or use it as a standalone accessory, it’s both stylish and practical for any season or occasion.
Stylish Handmade Crochet Smartphone Case for All Phones
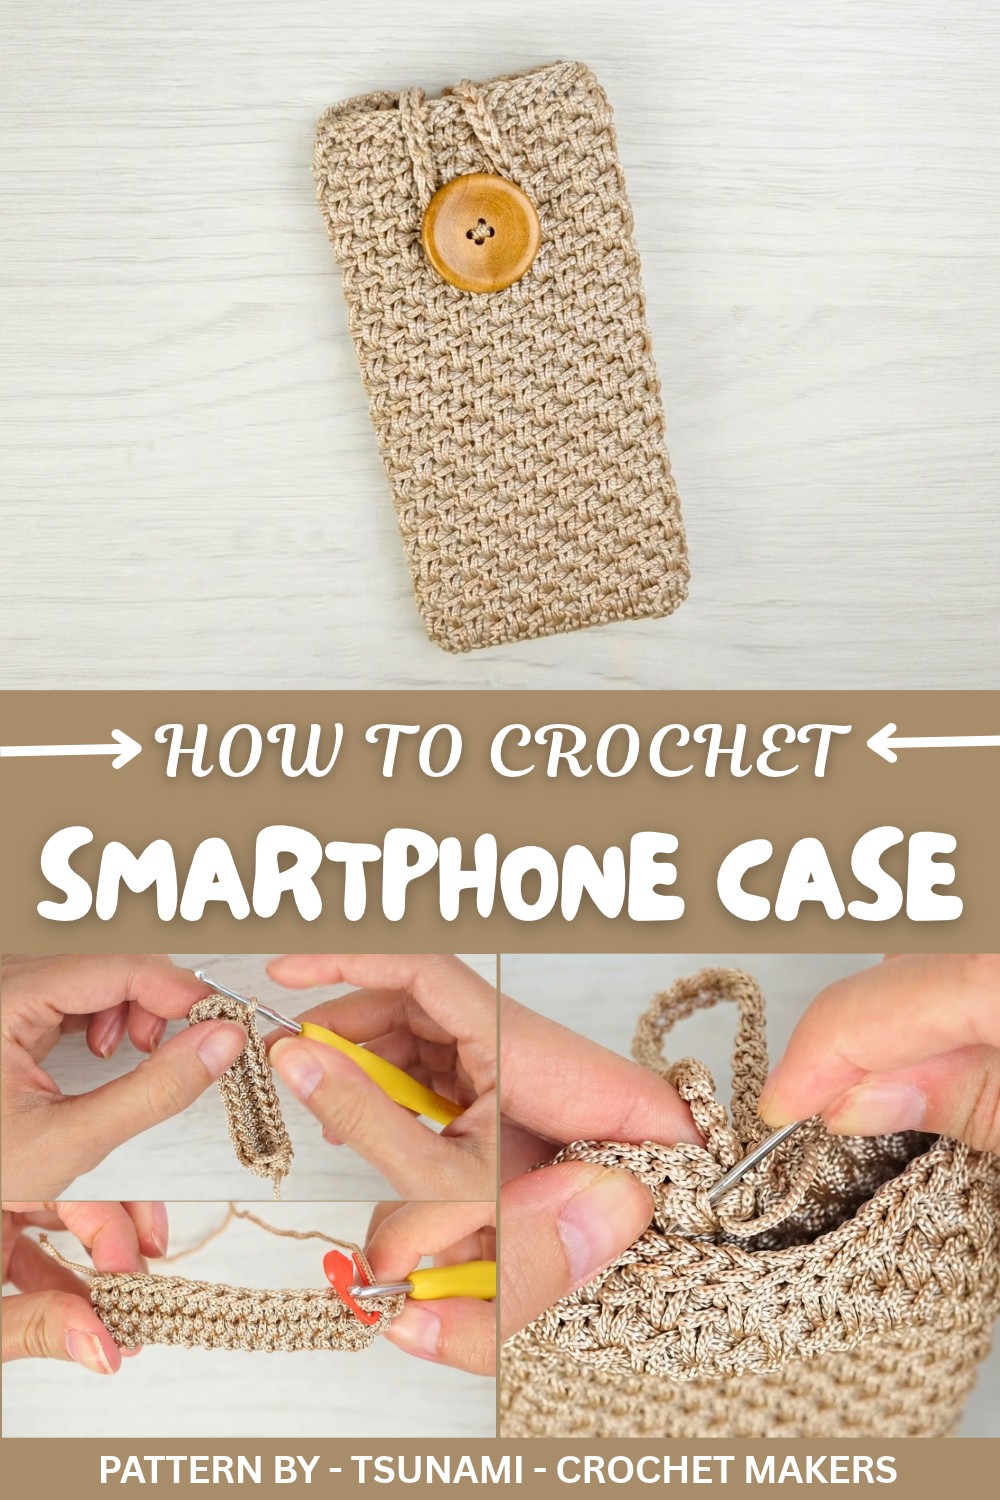
This smartphone case stands out with its thoughtful details and versatility. The clean structure hugs your phone just right, offering protection without added bulk. It pairs beautifully with almost anything, from laidback weekend outfits to polished professional attire. Add your own creative flair by choosing colors, trims, or accents that suit your personal style.
Intricate yet balanced stitches create a surface that’s not only visually appealing but also enhances grip and durability. The handcrocheted element adds a layer of uniqueness, making it a functional piece of art. It’s a perfect gift idea or an addition to your own accessory collection. Ready to bring this practical free crochet smartphone case to life? Find the complete instructions and start your next masterpiece today,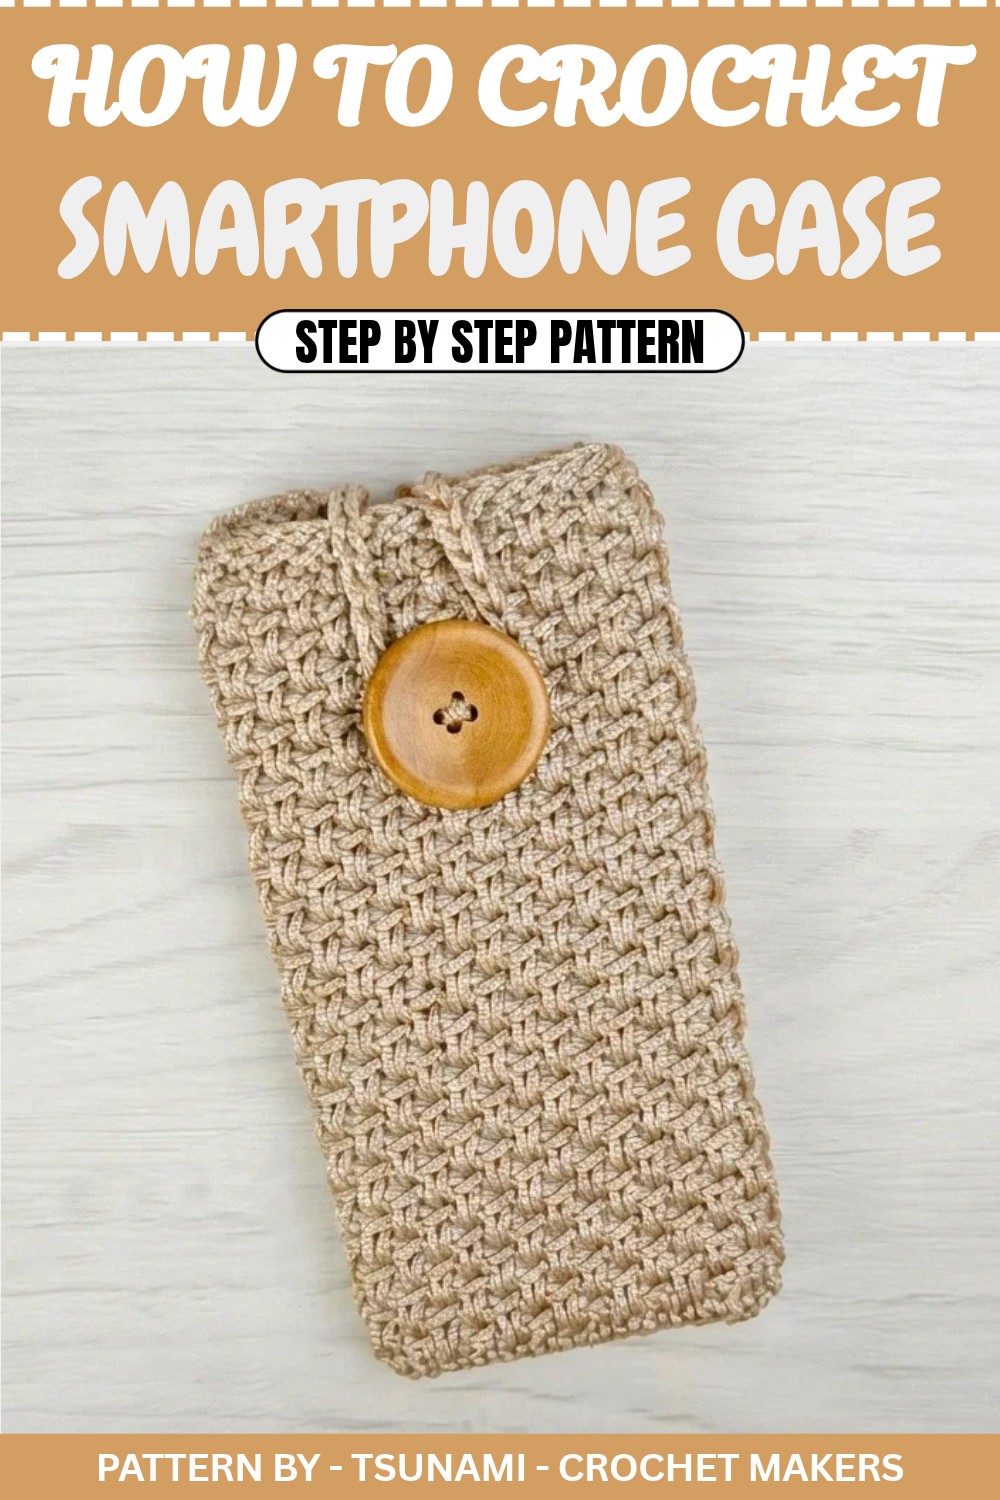
Crochet Phone Holder Pattern
Quick Overview of Pattern
- Project Type: Crochet phone holder
- Design: Minimalist and durable design with button closure
- Difficulty: Suitable for all skill levels—both beginners and experts can enjoy this project.
- Features: Customizable sizing to fit any phone and versatile stitching for added style.
Notes
- The phone holder’s size can be easily adjusted by modifying the initial chain length and the total number of rounds worked.
- Use a durable yarn weight appropriate for the phone size. Thicker yarn results in a sturdier and larger holder, while thinner yarn creates a smaller, more delicate design.
- Mark your rounds with a stitch marker to ensure precision, especially while working in the spiral technique.
- Feel free to experiment with colors or add decorative stitches for personalization.
Skill Level
Beginner Friendly
This project is easy to follow and perfect for anyone who knows basic crochet stitches.
You should be familiar with:
- Chain stitch (ch)
- Single crochet (sc)
- Slip stitch (sl st)
- Working in back loops
Materials
- Yarn: 40 grams of cotton cord or durable yarn (any color you prefer).
- Hook: 2.5 mm crochet hook (or size appropriate for your chosen yarn).
- Button: For closure—a decorative button works perfectly.
- Tools:
- Yarn needle
- Scissors
- Sewing thread and needle for attaching the button.
Measurements / Sizing
- The phone holder size can be adjusted based on your phone measurements.
- For most smartphones, starting with a chain of 14 stitches works well.
- Ensure the overall height is enough to fully cover the phone and the loop closure aligns appropriately for the button.
Gauge
Gauge isn’t critical for this pattern, but ensure your stitches are tight enough to provide structure and support for the phone.
Stitch Abbreviations
- ch – Chain
- sc – Single Crochet
- sl st – Slip Stitch
Special Stitches
Back Loop Single Crochet (BLO)
Insert your hook only into the back loop of the stitch, creating a ribbed texture.
The Crochet Pattern
Chapter 2: Creating the Base
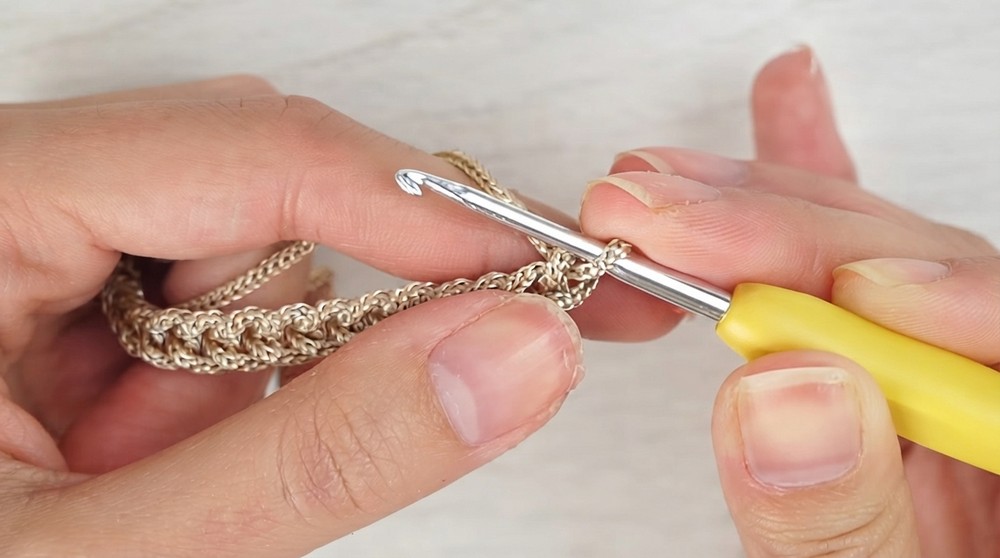
- Foundation Chain: Start by chaining 14 stitches. Adjust this number if your phone requires a narrower or wider holder.
- Row 1 (Base):
- Turn your work and, beginning from the second chain from the hook, work 1 single crochet (sc) in each chain.
- Round the Edge:
- At the last chain of the row, work 3 single crochets (sc) into the same stitch. This creates a rounded edge.
- Continue working along the other side of the foundation chain, stitching 1 sc into each chain.
- Round End:
- When you reach the starting chain on the opposite side, work another 3 single crochets (sc) into the same stitch to round the base edge.
- Joining the Round:
- To finish the round, join with a slip stitch (sl st) into the first stitch of the row.
Chapter 3: Building the Body
- Round 1:
- Chain 1 and work 1 single crochet (sc) into the same stitch.
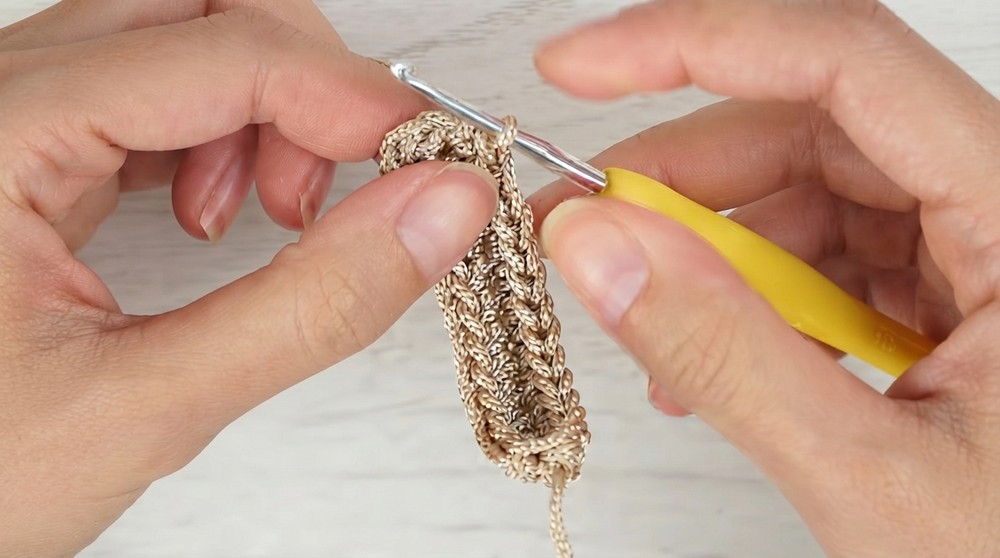
- Continue working 1 sc into each stitch around the previous round. Do not increase stitches unless you need a wider base.
- Slip stitch (sl st) to join the round.
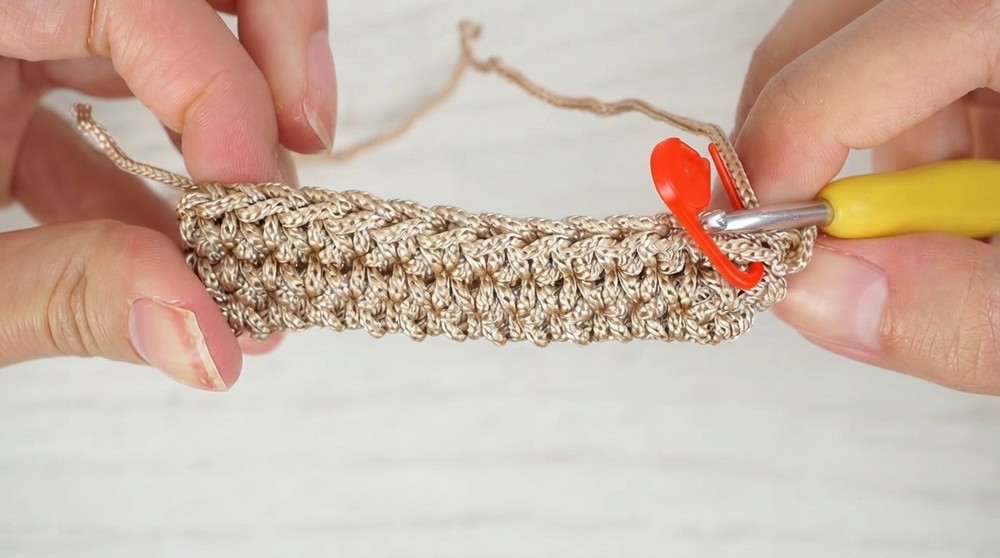
- Round 2 Onwards (Work in Spiral):
- For this part, work in a spiral.
- Insert your hook into the first stitch of the previous round, and make a single crochet (sc). Place a stitch marker in this stitch to mark the new round.
- Continue working 1 single crochet in each stitch around, without slip stitching to close each round.
- Optional Texture (Rib Stitch):
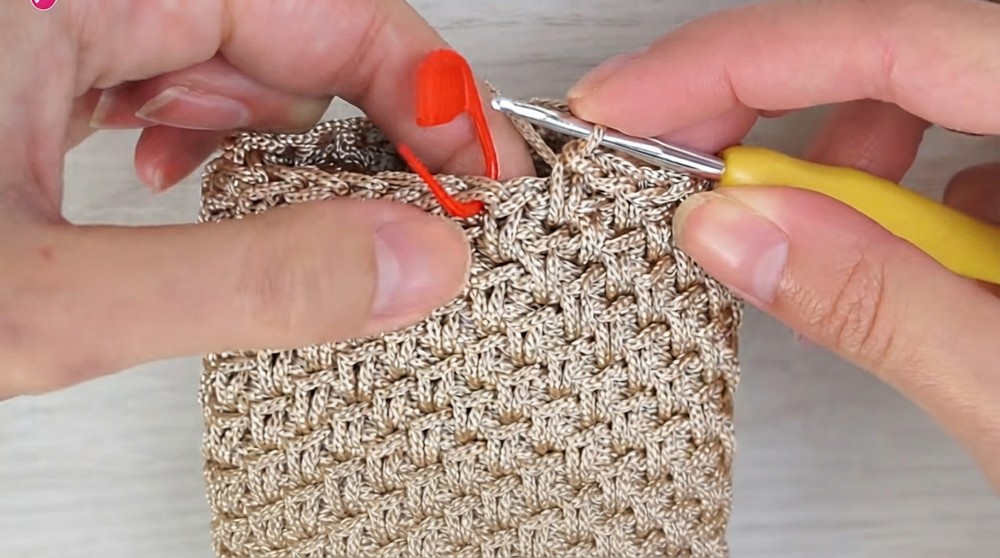
- Switch to using the back loop only (BLO) technique for every other round. This creates a textured rib like effect. Alternating rounds of regular sc and BLO sc adds visual variety and strength.
- Continue the Body:
- Repeat these rounds until your piece reaches the desired height, sufficient to cover your phone.
- Finishing the Main Body:
- When your holder reaches the desired size, work one final round in slip stitches into the back loops only (BLO). This creates a clean, finished edge. Cut the yarn, leaving a tail long enough to weave in.
Chapter 4: Adding the Button Loop Closure
- Create the Button Loop:
- Determine where the closure loop will go (centered on the back side of the holder).
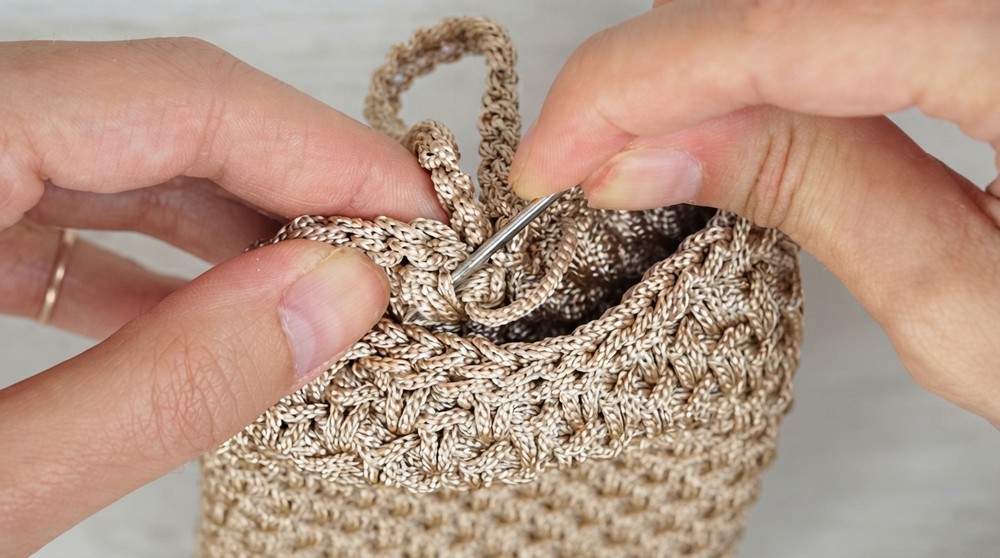
- Attach yarn at the chosen point and chain 30 stitches (or more, depending on your button size).
- Slip stitch into the opposite side of the holder to form the loop.
- Finish Off:
- Cut the yarn and weave in the ends securely.
- Attach the Button:
- Sew the button onto the front of the holder using thread and a sewing needle. Position it so the loop fits snugly over the button to keep your phone secure.
Assembly & Finished Size
Once the closure and button are attached:
- Test your phone holder by placing your phone inside.
- The phone should fit snugly without slipping out. Adjust the loop if needed to ensure it stays closed tightly when the button is fastened.
The holder should fit most standard smartphones, but always check against your specific device to ensure it works perfectly!
Conclusion and Ending Words
Congratulations! You’ve finished your crochet phone holder, a practical and easy project that’s perfect for everyday usage or as a thoughtful handmade gift.