
Crochet Your Own Fingerless Gloves With This Simple Pattern
Try this easy crochet pattern for fingerless gloves that look great, keep your hands warm, and work up quickly.
If you're looking for a quick and creative project, why not try crocheting a pair of fingerless gloves? This versatile and stylish accessory is perfect for adding a cozy touch to your wardrobe and makes a thoughtful handmade gift for loved ones. With a timeless design that blends functionality and beauty, these gloves work wonderfully for keeping your hands warm while letting your fingers stay free for texting, crafting, or enjoying a hot cup of coffee.
The standout feature of this pattern is its adaptability. As shown by MaryJ Handmade, you can create two different looks depending on how you wear them. The scalloped edge can be positioned either near your fingers for a delicate, feminine touch or at your wrist for a more understated appearance. The gloves have a comfortable ribbed texture thanks to the “single crochet in back loop only” technique, which creates stretchy fabric that molds effortlessly to the shape of your hand.
Crochet Elegant Fingerless Gloves Pattern That Fit Like a Dream
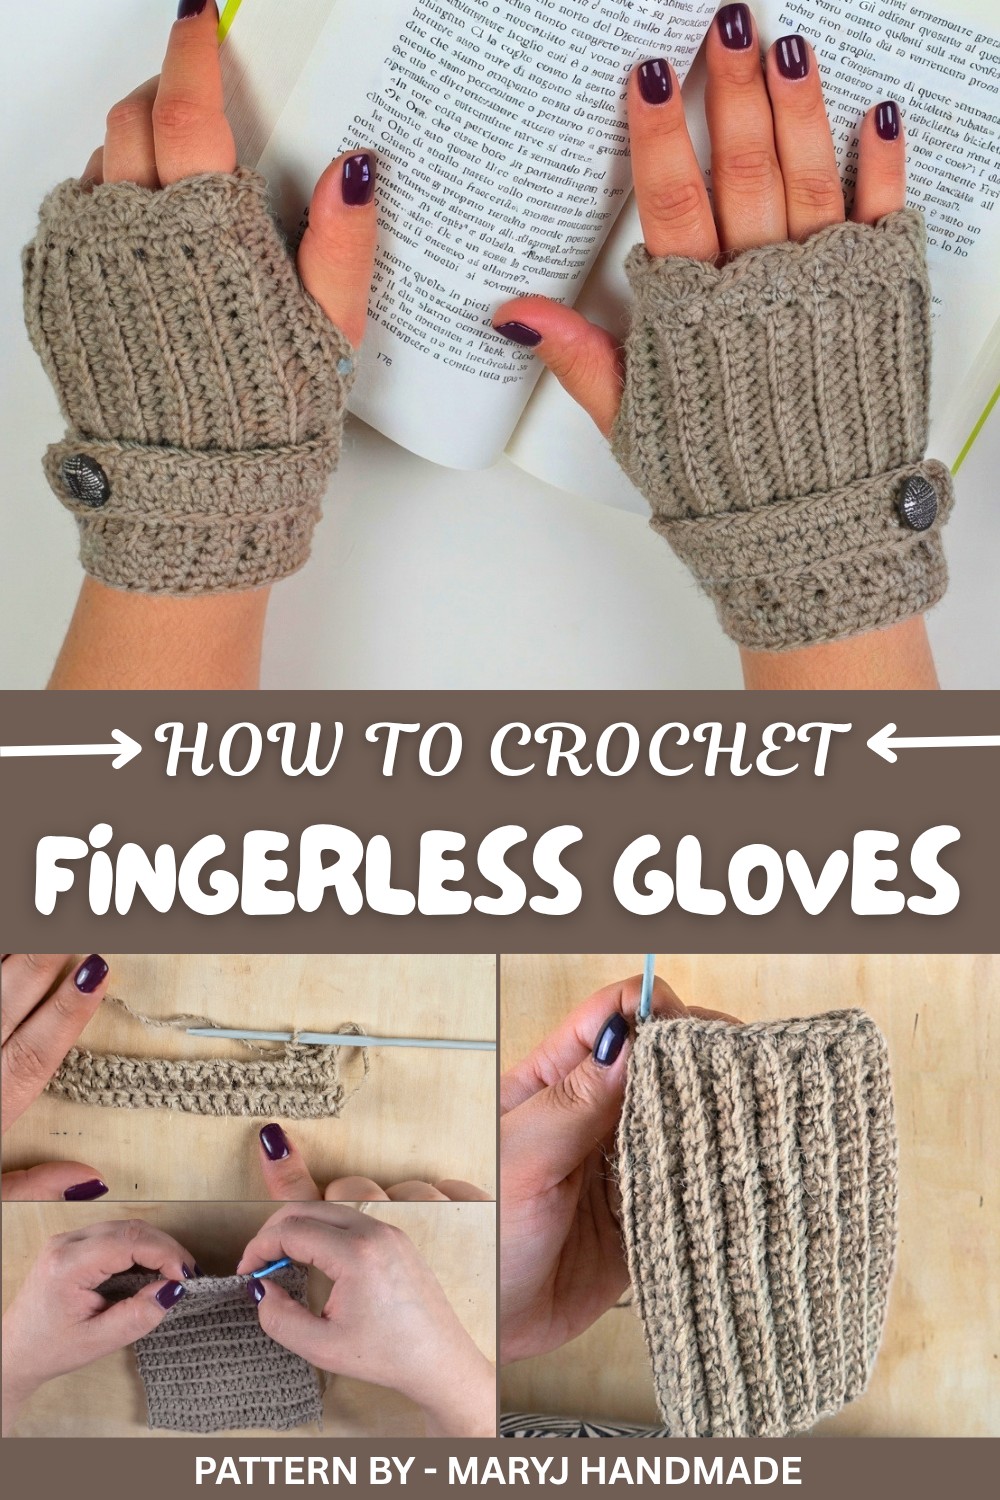
Using just a single stitch style for most of the design, it's perfect for beginners wanting to ease into more intricate details like scalloped edges. The central portion is worked flat, making it straightforward and forgiving for those still mastering their tension or stitch consistency.
MaryJ Handmade shares imaginative ideas for accessorizing these gloves, too. You can add a strap, crochet flowers, or buttons to personalize the design and make it truly one of a kind.
No matter the yarn or hook size you prefer, this pattern allows endless possibilities for customization, so you can create your own set of unique fingerless gloves, tailored to your style and preferences.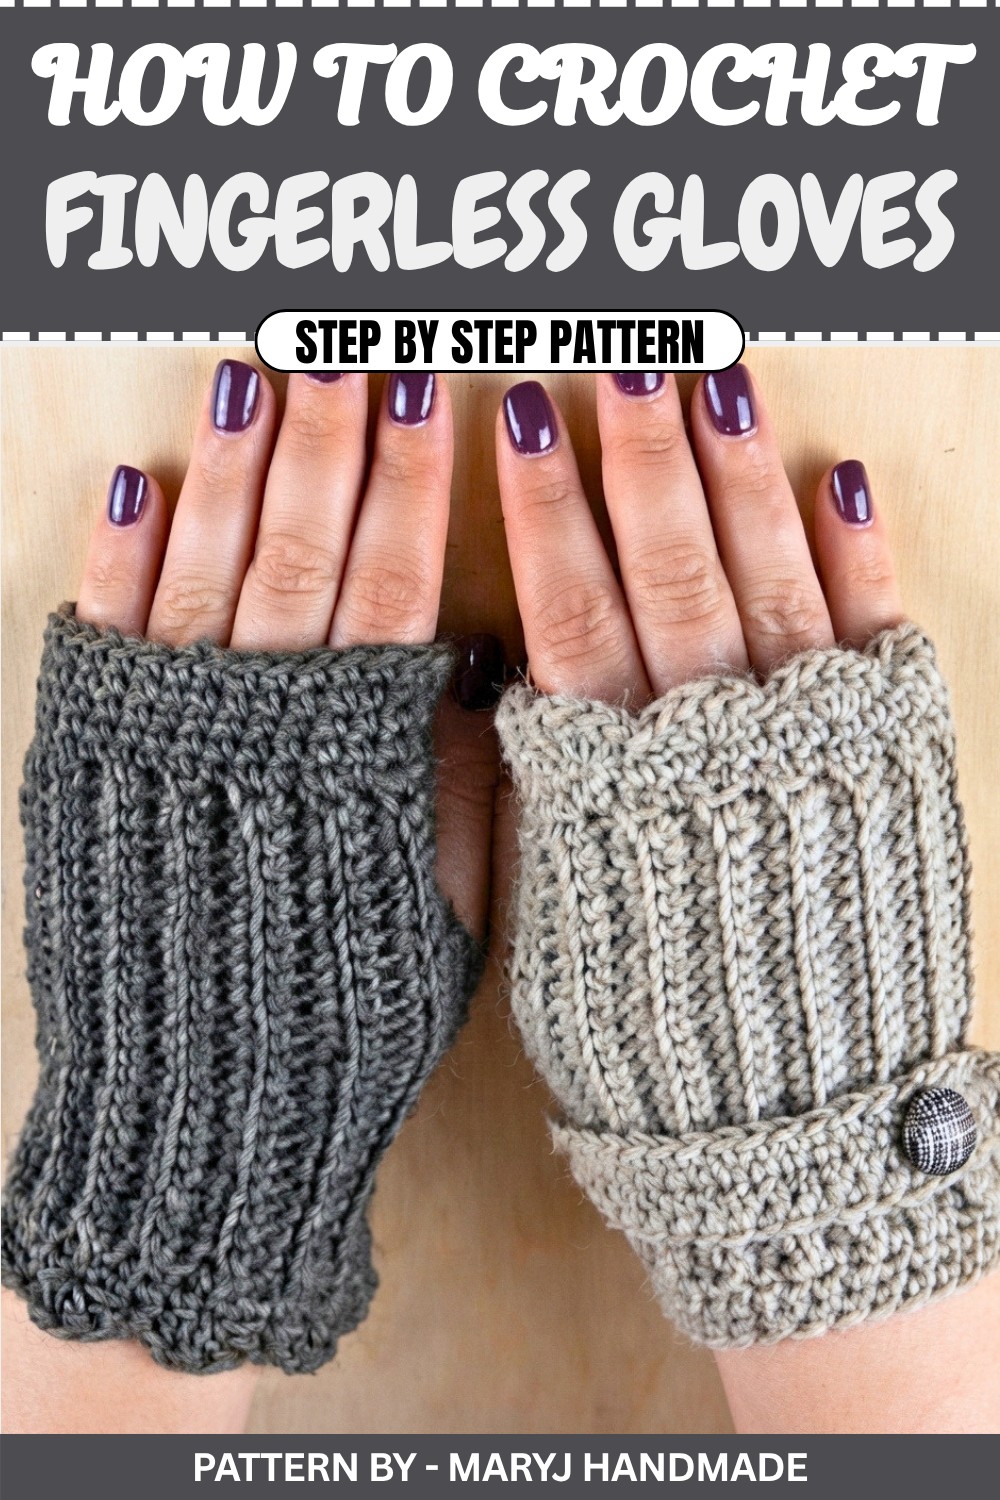
Amazing Crochet Fingerless Gloves Pattern
In this detailed tutorial, learn how to crochet stylish and versatile fingerless gloves that can be worn in two different ways. With a scalloped edge option for either your fingers or wrists, this design is a fun, customizable project that’s quick to make and suitable for all levels. Follow along for detailed instructions using the transcription above.
Quick Overview of the Pattern
- Project: Crochet fingerless gloves.
- Design Features: Dual wear scalloped edges, sleek ribbed texture, and optional decorative strap.
- Uses: Perfect for chilly days, handmade gifts, or stylish accessories.
- Skill Level: Beginner to Intermediate.
- Customization: Adjust length, edge position, and add decorative touches like straps or buttons.
Notes
- The central ribbed part gives the gloves their stretchy and fitted texture.
- You can customize the size easily by adjusting the chain length at the start or the number of rounds.
- Both scalloped and straight edges are optional, depending on the look you prefer.
- Leftover yarn can be used for additional decorations like straps or flowers.
Skill Level
Beginner to Intermediate. You’ll need to know how to:
- Create single crochet (sc) and double crochet (dc).
- Work in back loop only (blo).
- Sew pieces neatly using a tapestry needle.
Materials
- Yarn: Worsted weight yarn.
- Crochet Hook: 3mm hook.
- Other Supplies:
- Tapestry needle
- Scissors
- Tape measure
- Stitch markers
- Optional: Buttons or crochet flowers for decorations
Measurements / Sizing
- Finished gloves fit an average-sized wrist with a length of approximately 15 cm.
- The scallop edge and strap can be adjusted for personal preferences.
Gauge
Gauge isn’t critical for this pattern, but the ribbed texture will stretch to fit. If following the tutorial closely:
- 28 rows = approx. 15 cm with a 3mm hook and worsted weight yarn.
Stitch Abbreviations
- ch: Chain
- sc: Single Crochet
- dc: Double Crochet
- sl st: Slip Stitch
- blo: Back Loop Only
- st/sts: Stitch(es)
Special Stitches
Back Loop Only (blo)
When working single crochet in the back loop, insert the hook into the back loop instead of through both loops of the stitch.
Scallop Stitch (4 dc in same st)
A decorative edge created by working four double crochet into the same stitch, followed by skipping one stitch and securing with a slip stitch in the next.
The Crochet Pattern
Chapter 1: Crochet the Central Part
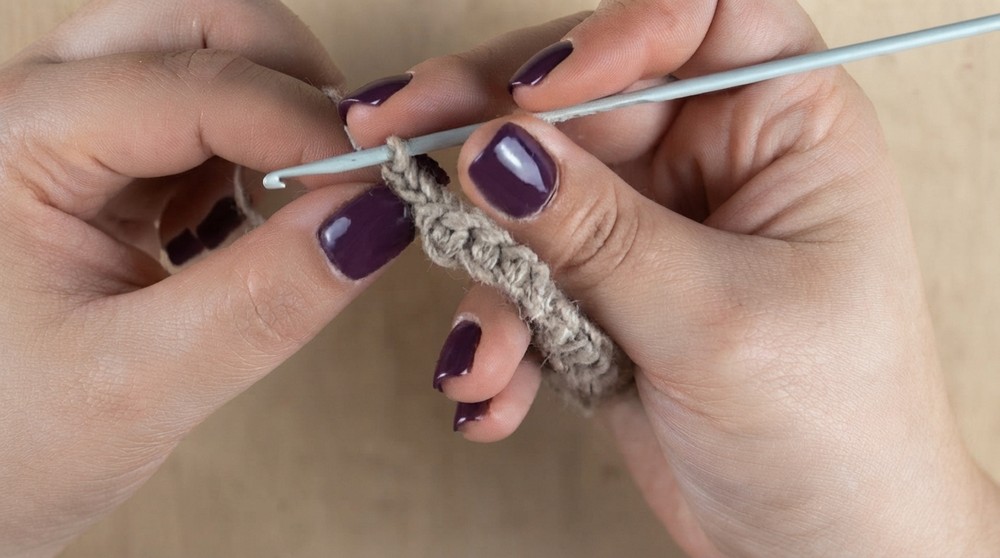
Step 1: Measure and Create Foundation Chains
- Use a tape measure to determine the desired length of the central part. For an average wrist size, 12 cm works well, which equals 23 chains with a 3mm hook.
- Begin with a slip knot and crochet 23 chains.
Step 2: Work the First Row (Single Crochet in Chains)
- Skip the first chain from the hook.
- Insert the hook in the second chain and work 22 single crochet (sc) across the row.
Step 3: Begin Back Loop Only Rows for Ribbing
- Chain 1 and turn your work.
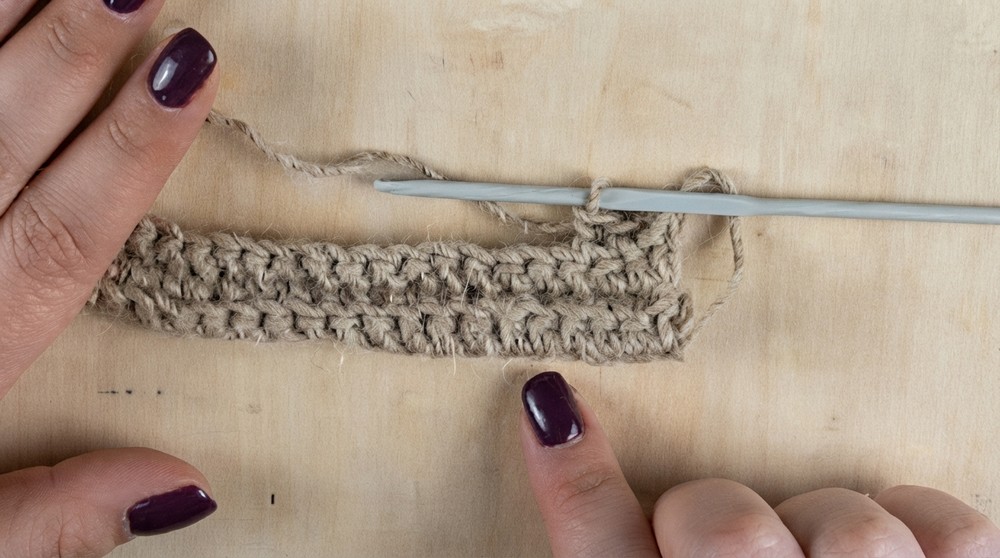
- In Row 2, work single crochet in back loop only (blo) for 22 sts, maintaining the ribbed texture.
- Repeat this process for every row until the central part reaches 15 cm or the desired length.
Step 4: Count Rows & Check Measurement
- For an average wrist size, 28 rows will give approx. 15 cm of ribbed texture.
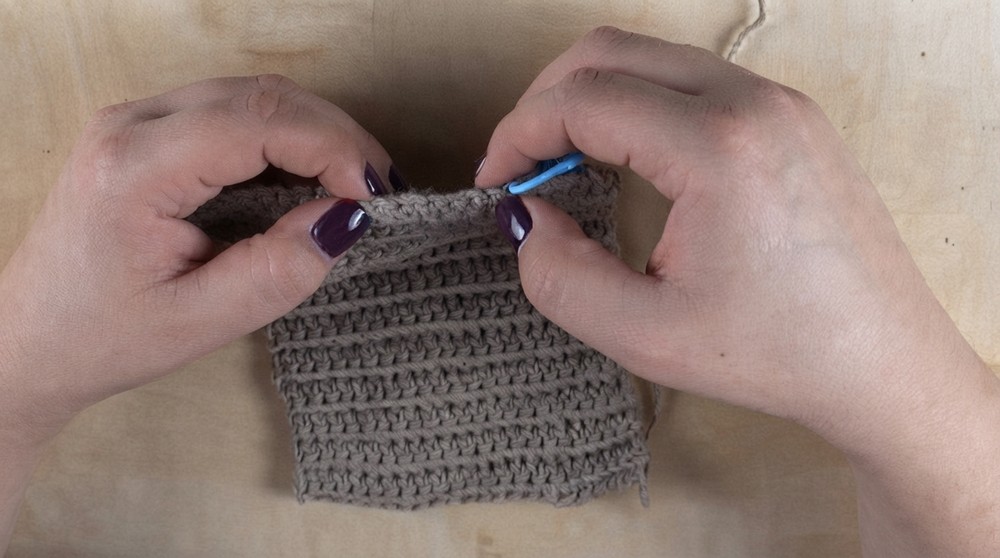
Step 5: Finish the Central Part
- Once you’ve completed the central part, cut the yarn and leave a long tail for sewing later.
Chapter 2: Sewing the Main Glove Structure
Step 1: Determine Thumb Opening
- Place your hand on the ribbed piece to determine where the opening for the thumb should be.
- Count stitches to sew above and below (e.g., 5 sts for the top seam, and 6 sts for the thumb gap).
- Mark these positions with stitch markers.
Step 2: Sew the Side Seams
- Fold the ribbed piece into a glove shape.
- Sew from the top edge to the first marker, leave the opening unsewn for the thumb, and then sew from the second marker to the bottom edge.
- Fasten off and hide all tails securely within the work.
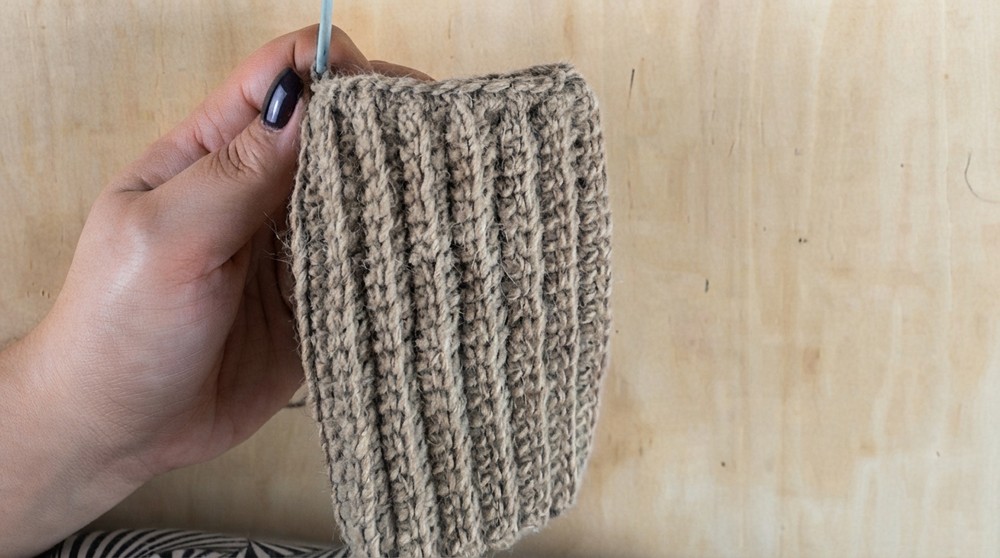
Chapter 3: Adding Scalloped and Straight Edges
Scalloped Edge for Finger or Wrist Side
- Begin with a slip knot and attach the yarn near the seam of the glove.
- Round 1: Work single crochet evenly around the edge. Ensure you have a multiple of 4 stitches (e.g., 32 sts).
- Round 2: If necessary, work increases to make stitches divisible by 4.
Scalloped Round:
- Skip one stitch, work 4 double crochet (dc) in the next stitch, skip one stitch, and secure with a slip stitch.
- Repeat this sequence around.
- Fasten off and weave in ends.
Straight Part for Opposite Edge
- Begin with single crochet evenly around the bottom edge of the glove.
- Work 3 rounds of single crochet to create a clean, straight edge.
- Fasten off and hide tails.
Chapter 4: Adding Decorations
Optional Strap
- Chain 19 stitches for a strap approximately 10 cm long.
- Skip the first chain, work single crochet into the remaining chains.
- Add one decorative flower or button to one end of the strap.
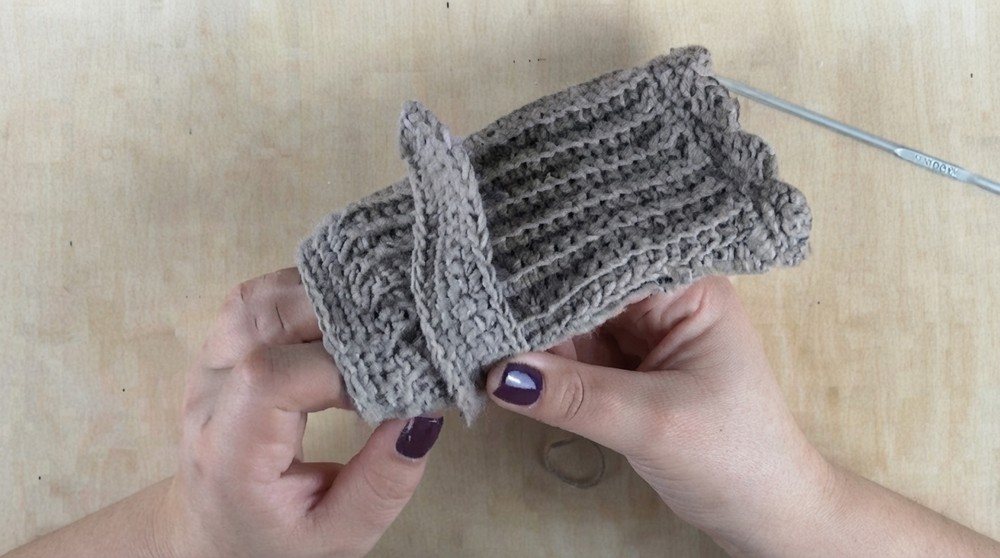
Attach the Strap
- Sew the strap onto the glove using a tapestry needle. Hide all tails securely.
Assembly & Finished Size
- Assembly: After sewing, turn the glove right side out to check the fit and styling.
- Finished Size: Approximately 15 cm with a stretchy ribbed fit suitable for average wrists. Position scalloped or straight edges to match your preferred style.
Conclusion and Ending Words
Congratulations! You’ve created a beautiful, versatile fingerless glove that can be styled two ways. The scalloped edge adds elegance, while the stretchy ribbed texture ensures a comfortable fit. You can customize the design further with different yarn colors, decorative straps, buttons, or flowers.