
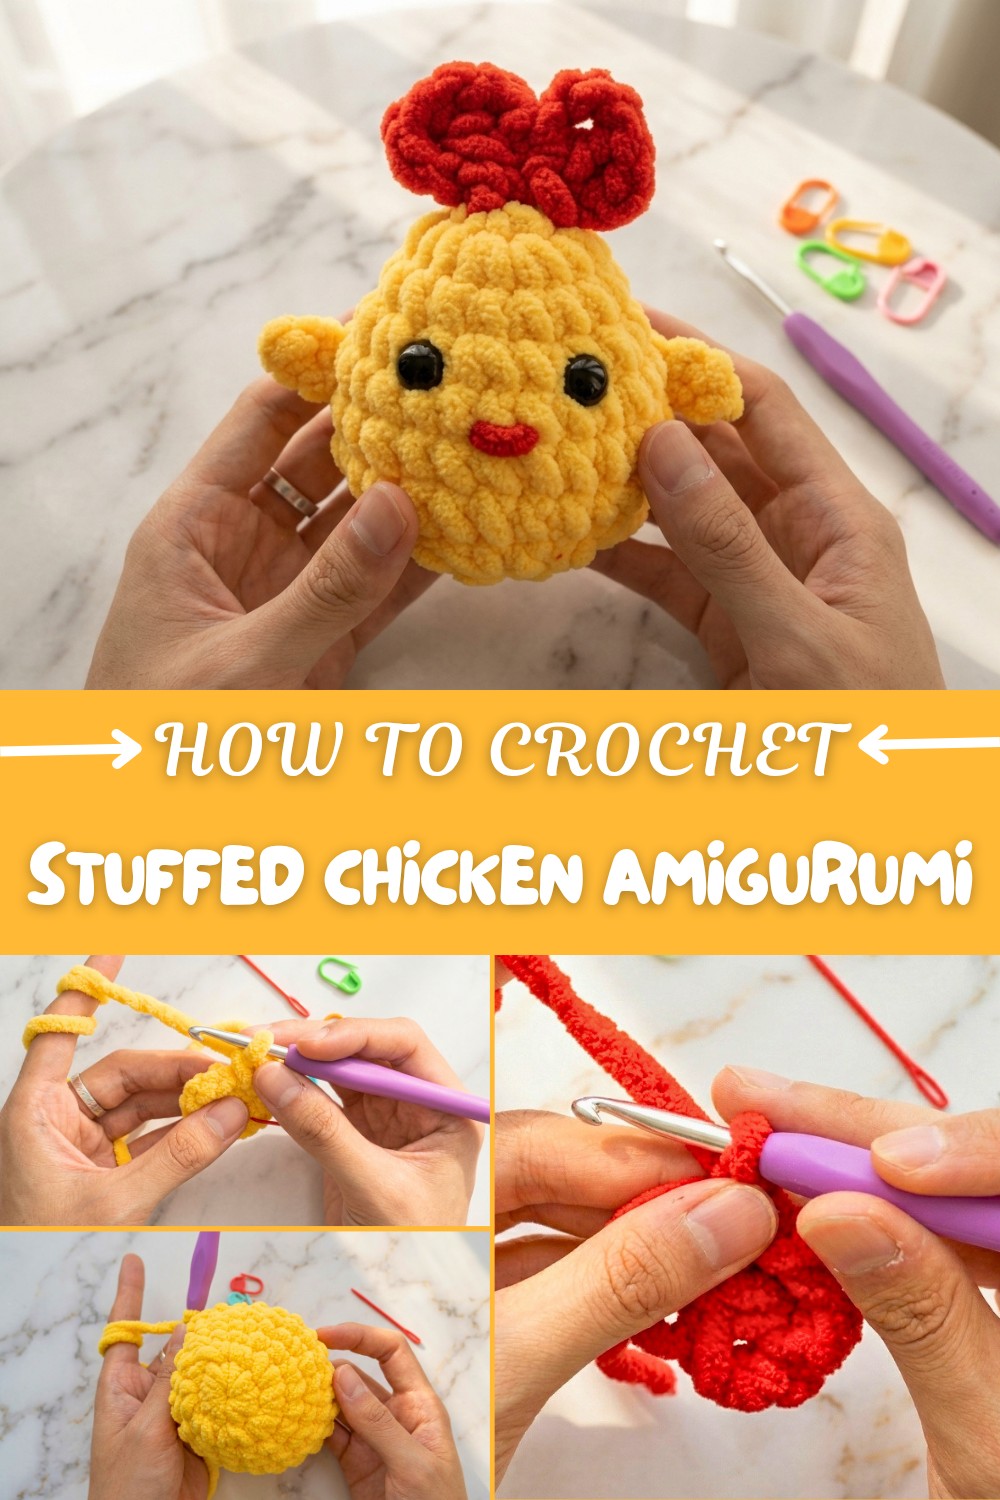
Crochet Stuffed Chicken Amigurumi Pattern for Unique Decor
Level up your crochet creations with a free stuffed chicken amigurumi pattern that's unique, delightful, and bursting with personality.
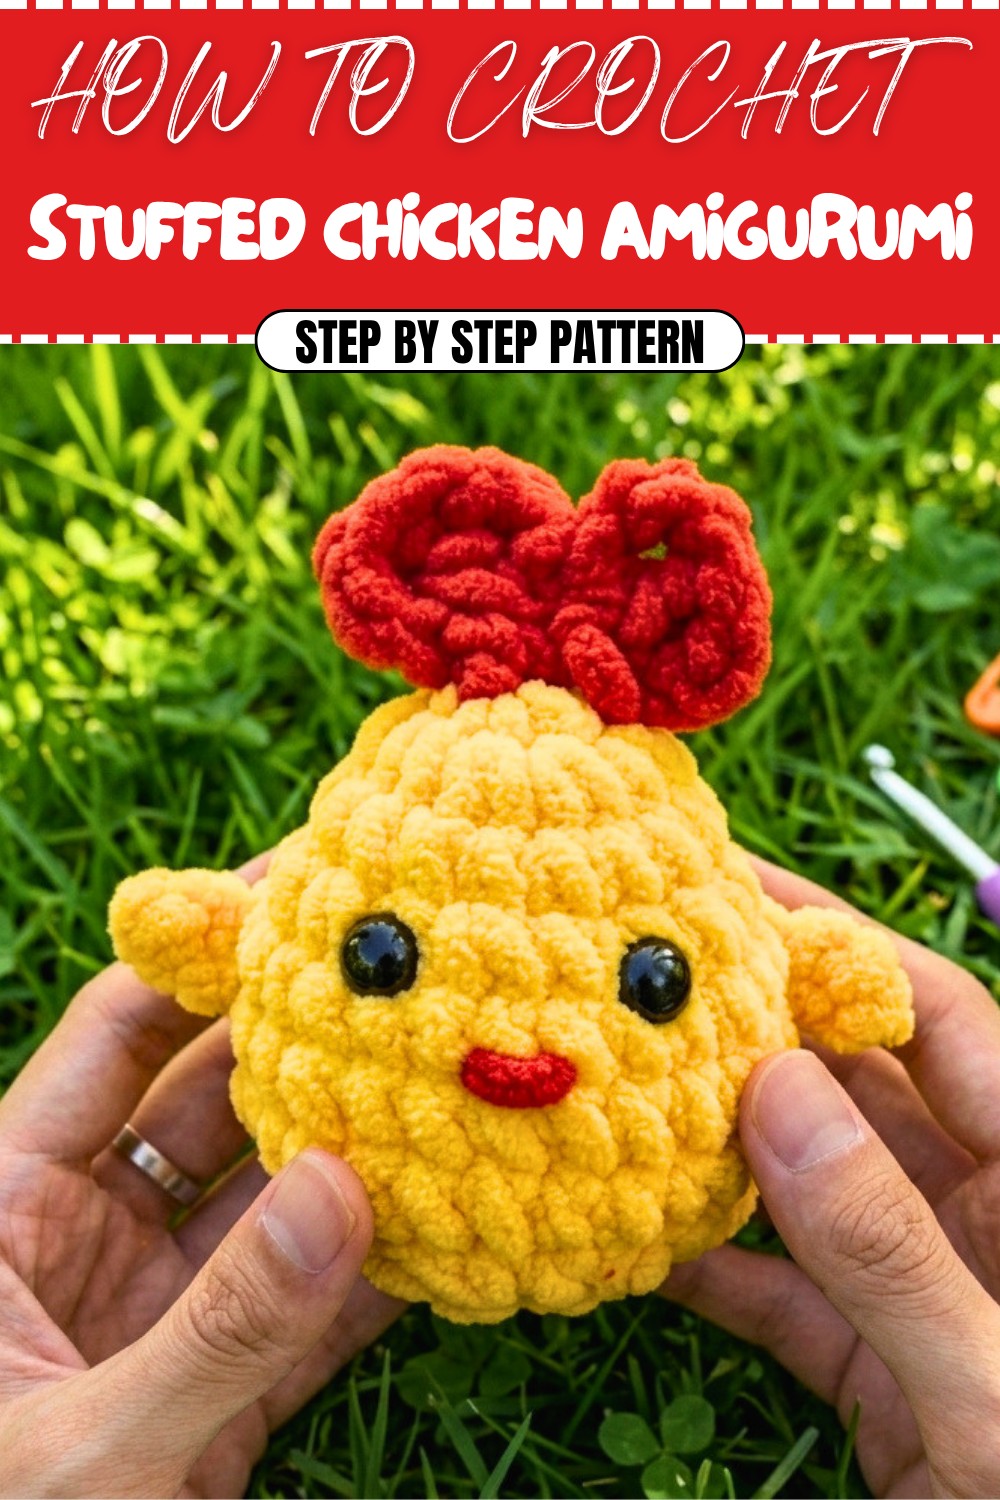
There’s something undeniably delightful about bringing a cute little chicken to life with just a hook and some yarn! This stuffed chicken amigurumi pattern is as fun to make as it is adorable. With its cheerful yellow body, tiny wings, and a charming little bow, this pattern is sure to capture hearts wherever it goes. Whether you create this pattern as a gift for a child, a nursery decoration, or as part of your crochet collection, it’s designed to add a touch of joy and whimsy to your day. You can even have fun experimenting with colors—try pastel shades for a spring-themed chick or bold hues for a playful twist.
Festive Free Crochet Stuffed Chicken Amigurumi Pattern for Easter Joy
This pattern is perfect for beginners wanting to dive into amigurumi or seasoned crocheters looking for a quick and enjoyable project. The single crochet (SC) stitch takes center stage, with basic increases (INC) and decreases (DEC) used to shape the body. Additionally, you’ll practice creating a magic ring, a foundational technique for starting circular shapes in any crochet project. From tiny details like the wings to the satisfying process of sewing on the bow and embroidering the beak and mouth, this project is engaging and full of charm.
Other Things You Can Crochet from This Pattern
The skills learned here will inspire you to create:
- Stuffed animal sets, like bunnies or ducks, following a similar style.
- Seasonal creations and ornaments, like Easter chicks or Christmas-themed characters.
- Themed accessories, such as necklaces, brooches, or garlands featuring tiny chickens.
- Miniature amigurumi projects, like keychains or bag charms.
Why You'll Love It
- Effortlessly customizable for any occasion.
- Quick and beginner-friendly, perfect for gifts or décor.
- An enjoyable and rewarding project that’s bursting with personality!
Crochet Stuffed Chick Pattern
This detailed guide will teach you how to crochet a charming stuffed chick step-by-step. The project consists of three fun parts: the body, the wings, and the bow. Follow carefully to create this adorable crochet doll that’s perfect for gifting or decorating.
Introduction
Skill Level: Beginner/Intermediate
Terminology: This pattern uses US crochet terms.
This stuffed chick makes for an excellent beginner-level project as it involves basic stitches like single crochet (SC), slip stitch (SS), and double crochet (DC). Beginners who are new to crochet techniques may wish to review foundational tutorials before starting this pattern.
Materials & Tools
- Yarn:
- Yellow yarn for the main body and wings.
- Red yarn for the bow and mouth.
- Crochet Hook: 3mm crochet hook.
- Eyes: Plastic safety eyes with backing pads (optional diameter: ~8mm).
- Fiber Fill: To stuff the body.
- Yarn Needle: Essential for sewing parts and closing the bottom opening.
- Scissors: For trimming excess yarn.
- Stitch Markers: To mark rounds and track stitches correctly.
Gauge
Gauge is not critical for this project; simply aim for tight stitches to ensure the stuffing doesn’t show.
Abbreviations
| Abbreviation | Meaning |
|---|---|
| SC | Single Crochet |
| SS | Slip Stitch |
| INC | Increase (2 SC in one stitch) |
| DEC | Decrease (combining 2 SC into 1) |
| CH | Chain Stitch |
| DC | Double Crochet |
Special Stitch Instructions
- Magic Ring (MR): Create a tightly secured loop to work the first round seamlessly.
- Increase (INC): Crochet two single crochets into the same stitch to expand your work.
- Decrease (DEC): Combine two single crochets into one, reducing the total stitch count.
Finished Size
Approximately 3–4 inches tall, depending on yarn tension and hook size.
What You’ll Learn from This Pattern
This pattern is designed to sharpen your crochet skills as you:
- Learn the magic ring for seamless circular starts, perfect for projects like toys and hats.
- Practice shaping techniques with increases and decreases to form smooth, 3D curves.
- Attach delicate features like safety eyes, wings, and a bow for the finishing touch.
- Master sewing and embroidery techniques for amigurumi detailing.
The Pattern
Follow the step-by-step instructions below to create the stuffed chick. The pattern is divided into three main parts: the body, the bow, and the wings, with assembly instructions to tie everything together.
Part 1: The Body
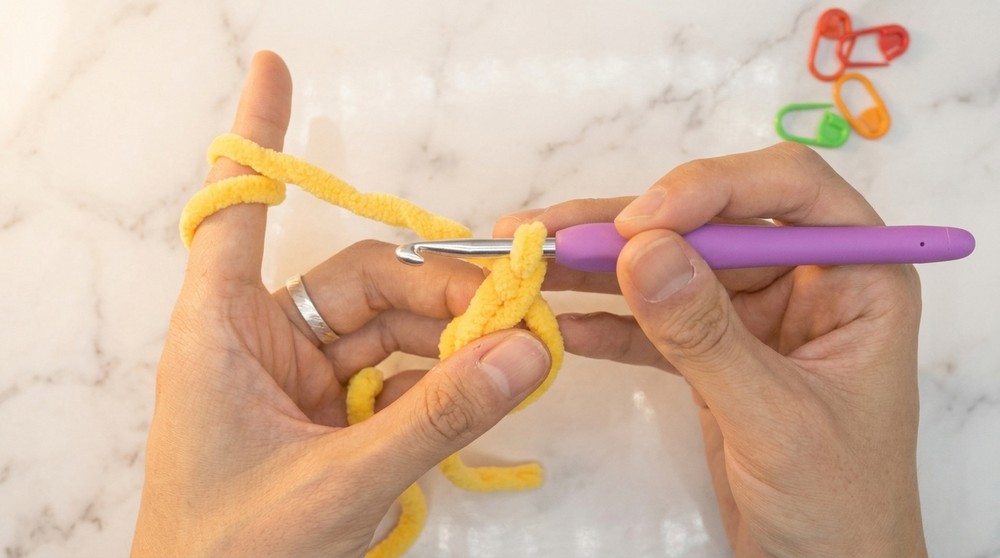
Round 1 (R1): Magic Ring with 8 SC
- Step 1: Wrap yellow yarn around your left hand to form a magic ring (MR).
- Step 2: Insert your crochet hook into the loop and create a slip knot.
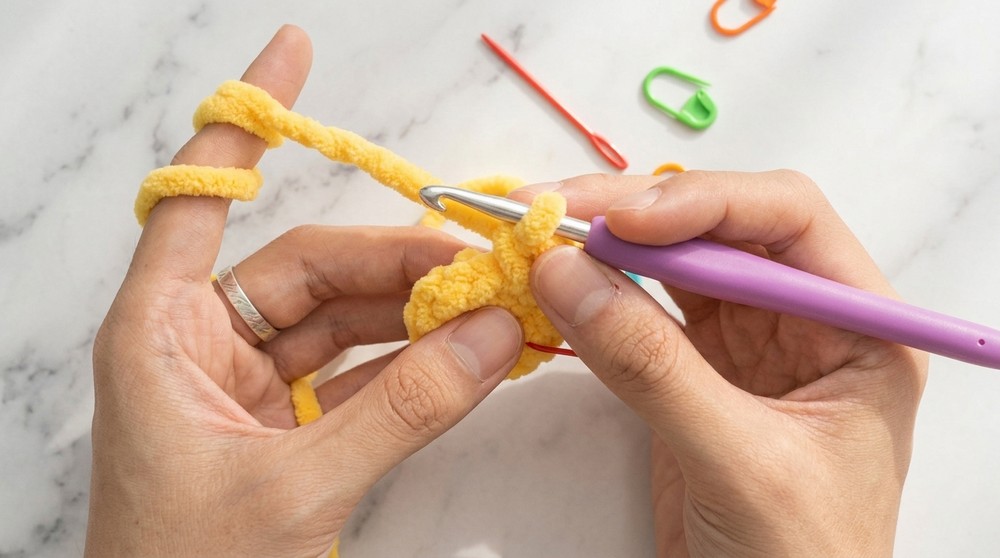
- Step 3: Crochet 8 SC into the magic ring.
- Step 4: Pull the yarn tail to tighten the magic ring.
- Step 5: Join with a slip stitch (SS) into the first SC to close the round.
Completion Tip: You’ve formed the base of the stuffed chick's body. The magic ring should be tight and evenly shaped.
Round 2 (R2): 8 Increases
- Step 1: Start with a chain stitch (CH) to turn the round.
- Step 2: Crochet 2 SC in each stitch around (total: 16 stitches).
- Step 3: Use stitch markers to track the first and last stitches of the round.
Completion Tip: Round 2 increases the diameter of the body. It should now appear as a flat circle.
Round 3 (R3): 1 SC in Each Stitch
- Step 1: Start with a chain stitch (CH).
- Step 2: Crochet 1 SC in each stitch around (total: 16 stitches).
Completion Tip: This round maintains the base size while adding stability to the stitches.
Round 4 (R4): 1 SC, 1 INC (Repeat x8)
- Step 1: Start with a chain stitch (CH).
- Step 2: Crochet 1 SC, then 1 INC (2 SC in the same stitch), repeating the pattern for a total of 24 stitches.
Completion Tip: The body takes greater shape and begins expanding outward after this round.
Rounds 5–7: 1 SC in Each Stitch
- Crochet 1 SC in each stitch for the next three rounds (total: 24 stitches per round).
Completion Tip: These rounds build height for the chick's body. By the end of Round 7, you’ll have a small oval shape.
Round 8 (R8): 1 SC, 1 DEC (Repeat x8)
- Step 1: Begin with a chain stitch (CH).
- Step 2: Crochet 1 SC, then decrease (DEC) by combining two SCs into one, and repeat the pattern for a total of 16 stitches.
Completion Tip: The body narrows for the stuffed chick’s head.
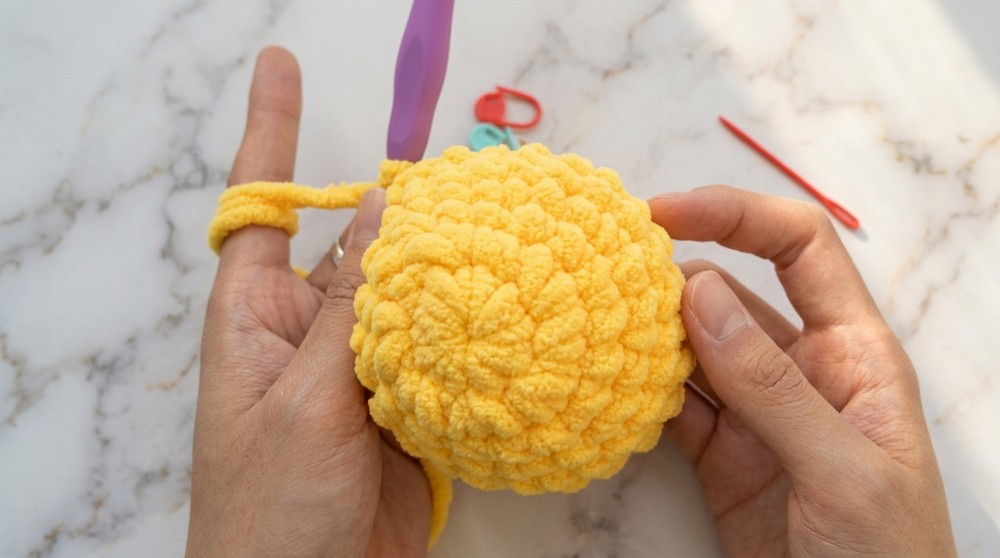
Round 9 (R9): 8 Decreases
- Crochet 8 decreases (DEC) consecutively to close the body base.
Completion Tip: This is the final step for the body. The body should look round with a hollow center for stuffing. Leave a yarn tail for closing the bottom after stuffing.
Part 2: Bow
Round 1: Magic Ring
- Step 1: Use red yarn to make a magic ring.
- Step 2: Crochet 3 chain stitches (CH) into the magic ring.
Round 2: Creating the Bow Shape
- Step 1: Crochet 1 DC into the magic ring.
- Step 2: Follow with 3 chain stitches (CH).
- Step 3: Slip stitch (SS) into the magic ring to form one half of the bow.
- Repeat the sequence above to create the second half.
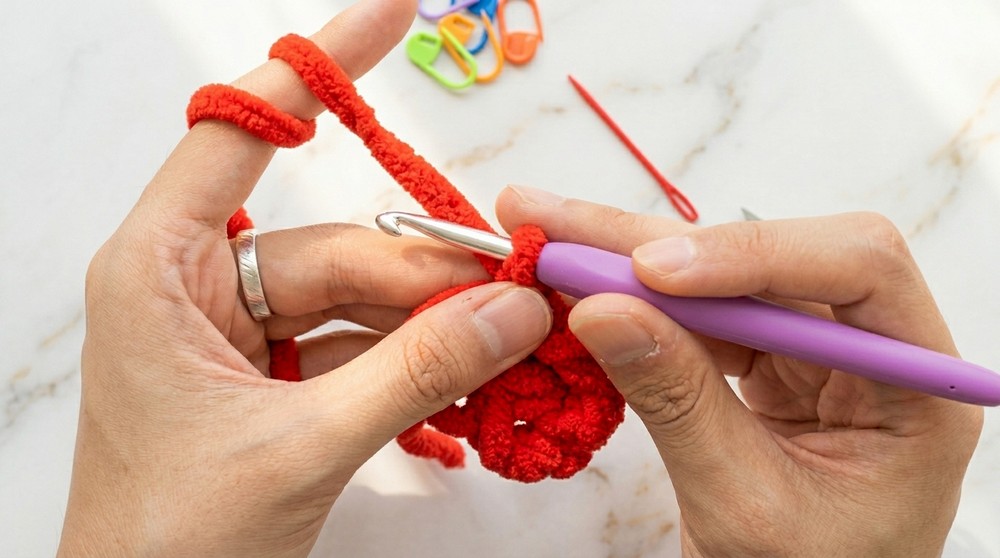
Completion Tip: Once completed, the bow should resemble two loops tied in the middle.
Part 3: The Wings
Wing Placement
- Locate a symmetrical position on either side of the body near rounds 5–6. Mark the spots carefully.
Wing Shape
- Step 1: Use yellow yarn to crochet 3 chain stitches (CH).
- Step 2: Crochet 1 slip stitch (SS) in the second chain stitch.
- Step 3: Crochet 1 SC in the first chain stitch.
- Step 4: Finish with a slip stitch (SS).
Completion Tip: Crochet the second wing following the same steps for symmetry.
Assembly & Finishing
- Stuff the Body: Fill the chick with fiber fill through the bottom opening. Ensure the stuffing is firm but not overly tight.
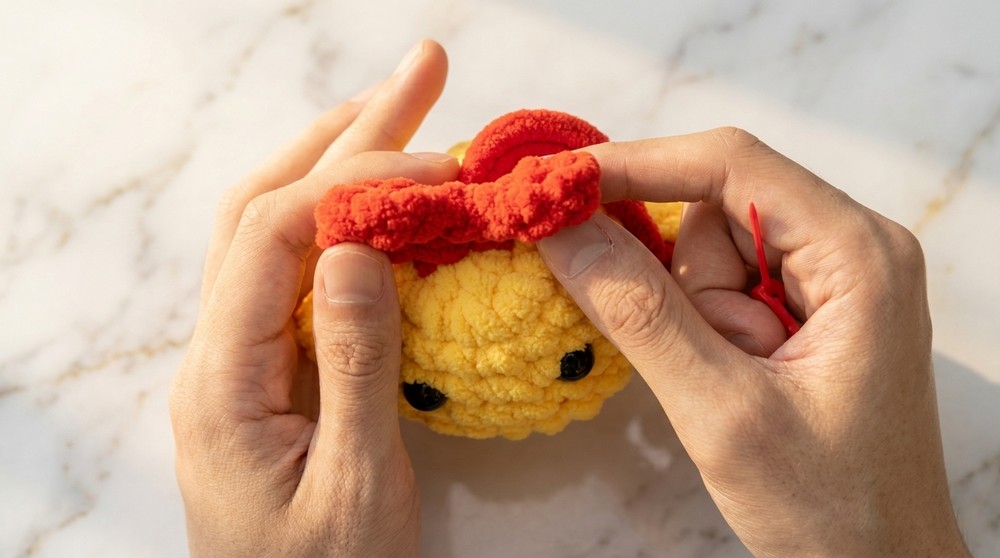
- Attach the Wings and Bow: Sew the wings into their marked positions. Similarly, sew the bow onto the chick’s head or neck area.
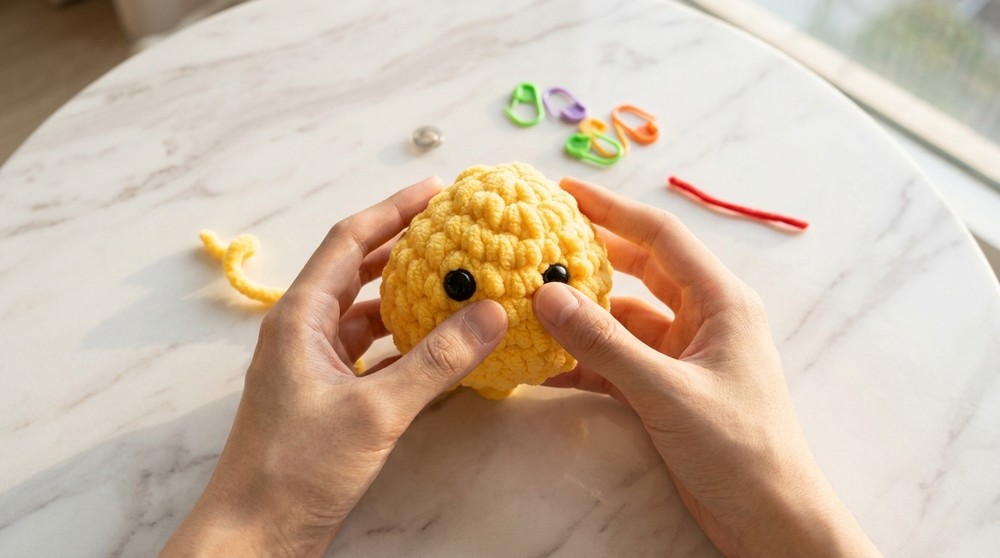
- Install the Safety Eyes: Position the safety eyes between rounds 4 and 5, spaced five stitches apart. Secure each eye with a backing pad for stability.
- Close the Bottom: Use the yarn tail to sew the bottom opening. Work through the front loops of each stitch until sealed, then weave in the excess yarn.
Final Words
Your stuffed chick is now complete! This adorable doll makes a cheerful addition to any collection or a thoughtful hand-crafted gift. The pattern uses basic stitches, making it beginner-friendly yet rewarding. Don’t forget to share your work and try using different yarn colors for fun variations.