
Crochet Magic Awaits with Free Fingerless Gloves Pattern
Learn how to crochet beautiful fingerless gloves with this simple free pattern that’s great for staying cozy and trendy all winter long.
Nothing says cozy and stylish quite like a versatile pair of fingerless gloves. With their open ended shape and textured design, these gloves are the perfect balance of practicality and charm. The delicate ribbed cuff offers stretch and comfort, while the main body adds a subtle yet captivating texture. Perfect for chilly days when you need warm hands but free fingers, they fit seamlessly into everyday life, ideal for typing, reading, or even crocheting your next project.
Tailored for both adults and kids, this glove pattern is as customizable as it is functional. Adjusting the size is a breeze; simply add or reduce rows of stitches to suit the wearer. These gloves are especially forgiving with medium weight yarns that highlight their stitch definition without overwhelming the gentle details. Soft yarns, such as acrylics or merino blends, tend to bring out the texture and ensure maximum comfort for hours of wear.
Fast but Cozy Fingerless Gloves with Free Crochet Pattern
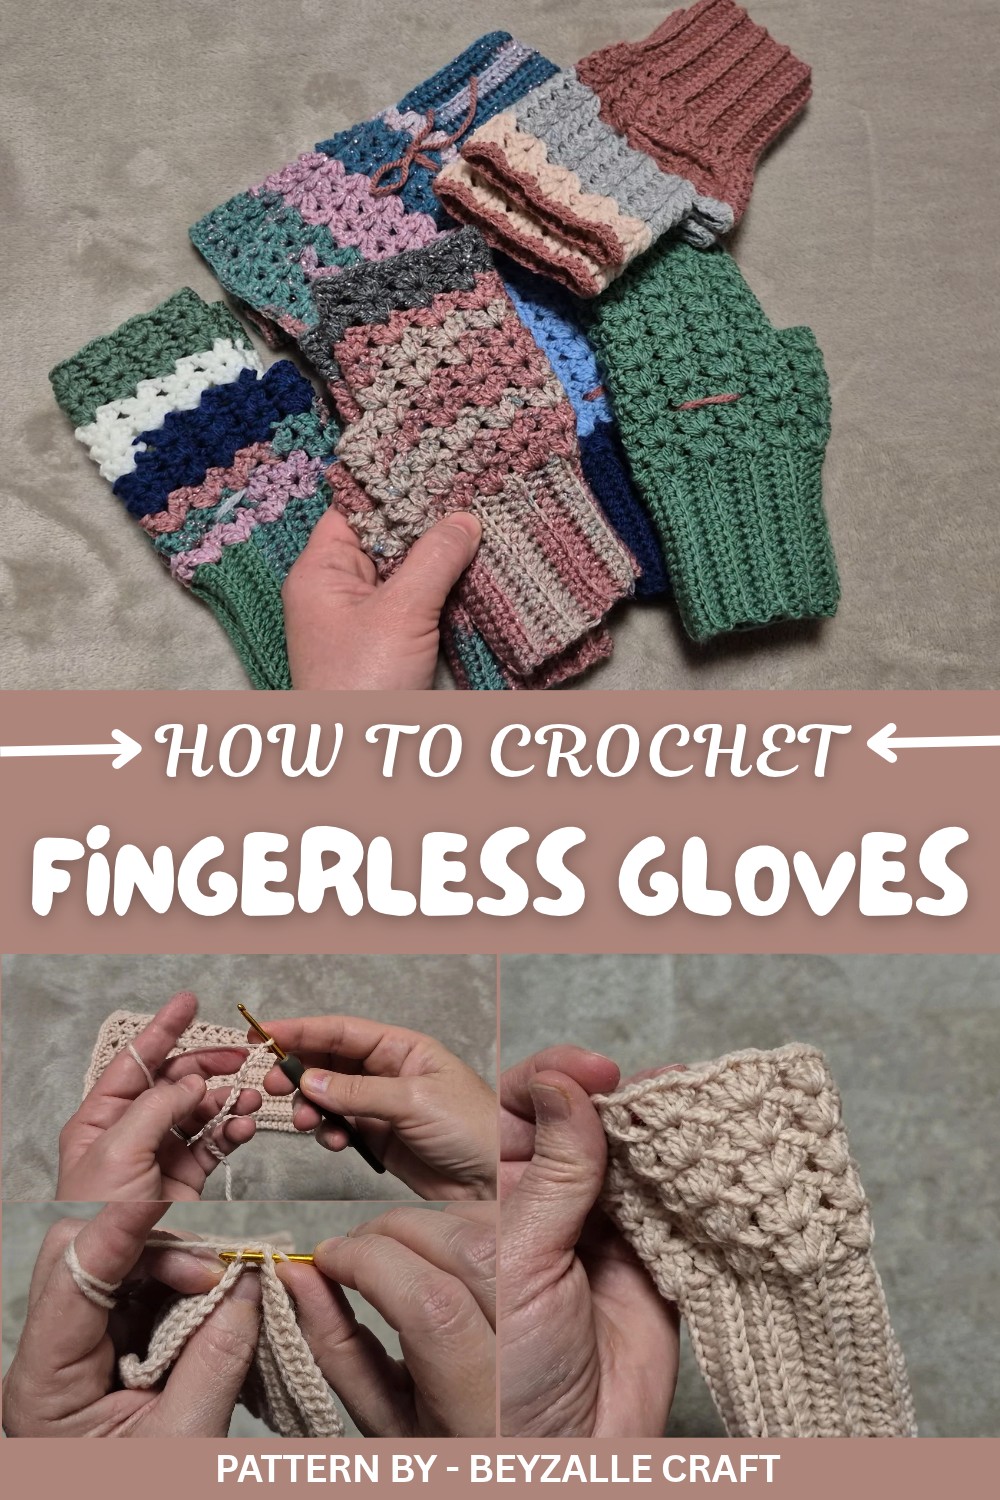
What makes this project stand out is its no fuss construction. Starting with the ribbed section for the wrist, each part is worked seamlessly, meaning fewer ends to tuck away and a cleaner overall look. Pro tip: Working in the back loop of the stitches creates that classic ribbed effect that gives the gloves their snug and cozy feel. The open ended design also means you can easily adjust for shorter or longer wrist coverage or add embellishments to give them a personal touch.
Pattern By Beyzalle CRAFT
Whether as a thoughtful gift or a quick winter project, these fingerless gloves are perfect for bringing warmth and style in equal measure. Try experimenting with bold colors or multi tonal yarns for a modern flair, and get ready to impress with your personalized creations.
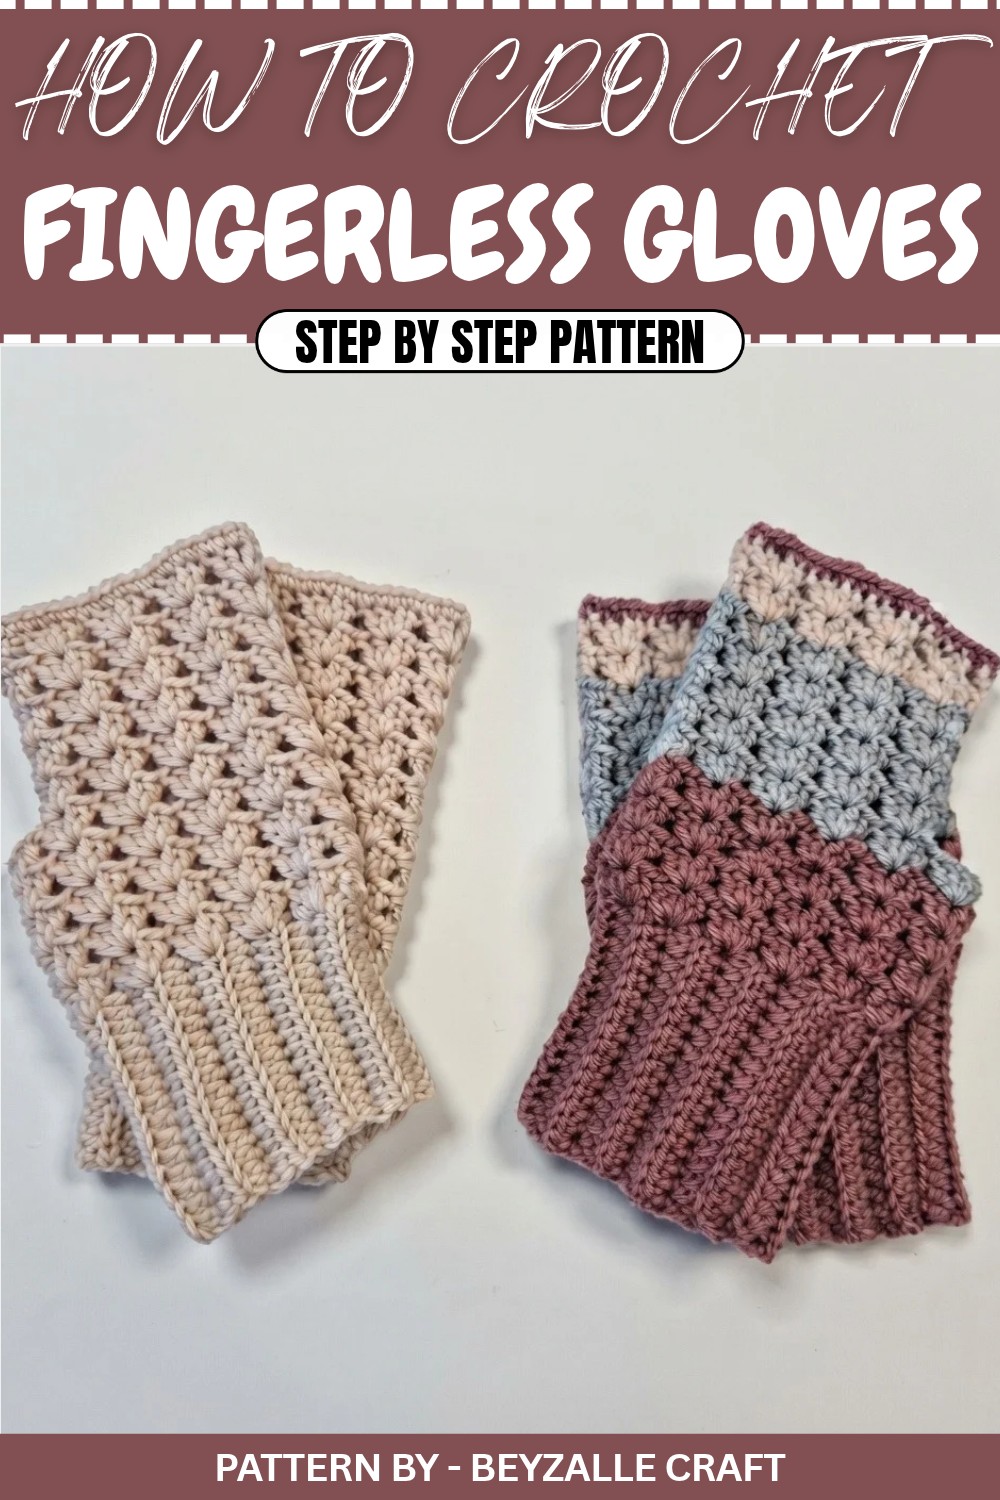
Crochet Pattern: Simple and Versatile Gloves
This glove pattern is perfect for using up leftover yarn to create practical and stylish gloves for yourself, your loved ones, or as a thoughtful gift. The gloves are beginner friendly and quick to make, allowing you to complete multiple pairs in a single session.
Quick Overview of Pattern
- Project Type: Crochet gloves for beginners
- Construction: Starts from the wrist and works upward toward the fingers
- Style: Versatile and customizable for adults, children, or gifts
- Stitch Style: Worked primarily in half double crochets and finished with a simple shell stitch
- Added Functionality: Adjustable for size and fit
Notes
- You can use any type of yarn, from thick to thin, based on what you have at home.
- Adjust the number of chains and rows based on the wrist size of the intended wearer.
- The pattern uses back loop only (BLO) stitches for a ribbed effect in the wrist portion.
- Add or decrease rows to adjust the glove’s length.
Skill Level
Beginner
Materials
- Yarn: Any leftover yarn (preferably medium weight for durability)
- Hook Size: 3 mm (adjust to yarn thickness)
- Tapestry Needle: For sewing and weaving in ends
- Scissors
Measurements / Sizing
- Wrist Ribbing Length: Approximately 19 rows (adjust based on wrist measurement).
- Total Glove Length: Adjustable by adding or decreasing rows to the body of the glove.
Gauge
- Gauge is not critical for this pattern since you can customize the size as you crochet.
Stitch Abbreviations
- Ch: Chain
- BLO: Back Loop Only
- SC: Single Crochet
- HDC: Half-Double Crochet
- DC: Double Crochet
- Sl st: Slip Stitch
Special Stitches
- Back Loop Only (BLO): Use only the back loop of each stitch instead of both loops to create a ribbed effect.
- Half Double Crochet (HDC): Yarn over, insert the hook, pull up a loop, yarn over, and pull through all loops on the hook.
The Crochet Pattern
Ribbed Wrist Band
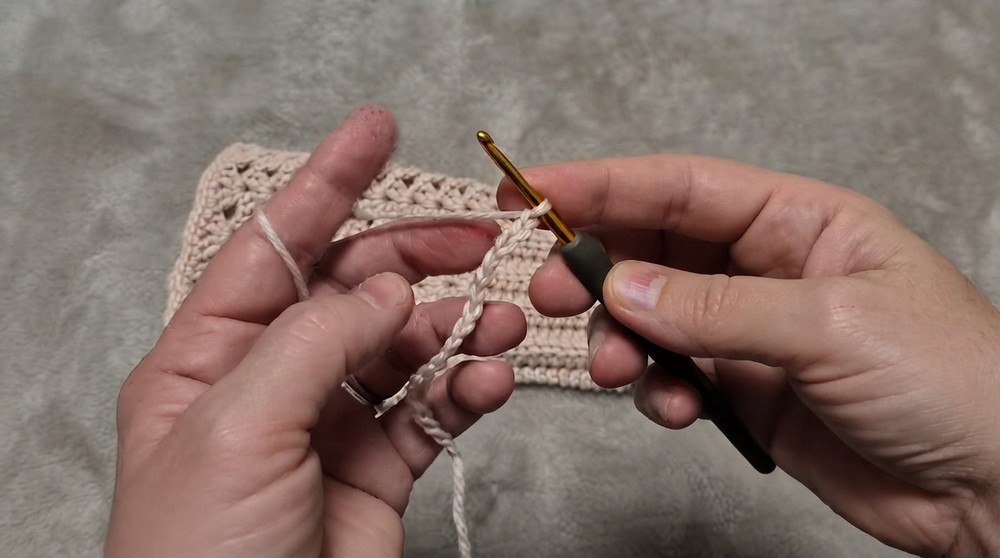
- Foundation: Ch 17 (do not make the chains too tight, as this can cause the wrist section to pull).
- Row 1: Starting from the 3rd chain from the hook, work 1 HDC in each chain across. (15 HDC)
- Row 2: Ch 2, turn. Work 1 HDC in the back loop only (BLO) of each stitch across. (15 HDC)
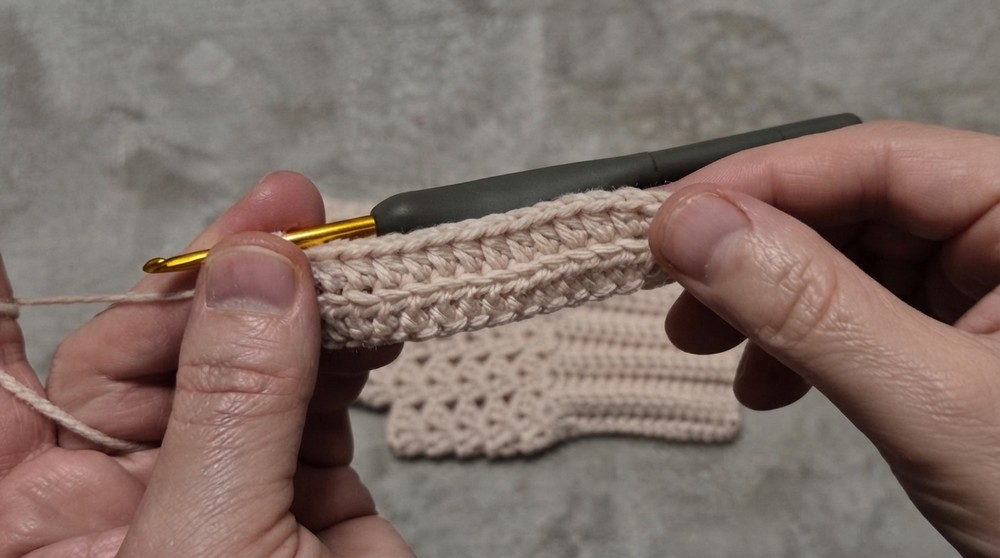
- Repeat Row 2 until you have a ribbed band with 19 rows, or enough to wrap comfortably around the wrist.
Joining the Wrist Band
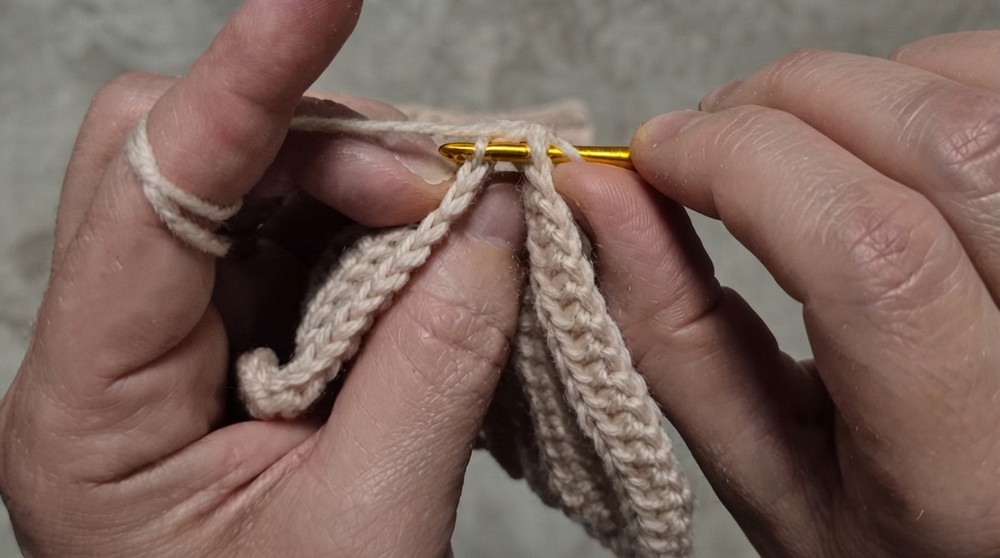
- Fold the ribbed band in half with the lengthwise edges together, ensuring the ribbing faces outward.
- Slip stitch through the first chain of Row 1 and the corresponding BLO of the last row to join the ribbed band into a cuff.
- Once the wristband is joined, fasten off and flip the band to the right side.
Main Glove Body
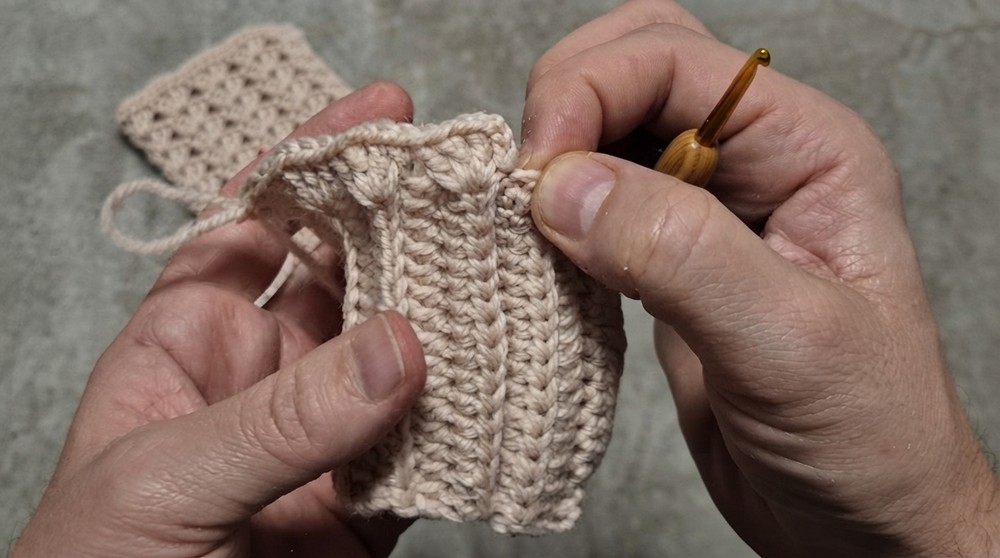
- Foundation Round: Ch 1 and work 1 SC evenly around the edge of the wristband. Distribute your stitches so the edge appears smooth.
- Round 1: Ch 3 (acts as the first DC), then work 2 DC, Ch 1, 2 DC into the same stitch (a shell stitch).
- Skip 1 stitch, and into the next stitch, work another 2 DC, Ch 1, 2 DC shell.
- Repeat the shell stitch around until you have 11 shells (based on the ribbing's size) evenly spaced.
- Round 2: Sl st into the Ch 1 space of the first shell, Ch 2, and continue working 2 DC, Ch 1, 2 DC into each Ch 1 space from the previous row. Repeat for 5 total rounds.
Thumb Hole
- Work the 6th round the same as previous rounds, but leave a gap for the thumb:
- On the 6th shell, stop stitching and skip 3 shells.
- Sl st into the Ch 1 space of the next shell, effectively creating the thumb opening.
- Continue stitching shells for the remaining part of the round.
Top Portion of the Glove
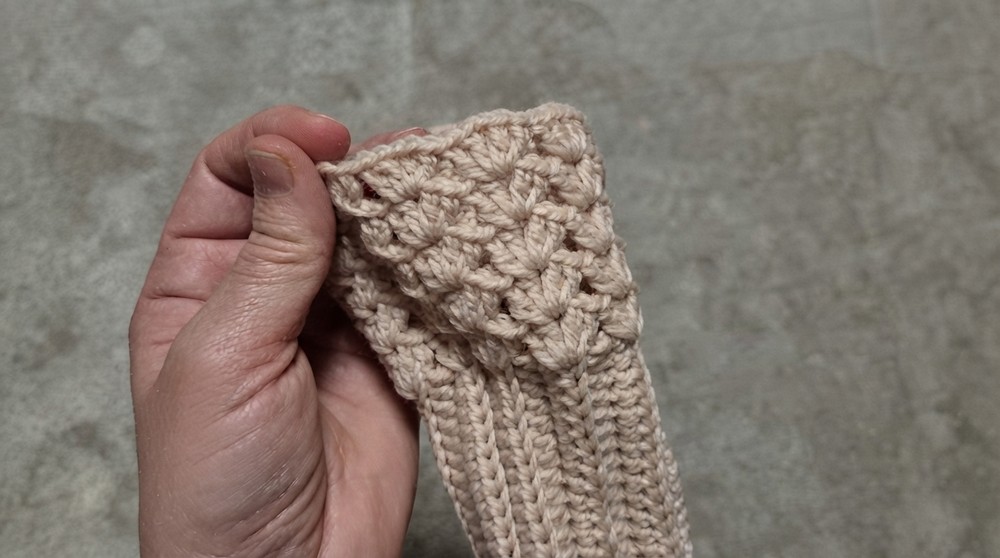
- From here, follow the main glove body pattern, filling each Ch 1 space with 2 DC, Ch 1, 2 DC.
- Continue for 5 additional rounds, or until the glove extends to your desired length.
Finishing
- At the top of the glove, work one final round using SC in each stitch and Ch 1 space to create a clean edge.
- Fasten off, leaving a long tail. Weave the tail into the inside of the glove using a tapestry needle. Trim any excess yarn.
Assembly & Finishing Touches
- Carefully inspect the glove for any loose or uneven stitches. Secure these spots and weave in all ends.
- Turn the glove right side out; the ribbing will create a snug and comfortable fit around the wrist.
- For the second glove, repeat the same pattern.
Conclusion and Final Thoughts
Congratulations, Your gloves are ready and are both practical and cozy. These gloves are perfect for gift giving, personal use, or even donating to those in need. With minimal effort and materials, you can crochet multiple pairs for various occasions. Want a different style? Customize the gloves by using different colors or adding decorative buttons or appliques.