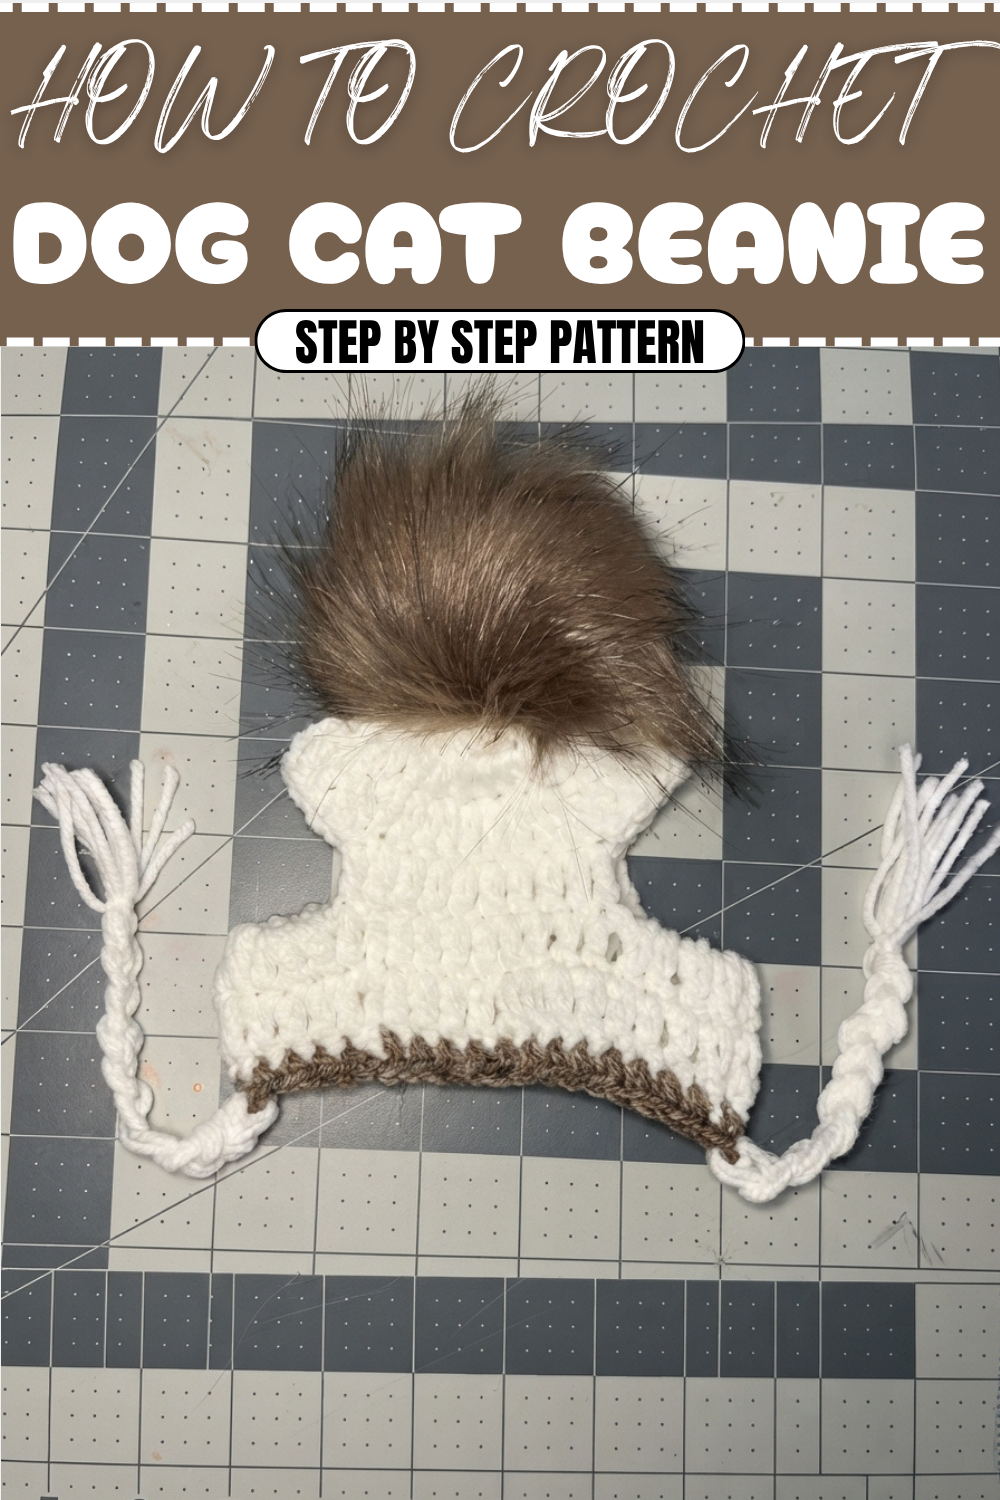
Crochet Dog Cat Beanie With Pom Pattern For Cozy Comfort
Creative hacks bring a free crochet dog cat beanie with pom pattern, adding cozy style and charm to your pet’s wardrobe with ease.
Crocheting warm and charming accessories for our beloved pets is such a heartwarming experience. I recently made a sweet little beanie designed to fit both cats and dogs, topped with a fluffy pom pom that adds a playful touch. This pattern shines thanks to its use of double crochet stitches combined with thoughtful increases, shaping a cozy and stretchy hat that’s both cute and comfy for your furry friend. The pattern is simple and approachable, making it perfect for beginners and easy to follow along.
Free Crochet Dog Cat Beanie With Pom Pattern For Animal Lovers
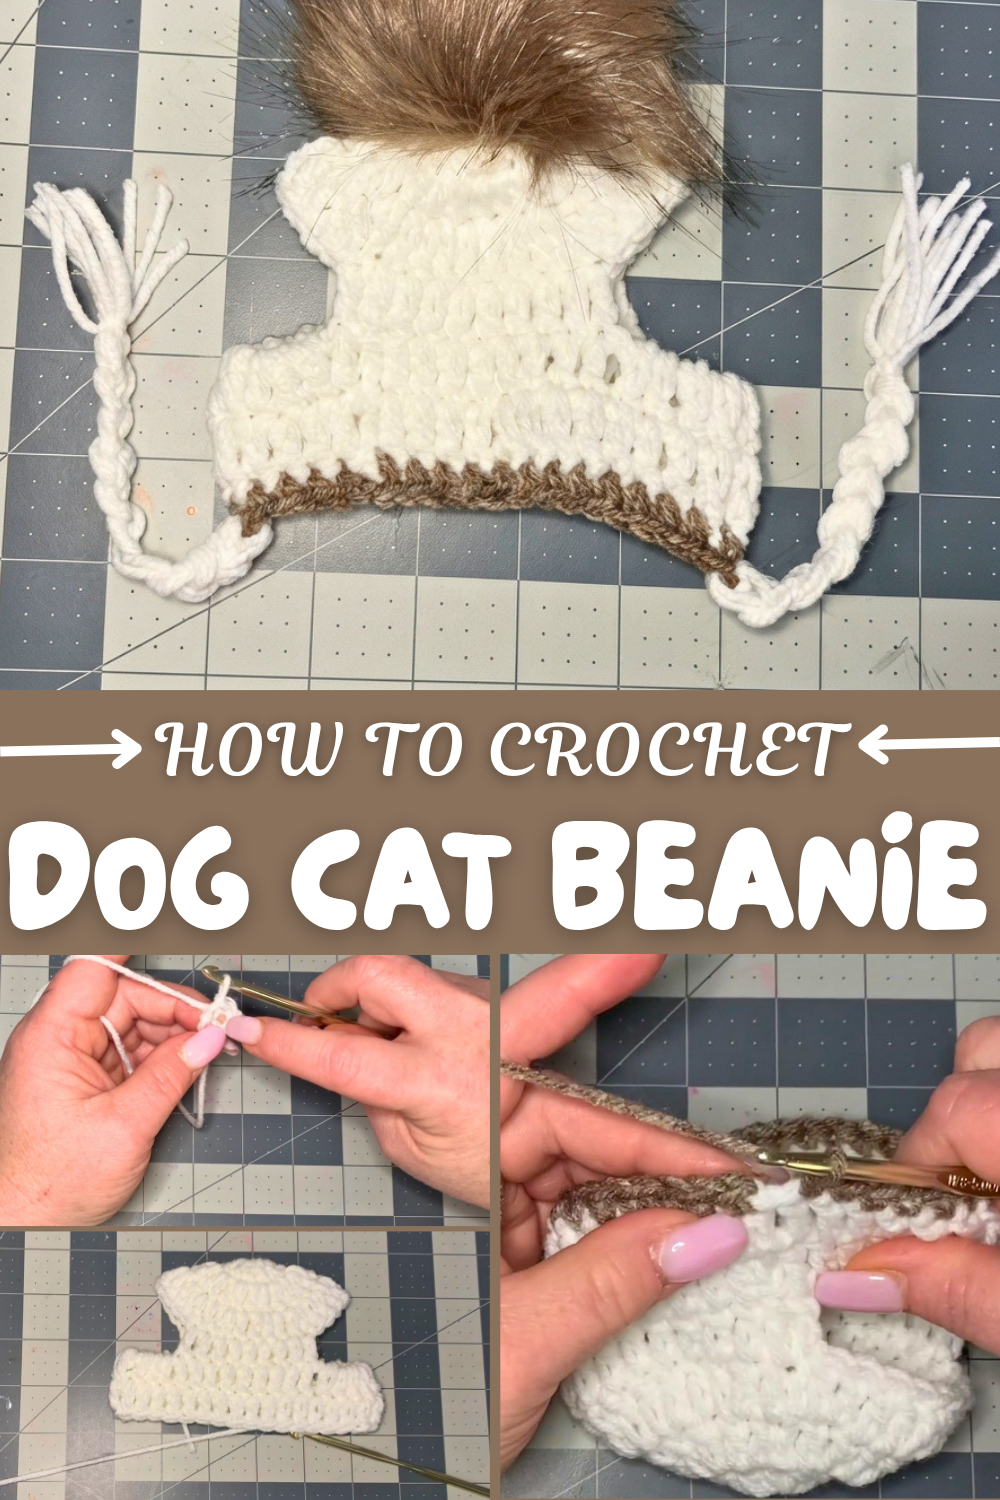
The creation begins with a magic ring, followed by working rounds of double crochet stitches that gradually increase to the desired size. One of the best features is the ear holes, formed by chaining and skipping stitches, allowing your pet’s ears to peek out naturally. Attaching the pom pom with a button adds a sweet finishing touch and allows for fun customization.
This beanie is ideal for keeping your pet warm during chilly days or adding flair for those adorable photo ops. The stretchy nature of the pattern provides a snug but comfortable fit, so your pet can wear it without fuss. Plus, you can easily make several in different colors and sizes to match your pet’s personality or as heartfelt gifts.
Other Creative Ideas Using This Pattern
This pattern is a great starting point for making a variety of pet accessories. By modifying the size or adding small changes, you can crochet matching scarves, cozy collars, or decorative headbands using the same stitch techniques. The method of increasing stitches and creating openings works well for many circular crochet items. Adding embellishments like tassels, buttons, or appliques brings extra charm and personal style to your handmade pet gear.
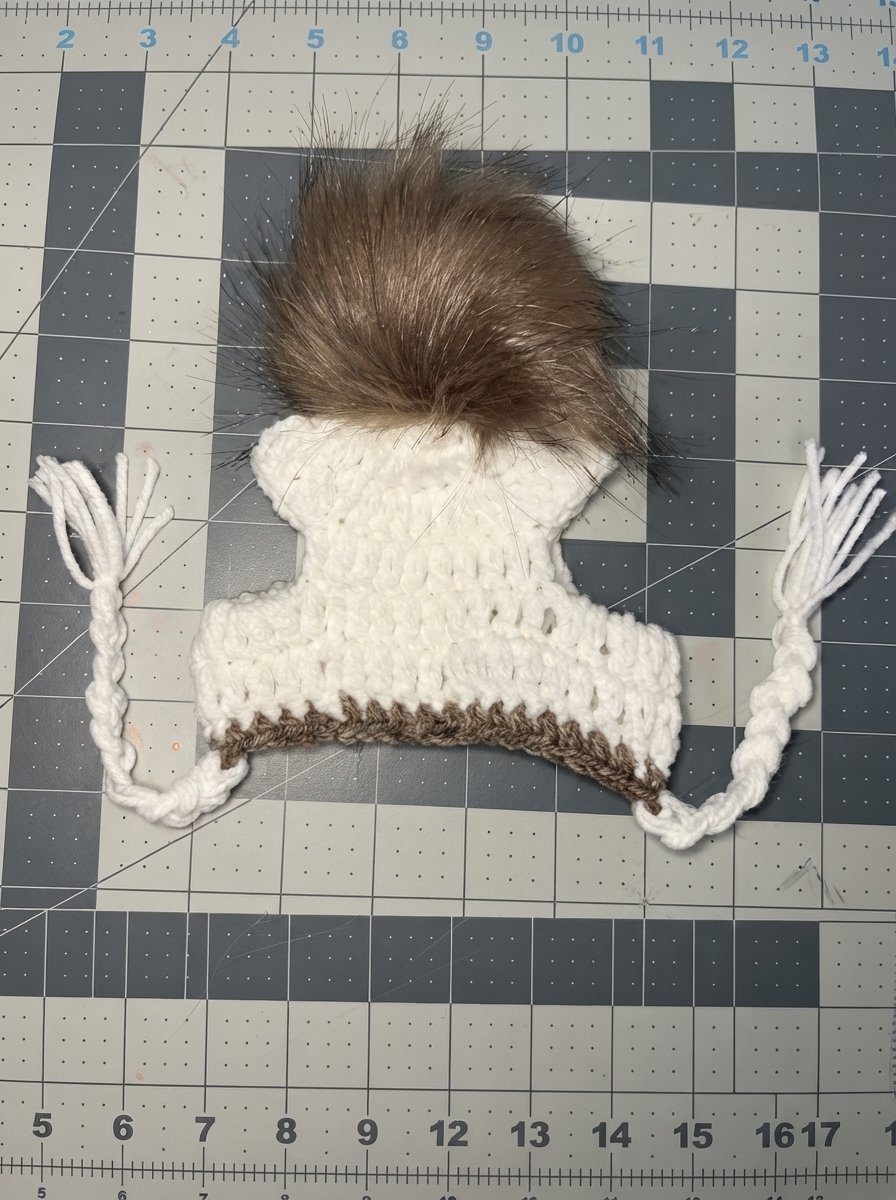
Crochet Pattern: Cat Beanie with Tassels and Pom-Pom
Uses of This Pattern
- Pet Accessory: Keep your cat warm or dress them up in fashionable headgear.
- Fun Photo Ops: Perfect for themed events or costume-worthy pictures.
- Gift Idea: Surprise a pet lover with this simple and personalized gift.
Skill Level & Terminology
- Skill Level: Beginner. Focuses on mastering basic stitches like chains, double crochet, and slip stitches.
- Terminology: This pattern follows US crochet terms.
Materials & Tools
- Yarn:
- Weight 4 medium yarn in two colors: the main color for the beanie and a different color for the edging and tassels.
- Crochet Hook: 5 mm (H).
- Darning Needle: For weaving in ends and sewing pom-pom and tassels.
- Button: Small button to secure the pom-pom.
- Pom-Pom: Either a pre-made one or make your own.
- Scissors: Necessary for cutting yarn.
Gauge
For a perfect fit: 4 x 4 inches = 14 double crochet stitches x 8 rows.
Abbreviations List
- ch: Chain
- dc: Double Crochet
- sc: Single Crochet
- sl st: Slip Stitch
- inc: Increase (2 dc in one stitch)
Special Stitch Instructions
- Magic Ring Alternative: If you find magic rings difficult, begin with a chain of 4. Connect with a slip stitch to form a small loop and start working stitches into the loop instead.
- Tassel Making: Wrapping the yarn around your hand or an object several times creates an easy method to make tassels for the sides of the hat.
Finished Size
This beanie measures 5–6 inches in diameter but can be adjusted based on the size of your cat’s head by increasing or decreasing the number of stitches in the foundation rounds.
What You’ll Learn From This Pattern
- Foundation Rounds: Practice making circle bases with chains and double crochet stitches.
- Ear Cutouts: Learn how to create chain spaces to accommodate shaped openings.
- Working with Relief Stitches: Gain techniques for alternating front, back, and single crochet stitches.
- Customization & Tassels: Add professional finishing touches with a contrasting border, pom-pom, and braided tassels.
You’ll love how quick and easy this beginner-friendly yet creative pattern is to follow! The result is an adorable accessory that highlights your crocheting skills and your love for your furry companion.
The Pattern
1. Crown of the Beanie
This section begins the foundation of the hat and sets the size of the crown. If adjustments are necessary, this is where you increase or decrease the number of stitches.
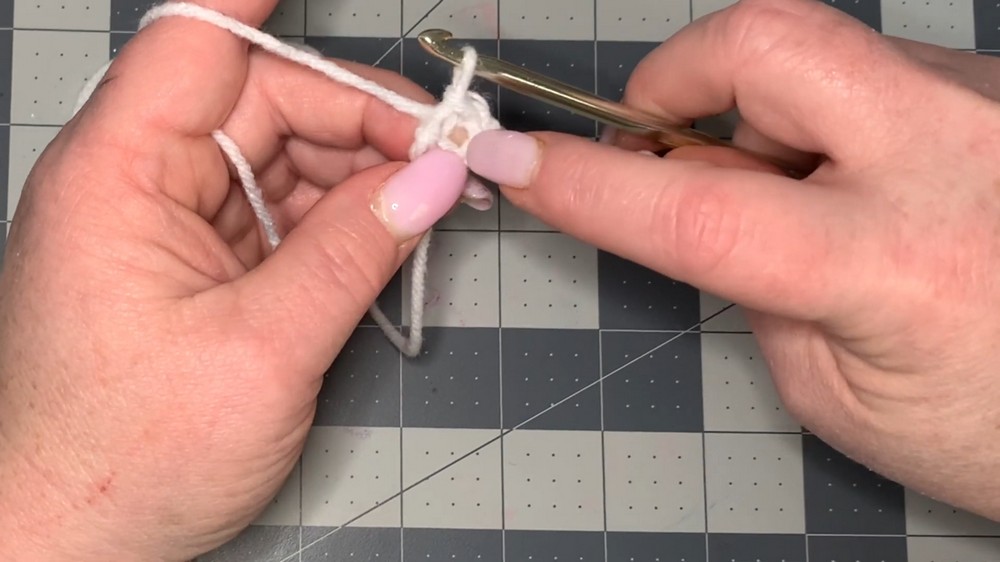
- Begin by making a slipknot and ch 4.
- Slip stitch into the first chain to form a loop.
- Round 1:
- Ch 1. Work 12 dc into the loop. (12 stitches total).
- Pull the yarn tail to tighten the loop.
- Slip stitch into the first dc (not the ch-1) to close the round.
- Round 2:
- Ch 1, then work 2 dc in each stitch around. (24 stitches total).
- Slip stitch into the first dc to close the round.
- Round 3 (Increase Round):
- Ch 1. In the first stitch, place 1 dc.
- In the next stitch, place 2 dc (increase).
- Repeat: 1 dc, 2 dc in the next stitch, for the entire round. (36 stitches).
- Slip stitch into the first dc to close the round.
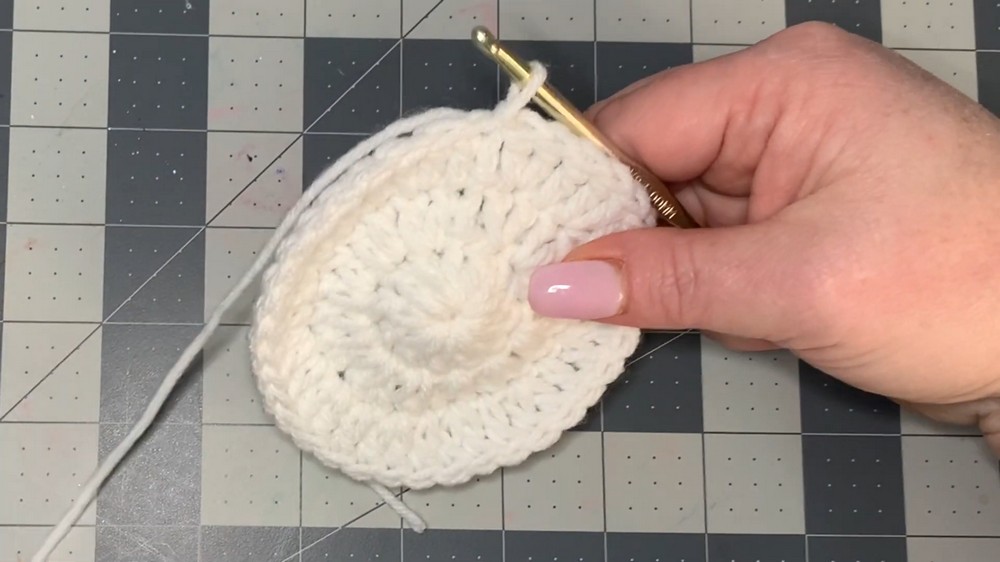
For Non-Pattern Readers: You’ll now have a flat circular base with 36 stitches in the last row. If you want a bigger hat for a larger cat, add another increase row.
2. Create the Ear Holes
This section creates the cutouts for your cat’s ears to fit through.
- Start Ear Holes:
- Chain 1. Work 1 dc in the next 9 stitches. (9 dc total).
- Ch 9 and skip the next 9 stitches.
- Work 1 dc into the 10th stitch. Then work 8 more dc into the next stitches (9 dc total).
- Ch 9 and skip the next 9 stitches.
- Work 1 dc in the next stitch (where the round ends). Slip stitch into the first dc to close the round.
Note: You have now created two chain spaces that will be the ear holes. Adjust the number of chains or skipped stitches for larger or smaller ear openings.
3. Adding Height to the Beanie
With the ear openings complete, build up the hat’s height.
- Ear Hole Spaces and Above:
- Chain 1.
- Work 1 dc into every stitch, including the chain-nine spaces where you will place 9 dc stitches directly.
- Continue working in the round with 1 dc in every stitch for two more rounds.
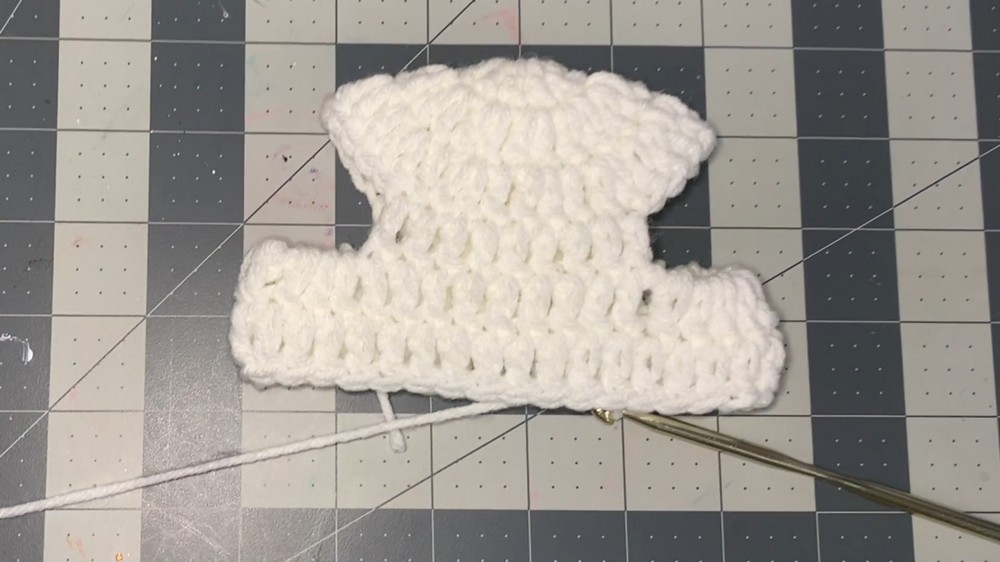
For Non-Pattern Readers: The beanie is now taking shape, and the rounds should cover the head and ear holes.
4. Edging
Add a contrasting look and clean finish to the bottom of the beanie.
- Single Crochet Edging:
- Switch to your contrasting yarn color.
- Attach the yarn to the starting loop and begin with 1 sc in each stitch around.
- Make sure your tension is not too tight, or it may cause the edge to pucker.
- Join the round with a slip stitch, fasten off, and weave in all ends.
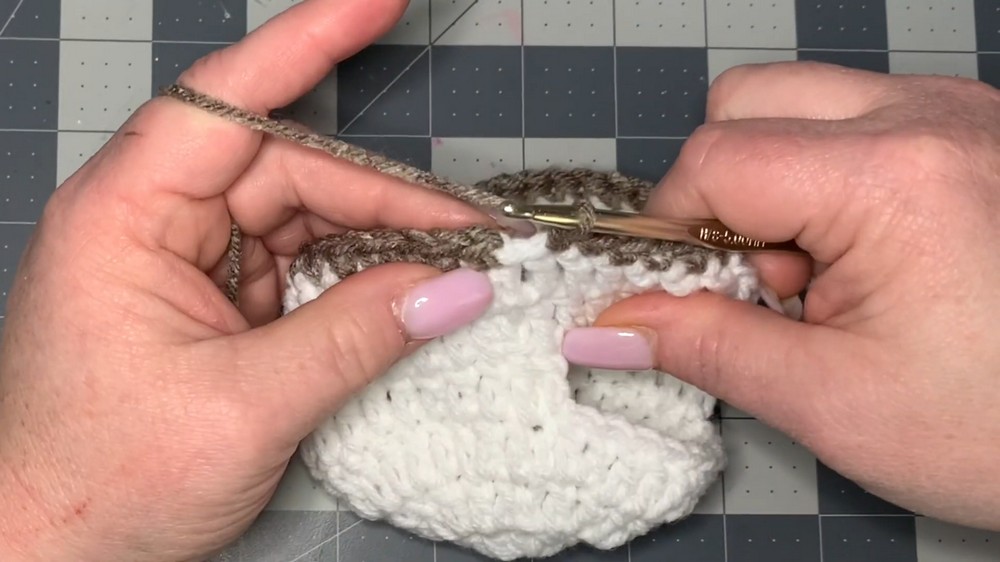
Tip: Keep the edging and tension relaxed to ensure the hat sits comfortably on your cat's head and avoids shrinking the bottom circumference.
5. Pom-Pom Attachment
Give your beanie a playful finish with a stylish pom-pom.
- Attach the Pom-Pom:
- Sew a button securely to the center top of the beanie using a darning needle and same-colored yarn.
- Attach the premade pom-pom by pulling its fastener through the fabric and looping it around the button.
Tip: The button makes the pom-pom easily removable for washing or customization.
6. Adding Tassels
Make functional and decorative tassels that can secure the beanie under your cat’s chin.
- Tassel Creation:
- Wrap yarn around your hand (or similar object) four times to create one tassel.
- Cut the yarn and fold the loops in half to create the tassel’s bulk.
- Attach a strand of yarn through the fold and secure the tassel to the desired edge stitch of the hat.
- Braid Detail: Divide the hanging yarn into three sections and braid loosely. Secure the braid’s end with another piece of yarn. Trim the edge for a tidy look.
- Repeat for the second side of the hat.
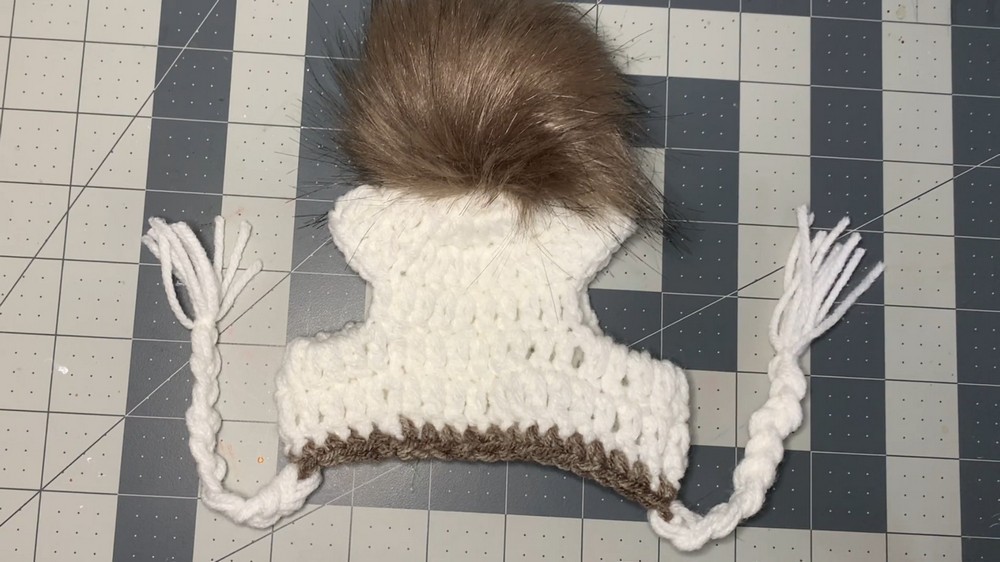
For Beginners: If braiding is tricky, practice with regular yarn first to get an even braid. Tassels make this hat more secure when tied under your cat's chin.
Difficulties You May Encounter
Difficulty: Maintaining proper stitch count
Sometimes it’s tricky to keep track of your stitch count in circular rounds.
- Solution: Use stitch markers to mark the beginning of each round to avoid confusion. Count stitches at the end of each round to ensure accuracy.
Difficulty: Consistent tension in tassels or edging
Inconsistent tension in the edging or tassels can distort the shape of the hat’s bottom.
- Solution: Take breaks often to relax your hands, and crochet slowly while maintaining loose tension.
Final Notes
This cat beanie pattern is a fantastic beginner-friendly project designed to bring out your creative side while providing your pet with a stylish accessory. The project is customizable in size, color, and design. Whether you’re new to crochet or an experienced crocheter, this fun and rewarding pattern will make for a charming addition to your pet’s wardrobe.