
Crochet Chunky Beanie Free Pattern With Easy Guide
Keep warm using this Free Crochet Chunky Beanie Pattern, featuring thick texture, snug fit, bold winter comfort, and cozy seasonal charm.
Shielding yourself from the biting winter chill becomes a stylish adventure when you wrap your head in a thick, cloud-like layer of handmade warmth. This Crochet Chunky Beanie Pattern is a total game-changer for your cold-weather wardrobe, offering a lush, squishy texture that provides instant insulation against frosty winds. One of its most exciting features is the "instant gratification" factor; because it uses oversized yarn, you can finish a high-end, boutique-quality accessory in just one sitting.
Bold Crochet Chunky Beanie Pattern With a Soft Plush Feel
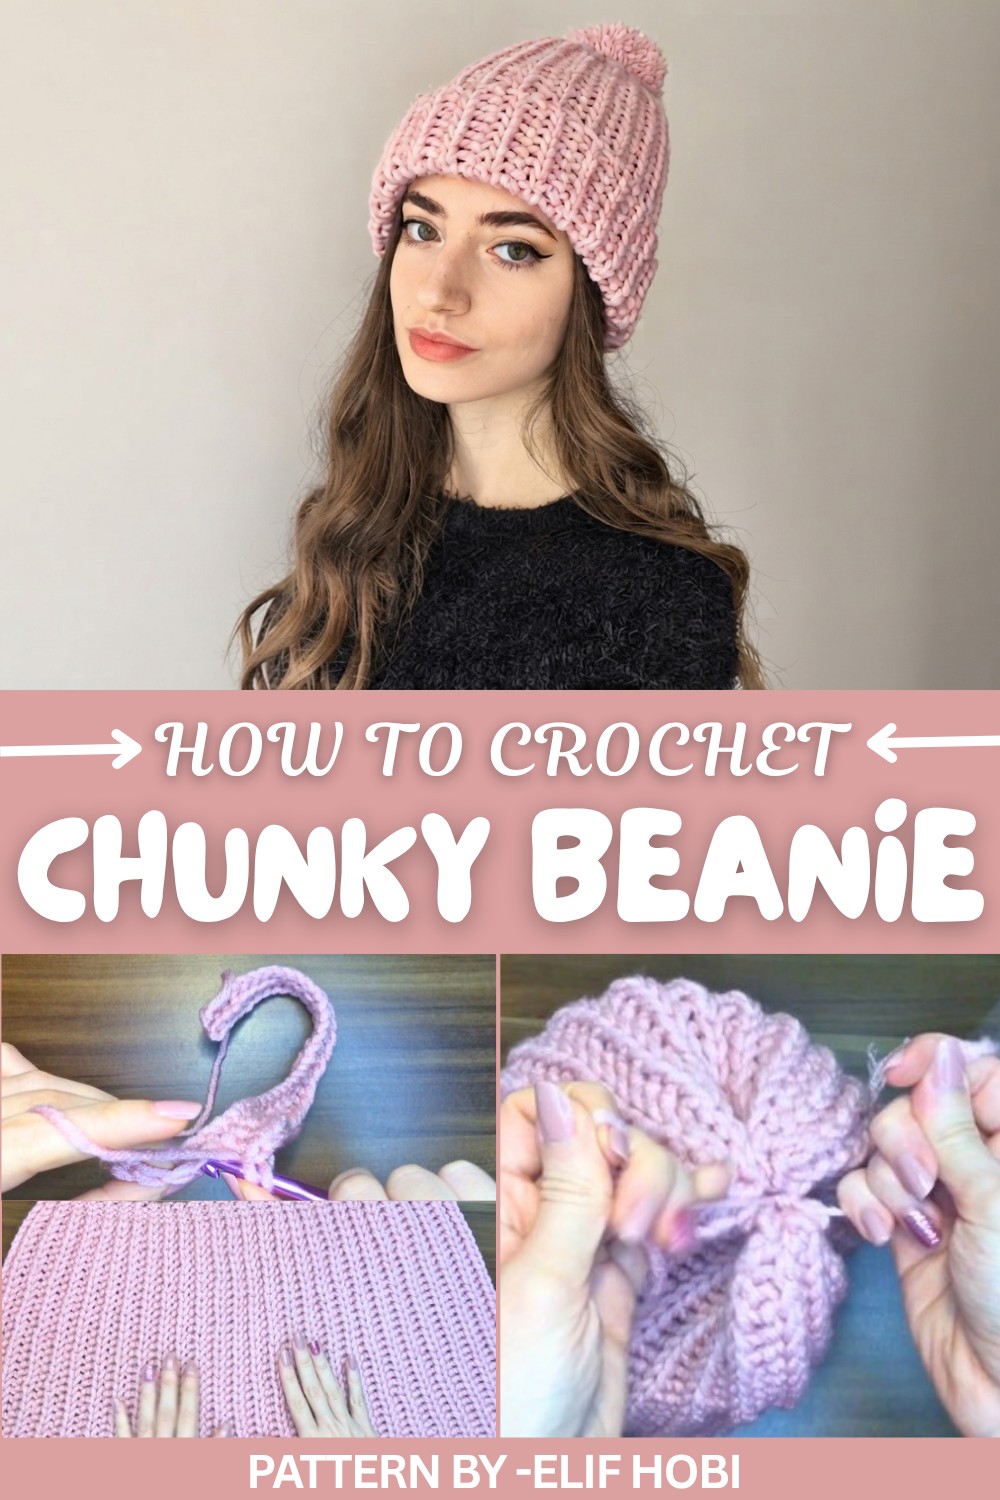
The true specialty of this design is its incredible versatility, as it works beautifully for everyone from adventurous toddlers to style-conscious adults by just tweaking the starting chain. Adding a giant, fluffy pom-pom on top gives it a playful personality, while the deep ribbing allows you to fold the brim for a custom, snug look. It is a brilliant way to turn a single skein of bulky yarn into a durable, functional masterpiece that outshines any store-bought alternative.
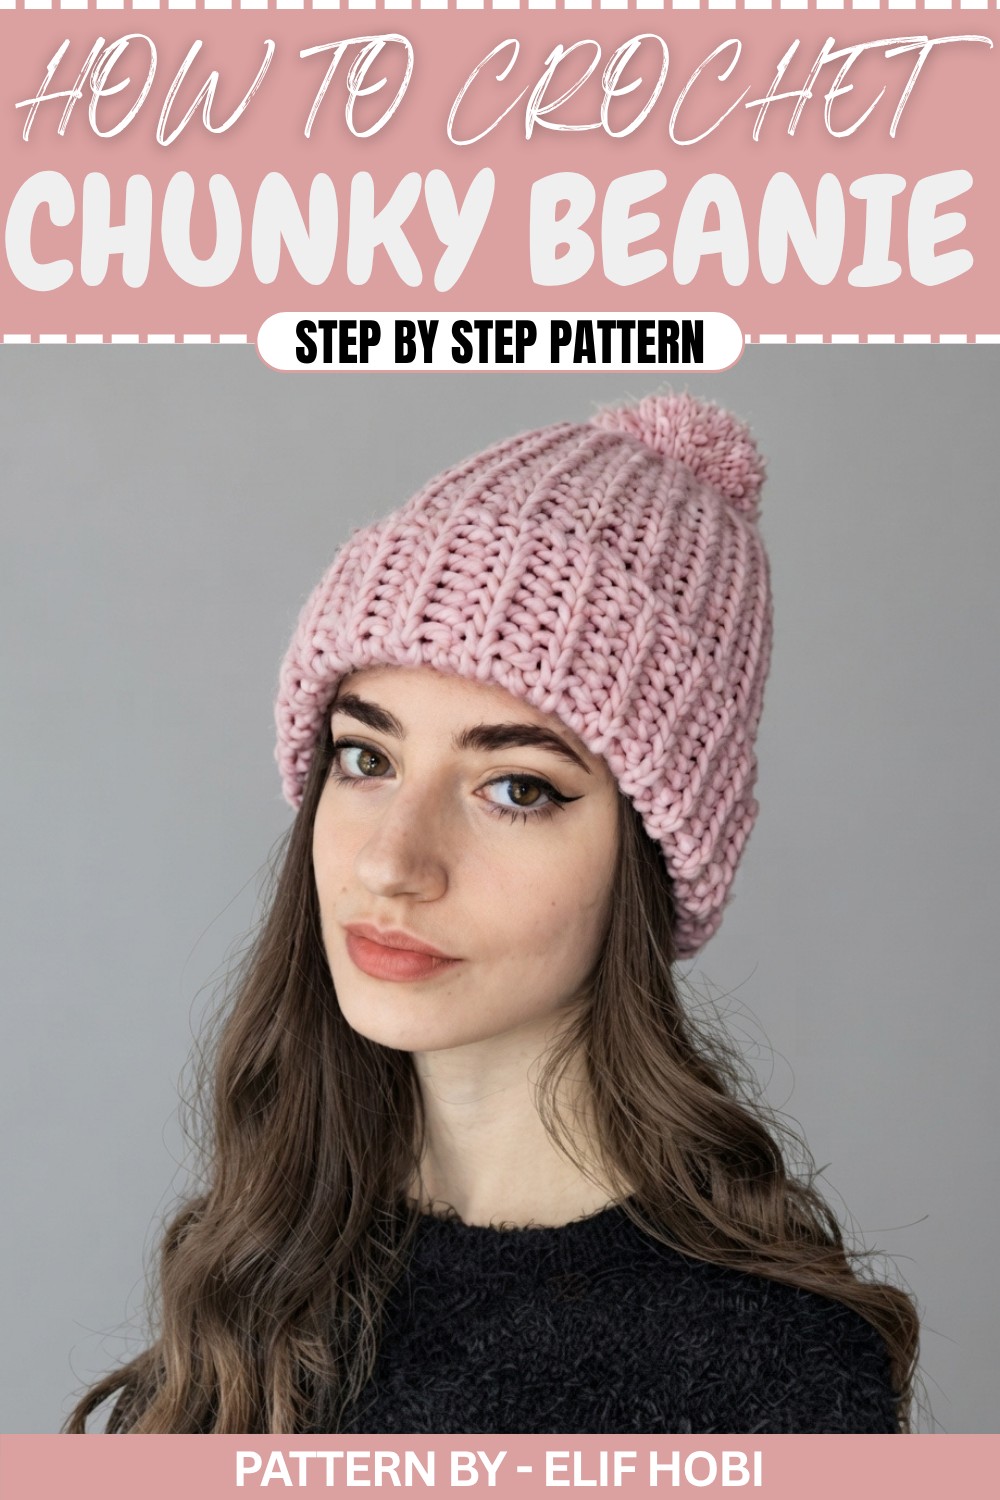
Whether you are gifting it to a friend or keeping it for your own winter escapades, this handmade treasure is a bold statement of both comfort and creativity. It serves as the ultimate cozy companion for snowy mountain getaways or breezy morning strolls, blending a rustic charm with a modern, trendy silhouette that complements any outfit.
To master this Crochet Chunky Beanie pattern, start by working 37 chains with a large 7mm hook to build the height of your hat. The magic happens by working half double crochets exclusively into the back loops, which produces a super-stretchy, ribbed fabric that looks exactly like a professional knit.
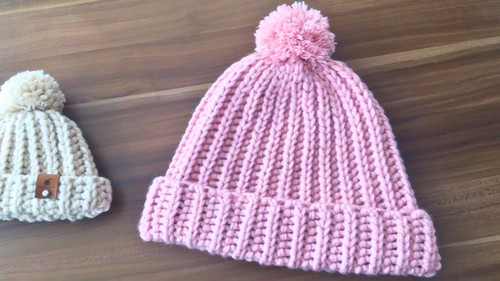
Chunky Ribbed Beanie Crochet Pattern
A ribbed crochet beanie in chunky yarn is a timeless, cozy accessory. This version uses easy stitches and a simple rectangular construction, allowing for quick results and satisfying texture. The method is entirely beginner-friendly, requiring only the most basic skills while resulting in a stylish, fitted hat suitable for adult sizes.
Skill Level
Beginner
This pattern is approachable for absolute beginners, featuring only half double crochet and slip stitches, plus basic sewing for assembly.
Materials
- Yarn: Ören Bayan Tanja (or any similar chunky/bulky weight yarn)
- Crochet Hook: 7 mm
- Large-eyed yarn needle (for seaming and weaving in ends)
- Scissors
- Finished pom-pom (optional, for topping)
Special Stitches
- Half Double Crochet (hdc): Yarn over, insert hook into stitch, yarn over, pull up loop (3 loops on hook), yarn over, pull through all three loops.
- Slip Stitch (sl st): Insert hook into stitch, yarn over, pull through stitch and loop on hook (1 loop left).
Stitch Abbreviations
- ch: chain
- hdc: half double crochet
- sl st: slip stitch
- st: stitch
- rep: repeat
Useful Tips
- Always work into the middle/back loop of the row for enhanced ribbed texture—do not work through both loops or just the front.
- Mark the last stitch of your row so you don’t lose track, ensuring straight edges.
- To fit different head sizes, adjust the initial chain for hat height or the number of rows for hat circumference.
- Keep tension even on slip stitches; they determine the fit of the hat’s brim.
- When seaming, align ribs carefully for a seamless finish.
Pattern Instructions
Foundation Chain:
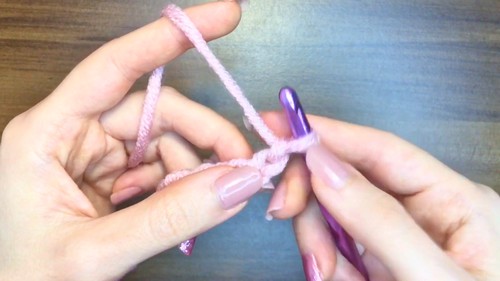
- Ch 37 for standard adult female size (customize for desired hat height).
Row 1:
- Skip the first chain from the hook.
- Work 1 hdc into each chain until only 3 chains remain.
- In the final 3 chains, make 1 sl st in each (these will create the beanie's tighter brim area).
- (Total stitches: 33 hdc, 3 sl st = 36 stitches. If you changed the chain, maintain the last 3 stitches as slip stitches.)
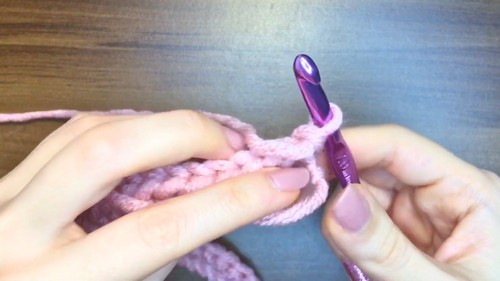
Row 2 and All Following Rows:
- Ch 1, turn.
- Begin by working into the middle or back loop only of each stitch for ribbing effect.
- Working across the row:
- On the slip-stitched side (where your short tail remains from foundation), continue making 1 sl st in each of the first 3 stitches.
- Then, continue with hdc in each stitch across the rest of the row until the end.
- Always finish with hdc at the top edge of the beanie, sl st at the brim.
- Repeat this row pattern until your work, when stretched gently, reaches the intended head circumference.
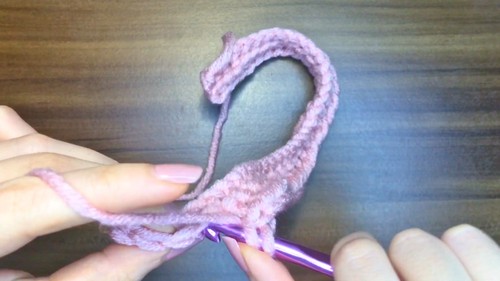
Measuring for Fit
- The sample is made to 54 cm circumference (standard adult). Adjust the number of rows for a snug but comfortable fit.
- The fabric is very stretchy due to the ribbed pattern; test the stretch before committing to final seam.
- When finished, make sure both short edges match up in stitch count.
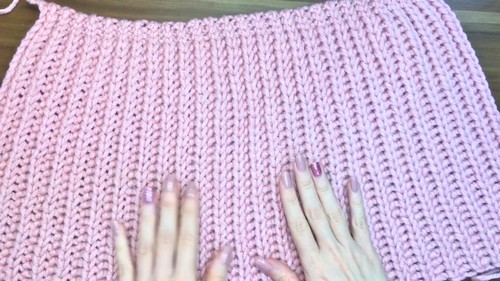
Seaming the Beanie
- Fold the finished rectangle in half, aligning the short sides (rows).
- Thread a long tail of yarn onto a tapestry/yarn needle.
- Seam the sides together using the needle:
- Whipstitch or mattress stitch through the tops of the hdc and through slip stitches.
- Carefully keep the ribs aligned for an invisible seam.
- Fasten off securely.
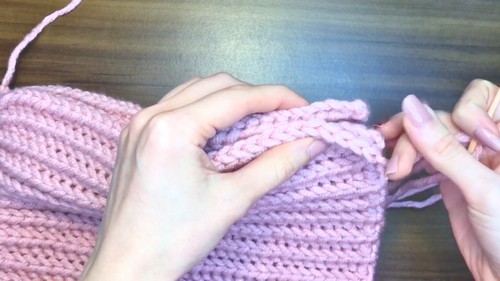
Closing the Top
- With a new strand of yarn, or the original tail if long enough:
- Weave the needle in and out around the top open edge (the hdc edge, not the brim) using a loose running stitch (zig-zag pattern).
- Once the needle has gone all the way around, pull the yarn tightly to gather the opening closed.
- Secure with a knot or two so the top will not open.
- Weave in any remaining yarn tails through the inside of the hat.
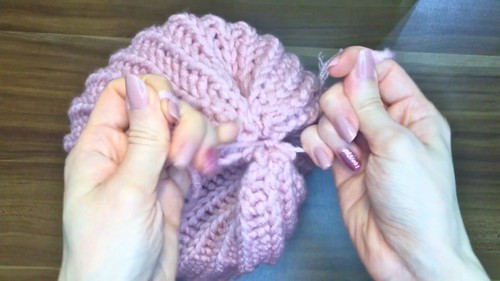
Attaching the Pom-Pom
- Attach a pre-made pom-pom to the gathered top.
- Use the pom-pom's strings: thread them through the top center and tie securely on the inside.
- Weave in or trim excess.
Assembly and Sizing
- Finished beanie should measure approximately 54 cm around and have a gently cinched crown with a flexible ribbed brim.
- For smaller or larger sizes, adjust the initial chain (height) or the number of rows (circumference).
- The rib pattern ensures good stretch and fit for most adult heads.
- Pom-pom is optional, but adds a classic finish.
Conclusion
This chunky ribbed beanie offers plush warmth and chic style with minimal effort and time. Adapt easily for size and embellishment, and enjoy the satisfying results of quick, textured ribbing that stretches comfortably to fit. Perfect for gifting, market stalls, or personal use during cold months, this beanie pattern demonstrates the value of simple, effective stitching combined with plush yarn.