
Crochet Cat on the Moon Earrings Pattern for Fantasy Touch
Refresh your look and bypass basic options with a Free Crochet Cat on the Moon Earrings Pattern that sparkles with lunar whimsy.
A whimsical scene comes to life with earrings featuring a cat perched on a crescent moon, bringing a touch of charm and personality to any outfit. These earrings stand out with their soft curves and subtle details, achieved through a combination of double crochet, triple crochet, and picot stitches. The picot stitch adds tiny, pretty points along the moon’s edge, making the design both playful and elegant.
Other Uses for This Pattern
This cat-on-the-moon pattern can be adapted for other charming projects beyond earrings. It works well as a brooch or keychain or as an adorable wall decoration for a child’s room or cozy space. By making a few modifications, it can also become a pendant or playful charm for bags and clothing. The stitches and shapes provide many options to add a little magic and personality to a variety of handmade items.
Unique Crochet Cat on the Moon Pattern for Memorable Surprises
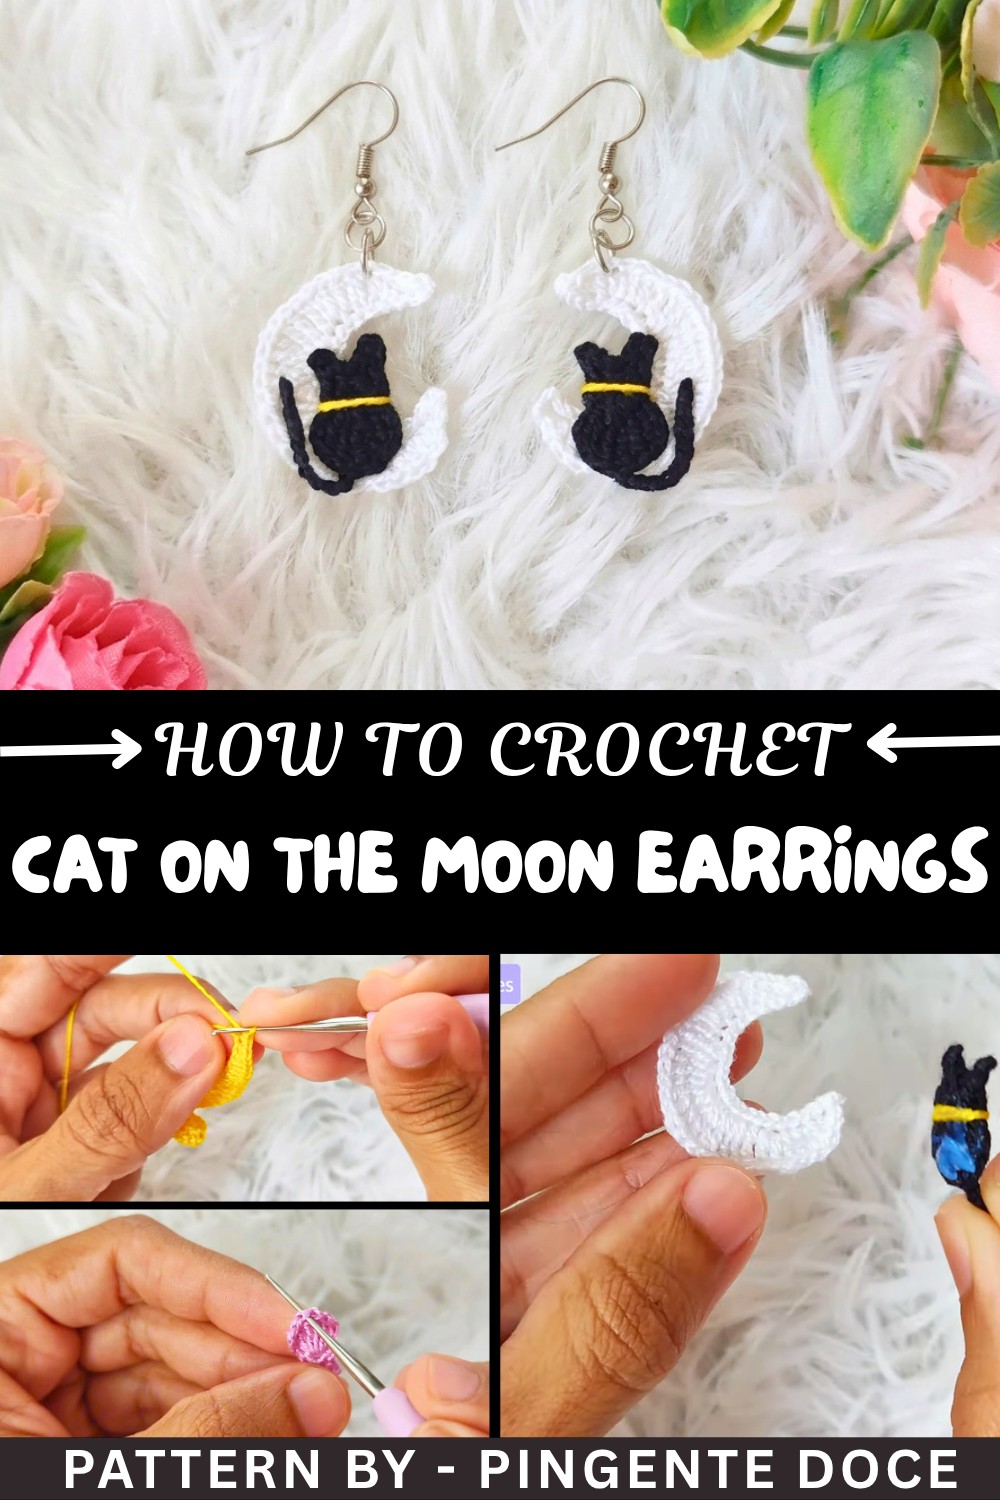
The pattern starts with a long chain base and grows into the moon shape using the magic ring technique, allowing for smooth, rounded edges. The cat is formed using simple stitches that give it character without being too difficult for beginners. Adding the picot edging gives the moon a lovely finish, while hardening the finished pieces with fabric glue helps them keep their shape and adds durability. Small rings and earring hooks complete the design, turning these charming shapes into a fun, wearable accessory.
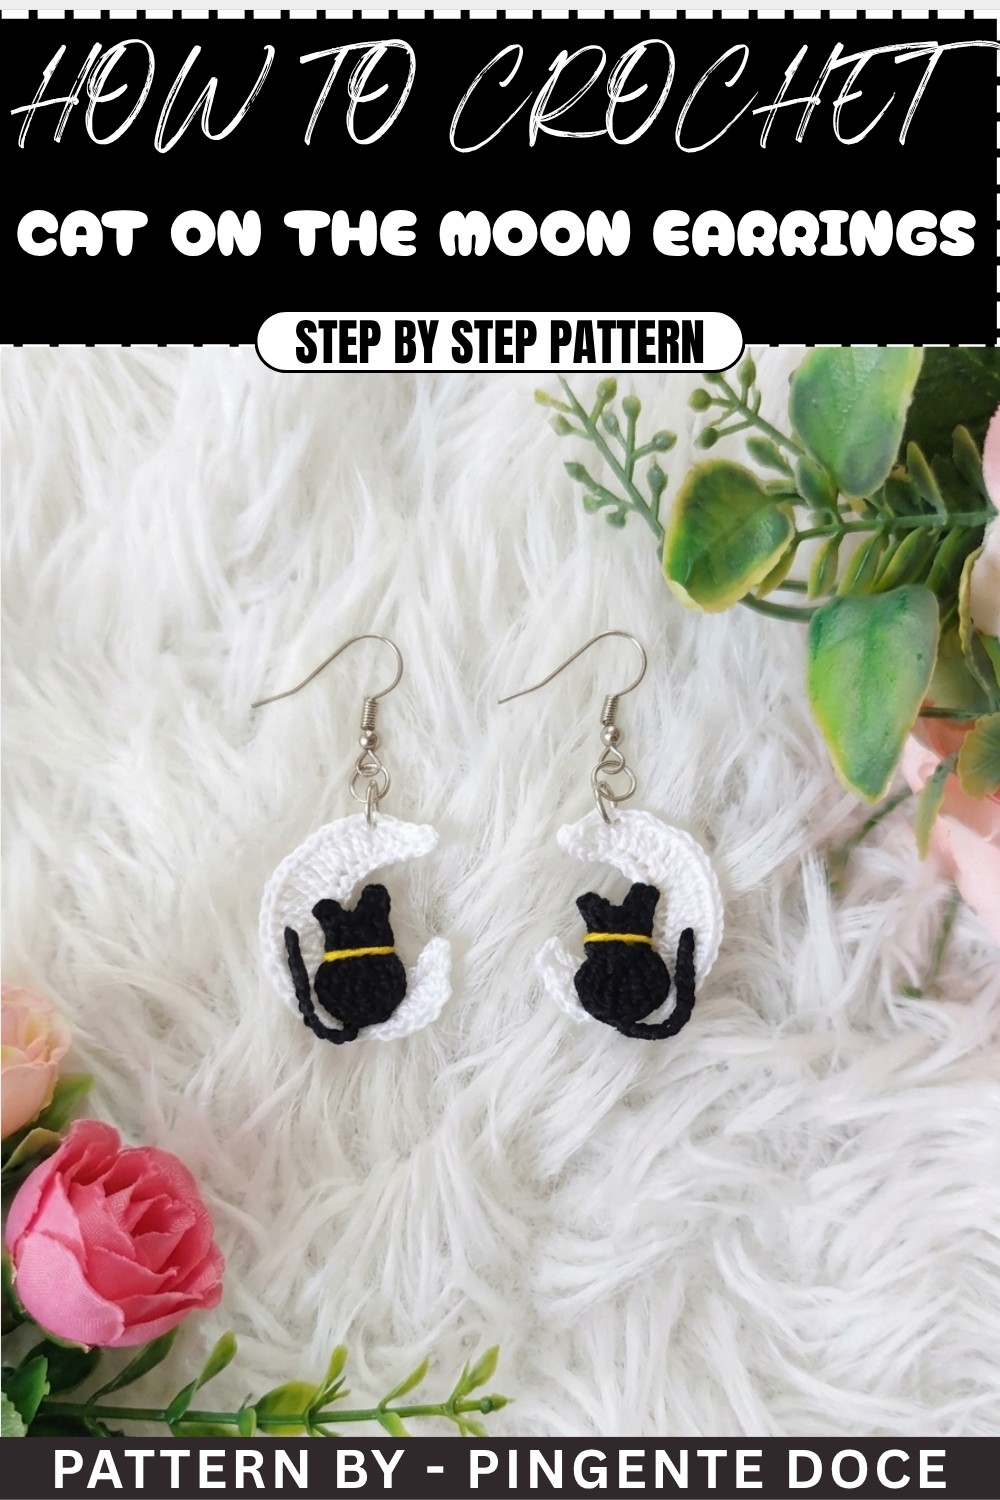
Crochet Cat on the Moon Earring Pattern
This crochet Cat on the Moon earring pattern is a charming symbol of serenity and elegance, perfect for lovers of animals and celestial-inspired accessories. Whether you’re an experienced crocheter or a dedicated beginner, this project is simple to make yet creates an intricate masterpiece. This pattern includes the base moon shape, a decorative sitting cat, and step-by-step guidance for assembly.
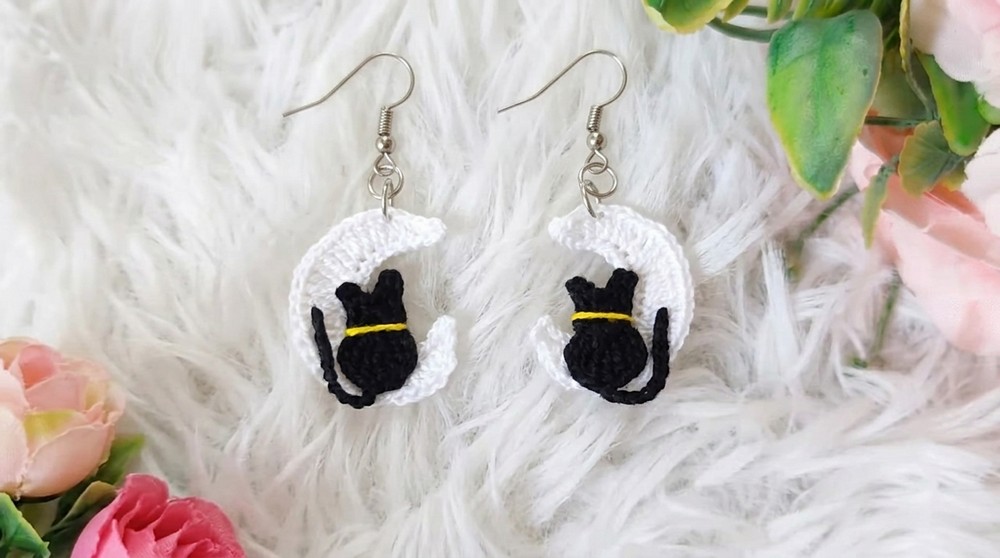
Uses of This Pattern
- Unique Earrings: Perfect for making a celestial statement!
- Gift Idea: Great for cat lovers and fans of handmade jewelry.
- Customizable Design: Change colors, embellishments, and size to tailor the style to your needs.
Skill Level & Terminology
- Skill Level: Intermediate (includes techniques such as magic ring, triple crochet, and picot stitches).
- Terminology: U.S. Crochet Terms
Materials & Tools
- Yarn/Thread:
- En thread or similar fine crochet thread in different colors: one for the moon, one for the cat, and one accent color (optional).
- Tools:
- Crochet hook: 1 mm or similar.
- Scissors for trimming.
- Pliers for attaching the jewelry hardware.
- Tapestry/sewing needle for finishing.
- Fabric glue for hardening the pieces (optional, mixed with water).
- Jewelry findings: Hoop, earring hooks, and rings.
Gauge
Gauge is not essential for this project as it is decorative. However, ensure consistent crochet tension to create balanced shapes.
Abbreviations List
- MR: Magic Ring
- ch: Chain
- sc: Single Crochet
- dc: Double Crochet
- sl st: Slip Stitch
- hdc: Half Double Crochet (medium stitch)
- tc: Triple Crochet
Special Stitch Instructions
Magic Ring (MR):
- Create a ring with your yarn, crossing the working yarn over the loose tail.
- Insert your hook, pull up a loop, and chain one to secure the ring before adding additional stitches.
Triple Crochet (tc):
- Yarn over three times, insert the hook into the stitch, and pull up a loop.
- Yarn over and pull through two loops at a time until only one loop remains.
Picot Stitch:
- Chain 2.
- Insert the hook into the first chain, yarn over, and pull through to form a slip stitch.
Finished Size
The completed earring measures approximately 3 inches long (including the hoop and hook) and 1.5 inches wide.
The Pattern Itself
Part 1: Create the Crescent Moon Base
1. Chain Foundation:
- Make a slip knot with the thread designated for the moon.
- Crochet 25 chains (ch).
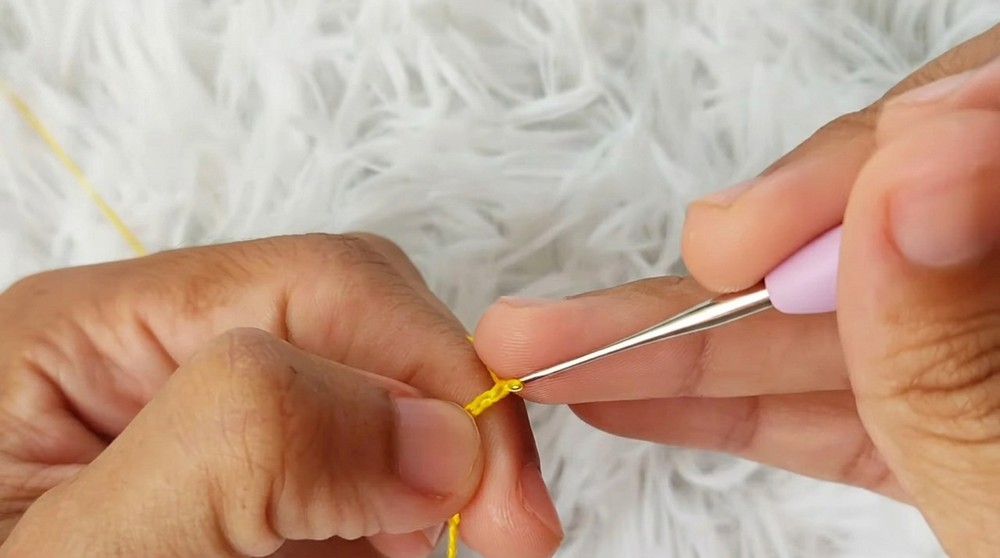
2. Start Shaping the Moon:
- Skip the first chain, and in the second chain work:
- 1 slip stitch (sl st).
- 1 single crochet (sc).
- 2 Half Double Crochets (hdc) (loop once before inserting the needle).
- 2 double crochets (dc) consecutively in the next stitch.
3. Build the Crescent Curve:
- Repeat the sequence of increasing stitches: into the next six chains, crochet two double crochets (dc) per chain.
- In several chains, work double-loop high stitches (tc or extended double crochet) for additional curve definition.
4. Finish the First Side:
- End the crescent moon curve by adding single crochets (sc) and one slip stitch (sl st) into the final chain of the row.
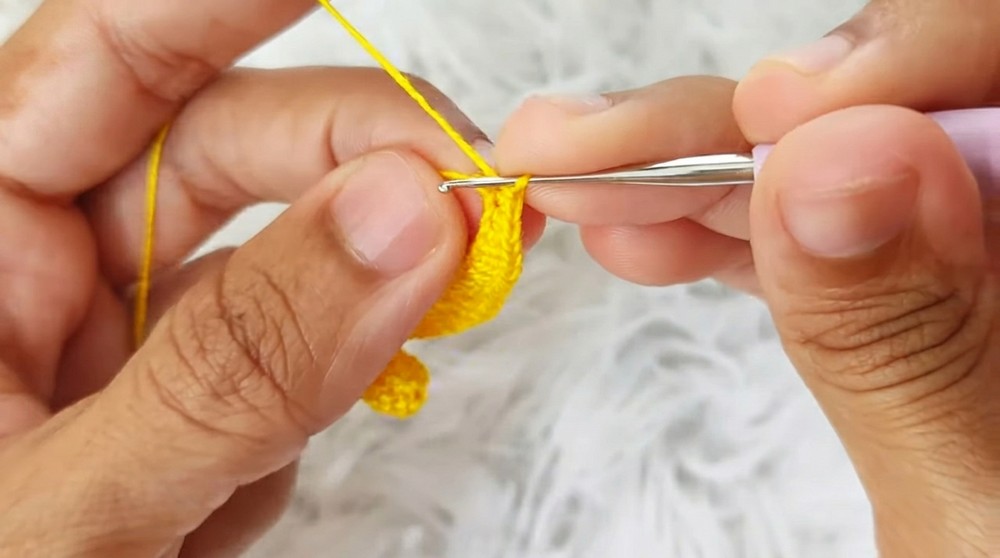
5. Complete the Moon Shape:
- Turn your piece and work along the other side of the chain foundation.
- Crochet 24 slip stitches (sl st) across the row to redefine the curved edge of the crescent moon.
You’ve completed the base shape of the moon! This distinct crescent will serve as a backdrop for your charming cat.
Part 2: Create the Cat Figure
6. Start with Magic Ring:
- Use a new thread color and create a magic ring (MR).
- Crochet 3 chains (ch) to form the foundation row.
7. Shape the Cat’s Body:
- Work 2 double crochets (dc) into the magic ring, followed by:
- Another dc.
- A triple crochet (tc). (Loop three times on the needle, and pull through two loops at a time until one remains).
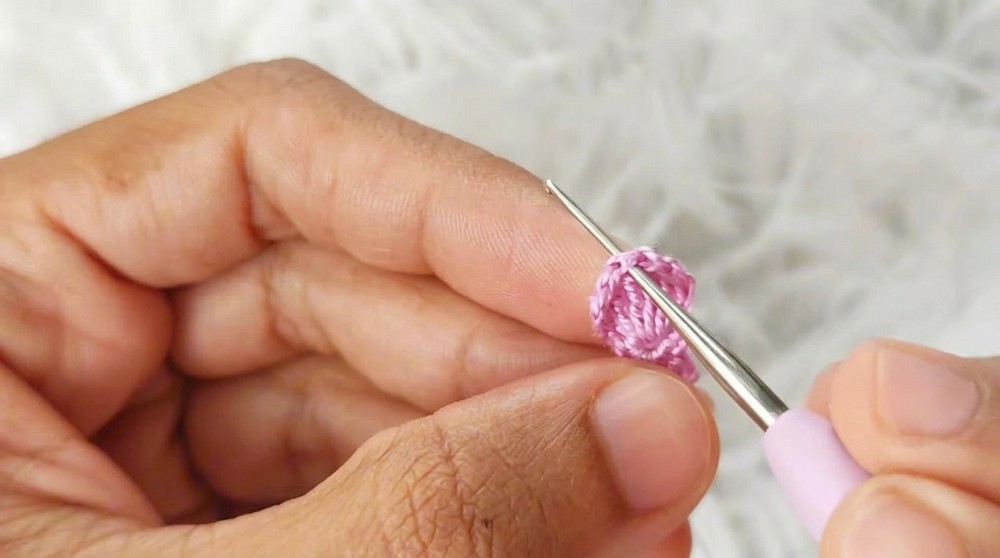
8. Detail the Wings:
- Repeat the sequence with dc, tc, and a sl st, adding picot stitches to the edges.
- Close the shape of the cat using a sl st and tighten the ring completely.
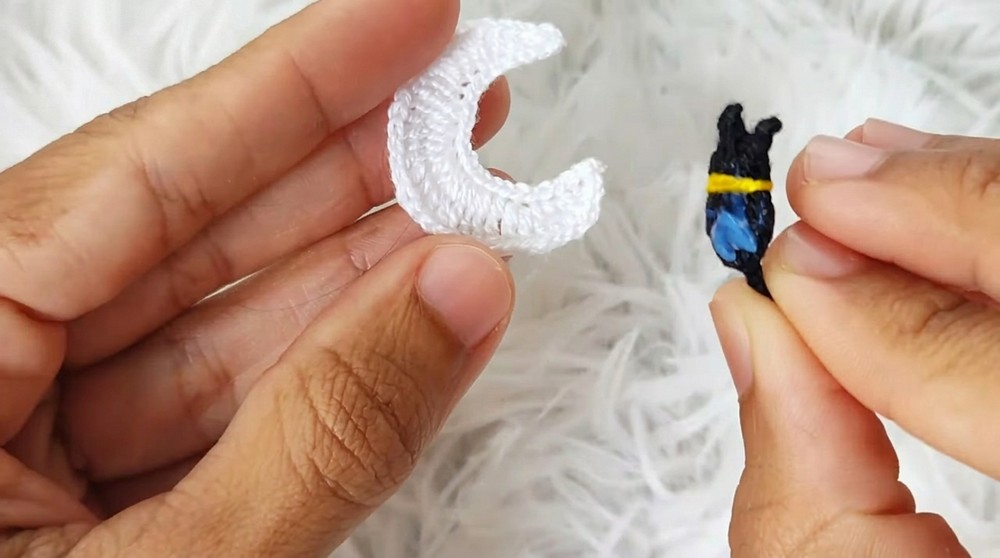
The cat figure is now complete, with tiny picot details for a refined appearance. Make sure to hide the loose thread ends for neat finishing!
Part 3: Add the Neck Detail
9. Embroidery on the Cat’s Neck:
- Use a new accent thread to weave a simple neckpiece around the neck area of the cat.
- Add a dab of fabric glue inside the thread to keep the detail secure. Trim any excess thread once the glue dries.
The cat now has a lovely decorative collar or a neckband that adds fun detail to your design. You can skip this step for a cleaner look.
Part 4: Assembly
10. Harden the Crochet Pieces:
- Mix fabric glue with water until slightly diluted.
- Apply the mixture to the wrong side of the crescent moon and the butterfly pieces.
- Let dry completely before assembly.
11. Attach the Cat to the Moon:
- Use fabric glue to attach the cat figure to the crescent moon base. Position the center so the cat appears to sit on the moon.
- Allow the glue to dry fully before continuing.
12. Add Earring Hardware:
- Attach two rings to the top of the crescent moon with jewelry pliers.
- Secure the earring hooks to the rings, ensuring they are firmly in place.
- Attach beads to the earring pin and attach it to one butterfly piece as decoration.
Your Cat on the Moon earrings are now complete! The charming design perfectly captures a whimsical aesthetic.
What You’ll Learn
- Crescent Moon Shaping: Master stitch increases to create curves, perfect for celestial designs.
- Picot and Triple Crochets: Learn to incorporate decorative details like picot points and triple crochet stitches.
- Assembly Skills: Gain experience designing jewelry with both crochet and hardware.
Difficulties & Their Solutions
Key Challenges
- Magic Ring Size:
- Rings may loosen and unravel during assembly or use.
- Solution: Tighten the magic ring firmly by pulling the loose thread and securing with a knot.
- Hardened Finish Unevenness:
- Excess glue may cause uneven textures or discoloration on the crochet pieces.
- Solution: Apply glue sparingly using a brush and avoid the front of the piece where details are visible.
- Unaligned Assembly:
- Mispositioning the cat on the moon can throw off the final design alignment.
- Solution: Test placement before applying glue and use clips to hold pieces in place as the glue dries.
Why You’ll Love This Pattern
This Cat on the Moon earring pattern is perfect for anyone who loves cats, celestial designs, or unique jewelry. The step-by-step guide ensures you can confidently tackle intermediate crochet techniques while crafting a personalized accessory to showcase your creativity. The versatility in thread colors and optional accents makes this pattern endlessly fun to experiment with.