
Easy Crochet Earrings Pattern for Fun Wardrobe Refresh
Refresh your jewelry stash and skip ordinary choices with a Free Crochet Earrings Pattern featuring trendy, versatile designs.
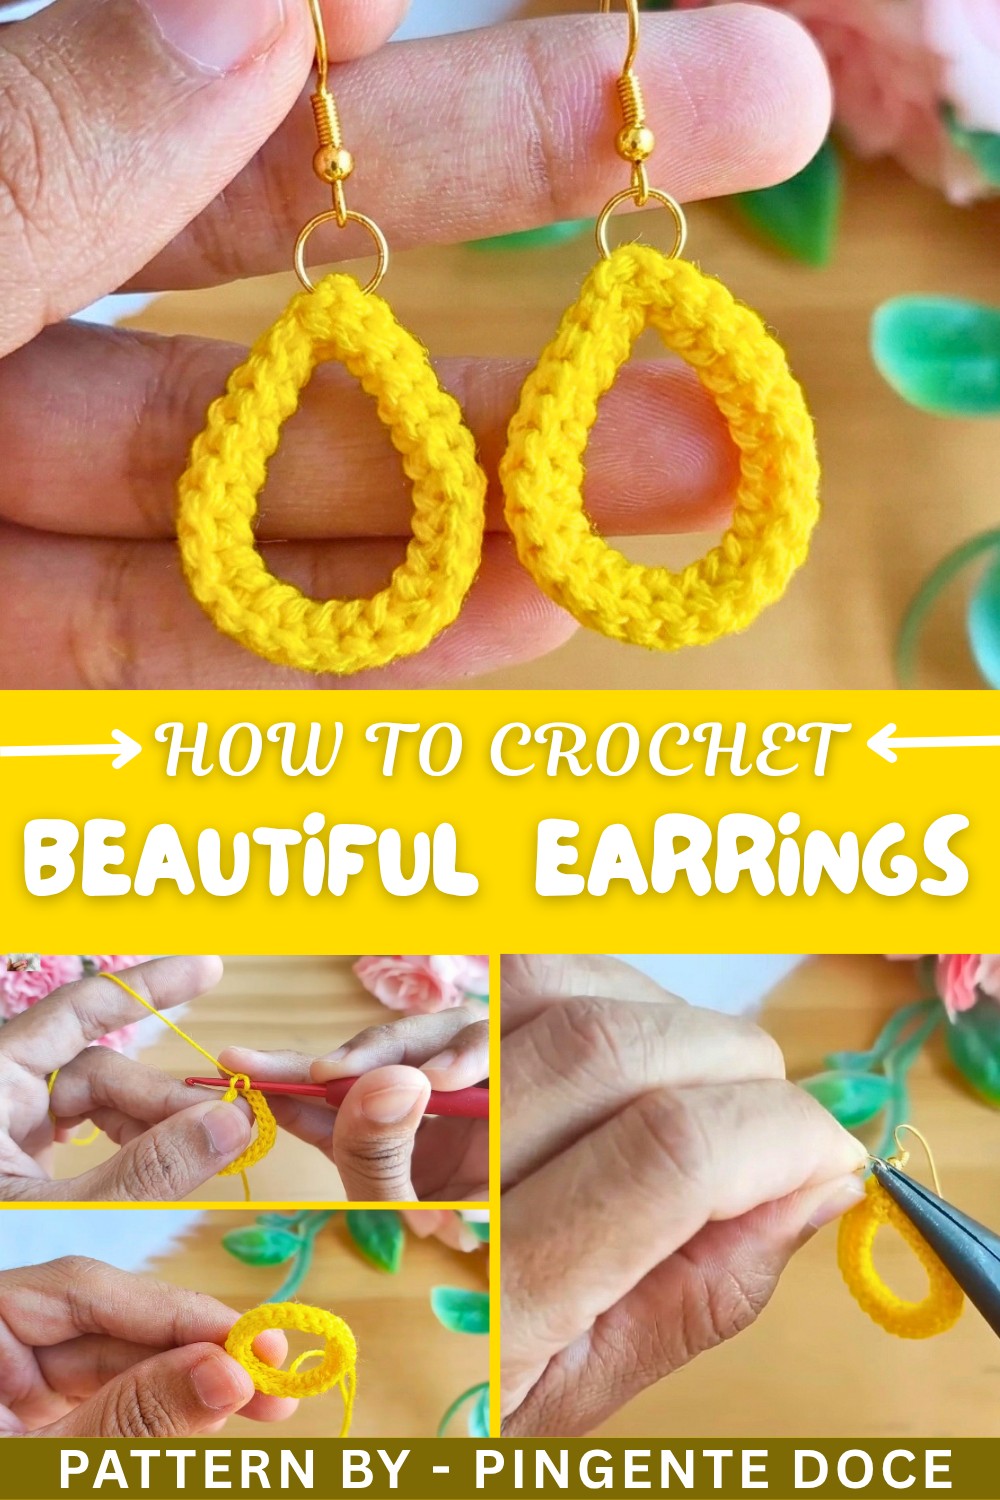
One of the joys of crochet is learning how simple stitches can create elegant designs that brighten up your day. I remember the first time I tried this beautiful earring pattern and was surprised that with just a few materials, a crochet hook, and some patience, I could make such a charming accessory. What I especially love about this pattern is the use of slip stitches worked only in the top loops, which gives the earrings a neat, textured look without making the process complicated. The pattern uses basic stitches arranged in a way that feels fresh and unique, perfect for anyone wanting to try their hand at jewelry-making. These earrings are light and comfortable, making them ideal to wear every day or for special occasions.
Amazing Crochet Earrings Pattern for Effortless Cute Gifts
Versatile Ideas for This Pattern
While these earrings make a lovely statement, the pattern’s simple yet beautiful texture can be adapted for many other projects. You could crochet bracelets or delicate headbands using the same stitch technique to add an elegant flair. Try making matching pendants or scale up the pattern to create eye-catching motifs for bags or home decor like coasters or small wall hangings. The ease and versatility of this stitch pattern make it a great foundation for adding handmade charm to any part of your style or space.
Simple Crochet Hoop Earring Pattern
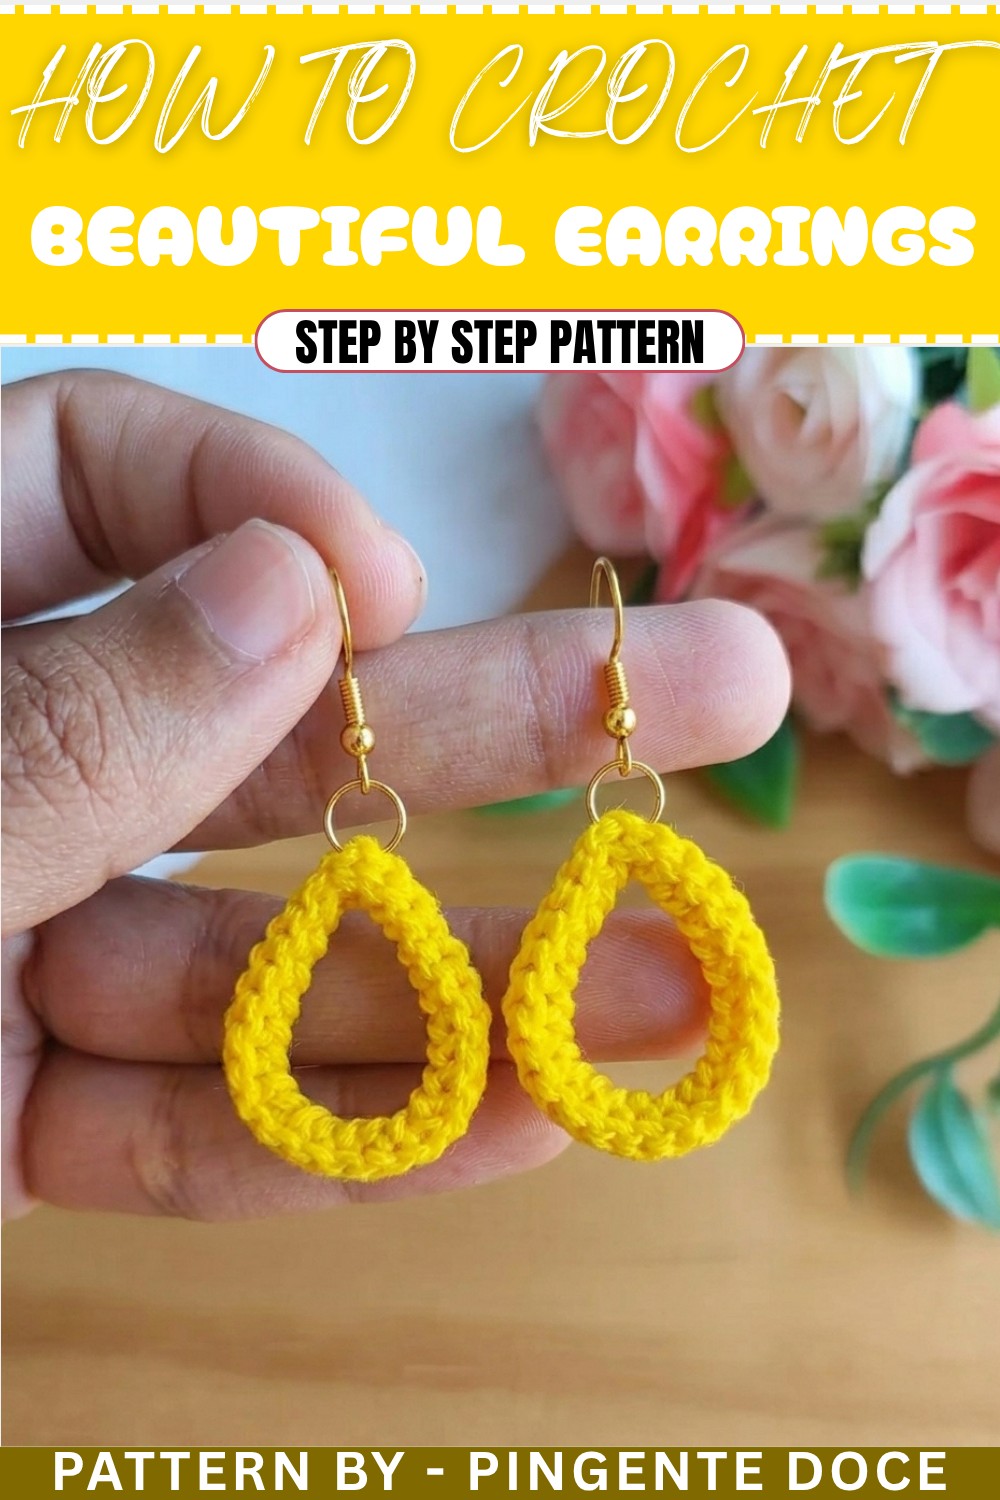
This tutorial provides a step-by-step guide to creating elegant yet minimalistic crochet hoop earrings. These earrings are made with embroidery floss and finished by shaping and assembling them with earring hooks and hoops, making them suitable for both everyday wear and special occasions.
This crochet hoop earring pattern is perfect for crochet enthusiasts who enjoy creating accessories with a personal touch. The patteren is simple yet stylish, combining crochet techniques with jewelry-making elements. Lightweight, quick, and fun to make, these earrings are great for gifting or complementing your handmade wardrobe.
Uses of This Pattern
- Accessories: Stylish, handmade earrings that can match any outfit.
- Gift Idea: Perfectly personalized and handmade gifts for friends or loved ones.
- Crochet Fair Appeal: Great projects to sell at markets or online shops due to their quick and easy construction.
- Customizable Design: Play with colors or even add beads for a unique touch.
Skill Level & Terminology
- Skill Level: Beginner. Ideal for those with basic crochet knowledge.
- Terminology: U.S. Crochet Terms
Materials & Tools
- Thread: Embroidery floss in a color of your choice.
- Crochet Hook: 2.2 mm crochet hook.
- Additional Tools:
- Scissors
- Tapestry needle for weaving in ends.
- Fabric glue mixed with water, and a small brush for application.
- Earring hoops and hooks.
- Pliers (optional, for attaching jewelry hardware).
Gauge
Gauge is not critical for this pattern due to the small size of the project. However, aim for tight stitches to ensure a neat and structured result.
Abbreviations List
- ch: Chain
- sl st: Slip Stitch
Special Stitch Instructions
- Slip Knot: Create a loop, insert the hook through it, yarn over, and tighten to form your starting knot.
- Slip Stitch (sl st): Insert hook into the stitch, yarn over, and pull through all loops on the hook.
Finished Size
The completed earrings measure approximately 2 inches in diameter when assembled with the hoop.
Pattern Overview
This crochet hoop earring pattern begins with a foundation chain worked into a circular hoop shape. Rows of slip stitches are worked along the foundation chain to create a subtle texture. The earring halves are stiffened with fabric glue, shaped, and sewn into one structured piece. They are then finished with hoops and earring hardware for a complete look.
The Pattern
Part 1: Crocheting the Hoop Base
- Start with a Slip Knot and Foundation Chains:
- Make a slip knot on your hook.
- Work 25 chains (ch) to form the foundation.
This step creates the beginning shape of the earring. Even, consistent stitches will ensure a professional finish.
- Join into a Circle with a Slip Stitch:
- Insert your hook into the first chain (ch) and work a sl st.
Joining the chain into a circle marks the start of a hoop-like form.

Part 2: Texture Rows with Slip Stitches
- First Round of Slip Stitches:
- Insert your hook into the top loop of the first chain and work a sl st.
- Continue working 1 sl st across each chain, always using the top loop of the chain.
This creates the first layer, forming the structure of the earring.
- Second and Third Rows:
- At the end of the first row, moving into the second row, insert your hook into the top loop of the stitches from the previous row.
- Continue making sl st for each stitch around.
- Repeat this for the third row as well.
Keep your tension tight and stitches even for a polished finish. This step builds the thickness and texture of the earring base.

Part 3: Finishing Raw Edges and Creating the Second Piece
- Binding Off and Preparing for Sewing:
- After the last stitch of the third row, leave a long tail (around 25-30 cm) for stitching the two earring pieces together later. Fasten off securely.
This long tail will be used to sew the two pieces together later.
- Create the Second Piece:
- Repeat the above steps to make a second earring base identical to the first.
At the end of this part, you should have two identical circular pieces.
Part 4: Hardening and Shaping
- Prepare Fabric Glue Mixture:
- Mix fabric glue with a small amount of water to thin the consistency slightly.
- Apply the Glue:
- Use a small brush to evenly apply the glue mixture to the surface of both pieces.
- Focus primarily on the center part of the pieces, avoiding the stitches on the edges.
The glue mixture will harden the crochet design, ensuring your earrings hold their shape once dry.
- Shape and Dry the Pieces:
- Fold each base into a semi-circle and press both halves together.
- Allow the pieces to dry for at least 24 hours.
The folded structure solidifies into a durable, double-sided earring shape.

Part 5: Sewing and Final Assembly
- Sew the Two Pieces Together:
- Thread the tapestry needle with the long tail left earlier.
- Work around the entire hoop by sewing small stitches along the edges of both sides.
- Insert the needle into a loop from each side, pulling gently to close the piece securely.
This step seals the earring halves and ensures a clean, professional edge.
- Attach the Earring Hardware:
- Use pliers to open an earring hoop. Insert the hoop into the top edge of the earring.
- Attach the earring hook to the hoop to complete the assembly.
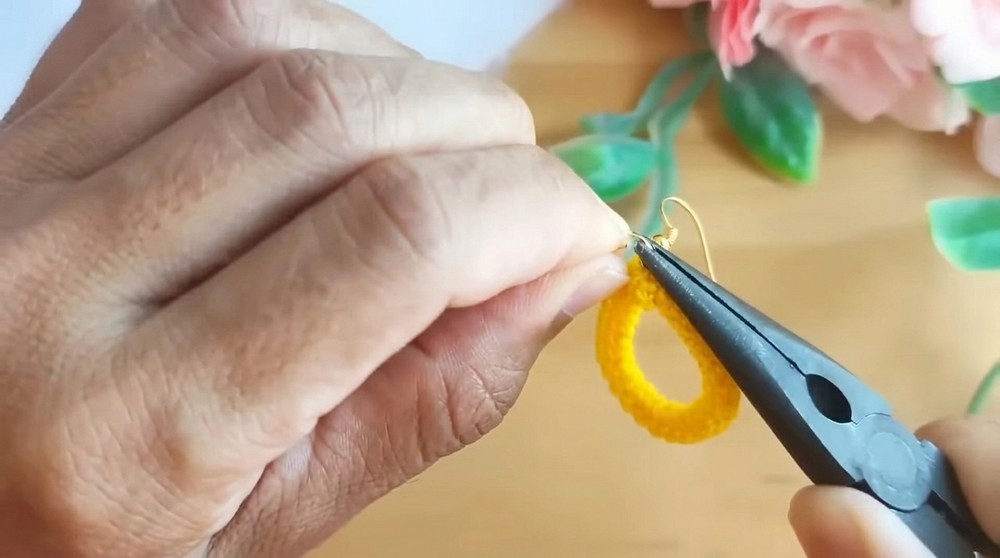

Earring hardware brings the crochet piece to life—ready to wear!
Assembly & Finishing
- Final Adjustments:
- After assembling the earring, press the edges firmly to achieve the desired shape.
- Ensure all glue has dried completely and hiding the tail end is done securely.
This step helps finalize the crisp look of the earring and ensures a strong assembly.
What You’ll Learn
- Foundation Chains and Tension Control: Practice creating tight, even chains for a professional foundation.
- Shaping Jewelry Projects: Learn how to form a wearable accessory using basic crochet techniques.
- Hardening Crochet Pieces: Use fabric glue to stiffen crochet material for structure and durability.
- Combining Crochet with Jewelry Hardware: Gain skills in attaching hooks and hoops to crochet pieces for unique designs.
Pattern Difficulties and Solutions
Common Challenges
- Uneven Tension in Slip Stitches:
- Slip stitches may appear loose or uneven.
- Solution: Take your time to ensure consistent tension and insert the hook carefully into the correct loops.
- Difficulty Joining the Chains into a Smooth Circle:
- Joins may appear misaligned or twisted.
- Solution: Double-check that your foundation chain is not twisted before joining into a circle.
- Bonding with Fabric Glue:
- Glue may seep into unwanted areas.
- Solution: Use a small brush for precision and apply sparingly to targeted areas.
Why You’ll Love This Pattern
This crochet hoop earring pattern combines creativity with simplicity, allowing all skill levels to create a stylish wearable masterpiece. With only two basic stitches involved, it’s an accessible project that pairs perfectly with your favorite embroidery floss colors. Whether styled for casual everyday wear or as an elegant handmade gift, this pattern will impress and inspire. Plus, as a quick project, they make for a satisfying afternoon of crocheting!