
Crochet a Magical Snowflake Keychain With This Free Pattern
Tuck a little winter charm into a stocking with the Crochet Snowflake Keychain Pattern for a sweet seasonal present that feels special without being large.
Featured By Ochy Crochet
Snowflakes are one of nature’s most delicate wonders, and now you can crochet your very own miniature version to carry with you. This snowflake keychain is both beautiful and useful, featuring intricate details made with easy stitches. With just a few rounds of crochet, it’s amazing how simple stitches like single crochet, treble crochet, and slip stitches can form a snowflake that’s perfect as an accessory or a thoughtful gift for loved ones. Its elegant shape makes it ideal for decorating bags, backpacks, or even for spreading holiday cheer.
Free Crochet Snowflake Keychain Pattern to Match Your Winter Bag
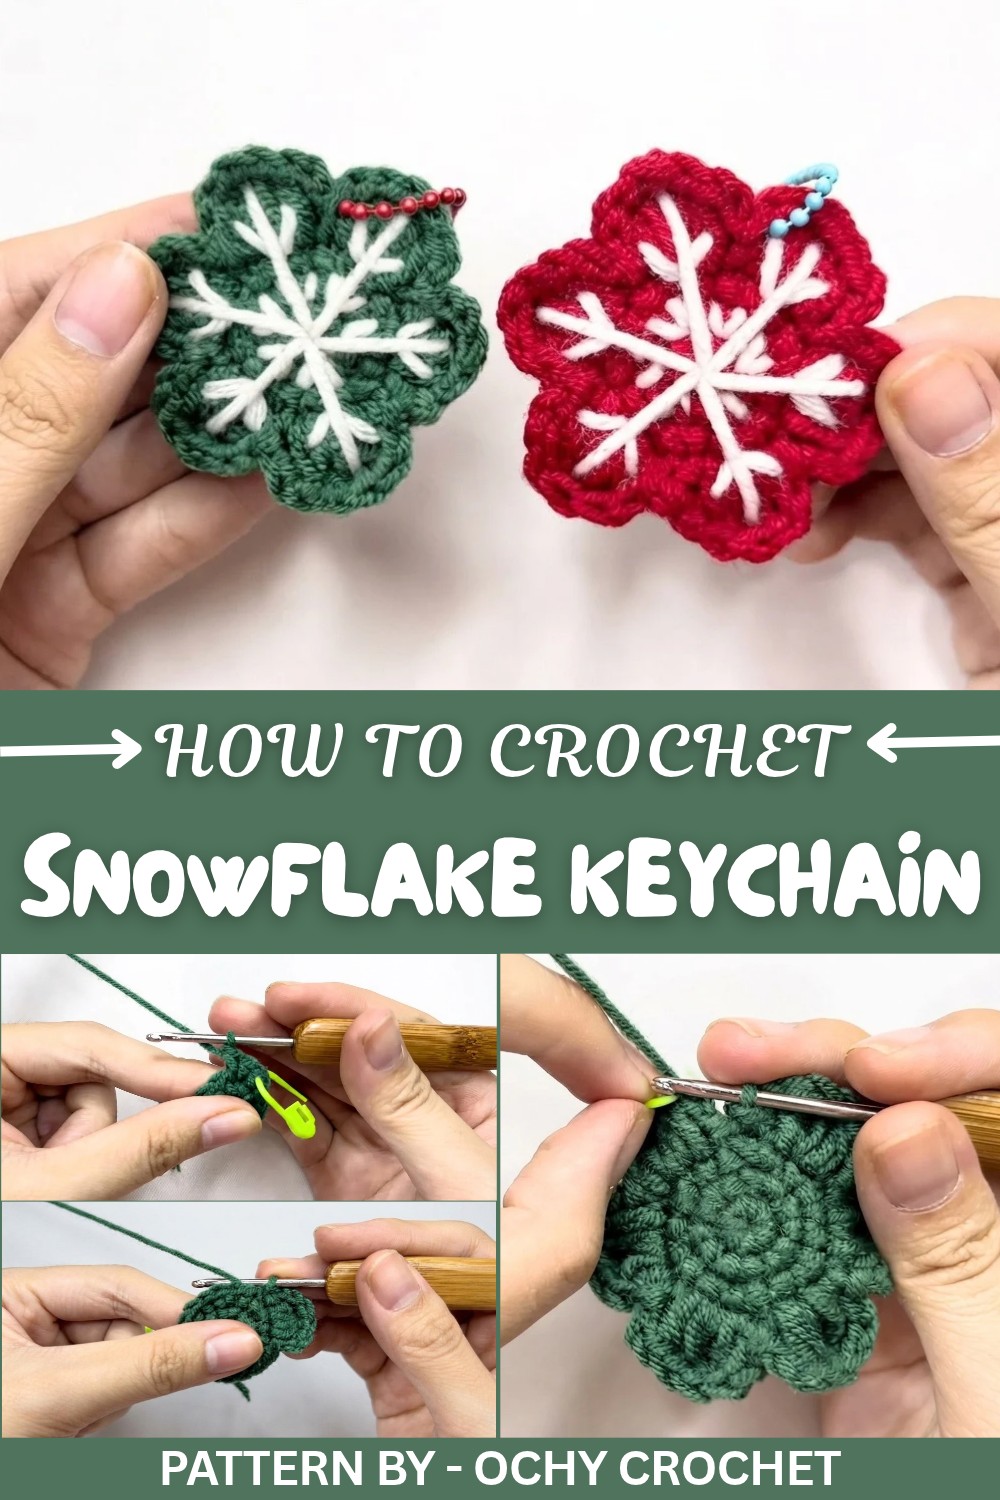
This project give you to techniques that go beyond the basics while still being easy enough for beginners. Special stitches like treble crochet add height and texture, making the snowflake’s edges stand out beautifully. Learning these stitches opens the door to making other items, such as star shaped ornaments, floral appliqués, or stylish coasters. The snowflake keychain is unique in how it combines simple steps to achieve a stunning result, allowing both seasoned crocheters and first timers to enjoy the process.
With this pattern, you’ll learn skills such as working in rounds, increasing stitches, and shaping curves, all essential techniques that you can apply to future projects. Using cotton yarn in soft or vibrant colors lets you customize your snowflake to match your style. Whether you’re keeping it for yourself or gifting it as a token of warmth and care, this snowflake is more than just a keychain, it’s a little piece of charm that you can take anywhere with you, brightening your day or someone else’s.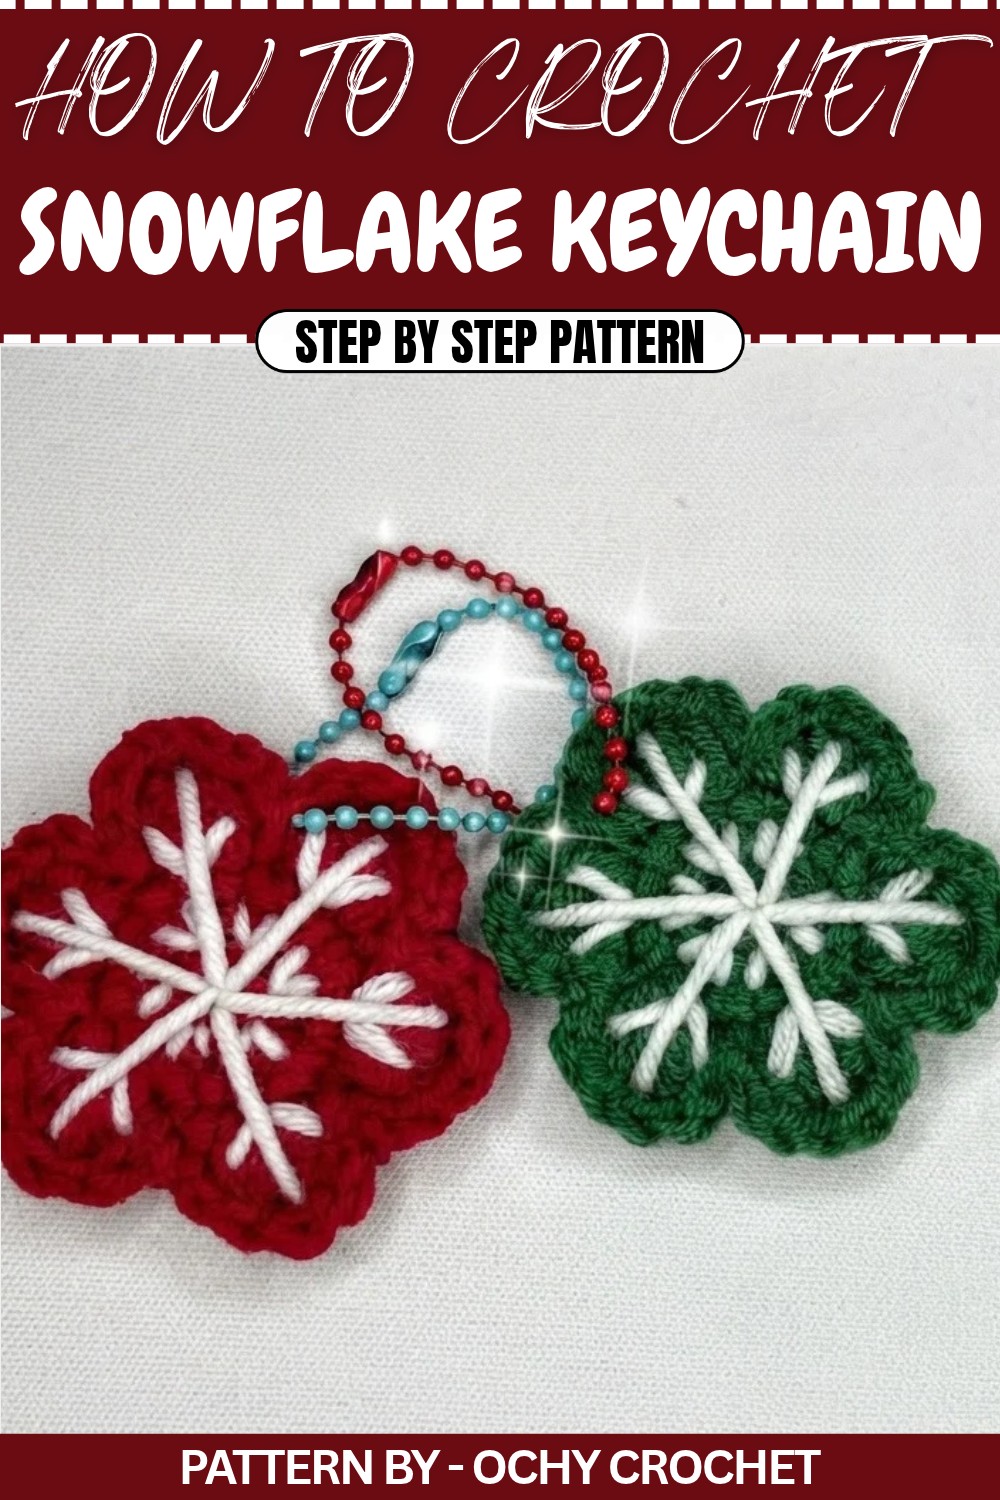
Crochet Snowflake Keychain Pattern
This guide will walk you through crafting a charming snowflake keychain — perfect for winter decorations, gifting, or adding a frosty touch to your accessories. Let’s dive in and bring this beautiful snowflake design to life step by step.
Quick Overview of Pattern
- Create a detailed snowflake keychain with an elegant and unique design.
- Suitable for beginners with clear, step by step instructions.
- Uses basic crochet stitches such as single crochet, double crochet, and slip stitches.
Notes
- This pattern is worked in rounds, starting with a magic ring.
- Use a stitch marker to mark the beginning of each round for better accuracy.
- Maintain even tension for a clean look, especially when creating the delicate snowflake "arms."
Skill Level
Beginner to Intermediate – Some experience with basic and intermediate stitches will be helpful for shaping the intricate details of the snowflake.
Materials
- Yarn: Cotton yarn in white or your favorite snowflake color.
- Crochet Hook: 2.5 mm.
- Tools: Stitch marker, scissors, and yarn needle.
- Optional Accessories: Keychain rings or clips.
Measurements / Sizing
- Finished snowflake size: Approximately 6 cm in diameter, depending on yarn tension.
Gauge
Gauge is not crucial for this project but keeping stitches tight will deliver a polished snowflake look.
Stitch Abbreviations
- MR: Magic Ring
- sc: Single Crochet
- ch: Chain
- sl st: Slip Stitch
- dc: Double Crochet
- tr: Treble Crochet
- hdc: Half Double Crochet
- incr (V): Increase (2 single crochets in the same stitch)
Special Stitches
Magic Ring (MR): Wrap the yarn around your finger, insert the hook into the loop, yarn over, and pull through the loop, creating an adjustable circle. Continue crocheting into the ring to form the foundation of your project.
The Crochet Pattern
Step 1: Snowflake Center
- Round 1:
- Begin with a magic ring (MR) and chain 1.
- Work 6 single crochets (sc) into the MR.
- Use a stitch marker to mark the first stitch of your round.
- Pull the magic ring tight to close and join the round with a sl st into the first stitch.
- Round 2:
- Chain 1. In the first stitch, work 1 increase (2 sc in the same stitch).
- Repeat around: 2 sc in each stitch. This results in 12 sc at the end of the round.
- End the round with a sl st into the first stitch.
- Round 3:
- Chain 1. Work 1 sc in the first stitch, then 1 increase (V) in the next stitch.
- Repeat around: 1 sc, 1 V. This results in 18 stitches in total.
- Join the round with a sl st into the first stitch.
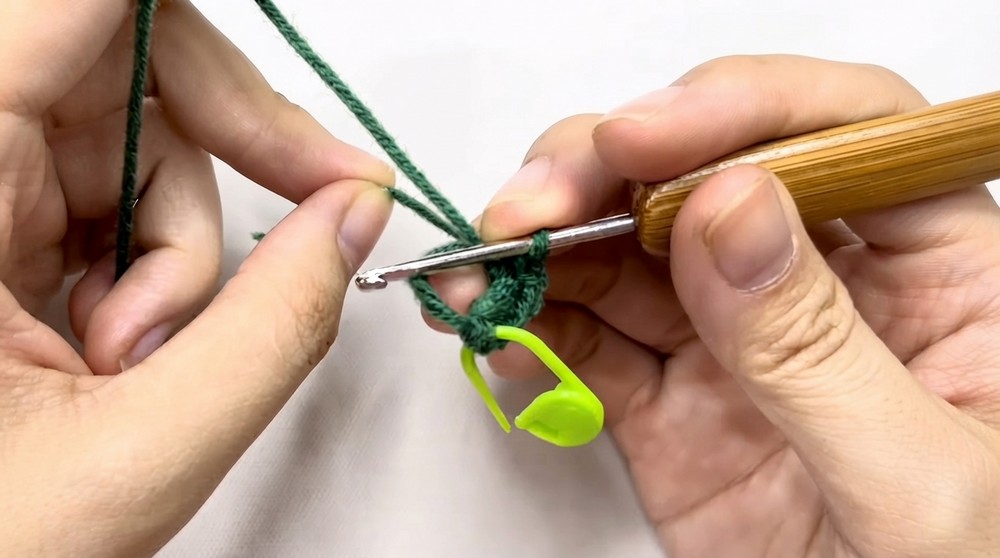
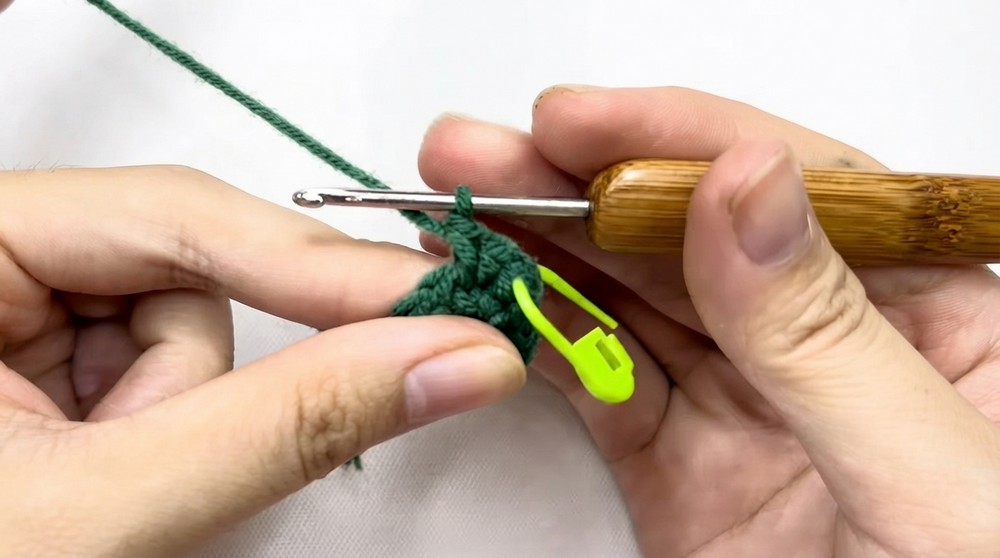
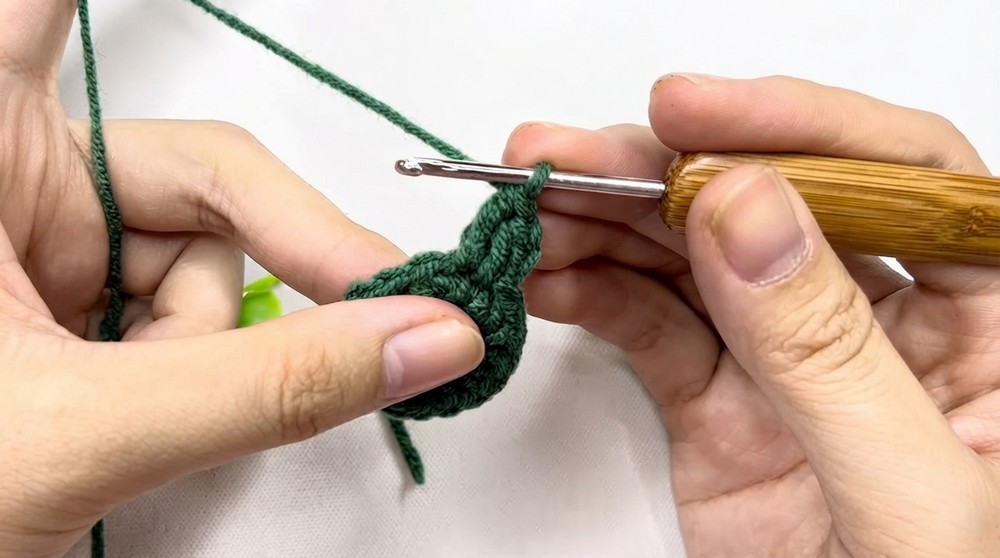
Step 2: Forming the Snowflake Arms
- Round 4:
- Chain 2 to begin.
- In the first stitch, work 1 half double crochet (hdc).
- In the next stitch: Work 1 double crochet (dc) and follow it with 1 treble crochet (tr) in the next stitch.
- Work another dc in the same stitch to form the base of a snowflake "arm."
- Next, work 1 hdc and finish this snowflake’s arm with a slip stitch into the next stitch.
- Repeat:
- Continue creating these "arms," working the same sequence in each stitch around.
- You should have 6 arms by the end of the round.
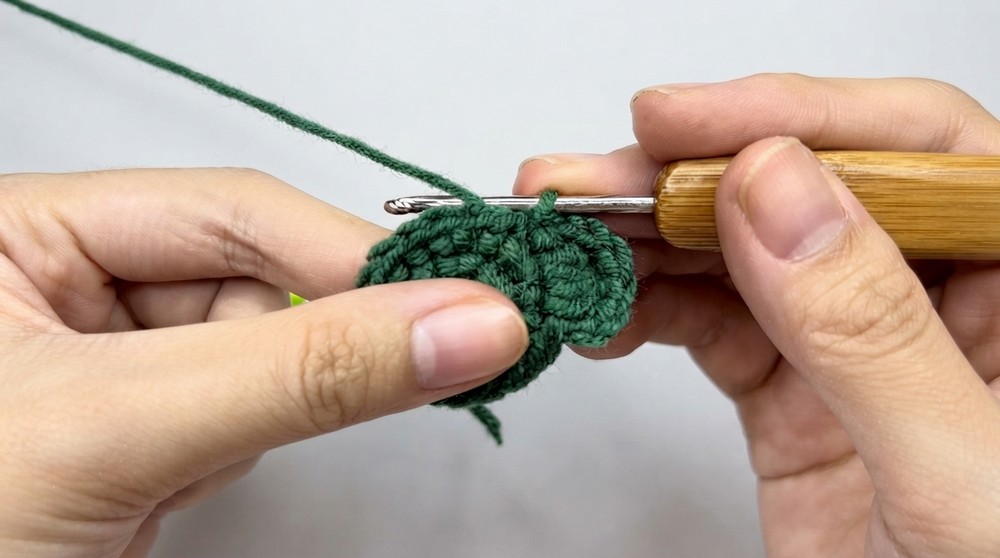
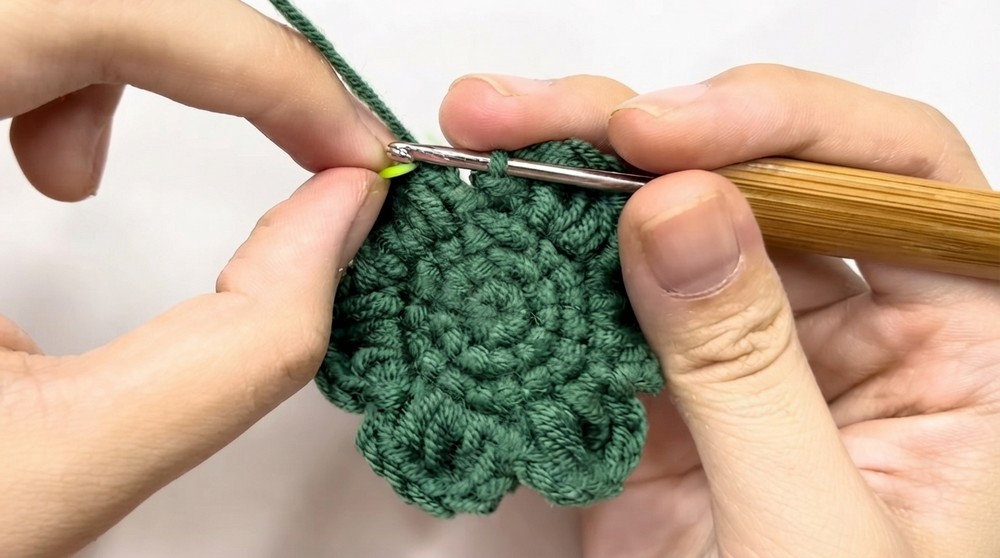
Step 3: Adding Additional Rounds for Detail
- Round 5:
- In each arm of the snowflake, use sl st into the first stitch.
- Optional: Use thinner yarn or metallic thread to outline the edges of each arm for a detailed finish.
- Round 6 (Optional):
- For added layers, repeat the arm instructions but add an extra chain at the end of each arm to extend them slightly and give the snowflake greater dimension.
Step 4: Assembly and Keychain Setup
- Weave in all loose ends using a yarn needle to make a neat finish.
- Attach a keychain ring to one of the snowflake arms using white yarn or a small metal loop.
- For added durability, consider coating the snowflake lightly with fabric stiffener to maintain its shape.
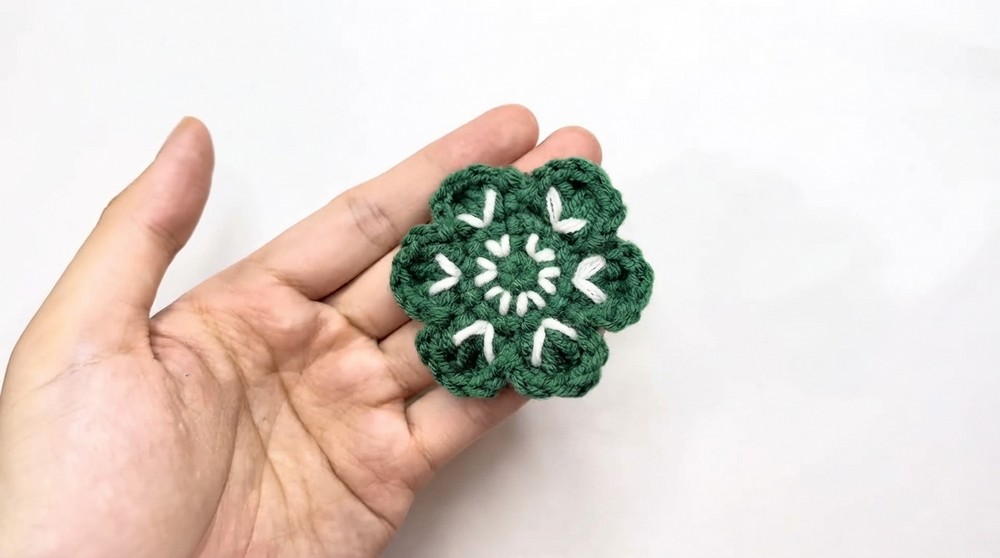
Conclusion and Ending Words
Congratulations, You’ve completed the Crochet Snowflake Keychain pattern. This delightful snowflake design can be used as a festive accessory, an ornament, or a thoughtful handmade gift. Don’t hesitate to make multiple snowflakes in different colors for variety. Happy crocheting, and stay tuned for more creative projects!