
Free Christmas Tree Crochet Pattern for That Extra Cozy Home Feel
Turn your dining table or fireplace mantle into a festive wonderland with mini evergreen trees made using this fun and free crochet Christmas pattern.
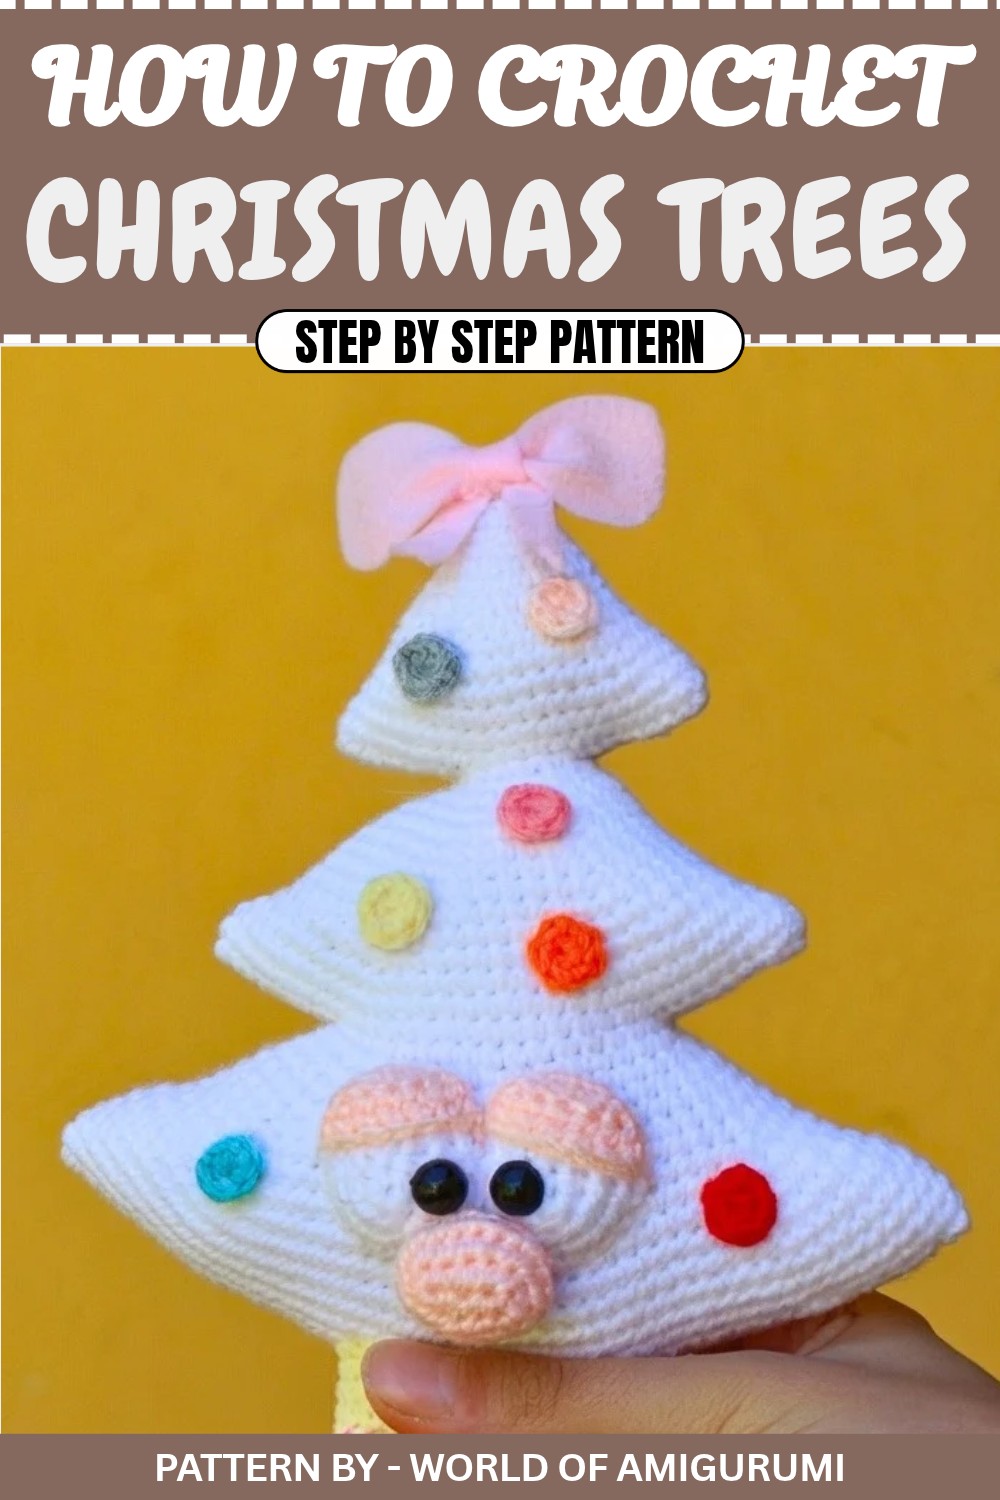
Nothing says holiday cheer quite like a charming Christmas tree that brings warmth and joy to your space. These cute, handmade trees are full of personality and detail, with Annalisa showcasing soft white tones paired with pink feet and yellow legs, while Alberto sports earthy shades of brown and green. Both trees are small enough to fit on a table or shelf but packed with character to bring smiles all around.
What truly makes these trees special are the little touches that make them stand out: colorful decorations, playful shapes, and even a moustache for Alberto. The rounded base of the trees is perfectly proportioned, while their narrow, tapered tops give off the classic tree silhouette. Each piece, from the trunk to the feet and ornaments, is thoughtfully assembled, resulting in a charming piece that’s as fun to make as it is to display.
Free Crochet Christmas Tree Pattern That Everyone Will Love
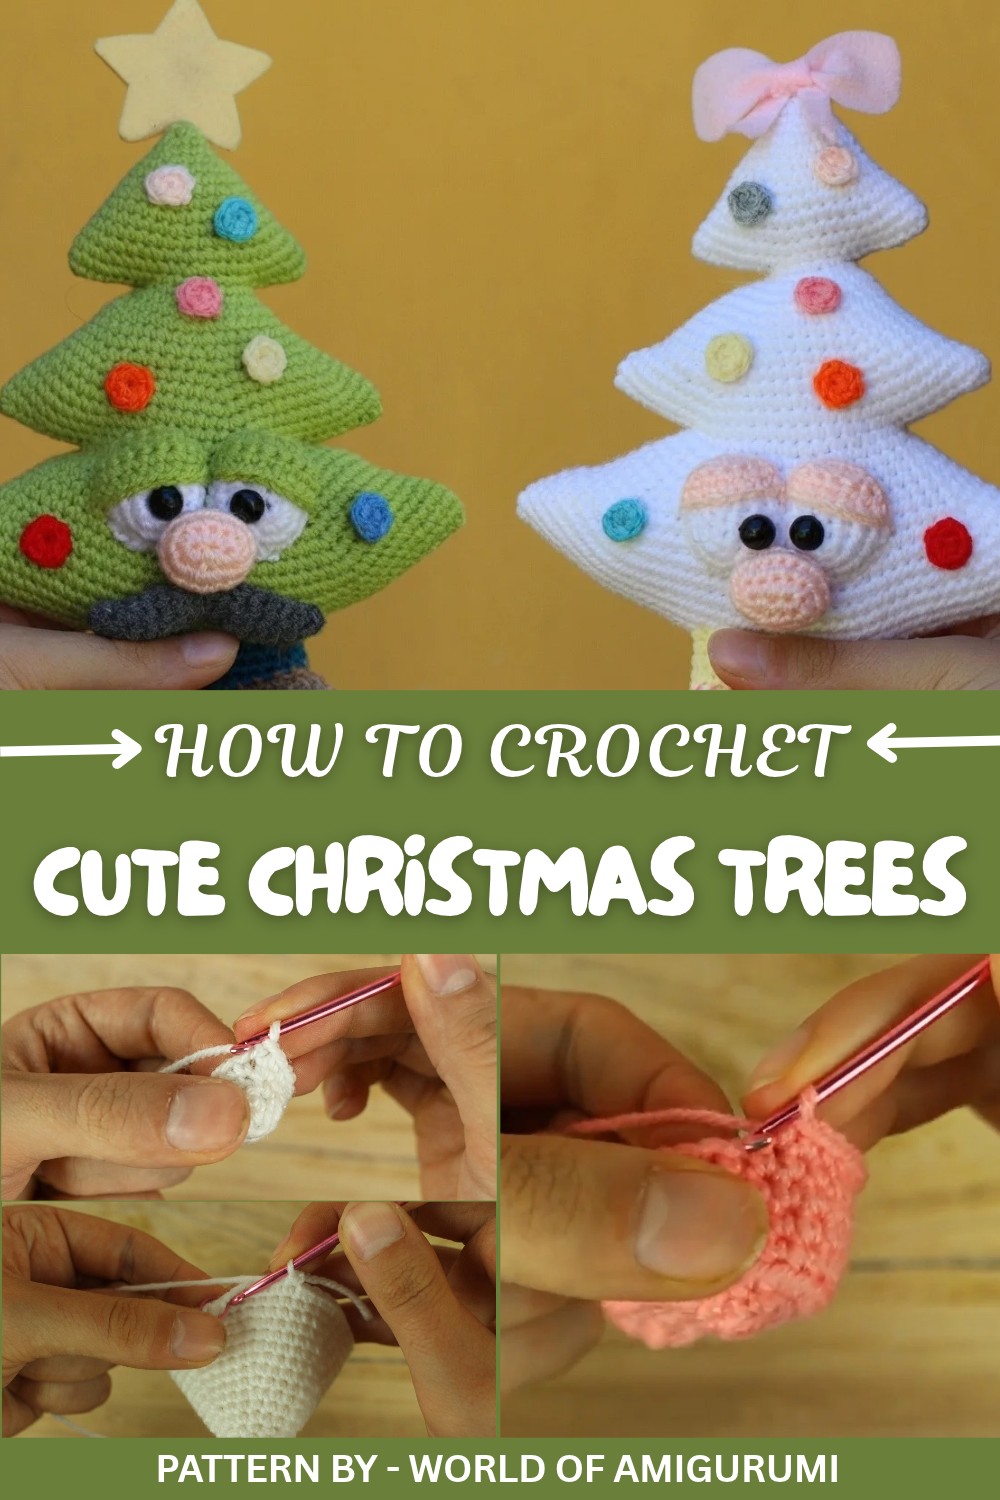
Shared by World Of Amigurumi, this crochet project is simple to follow, with clear instructions broken into easy steps. The video goes beyond the basics, offering pro tips like using markers to achieve symmetry and layering colors to give the trees depth. Plus, the decorations can be customized to match your style, whether you want a festive multicolored theme or something subtle and understated.
These delightful trees are perfect for decorating your home, gifting to loved ones, or adding a personal touch to your holiday celebrations. The pattern adds a warm touch of creativity and humor, turning this project into something truly unforgettable for anyone itching to make their festive season a little brighter.
Crochet Tree Pattern – Step by Step Tutorial
Quick Overview Of Pattern
- Project: Crochet Tree Pattern (Annalisa & Alberto)
- Features:
- Fully customizable color palette for body and decorations.
- Includes distinct designs for two trees: Annalisa (white) and Alberto (brown and green).
- Adorned with decorations, feet, and facial features.
- Time Required: 4–6 hours (depending on crochet speed and skill).
Notes
- Customize the tree colors to match seasonal themes (e.g., green for summer, white for winter).
- The tree is constructed in rounds, using increases for shaping and markers for base alignment.
- Optional details like feet, decorations, and facial features can be personalized.
Skill Level
Intermediate: Requires knowledge of Magic Ring, single crochet, increases, decreases, and working in back loops.
Materials
Annalisa Tree (White Tree):
- White acrylic yarn (body)
- Pink felt (feet)
- Yellow yarn (legs)
- Assorted colorful yarns for decorations
- Pink yarn for nose
Alberto Tree (Brown Tree):
- Brown acrylic yarn (body)
- Green acrylic yarn (branches)
- Many colors for decorations (such as embroidery)
- Gray or brown yarn for moustache
Tools:
- Crochet hook (recommended 3.5mm or 4mm depending on yarn thickness)
- Scissors
- Stitch markers
- Tapestry needle
Measurements / Sizing
- Height: Approx. 6–8 inches depending on how many rounds you’ve completed.
- Width: Approx. 5–6 inches after completing the base rounds.
Gauge
Gauge is not critical for this pattern, as size can vary based on preferences. Maintain consistent tension throughout.
Stitch Abbreviations
| Abbreviation | Meaning |
|---|---|
| CH | Chain |
| SC | Single Crochet |
| INC | Increase (2 SC in one stitch) |
| DEC | Decrease (SC two stitches together) |
| SL ST | Slip Stitch |
Special Stitches
Magic Ring:
A round adjustable loop that allows for working crochet stitches in a circular pattern, ensuring no hole remains in the center.
Main Body Pattern
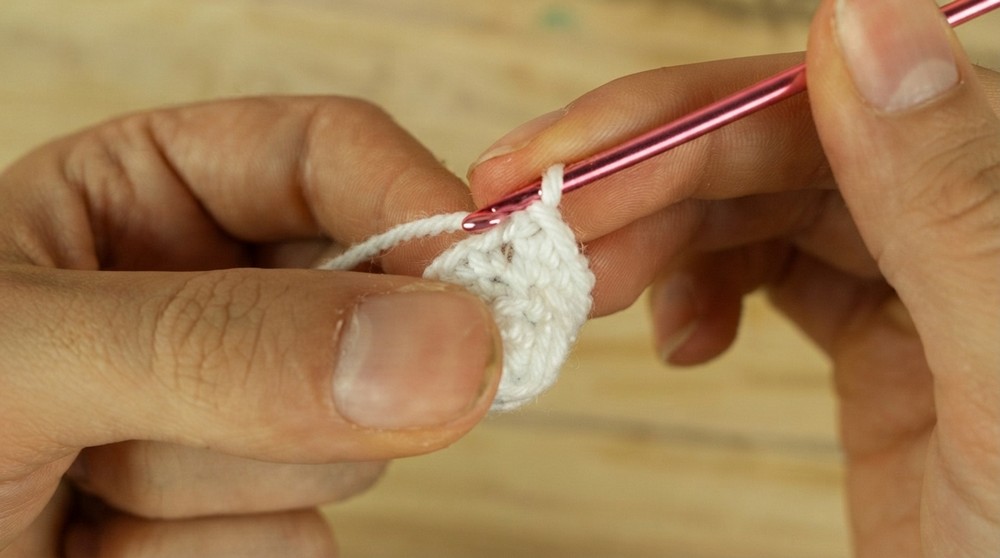
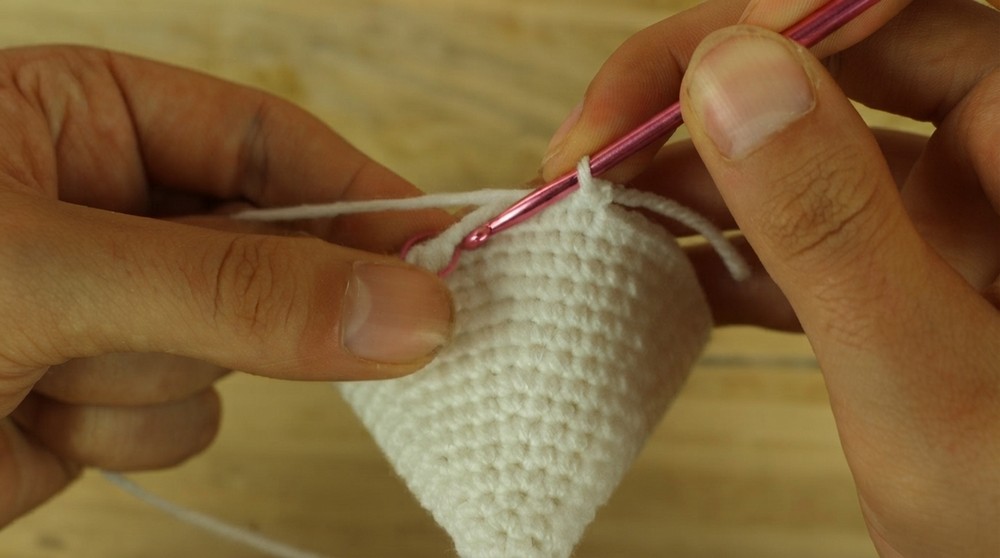
The main structure begins with simple rounds of single crochet (sc) and gradual increases to shape the tree base.
- Round 1: 6 sc in a magic ring.
- Round 2: 1 sc, 1 increase (inc); repeat until the end (9 sc).
- Round 3: 1 sc in each stitch (9 sc).
- Round 4: 1 sc, 1 inc until the end (12 sc).
- Round 5: 1 sc, 1 inc until the end (18 sc).
- Round 6: 1 sc in each stitch (18 sc).
- Round 7: 2 sc, 1 inc until the end (24 sc).
- Round 8: 1 sc in each stitch (24 sc).
- Round 9: 3 sc, 1 inc until the end (30 sc).
- Round 10: 1 sc in each stitch (30 sc).
- Round 11: 4 sc, 1 inc until the end (36 sc).
- Round 12: 1 sc in each stitch (36 sc).
- Round 13: 5 sc, 1 inc until the end (42 sc).
- Round 14: 1 sc in each stitch (42 sc).
- Round 15: 6 sc, 1 inc until the end (48 sc).
Creating the Tree Shape
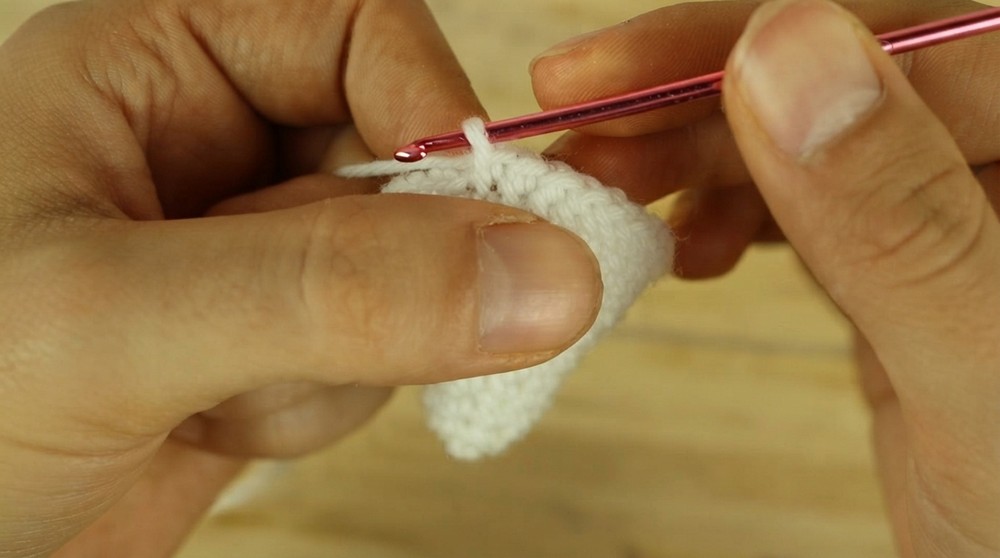
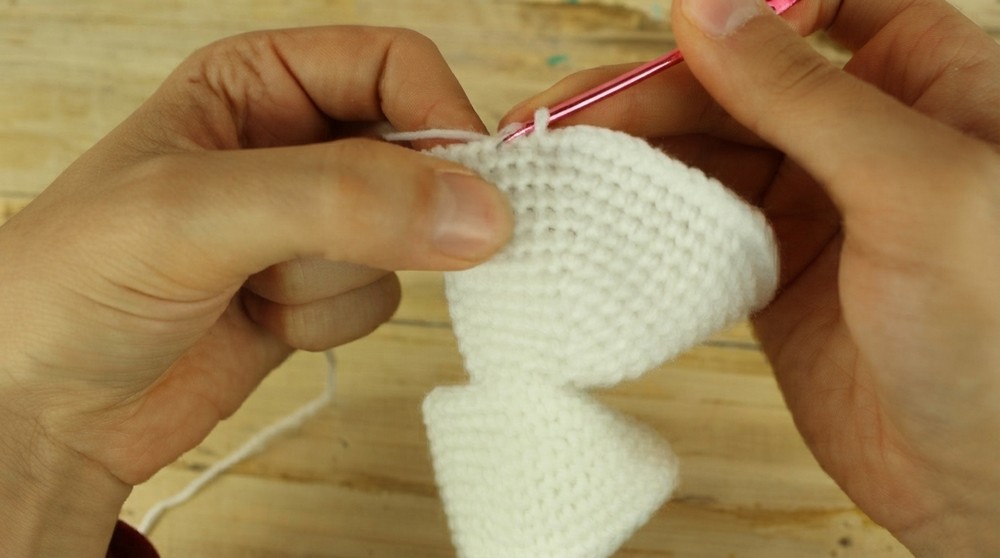
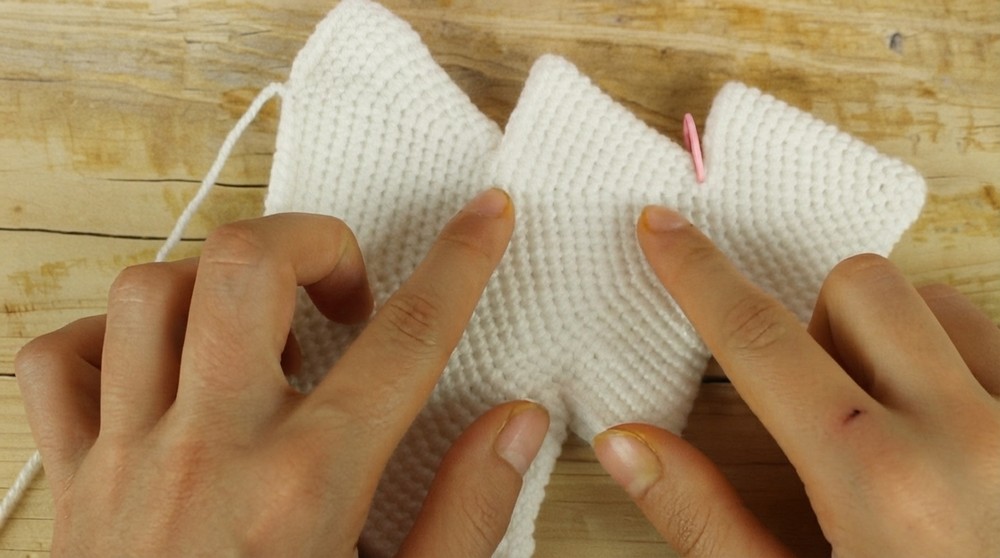
Once the base rounds are complete, the pattern transitions into shaping the tree tiers using segments marked with stitch markers. This process includes turning the work, increasing strategically, and sculpting the tree structure.
- Start Tier Formation:
- Divide the work into sections using stitch markers to split the segments for the tree tiers.
- Count stitches with markers: 18 sc each on the right, 18 sc each on the left, and 6 sc in the middle.
- Tree Building:
- Work Segment: Crochet 1 sc in each marked segment.
- Turn Work: At the end of each segment, make 3 chains (CH), turn the work, and sc into the previous stitch.
- Increase Rounds: Work successive rounds of increases to expand the tier:
- Start with 1 sc, 1 inc.
- Gradually increase intervals between increases (e.g., 2 sc, 1 inc → 3 sc, 1 inc).
- Continue these steps to build tiered sections of the tree until reaching desired fullness.
Additional Components
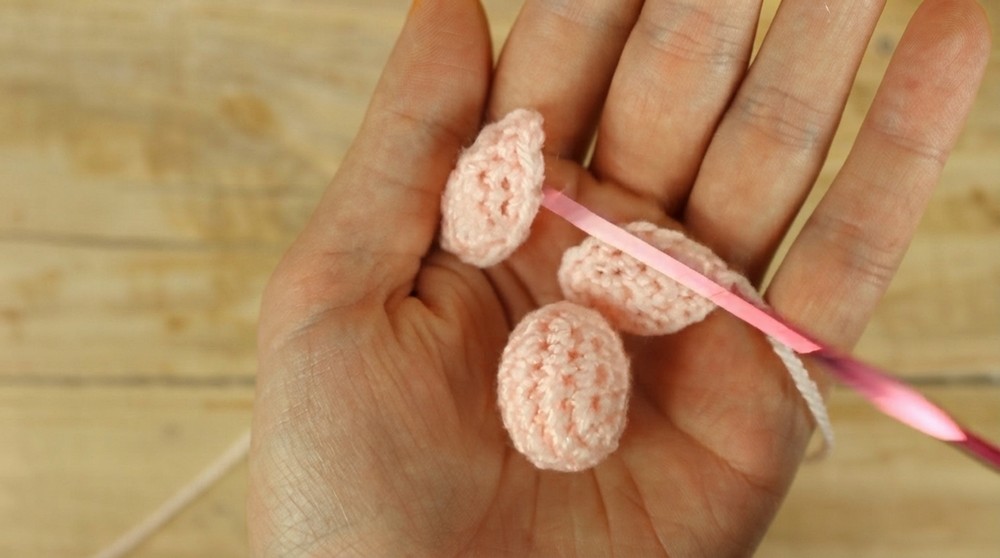
Eyelids
- Work 3 sc.
- Skip the first stitch.
- Make 1 inc in the second stitch and another inc in the third stitch.
- Attach eyelid pieces onto the tree structure, positioning them symmetrically for alignment.
Nose
- Start with 4 chains (CH).
- Skip the first chain, then perform:
- 1 inc in the second chain.
- 1 inc in the following chains. Repeat for both sides of the chains.
- Work 12 sc across the structure.
- Next round: 1 sc, 1 inc until you have 18 sc.
- Follow with a decrease round to shape and finalize the nose.
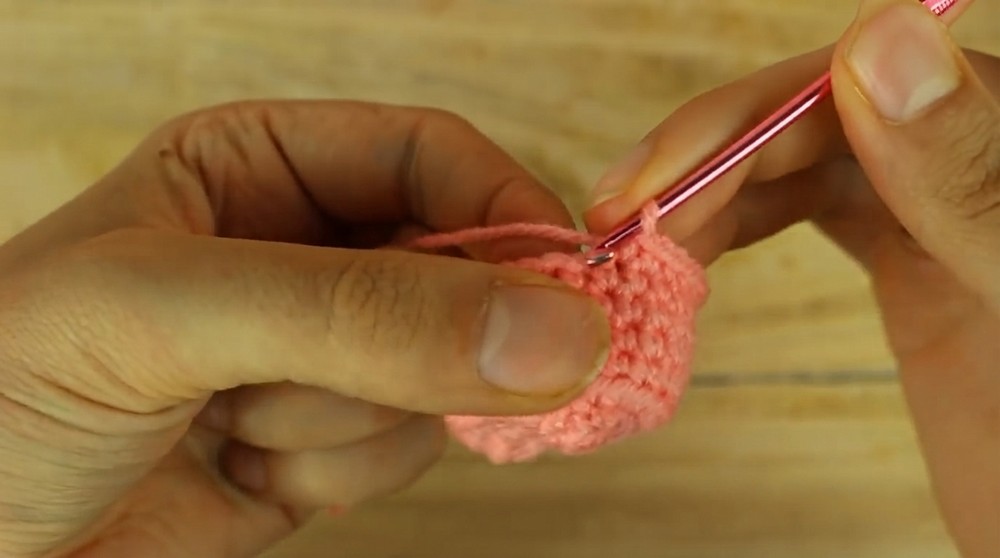
Eyes
- Create a base structure similar to the nose:
- Start with 4 chains.
- Work 1 inc in the second chain and consecutive chains.
- Continue until reaching 12 sc.
- Next round: 1 sc, 1 inc for 18 sc.
- Work 1 round of sc evenly across for stability before attaching.
Moustache
The moustache shape follows a specific structure provided in detailed rounds. Refer to the pattern from the video description for the complete 16 round structure.
Feet and Legs
- Base Foundation:
- Start with 7 chains (CH).
- Skip the first chain, then alternate:
- 1 sc, 1 inc (2 sc in the next stitch).
- Repeat this pattern on both sides of the chain.
- Increasing Rounds:
- Continue increasing with rounds:
- 3 sc, 1 inc → 30 sc.
- Continue increasing with rounds:
- Back Loop Work:
- For the next round, work sc in back loops only (ensures better shaping).
- Decrease Rounds:
- Start decreasing to sculpt the legs:
- 7 sc, 1 dec.
- Continue decreasing in subsequent rounds as needed.
- Start decreasing to sculpt the legs:
- Finishing:
- Attach finished legs securely to the bottom of the tree structure using a tapestry needle or slip stitches.
Final Assembly
- Attach eyelids, eyes, nose, and moustache to the front face of the tree.
- Secure feet/legs to the base for stability.
- Add decorative applique shapes to the branches (optional).
Conclusion
Your Annalisa and Alberto Christmas tree amigurumi is complete. This festive crochet project is perfect for seasonal decorations or gifting. Experiment with colors to match holidays or personal preferences, and enjoy creating cozy handmade charm for your home.