
Budget-Friendly Crochet Double Stitch Pattern for Chic Results
Simple and fast, the Free Crochet Double Stitch Pattern helps you finish bright and cozy crochets everyone will love.
Learning to crochet is like opening the door to a world filled with colors, textures, and endless creativity. One of the most exciting stitches to master early on is a stitch that creates height and beautiful open spaces—it's the perfect way to build soft, drapey fabrics. This stitch, worked here in a simple yet gorgeous pattern, helps you develop confidence as you learn to combine chains, yarn overs, and loops to make each stitch stand tall and elegant. It’s versatile and fun, allowing for quick projects that still feel special and polished.
Ready to Try This Free Double Stitch Pattern for Unique Style
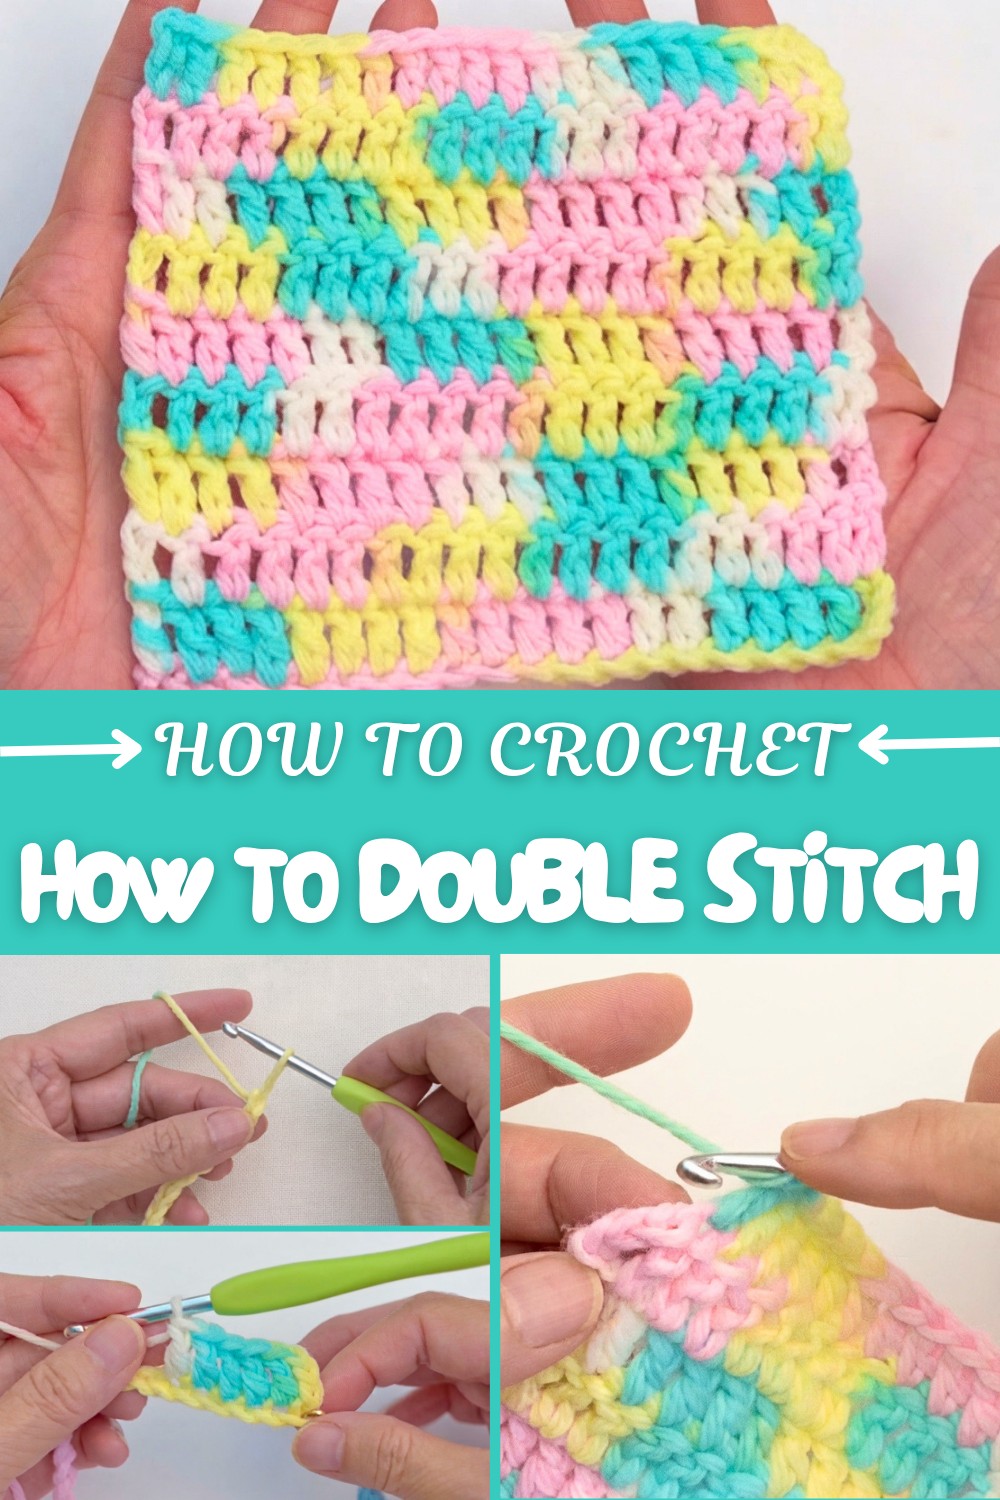
The texture you get with this stitch is smooth and rhythmic, making every row a little journey that’s both relaxing and rewarding. Perfect for scarves, blankets, and garments, the stitch forms a fabric that’s light enough to billow yet warm enough to snuggle. Learning this pattern gives you a solid foundation in essential crochet skills like turning chains, working into chain spaces, and managing stitch counts to keep your work even and neat.
By practicing this pattern, you also gain the confidence to explore many other beautiful projects. You can create hats, bags, home décor items like pillow covers, or even amigurumi with a bit of modification. Once comfortable with this stitch, you’ll find countless ways to mix and match it with other crochet techniques, making it a fundamental tool in your crochet toolbox and opening the door to endless creative possibilities.
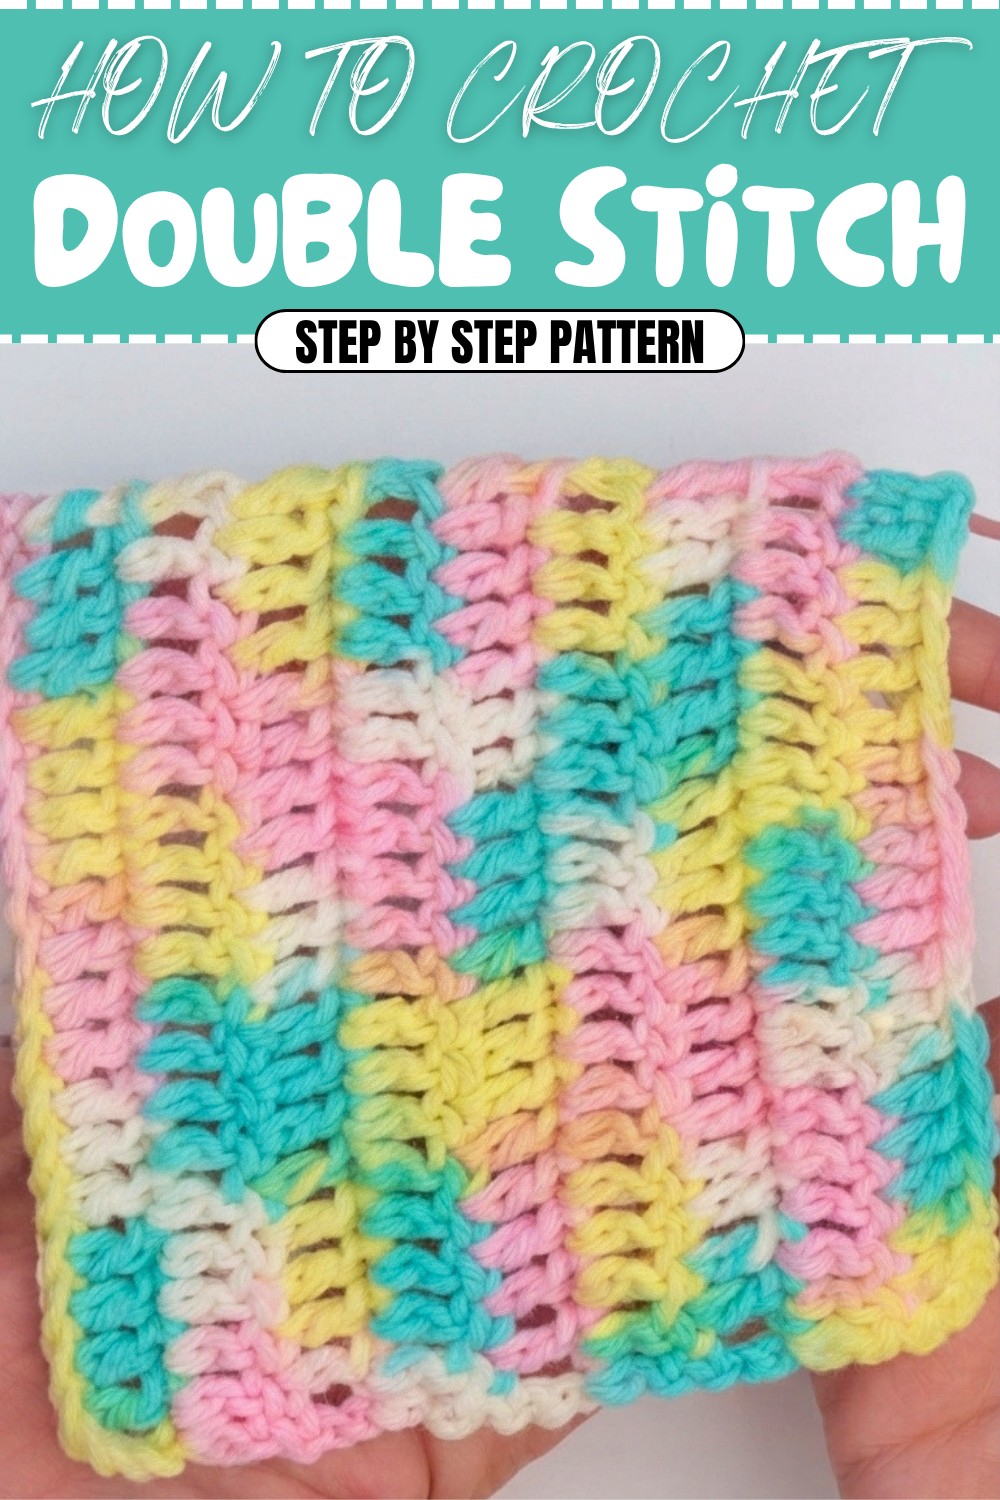
Crochet Pattern: Learn the Double Crochet Stitch
Skill Level & Terminology
- Skill Level: Beginner
- Terminology: US crochet terms are used in this pattern.
This tutorial is suitable for absolute beginners who want to master the double crochet stitch or for any crocheter who’d like a refresher on this versatile technique.
Materials & Tools
You’ll need:
- Yarn: Any yarn weight of your choice (a medium-weight yarn like worsted is recommended for beginners).
- Crochet Hook: Use the size recommended for your yarn (For worsted-weight yarn, a 5mm or H-8 crochet hook is commonly used).
- Notions:
- Stitch marker (optional, but helpful)
- Scissors
Gauge
Gauge is not important for this tutorial as it is meant to learn the double crochet stitch and practice creating rows. Just ensure your tension is even for consistent stitches.
Abbreviations
- ch – Chain
- yo – Yarn over
- dc – Double crochet
- sl st – Slip stitch
Special Stitch Instructions
Double Crochet (dc):
The double crochet is a taller stitch and involves passing the yarn through loops twice. Here’s how to work it step by step:
- Yarn over (yo): Yarn over the hook, so there are two loops on the hook.
- Insert hook into stitch/chain: Insert the hook into the designated stitch or chain.
- Yo and pull up a loop: Make another yarn over and pull the yarn through the stitch. Now you have 3 loops on the hook.
- Yo and pull through 2 loops: Yarn over and pull through the first 2 loops on your hook. Now you have 2 loops left.
- Yo and pull through the last 2 loops: Yarn over again and pull through the remaining 2 loops.
- You’ve completed one double crochet!
Finished Size
For the practice swatch:
- You will create a rectangular piece measuring approximately 6 inches wide and 4 inches tall (15 x 10 cm) if using a medium-weight yarn with a 5 mm hook.
What Stitches Are Used & How to Start
The swatch uses one primary stitch: the double crochet (dc). You’ll begin by making a slip knot and a foundation chain, followed by rows built with the double crochet stitch. This structure is fundamental to most crochet designs, so mastering these steps will allow you to work on more complex patterns in the future.
The Pattern Itself
Step 1: Foundation Chain
- Make a slip knot to begin. Place the knot on your hook.
- Ch 20 to create the foundation chain for your practice swatch.
- Keep your chain loose and even to allow for easy insertion of your hook later.
- Optional: Place a stitch marker at the end of the 20th chain if you’d like a visual cue where the row ends.
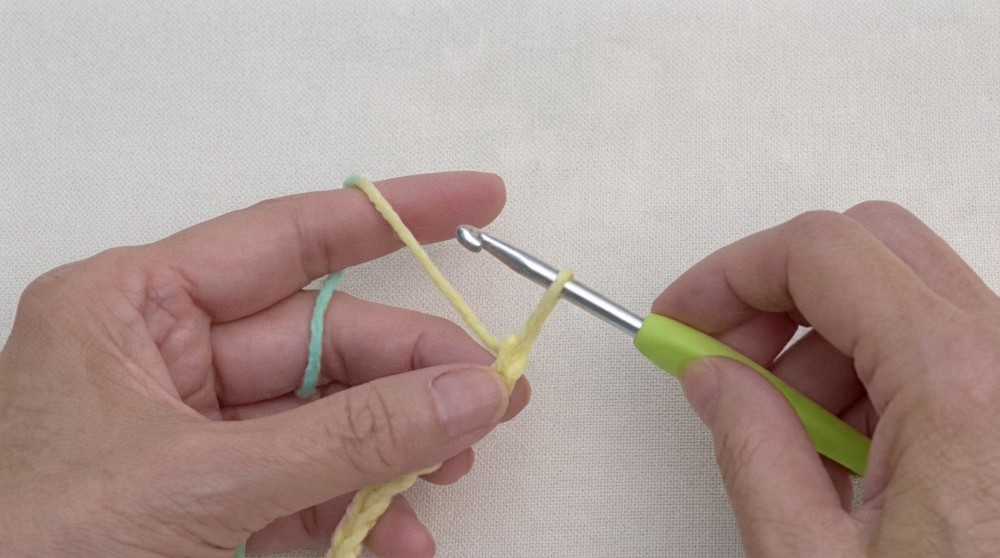
The foundation chain serves as the base for all subsequent stitches. Ensure even tension for a neater result.
Step 2: Row 1
- Ch 3: This counts as the first double crochet stitch in this row. These chains create height for your row of double crochets.
- Yarn over, insert the hook into the 4th chain from the hook, yarn over and pull up a loop. (You should now have 3 loops on your hook.)
- Yarn over, pull through 2 loops on the hook. (2 loops remain.)
- Yarn over again, pull through the last 2 loops. (1 loop on the hook.)
- You’ve completed your second double crochet stitch!
- Repeat the process of yarn over, inserting into the next chain, and completing the double crochet stitch. Work across the row in every chain, inserting into one chain at a time.
- When you reach the end, you should have 20 dc stitches in total, including the turning chain as one stitch.
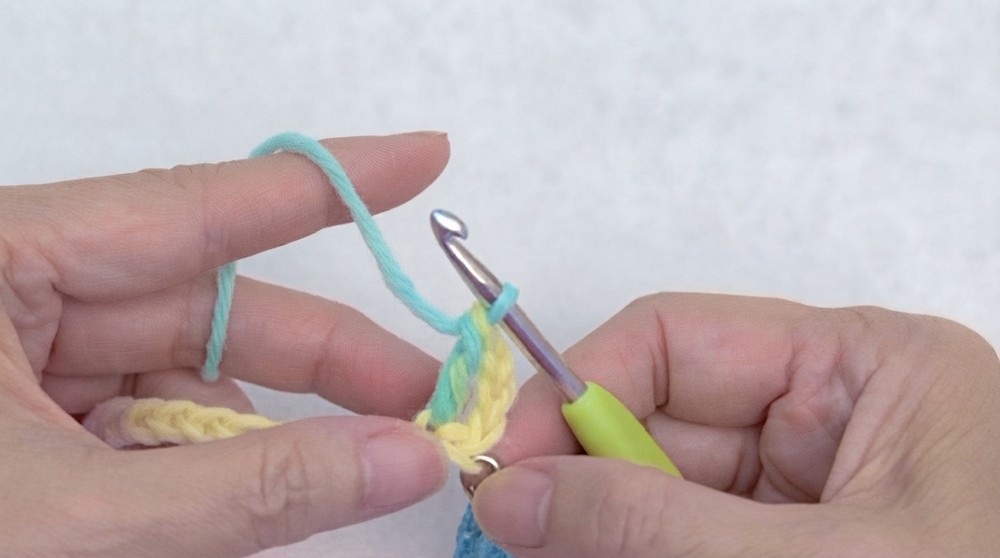
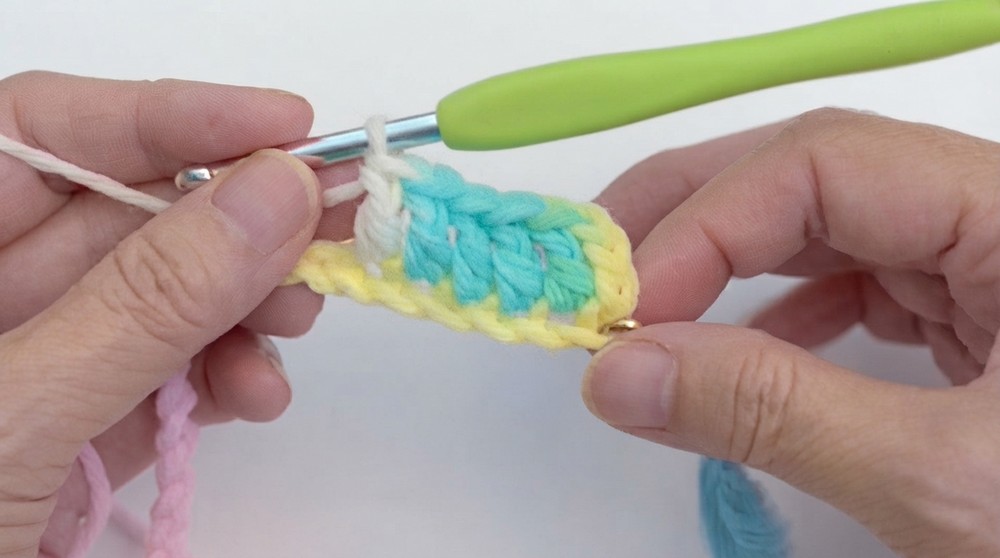
Row 1 establishes the foundation of your swatch with clean double crochet stitches. It's essential to maintain even tension throughout.
Step 3: Row 2
- Start by making a turning chain of 3 ch (counts as the first dc of the next row).
- Turn your work to the opposite side.
- Insert your hook into the second stitch directly above the second dc from the previous row.
- Yo, insert the hook into the stitch, and follow the same process for a double crochet.
- Continue working one dc into each stitch, following the pattern from the first row.
- At the end of the row, place the last dc into the top of the turning chain from the previous row.
Row 2 introduces working from the reverse side. Pay attention to inserting the stitch into the correct next stitch or chain to keep your work aligned.
Step 4: Row 3 and Beyond
- Repeat the same steps as row 2:
- Start with a turning chain (3 ch).
- Turn your work. Begin by working 1 dc into the second stitch.
- Continue with 1 dc in each stitch, ensuring the last dc is placed in the top of the turning chain.
- Work as many rows as you’d like to practice, creating a larger swatch if desired.
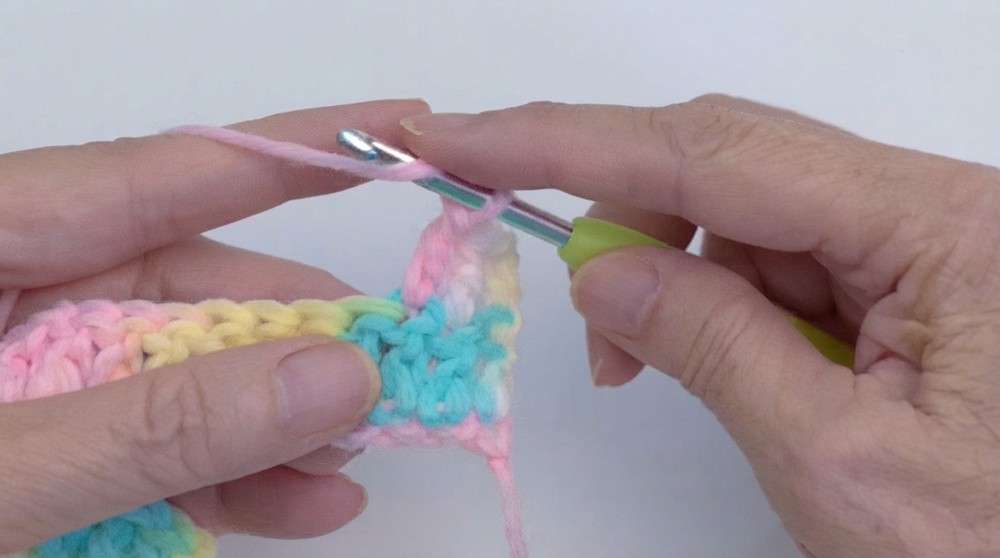
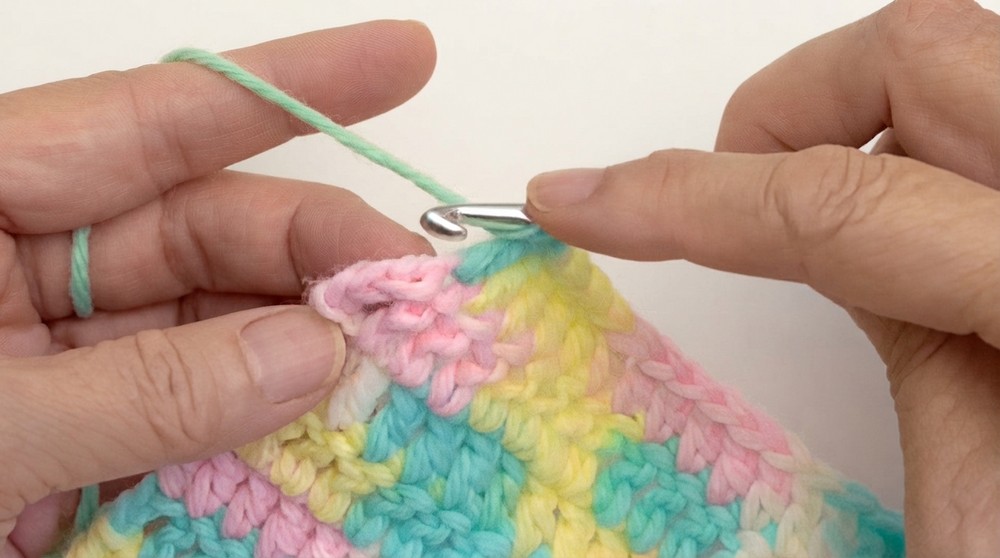
Each row builds upon the last. As you add rows, you’ll develop a consistent rhythm for working double crochet stitches.
Step 5: Finishing
- After completing your last row, ch 1 to secure your work tightly. This acts as a slip knot.
- Cut the yarn, leaving about a 6-inch tail, and pull it through the last chain to secure the piece.
- Use a tapestry needle to weave in the loose ends neatly through the back of your swatch. Trim any excess yarn for a clean finish.
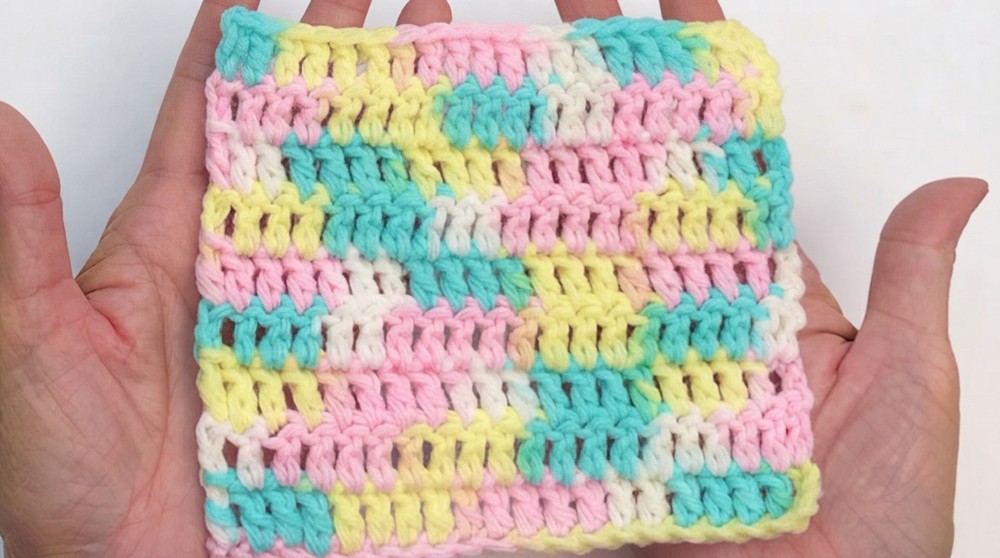
This step ensures your swatch won’t unravel and has a tidy look. Weaving in the loose ends secures your work.
Assembly & Finishing
This is a standalone swatch project, so no further assembly is required. However, you can use this swatch as the basis for other projects, like combining multiple swatches to create a blanket, scarf, or another handmade item.
What You’ll Learn from This Pattern
By completing this project, you’ll master the following techniques:
- Creating a slip knot and foundation chain.
- Working basic double crochet (dc) stitches.
- Adding height and consistency with a turning chain.
- Finishing a project neatly by weaving in loose ends.
Why You’ll Love This Pattern
The double crochet stitch is a must-know for all crocheters, and mastering it opens the door to countless projects and patterns. This stitch adds height and beautiful texture to any work and is incredibly versatile, making it a staple in the crochet world. Once learned, you’ll be able to create blankets, scarves, garments, and so much more!
Pick your favorite yarn, grab your crochet hook, and start practicing this incredibly popular and satisfying stitch. With its simple repetition and meditative quality, the double crochet stitch is as relaxing as it is practical.