
Adorable Crochet Demogorgon Amigurumi No Sew Free Pattern
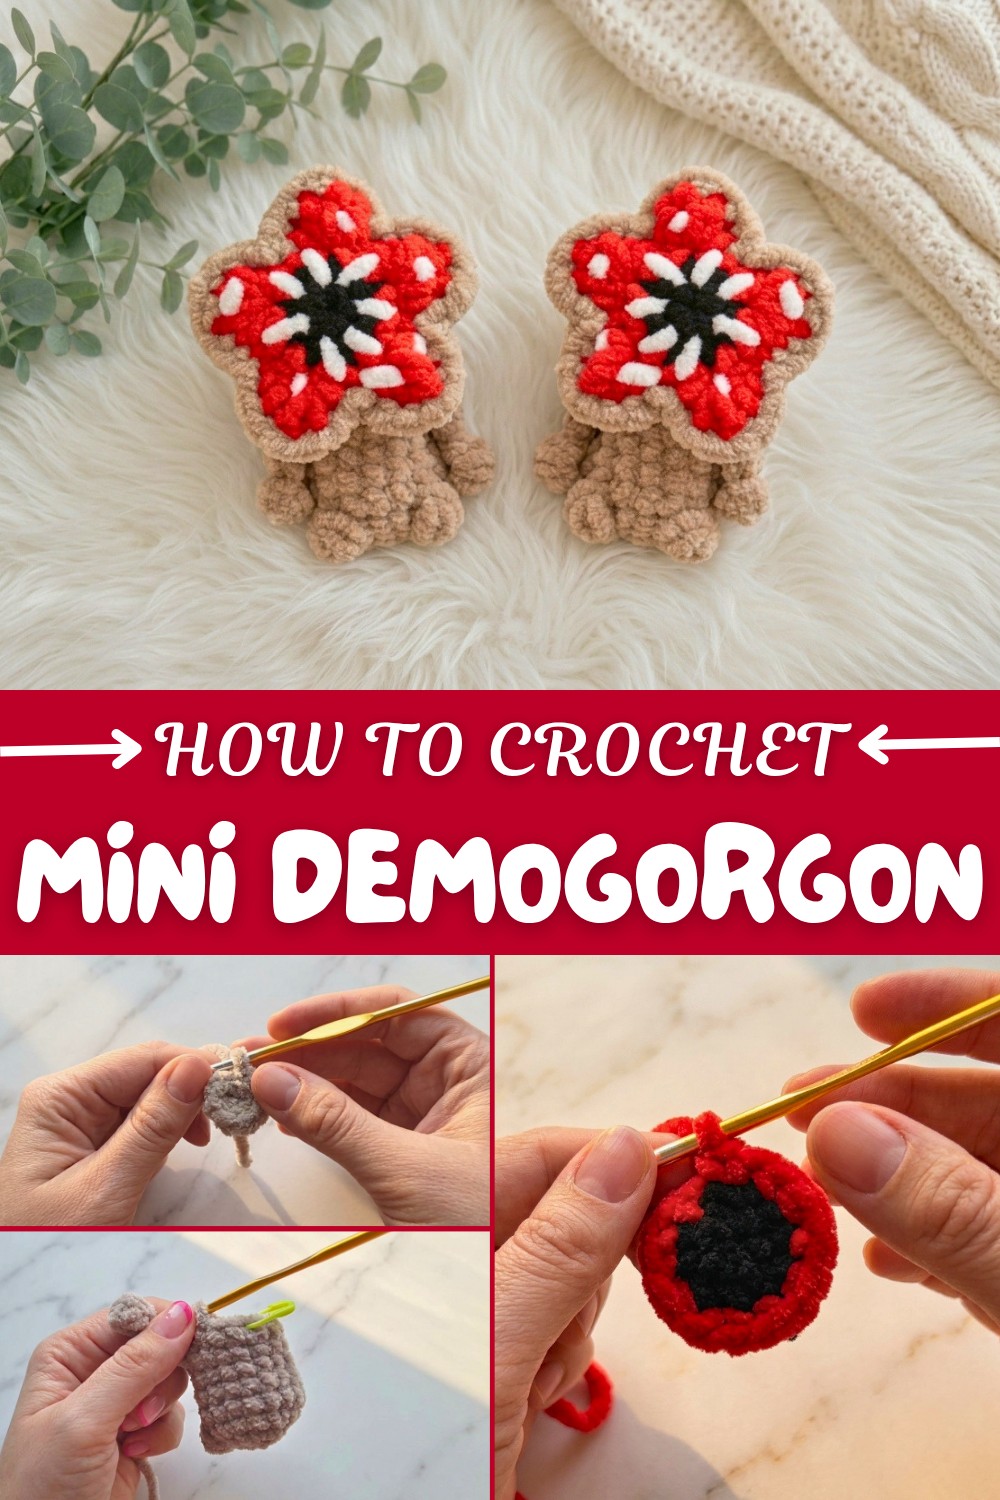
Create your own Free Crochet Mini Demogorgon Pattern with this fun and engaging design, ideal for fans of unique projects and Stranger Things-inspired creations.
Handmade items are always useful, and this crochet project is no exception. The Free Crochet Mini Demogorgon Pattern lets you create a fun and quirky creature that’s perfect for fans of Stranger Things or anyone who loves unique and playful decorations. Even though the Demogorgon might be a little spooky on TV, this mini version is just the right blend of cute and creepy.
Crochet Mini Demogorgon With This Free Pattern
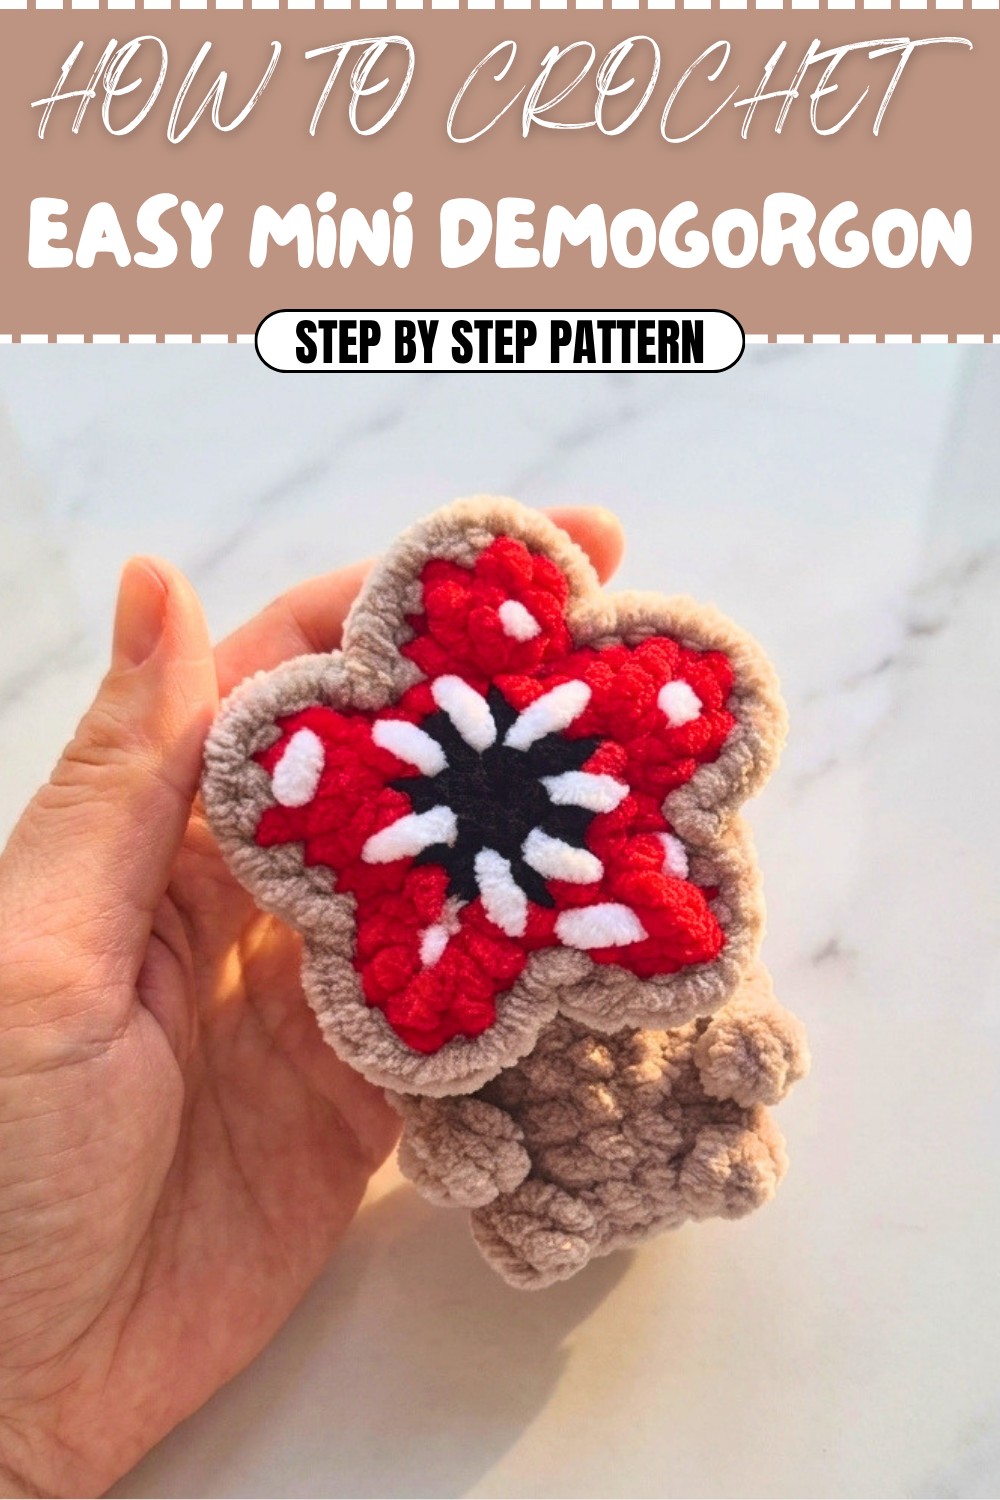
One of the most attractive features is the flower-like face, made with soft, slightly ruffled petals that open up just like the iconic monster. The body is small and round, so it fits easily in your hand or can sit on your desk, bookshelf, or windowsill as a conversation starter. The crochet stitches give the finished toy a soft, textured appearance, with a unique mix of colors that can be customized however you like.
I also love how you can add your own personality to each Demogorgon with different eyes or embroidery details. Some people use safety eyes, while others hand stitch features or even add a little mouth to give it a friendly—or fierce—expression. The pattern is designed to be quick and straightforward, making it great for using up small bits of yarn and perfect for beginner and experienced crocheters alike.
This mini Demogorgon isn’t just for display. You can attach it to a keychain, backpack, or even turn it into a unique holiday ornament. It makes a fantastic handmade gift for a Stranger Things fan or anyone who enjoys a touch of fantasy. If you’re looking for an easy and fun project that turns heads, the Free Crochet Mini Demogorgon Pattern is a super choice you’ll love showing off.
Demogorgon Amigurumi: Step-by-Step Crochet Pattern
You begin with the body, crochet legs and arms directly into the rounds, shape the head, then construct and embellish a flower face which is sewn on at the end. Stitches used are basic and well-described, so both new and experienced crocheters will enjoy making this trendy toy.
Skill Level & Terminology
- Skill Level: Beginner to Intermediate. Basic amigurumi, simple shaping, color changes, and embroidery.
- Terminology: US crochet terms (single crochet = sc, double crochet = dc).
- Pattern Structure: Parts are worked in rounds; main body is seamless.
Materials & Tools
- Yarn: Plush (velvet) yarn, main color for body (approx. 120m), red, black, and white for face/flower.
- Hook: 4 mm crochet hook (adjust size for yarn weight)
- Stuffing: Polyester fiberfill, suitable for plush amigurumi
- Tapestry needle: For sewing and embroidery
- Scissors
- Pins/Needles: To position flower before sewing
Gauge
Gauge is not critical; amigurumi should be densely stitched so stuffing does not show.
Reference: 8 sc = approx. 4 cm in plush yarn with 4 mm hook.
Abbreviations List
- ch: chain
- sc: single crochet
- dc: double crochet
- hdc: half double crochet
- inc: increase (2 sc in same stitch)
- dec: decrease (sc 2 sts together)
- sl st: slip stitch
- st(s): stitch(es)
- FO: fasten off
Special Stitch Instructions
- Amigurumi/Magic Ring: Loop yarn and crochet directly into the ring for a tight, closed center.
- Decrease: Invisible decrease, or sc two stitches together.
- Leg/Arm Clusters: 4 sc with a common top (crochet 4 half-completed, then pull yarn through all loops).
- Petal Construction: Worked inside single stitches with tall stitches in sequence, sometimes multiple dc in same st.
- Surface Embroidery: Add white thread surface stitches for flower detail.
Finished Size
Approx. 11 cm tall (with plush yarn and 4 mm hook).
Pattern Overview
Body begins at the bottom, legs & arms are crocheted directly into the main rounds, minimizing seaming. Head is shaped at the top, with stuffing added as you go. The flower face is worked separately in black and red, edged and embroidered, then sewn to the head.
Stitches Used & Pattern Start
You start with a magic ring, use single crochet throughout, chain, half double crochet, double crochet for petals, surface slip-stitch and simple embroidery for facial detailing.
The Pattern
Body & Limbs
With main color:
- Make an amigurumi/magic ring.
- Round 1: 8 sc in ring (8 sts)
- Round 2: Inc in each st (16 sts)
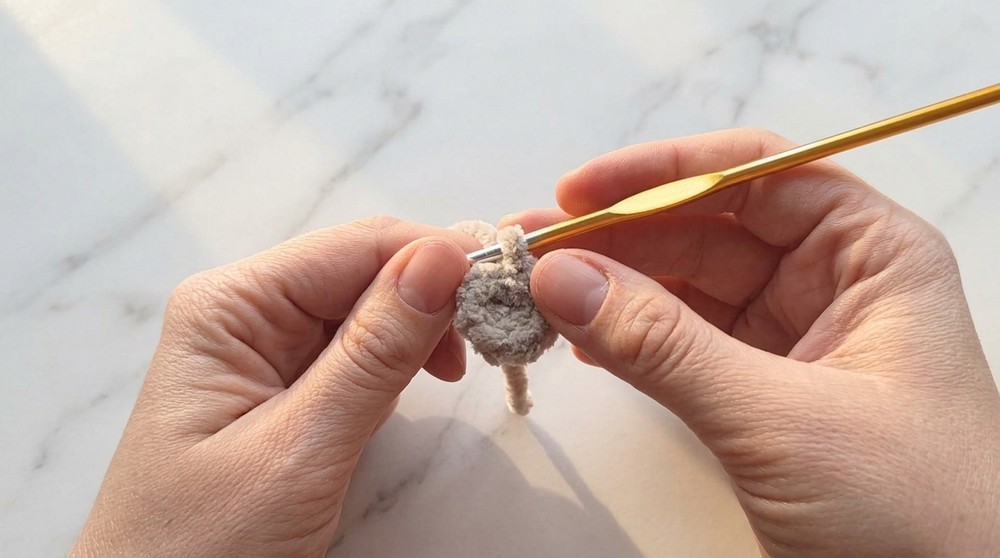
You are starting at the base. Work tightly so stuffing won’t escape.
Leg Construction (Round 3)
Round 3:
- Sc 5.
- First leg: Yarn over, work 4 half-finished dc in same st (do not pull through last loop until all are on hook), then pull through all loops together. (Leg made.)
- Sc 3.
- Second leg: As above—4 half-finished dc cluster in same st, pull through all loops.
- Sc 6 (remaining round).
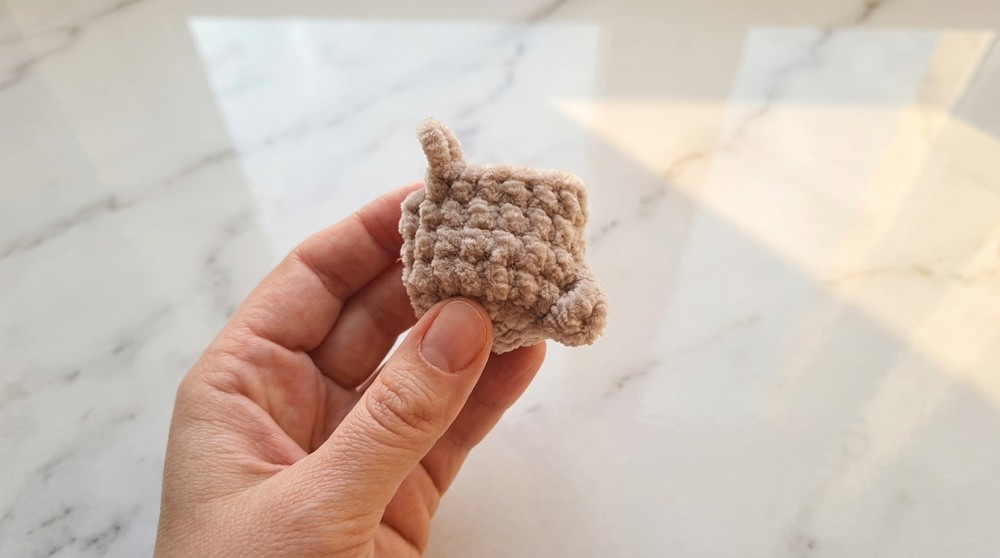
Leg clusters are crocheted by starting a dc four times in a row, then finishing them together.
Rounds 4–6 (Body)
- Rounds 4, 5, 6: Sc in each st (16 sts per round)
Continue working plain rounds to build height.
Arm Construction (Round 7)
Round 7:
- Sc 5.
- First arm: Ch 7, in third ch from hook, make 2 half-finished dc, pull through all loops together, sl st to same chain; work 4 sl sts back along ch, sl st to main body.
- Sc 6.
- Second arm: As above—Ch 7, in third ch from hook, make 2 half-finished dc cluster, sl st to chain; 4 sl sts back, sl st to main body.
- Sc 5 (to end of round).
Arms are made with a chain, finished with two double crochets together, and slip stitches back for shaping.
Shaping Top & Head (Rounds 8–15)
- Round 8: [Sc 2, dec] around (12 sts)
- Stuff body firmly.
- Round 9: Inc in each st (24 sts)
- Rounds 10–12: Sc in each st (24 sts/round)
- Round 13: [Sc 2, dec] repeat (18 sts)
- Add more stuffing.
- Round 14: [Sc 1, dec] repeat (12 sts)
- Stuff the head firmly.
- Round 15: 6 dec (close top)
Finish stuffing, then break yarn and cinch top closed. Secure and hide yarn, bringing through head.
Beginner-friendly explanation:
You increase at the base, crochet legs as clusters, continue up the body adding arms as chained clusters, then decrease for head, stuffing as you go. Finish by closing top and hiding yarn tail.
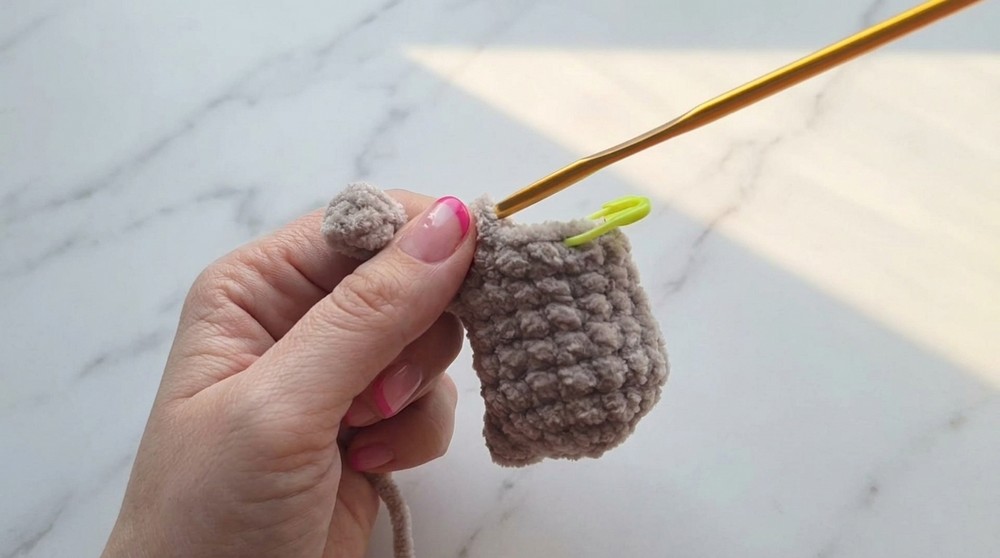
Flower Face (Petals)
Center in black:
- Make a magic ring.
- Round 1: 5 sc in ring (5)
- Round 2: Inc in each st (10)
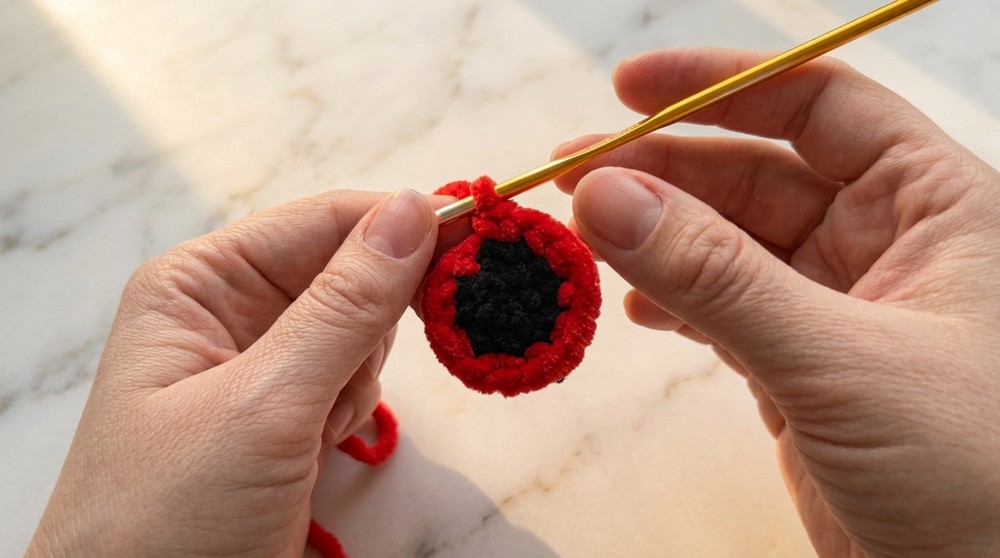
Change color to red.
- Round 3: [Sc 1, inc] repeat (15 sc)
Cut and tie off black and red securely.
Petal Construction (Round 4)
Repeat for each petal (5 total):
- Sl st to next st.
- In same st: hdc, dc, dc, dc, hdc (all in one stitch—petal made)
- Sl st to next st.
- Repeat for each petal around.
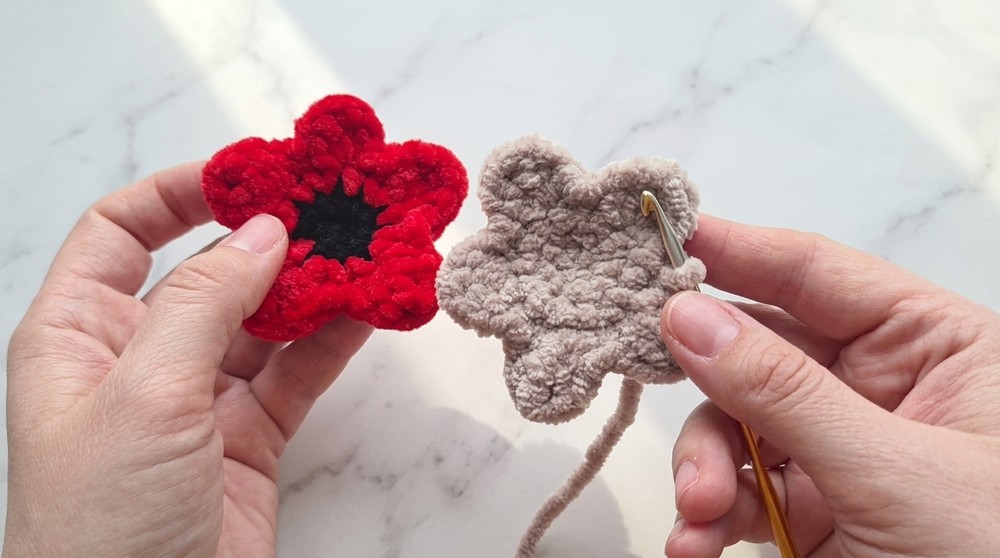
Each petal starts with slip stitch, then works tall stitches in same stitch, and ends with slip stitch. Repeat sequence for each petal.
Make second flower center (petal piece) in main color for back.
Edging and Joining*
Place petal pieces together, wrong sides facing.
- With matching yarn, sl st or sc around the edges of both pieces together, joining petals at edges.
- If too tight at petal tips, add an extra sl st or sc for shaping.
Plain-language summary:
Make two flower faces; join by crocheting around their edges, adding extra stitches for shaping if needed.
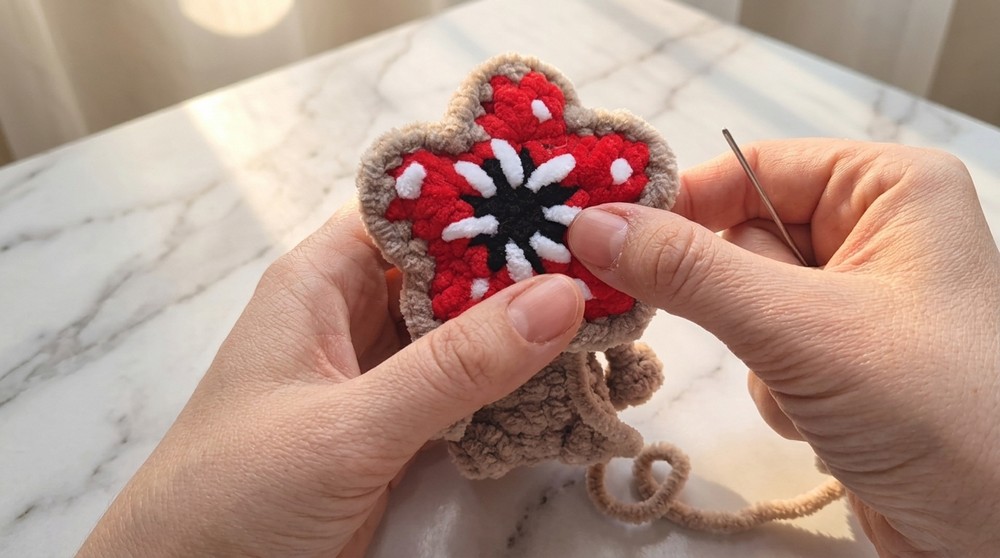
White Embroidery (Surface Details)
Before finishing flower joining, surface-embroider between black and red with white yarn:
- Stitch small lines or dots around black/red transition.
- Add extra lines on petals for Demogorgon effect.
- Tie off and hide thread inside.
Finish joining rest of the flower.
Final Assembly
- Leave a long yarn tail for sewing.
- Position flower face on head, vertical, and pin as needed for symmetry.
- Sew around circle, through both flower and head, securing petals if needed.
- Tie off and hide all ends.
Conclusion
Your plush Demogorgon amigurumi is finished! With its signature flower face and stubby limbs, this toy captures the monster’s essence in miniature and plushy form. Suitable for keychains, gifts, or as a unique shelf mascot. Try using different colors or adding a carabiner for practical use.