
Create a Fashion Statement with This Crochet Clutch Design
Planning a wedding outfit feels more fun with this Amazing Crochet Clutch Pattern for a matching bag to hold your lipstick and keys during the celebration.
Featured By TSUNAMI - Crochet Makers
Have you ever thought about turning simple yarn into something amazing? Well, here’s a little creative adventure you’re going to love, a stunning clutch bag that’s as fun to make as it is stylish to carry. Think having a handmade accessory that’s not just practical but also adds a touch of elegance to your outfits. Whether you’re heading to a party, meeting friends for coffee, or even just running errands, this clutch bag is designed to be your go to companion.
This little beauty uses basic stitches like the double crochet (dc) and single crochet (sc), making it an ideal project for anyone looking to practice their skills while creating something fabulous. Plus, the textured details and back loop stitches used for the flap give it a professional finish that looks store bought. Once you master these stitches, you can use them to create other projects, like wallets, purses, and tote bag accents.
Crochet This Gorgeous Clutch Bag to Show Off Your Style
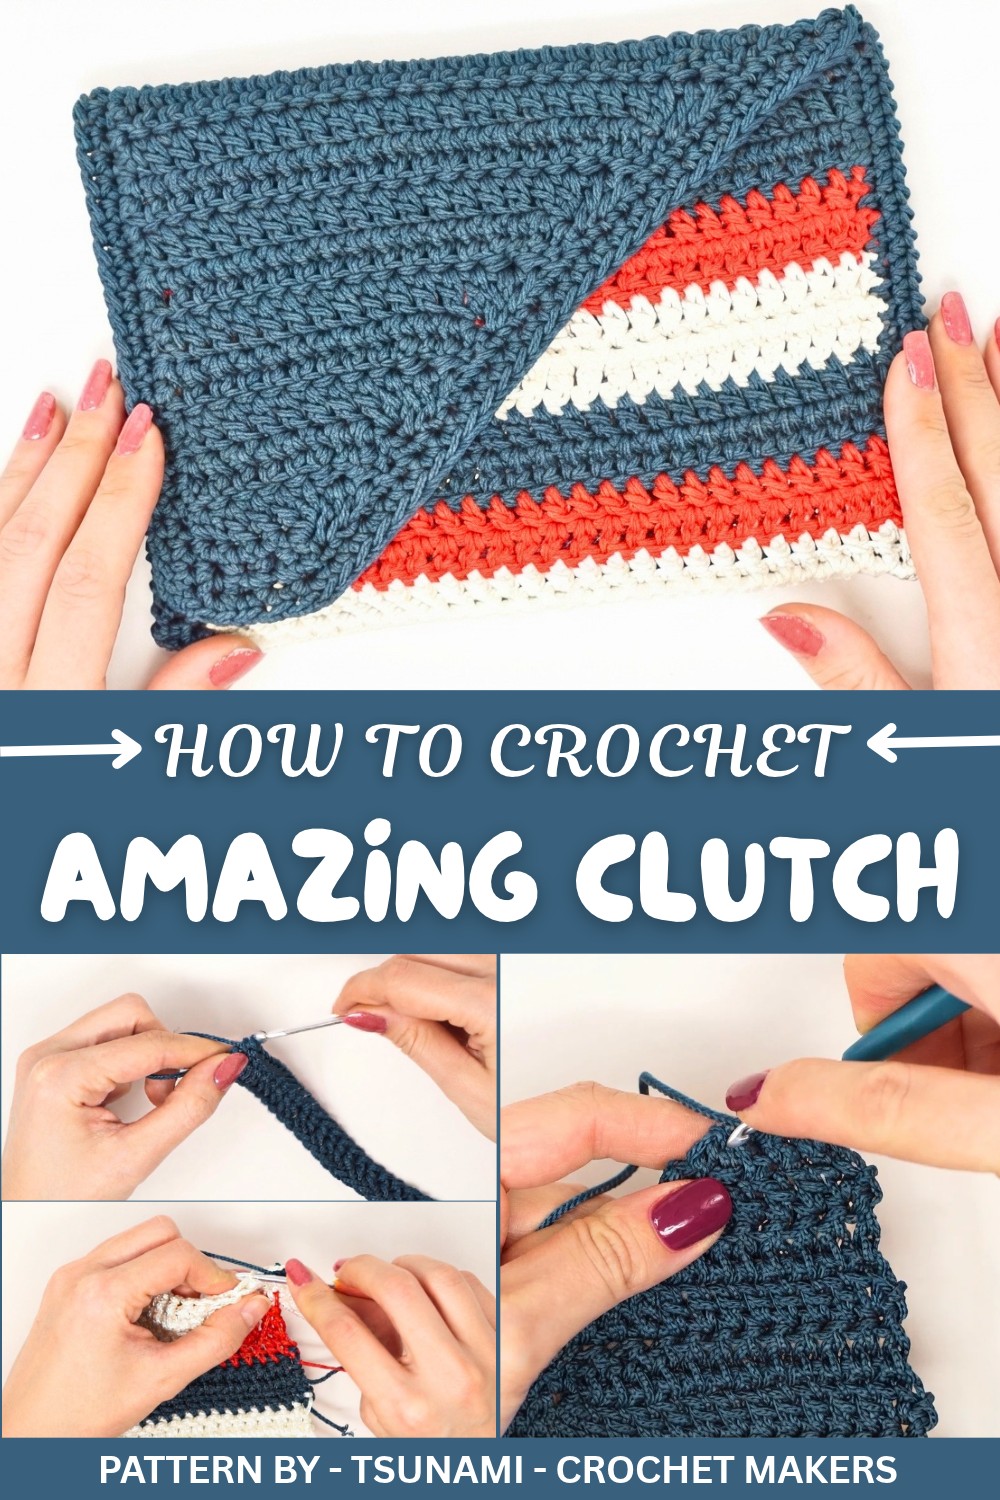
The true charm of this clutch lies in its versatile design. With just the right amount of space, it’s big enough to hold your essential items, like a phone, keys, and lipstick, but compact enough to carry in style. Plus, you can customize the colors to match your favorite outfit or create one as a thoughtful gift for a loved one.
Ready to make your very own chic clutch? Grab your favorite yarn (maybe try cord yarn for extra durability), a crochet hook, and dive into this fun and easy project. Who knew crocheting could look this good and be so rewarding.
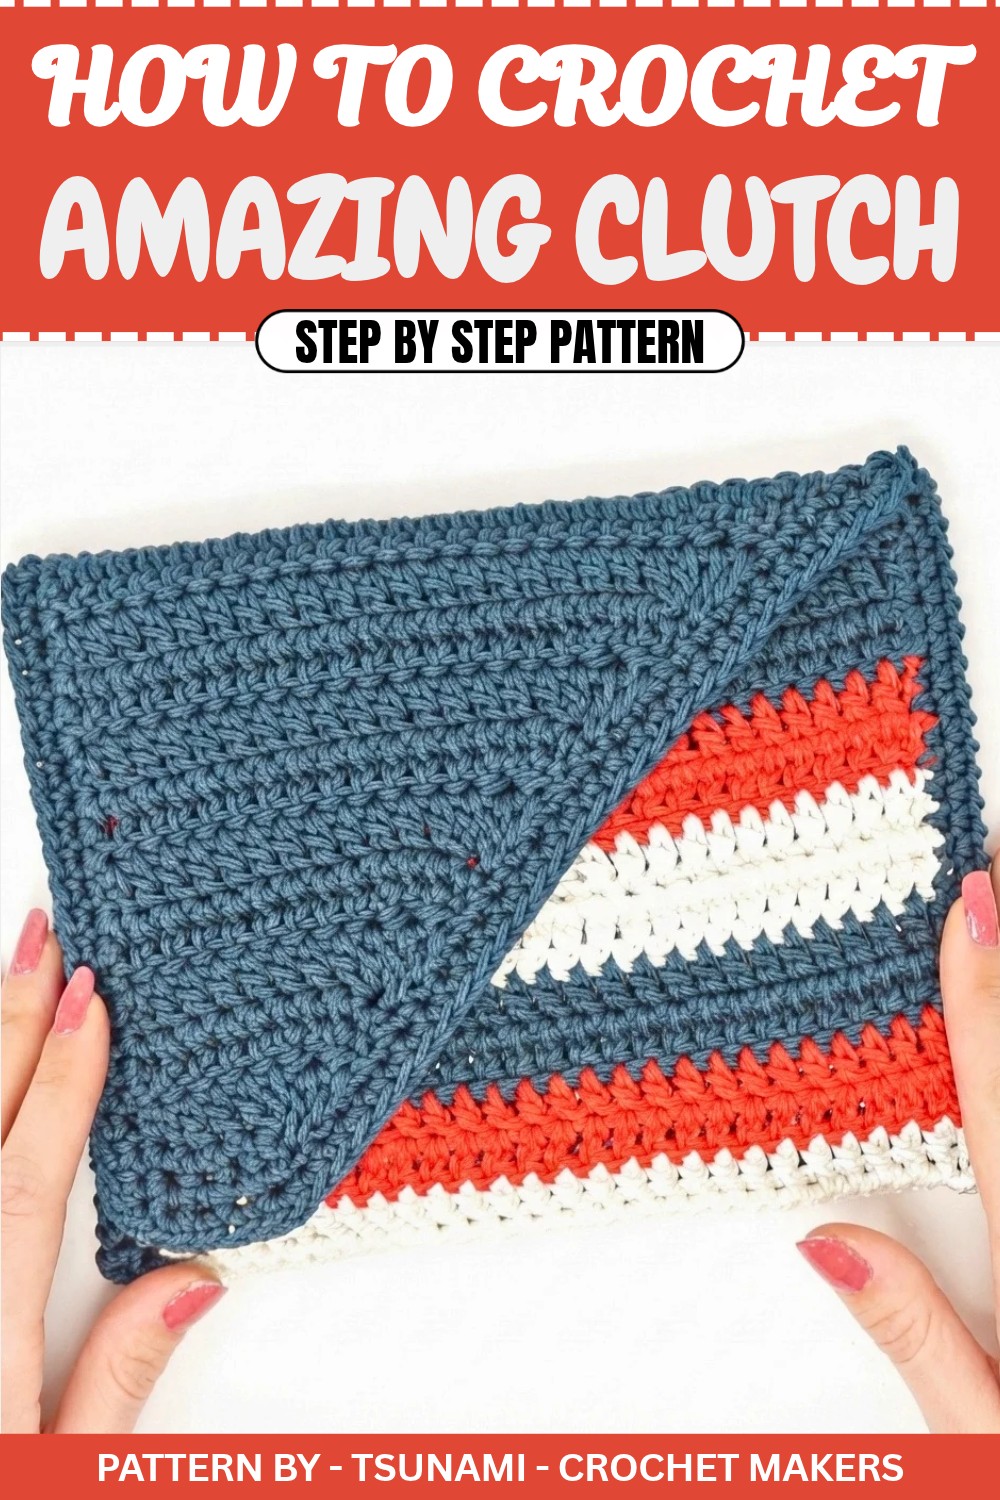
Crochet Pattern: Tricolor Clutch
Quick Overview of Pattern
- Project Name: Tricolor Crochet Clutch Bag
- Size: Approximately 23 cm x 18 cm (adjustable to preference)
- Components: Main clutch body, fold over flap, and magnet button closure
- Key Features: Beginner friendly design with clean lines and tricolor pattern
Notes
- You’ll be working with three colors: blue, red, and white. Feel free to customize the colors to match your preference.
- The main body is worked in blocks of two rows per color.
- The fold over flap is shaped using decreases for a more refined look.
- The clutch can be lined and stiffened for added durability (optional).
Skill Level
Advanced Beginner
Materials
- Yarn: Cord yarn in three colors: blue, red, and white (substitutions are allowed)
- Hook Size: 3.5mm crochet hook
- Other Tools: Scissors, tape measure, yarn needle, and a magnet button for closure
Measurements / Sizing
- Final Clutch Size: 23 cm (width) x 18 cm (height)
Gauge
Approx. 27 double crochet in 18 cm using a 3.5mm hook.
Stitch Abbreviations
- ch: Chain
- sl st: Slip Stitch
- sc: Single Crochet
- dc: Double Crochet
Special Techniques
- Working in BLO (Back Loop Only): Insert the hook into the back loop of the stitch (the loop farthest from you) instead of both loops. This creates a decorative ridge.
- Double Crochet Decrease (dc dec): Yarn over, insert the hook into the first stitch, pull through, yarn over and pull through the first two loops, yarn over again and repeat the process in the next stitch. Yarn over and pull through all remaining loops on the hook to close the decrease.
The Crochet Pattern
Step 1: Creating the Base of the Clutch
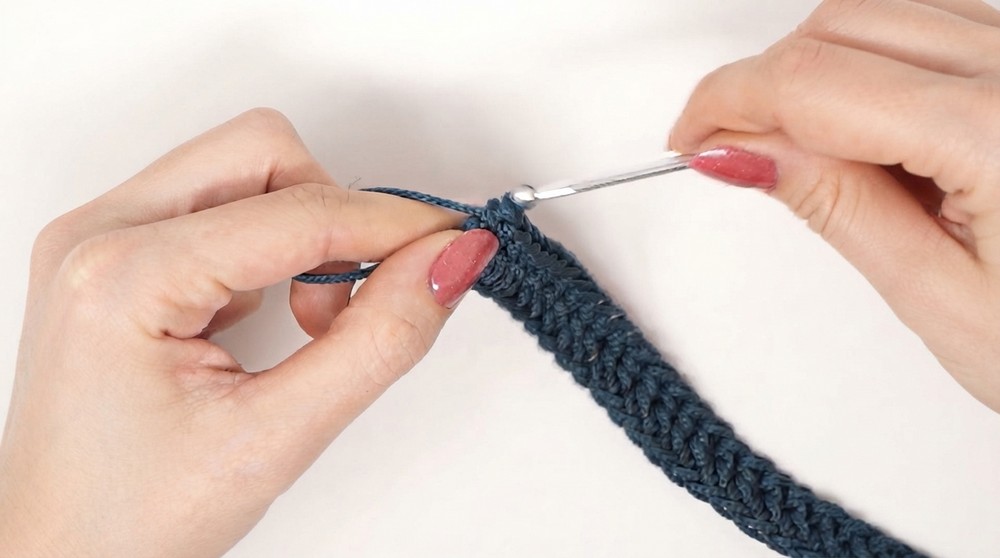
- Foundation Chain: Begin by chaining 28 ch. You will work across these loops to create your base.
- Row 1:
- Starting from the second chain from the hook, work 1 dc into each chain across.
- In total, you will have 27 dc, which corresponds to 18 cm width.
- Row 2:
- Turn your work, ch 1, and replace the first dc with two sc (this will ensure a seamless edge).
- Work 1 dc in each st across to complete another row of 27 dc.
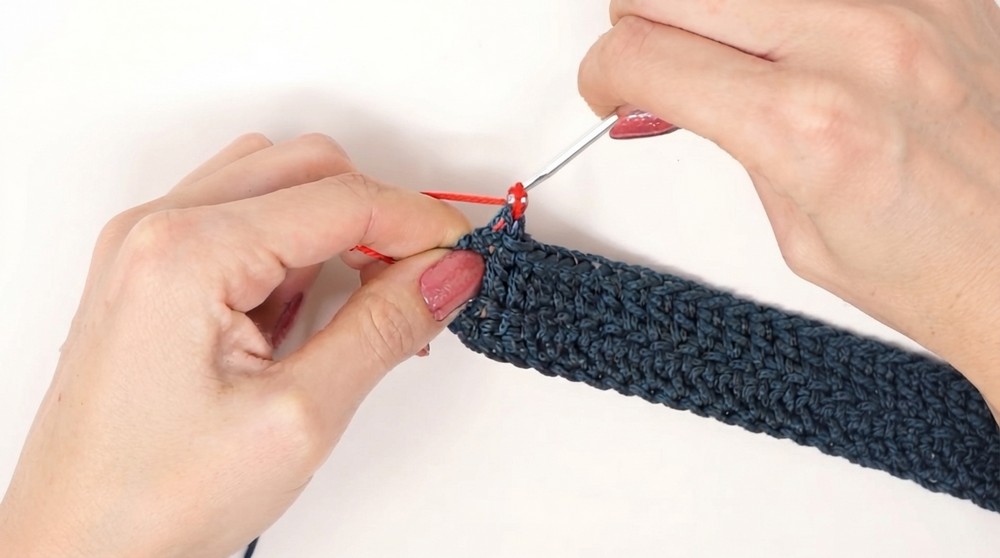
- At the last stitch, do not completely pull the yarn through; leave the last 2 loops on your hook, then switch to the second color (red) and complete the stitch.
- Rows 3–18:
- Continue alternating colors every two rows in the order of blue, red, and white, as follows:
- Blue: Rows 1 & 2
- Red: Rows 3 & 4
- White: Rows 5 & 6
- Repeat the sequence until reaching a total height of 32 cm, which consists of 18 rows (3 blocks of each color).
- Continue alternating colors every two rows in the order of blue, red, and white, as follows:
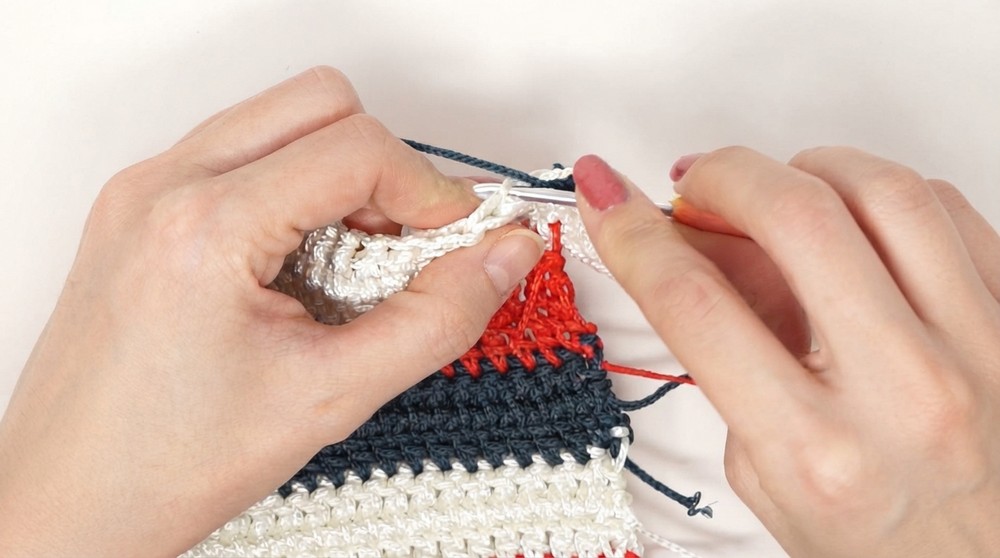
Step 2: Fold Over Flap
Row 19:
- Begin with the main color (blue).
- Work only into the back loops (BLO) for a textured appearance.
- Replace the first dc with 2 sc, then work 1 dc in BLO of each stitch across.
- In the last 4 dc, begin working 2 dc decreases to taper the ends of the flap:
- First decrease: Yarn over, insert hook into stitch, pull up a loop, yarn over, and pull through two loops. Yarn over, insert hook into the next st, pull up a loop, yarn over, and pull through all loops on the hook.
- Repeat for the second decrease stitch.
- You will finish this row with 25 dc.
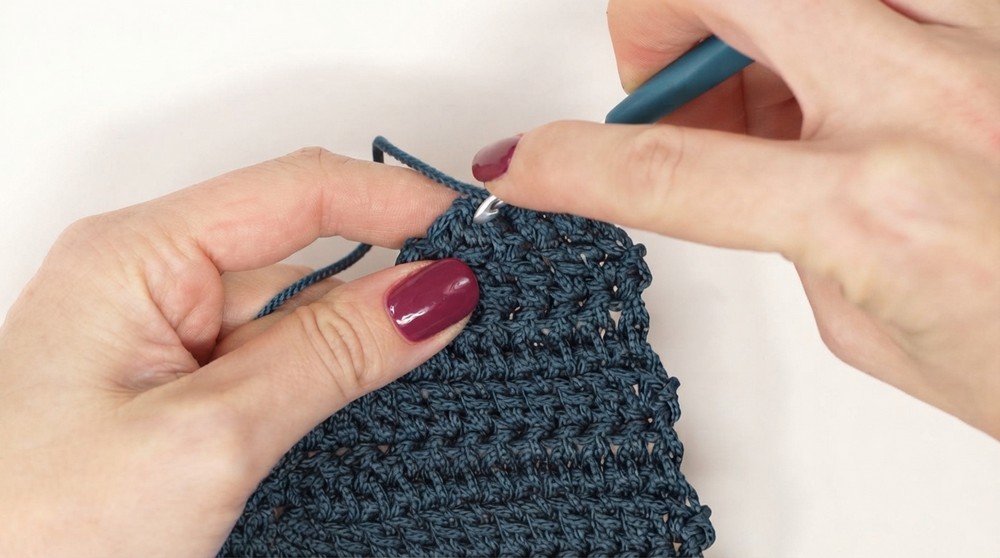
Row 20 (Working in Front):
- Ch 1 and turn.
- Start with a decrease at the beginning:
- Insert hook into the first st, pull up a loop, and begin a sc but don’t pull through completely.
- Repeat into the next st (leaving 2 loops on hook).
- Yarn over and pull through all loops together – this is your first decrease.
- Work 1 dc in BLO across until the last 4 dc.
- Work 2 dc decreases in the last 4 stitches. You will now have 23 dc on this row.
Repeat as follows:
- Continue decreasing the stitch count by 2 dc for each subsequent row.
- Alternate the decrease placement:
- In odd numbered rows, make decreases in the last four stitches.
- In even numbered rows, make decreases in the first four stitches.
- As you progress, follow this until you are left with 5 dc in your final row.
Final Flap Decrease:
- Ch 1, turn, and work a sc decrease in the first two stitches.
- Work 1 sc in the next three dc for a total of 4 sts in the row.
- In the next row, decrease the last two stitches together for a total of 3 sc.
Step 3: Border and Refinement
- To refine the clutch edges, work 1 sc in each st along the entire border.
- In angled corner stitches, work 3 sc increases to create sharp, clean edges.
- Work this border round along all sides of the clutch, making sure all color transitions look neat.
Optional Second Border:
- If you want a more defined look, complete a second round of sc for extra texture and strength.
Assembly & Finished Size
- Finished clutch measures approximately 23 cm x 18 cm.
- Optional Steps:
- Add a lining or interface to the inside for added stability.
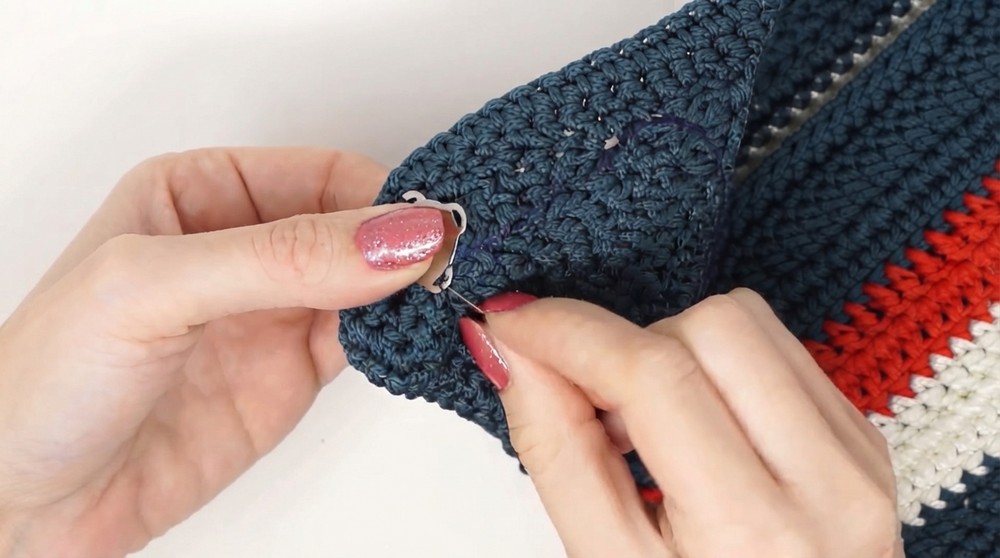
- Fold the clutch along the designated marks and sew the side seams securely.
- Install a magnet button closure for functionality.
Conclusion and Ending Words
And voilà, Your chic tricolor crochet clutch is complete. Whether you choose to add embellishments like pearls or keep it sleek, this versatile, stylish accessory will complement any look.