
Handmade Crochet Mini Bag Pattern Perfect for Small Essentials
Leave bulky purses behind and stitch a cute handmade crochet mini bag that holds your phone keys and lip gloss while keeping your hands totally free.
Tiny bags that fit in your palm can be so charming, and this one is no exception. The mini crochet bag from TSUNAMI - Crochet Makers effortlessly balances beauty with practicality. Its compact and refined shape is perfect for accessories, whether used as a chic coin pouch, an adorable keychain, or even a decorative charm to hang on your favorite tote.
One of the standout features of this mini bag is the thoughtful attention to detail. From the circular base to the tapered flap closure, every stitch adds character. The rich textures and soft curves make this bag look stylish and polished while being lightweight and useful. You can easily customize it with different closures, such as a button or clip, for added functionality and flair.
Crochet Mini Bag Pattern Everyone Will Love Using
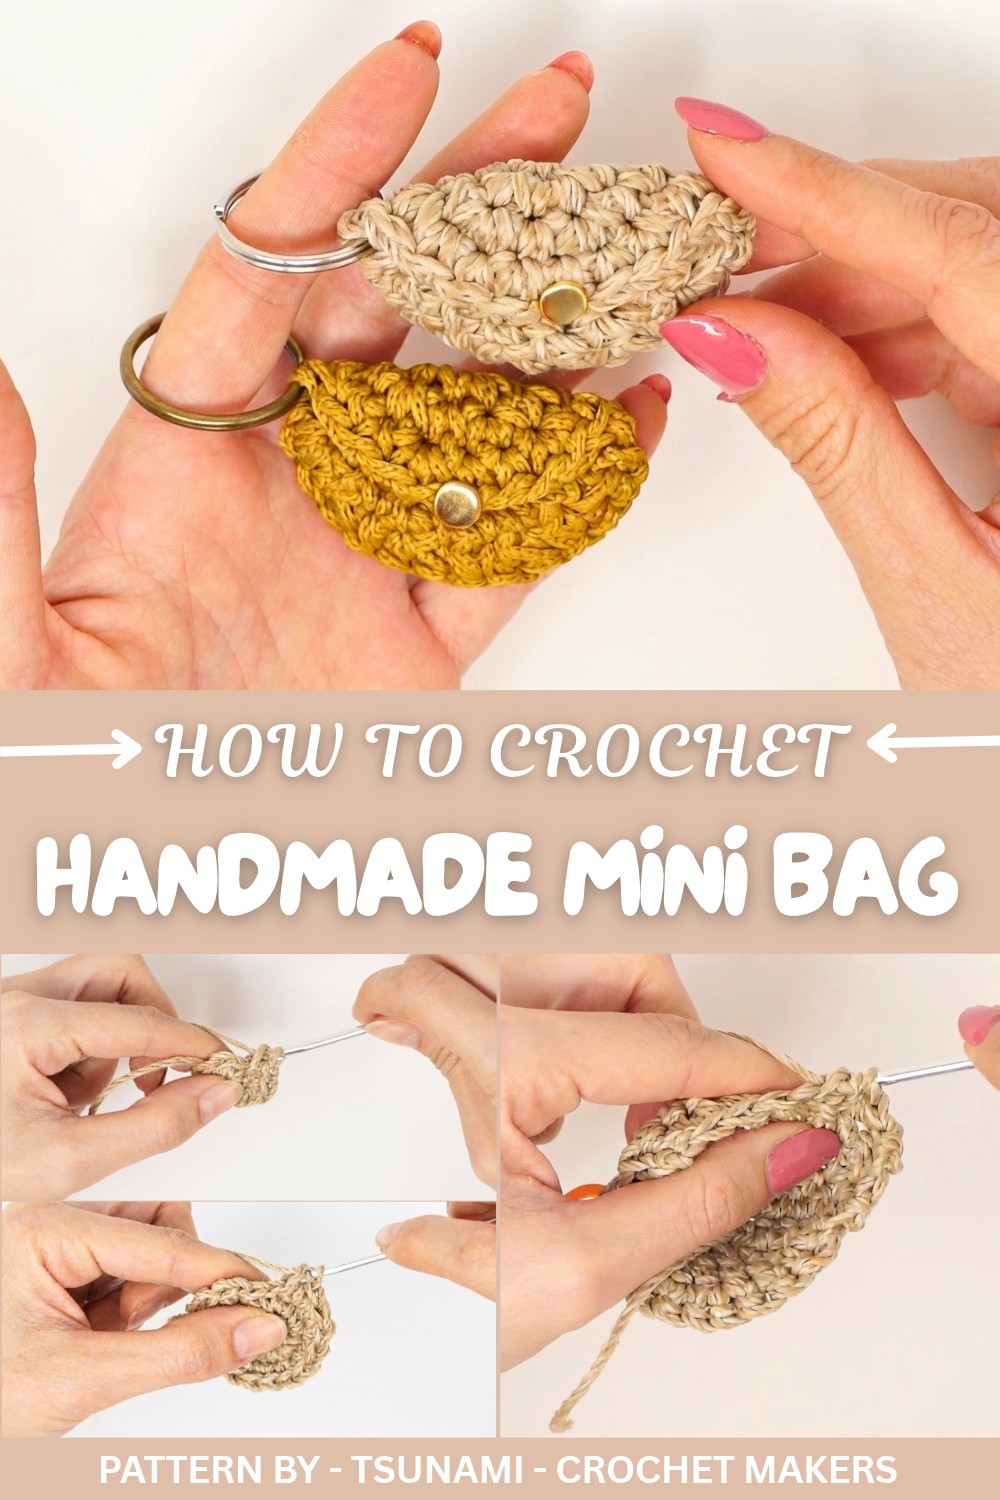
This project is designed to make the most of whatever yarn or cord is lying around your house, you don’t need much to bring this bag to life. The process involves working in rounds with simple techniques, making it accessible even for beginners. The channel takes pride in turning small ideas into delightful works of art, encouraging creativity in every project.
Whether you’re making this mini bag as a thoughtful gift or a cute accessory for yourself, the end result is sure to impress. It’s a fun and rewarding way to end up with something truly beautiful that you’ll love showing off.
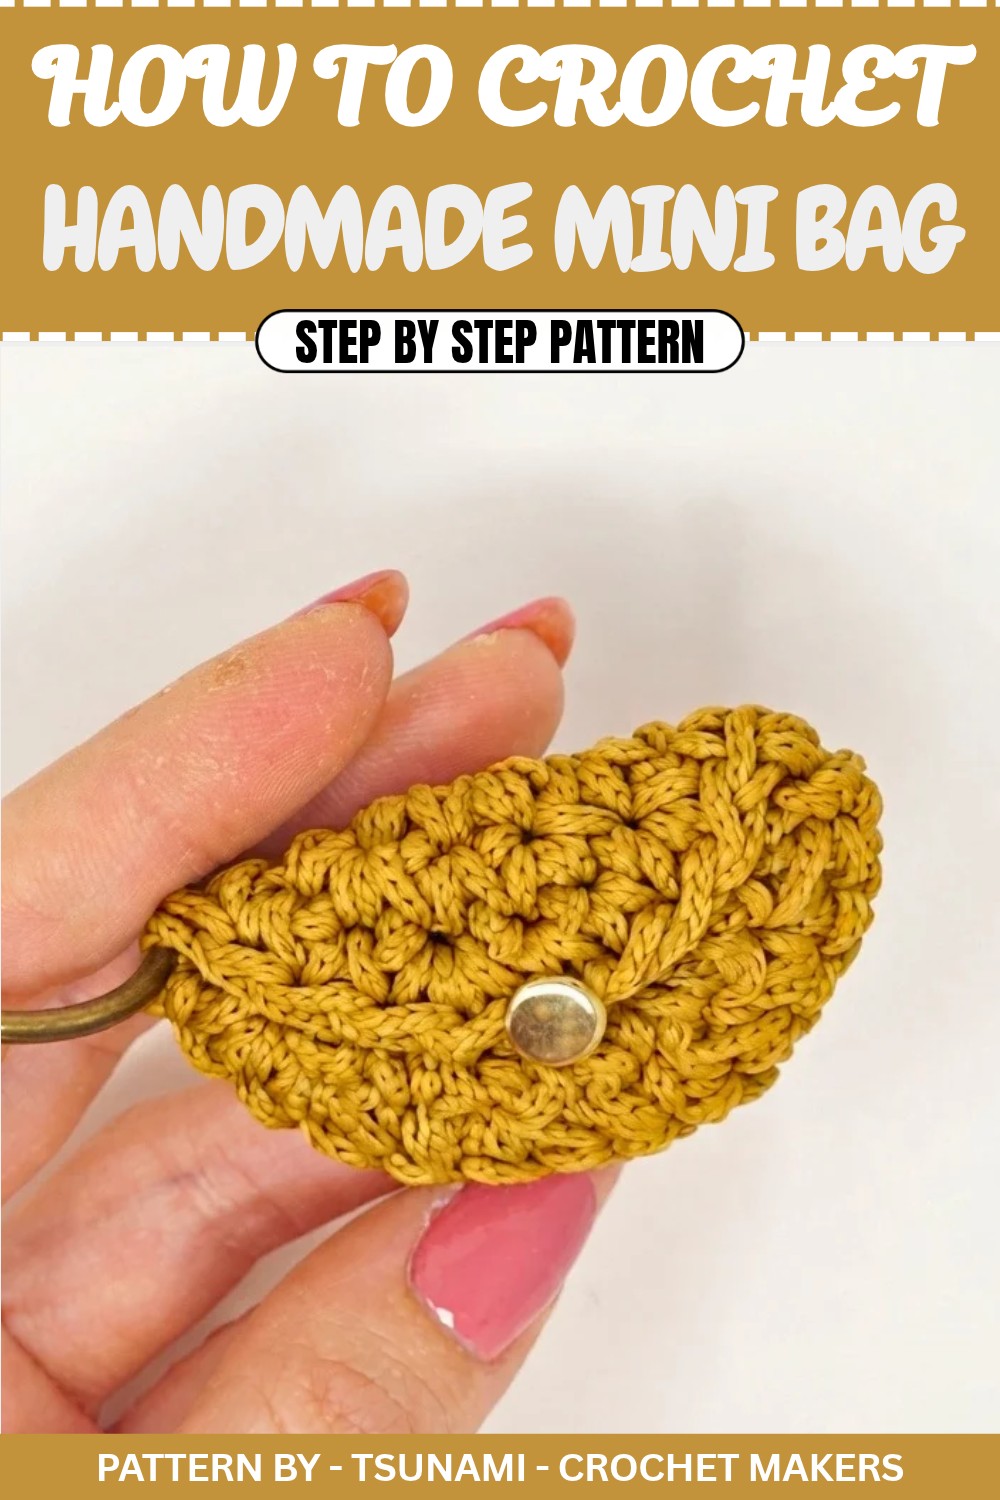
Bright Crochet Mini Bag
Quick Overview Of Pattern
- Project Type: Mini Basic Bag
- Shape: Rounded base with stitched sides closed into a compact bag
- Closure: Option for clip stopper, sewing shut, or using a button
- Uses:
- Keychain accessory
- Small token or gift for friends
- Decorative item with stuffing inside
Notes
- The bag is crocheted in rounds for the base, and subsequent rows are worked back-and-forth along specific sections to form the body of the bag.
- Always place a stitch marker on specific stitches (e.g., for the left and right boundaries) when transitioning between segments.
- Variations for closure are included: clip stopper, sewing shut, or attaching a button.
Skill Level
Confident Beginner
You should be comfortable with:
- Magic ring/anello magico
- Chain stitches (catenella)
- Single crochet (maglia bassa)
- Slip stitches (maglia bassissima)
- Decreases (diminuzione)
Materials
As used in the tutorial:
- Yarn: Scraps of yarn or any leftover yarn (cordino/filato avanzato)
- Crochet hook: Appropriate size for the weight of your yarn (tutorial uses a small hook for detailed work)
- Keyring/anello portachiavi
- Clip stopper/ferma campione (optional)
- Needle and thread or small button for alternative closures
- Scissors
Measurements / Sizing
- Length: Small enough to be used as a keychain or pocket accessory
- Width and height: Adjustable based on yarn used and personal preferences (e.g., tighter stitches for compact size)
Gauge
Gauge is not crucial for this pattern. Make sure your stitches are worked tightly enough to provide a structured look for the bag.
Stitch Abbreviations
- ch – Chain stitch (catenella)
- sc – Single crochet (maglia bassa)
- sl st – Slip stitch (maglia bassissima)
Special Stitches
Decrease (Diminuzione)
- Insert the hook into the first stitch and pull through a loop (don’t complete the single crochet).
- Insert the hook into the next stitch and pull through a loop.
- Yarn over and pull through all three loops on the hook.
This creates a decrease, bringing two stitches into one and reducing the stitch count.
The Crochet Pattern
1. Base
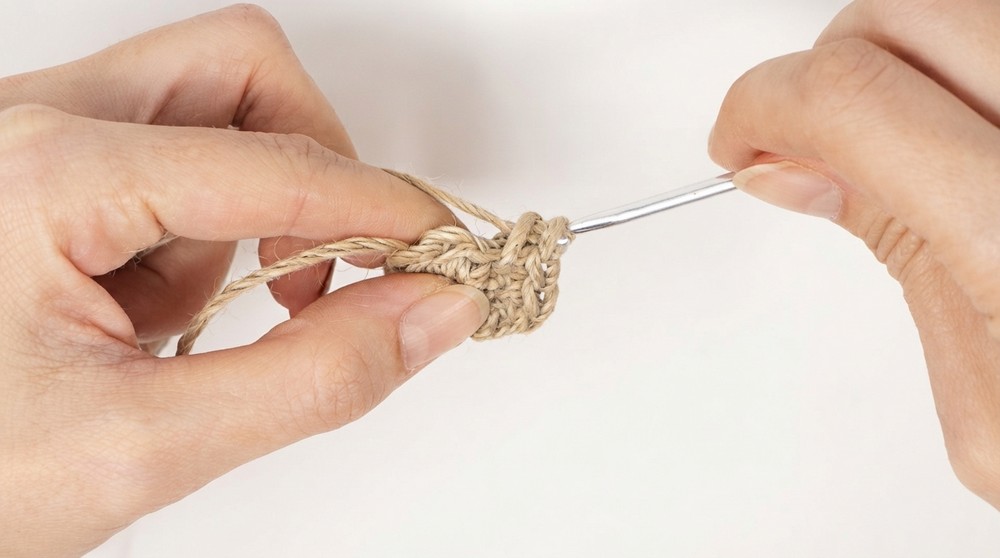
- Round 1:
- Create a magic ring (anello magico).
- Chain 1 to lock the yarn.
- Work 6 sc into the magic ring.
- Pull the tail tightly to close the ring, and slip stitch into the first sc to finish the round.
- Round 2:
- Begin with a chain 1.
- Work 6 increases (2 sc in each stitch around).
- Total stitches at the end: 12 sc.
- Slip stitch into the first sc to close the round.
- Round 3:
- Begin with a chain 1.
- Work 1 sc in the first stitch, then 1 increase (2 sc) in the next stitch.
- Repeat the sequence: 1 sc, 1 increase around.
- Total stitches: 18 sc.
- Slip stitch into the first sc to close the round.
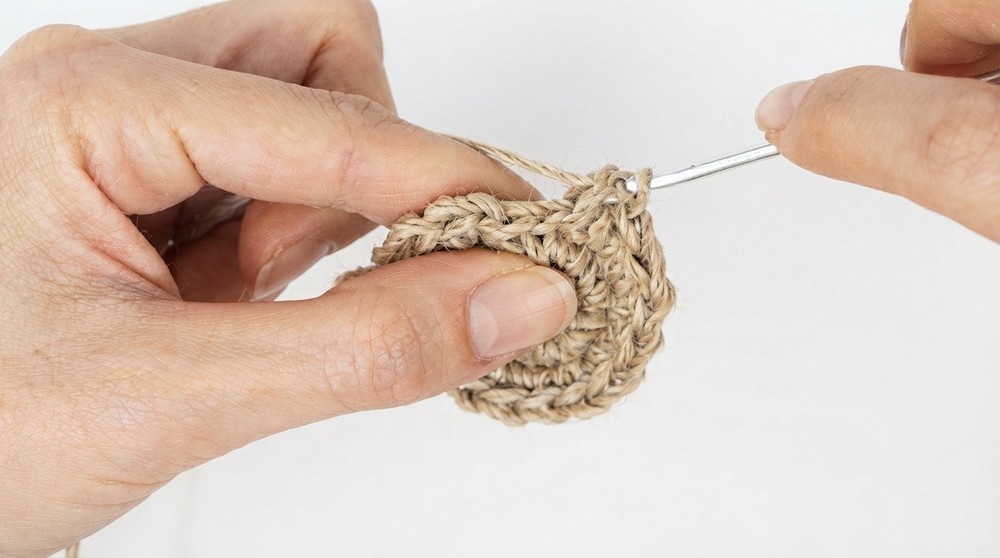
- Round 4:
- Begin with a chain 1.
- Work 1 increase (2 sc) in the first stitch, then 2 sc in the next two stitches.
- Repeat the sequence: 1 increase, 2 sc around.
- Total stitches: 24 sc.
- Slip stitch into the first sc to close the round.
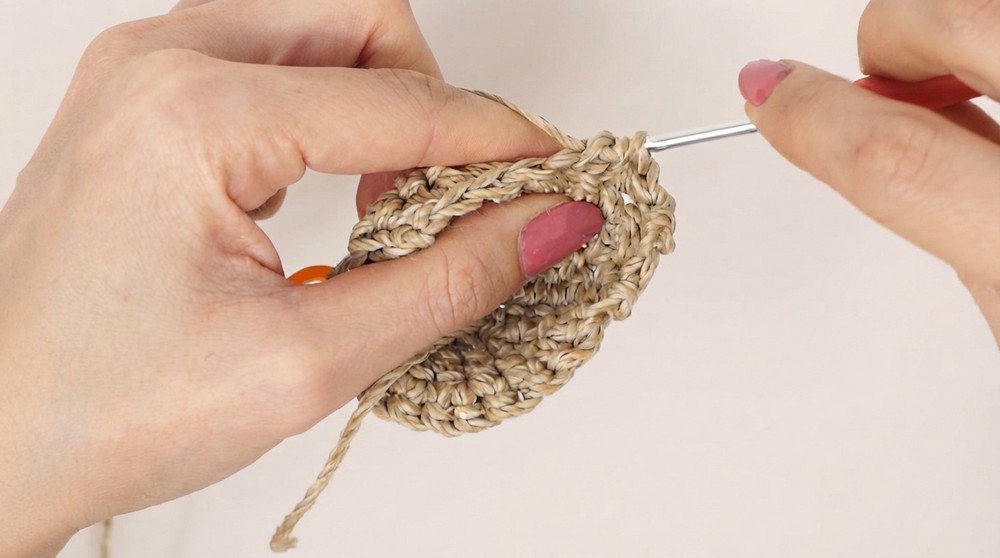
2. Sides
- Transitioning to Straight Sections:
- Chain 1 and turn your work upside down so you work along one segment.
- Count 11 stitches to the right and mark the 11th stitch with a stitch marker.
- Back-and-Forth Rows:
- On the wrong side (rovescio), work 1 sc in each stitch along the marked section (skip the remaining stitches).
- Decreases in Rows:
- Row 1: Work 1 decrease, followed by 1 sc until the end of the row.
- End with 2 sc over the final stitches.
- Chain 1, turn your work.
- Row 2: Repeat the pattern: 1 decrease, 1 sc.
- Finish with 1 sc over the last stitch.
- Row 3: Continue the decreases by working 1 decrease, 1 sc.
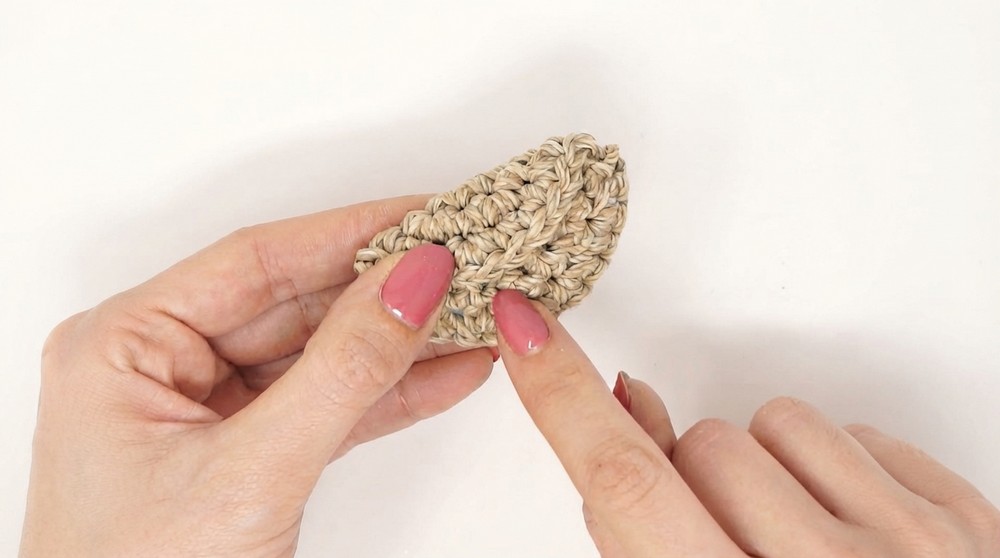
- Each row decreases gradually, creating the tapered shape of the bag’s top section.
3. Finishing and Closing
- Secure the Top:
- Create a small chain for safety and cut the yarn.
- Insert excess yarn into the inside of the bag for a neat finish.
- Stuffing the Bag:
- Remove the stitch marker.
- Use padding/stuffing (imbottitura) to fill the mini bag for additional structure.
- Closure:
- For a neat look, sew the top flap onto the bag body, or attach a small button for easy open and close functionality.
- You can also use a clip stopper for added charm and simplicity.
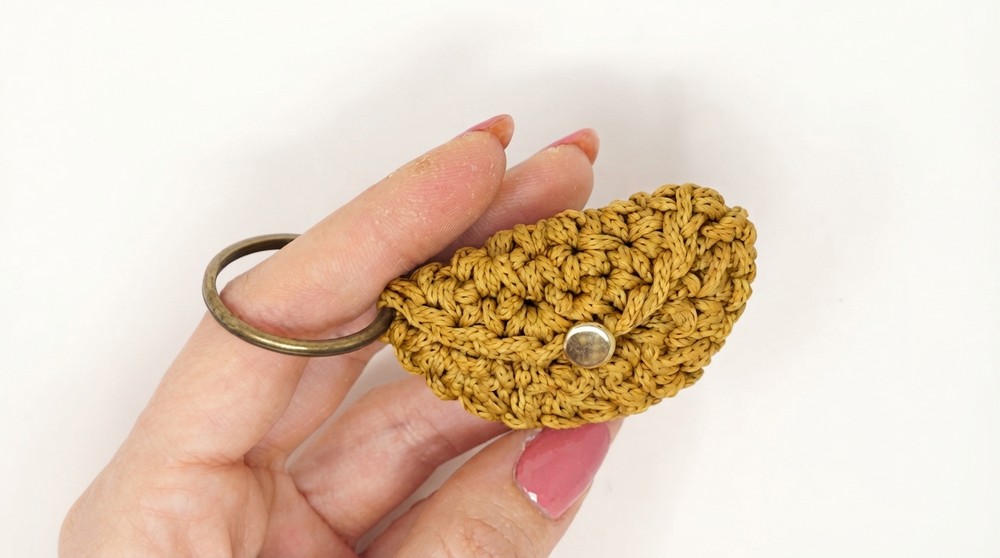
Assembly & Finished Size
- Attach a keyring to the mini bag, turning it into an adorable accessory.
- Ensure closure mechanism works securely.
- Finished size: Small, compact, pocket friendly mini bag perfect for gifting or using as a keychain.
Conclusion and Ending Words
That’s it, Your mini basic bag is now complete and ready to be enjoyed. This project is quick, easy, and the perfect way to use up leftover yarn without wasting a single scrap.