
Wonderful Crochet Belt Pattern for Formal Looks
Skip stiff leather straps that pinch your waist and make a wonderful crochet belt that stretches comfortably while looking super cute all day long.
The crochet belt showcased in the tutorial by TSUNAMI - Crochet Makers is a stunning example of how creativity meets functionality. Unlike many common accessories, this belt stands out with its unique design, carefully crocheted details, and its ability to complement outfits in a chic way. The artist behind the channel has an exceptional talent for creating items that seamlessly blend beauty and practicality. This particular project is perfect for yarn enthusiasts who enjoy working on both stylish and functional pieces.
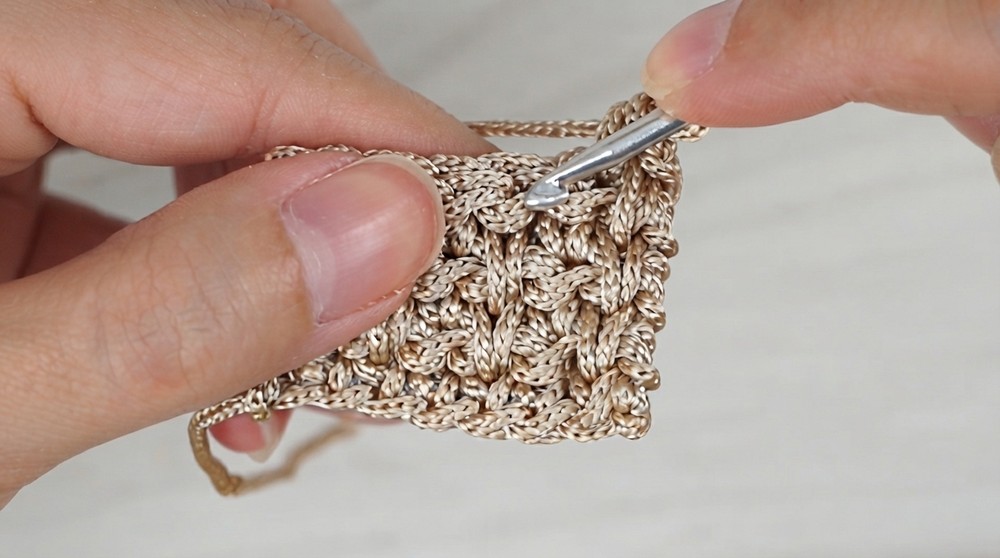
One of the most appealing elements of this belt is its alternating texture, created by combining the basket stitch and single crochet in the back loop. This technique results in a charming pattern that is both structured and visually interesting, giving the belt a distinct character. The subtle texture adds depth and elegance, making it suitable as an accessory for casual wear or as a statement piece to complete a dressy outfit.
Crochet Belt Pattern That’s Both Creative and Wearable
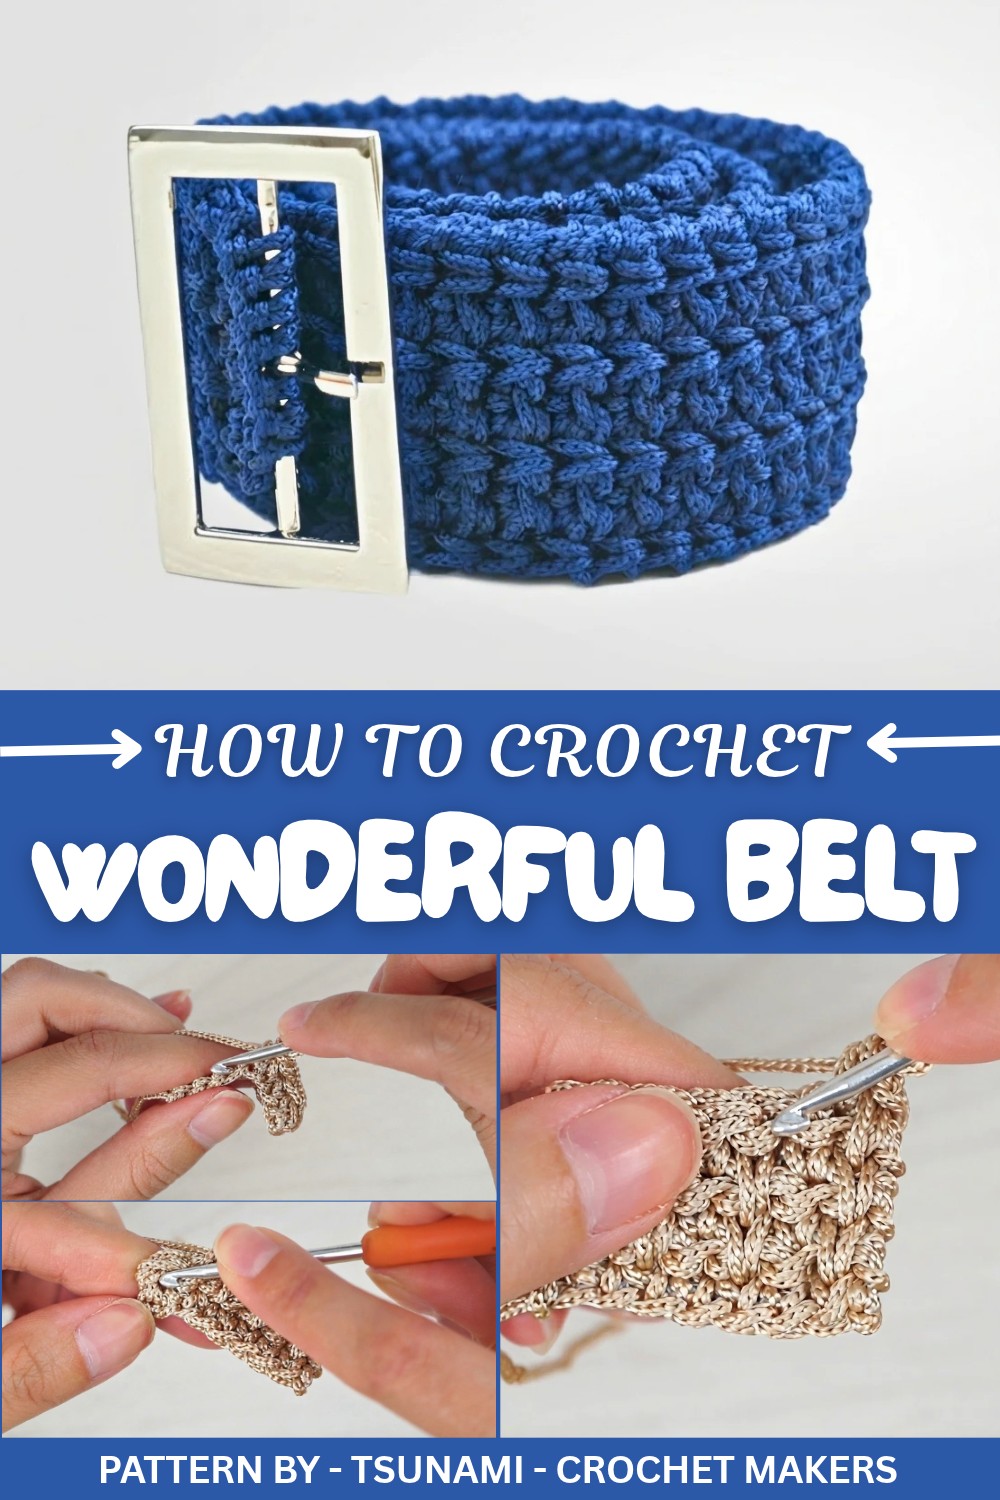
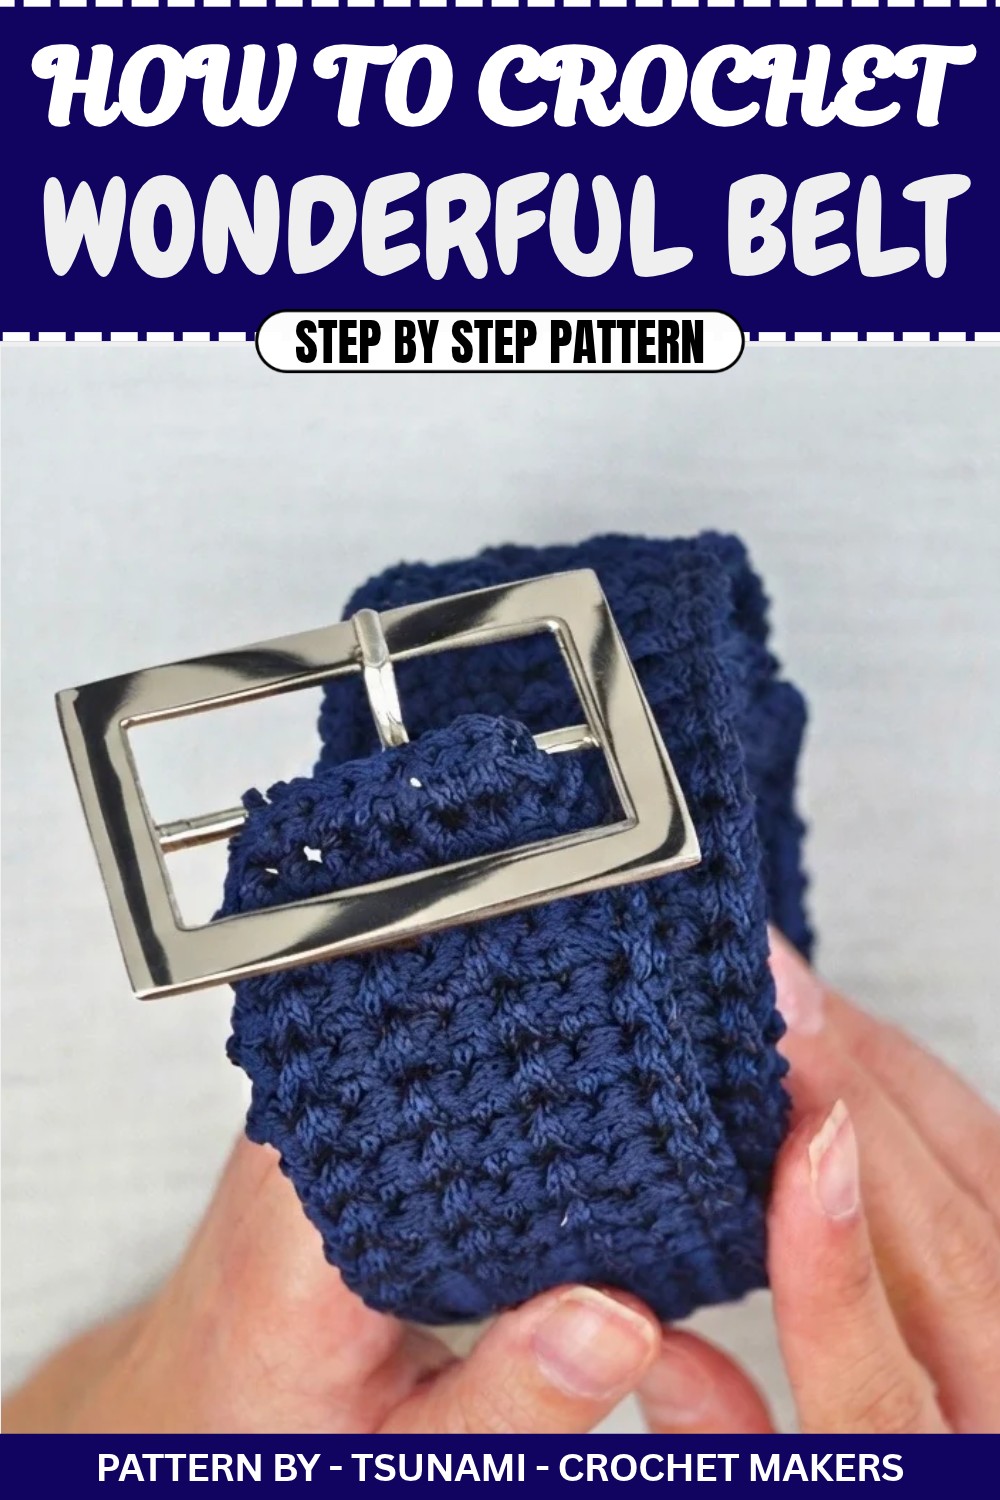
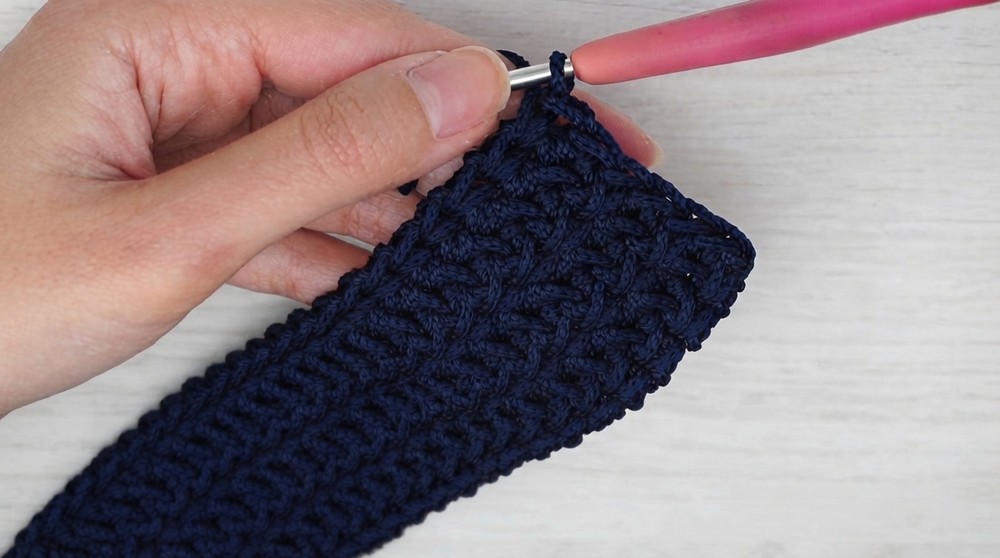
What makes this belt even more remarkable is how customizable it can be. The length can be adjusted to fit comfortably around the waist, hips, or even used as a decorative accent over a tunic or long dress. The tapered end, finished with neat decreases, ensures it fits securely with a buckle for a polished and professional look. Crocheted using sturdy cord yarn, the belt maintains its shape and offers durability, making it perfect for long term use.
TSUNAMI - Crochet Makers excels at transforming everyday ideas into crocheted masterpieces. Their step by step tutorials, like this one, are thoughtfully designed to guide crafters of all skill levels while encouraging creativity and personalization. This belt pattern is truly wonderful, not only is it simple to make, but it also adds a touch of handmade elegance to any wardrobe.
Handmade Crochet Belt Pattern
Quick Overview Of Pattern
- Project Type: Handmade Crochet Belt
- Design: Alternating basketweave and basic single crochet stitches for texture
- Purpose: Functional belt, ideal for styling with metal loops or buckles
- Skill Level: Beginner friendly, with step by step instructions
Notes
- Chain turning stitches are avoided throughout the project to achieve a seamless finish.
- You will alternate between basketweave stitches (punto canestro) and back loop only single crochets for texture.
- You can adjust the length and width of the belt to suit your preferences.
Skill Level
Beginner to Intermediate
You should be comfortable with:
- Single crochet (maglia bassa)
- Slip stitches (maglia bassissima)
- Working into back loops
- Decreasing
Materials
- Yarn (Cordino): Medium weight yarn or cord as per your preference
- Katy uses soft yarn here but notes that a firmer cord creates a sturdy finish.
- Crochet Hook: Size 3 mm (or size suited to your chosen yarn)
- Belt Buckle (Fibbia): Choose a buckle size of your choice
- Scissors
- Tapestry Needle (optional, for finishing)
Measurements / Sizing
- Width: Approximately 8 stitches (adjustable)
- Length: Tailored to fit your waist or chosen buckle (e.g., shorter for buckle belts or longer for classic belts).
Gauge
Gauge is not critical for this pattern but aim for:
- Tight, clean stitches to provide structure.
Stitch Abbreviations
- ch – Chain stitch (catenella)
- sc – Single crochet (maglia bassa)
- sl st – Slip stitch (maglia bassissima)
- BLO – Back loop only
- dec – Decrease (diminuzione: combining two stitches into one)
Special Stitches
Decrease (Diminuzione)
- Insert the hook into the first stitch and pull through a loop.
- Insert the hook into the next stitch and pull through another loop.
- Yarn over and pull through all three loops to complete the decrease.
Basketweave Stitch (Punto Canestro)
- Insert the hook into the center of the “V” at the top of a single crochet stitch below.
- Pull up a loop and complete the sc normally.
The Crochet Pattern
Step 1: Foundation Chain
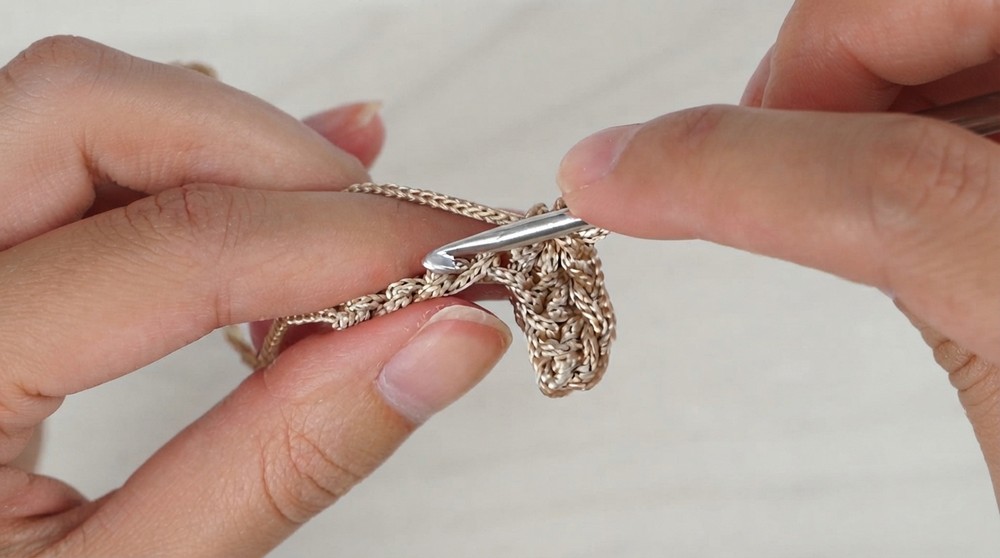
- Begin by chaining 8 stitches.
- Turn and work back into the second chain from the hook with a sc into each chain, for a total of 7 sc.
- For a tidy finish, work into the back loop only of the chain (optional).
Step 2: Creating the Texture of the Belt
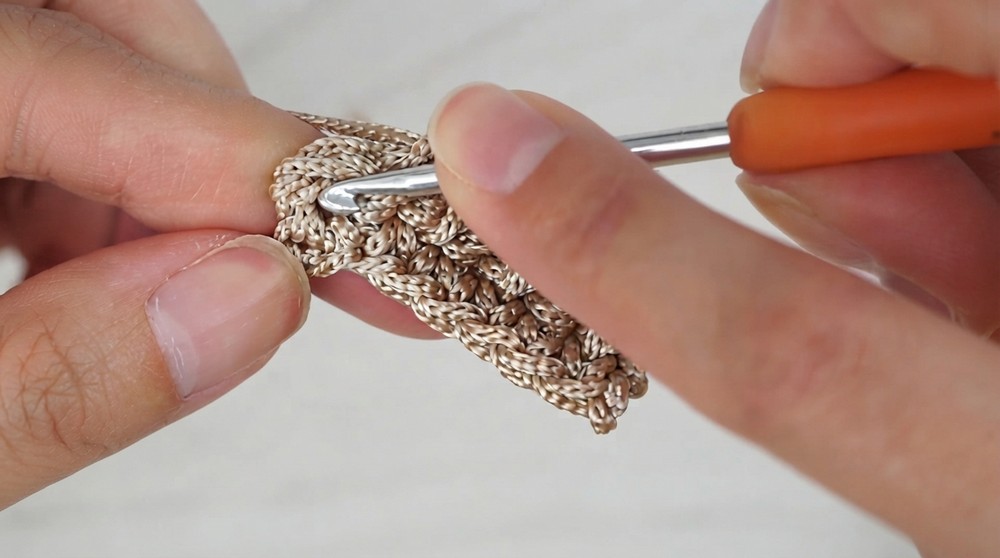
- Turn your work, do not chain for a seamless edge. Work:
- 1 sl st into each sc across the row.
- Turn your work again (still no chains). Begin alternating the following stitches:
- Basketweave stitch: Insert your hook into the center “V” of the single crochet from the previous row.
- Back loop only sc: Work into the two loops at the back of the next stitch (avoid the visible ridge).
Repeat this pattern across the row: 1 basketweave stitch, 1 back loop only sc.
Step 3: Continuing the Rows
- For each new row, alternate between:
- A row of sl st in each stitch (flat row for tightening).
- A row of alternating basketweave and back loop only sc.
- Important Note: Turn your work without making chain stitches at the end of each row to maintain a seamless and stiff texture that resembles fabric.
Step 4: Lengthening the Belt
- Repeat this sequence until you’ve reached your desired belt length.
- Measure your belt against your waist or buckle to ensure it fits. Katy mentions shortening the belt slightly for a metal buckle.
Step 5: Reducing for the Belt Taper
- Once you reach the desired length, turn your work for the tapering process. The aim is to narrow the belt to fit into the buckle opening.
- To decrease:
- Skip the first stitch and begin your row with the next stitch (usually BLO sc).
- Work the last two stitches together (decrease).
- Alternate these decrease rows with rows of sl st, ensuring the belt tapers evenly.
- Continue until just one stitch remains at the tip of the belt.
Step 6: Adding the Buckle
- Place the belt buckle at the untapered end of the belt.
- Using the remaining yarn, sew the buckle securely onto the belt:
- Insert your hook into the starting edge and work single crochet stitches to attach.
- Work around the buckle carefully, pulling the yarn snug to hold it securely in place.
Assembly & Finished Size
- After attaching the buckle, cut the yarn and secure it with a safety chain.
- Weave in any loose ends.
- Finished dimensions: A custom designed belt with a sleek, textured look.
Conclusion and Ending Words
Congratulations on completing your handmade crochet belt. This non traditional, textured belt is a beautiful accessory to add flair to your wardrobe.