
This Free Super Crochet Circle Bag Pattern Is Timeless and Fun
Skip boring square purses and stitch a super round crochet bag that turns heads everywhere you go while holding your phone wallet and daily must haves.
When it comes to a practical yet beautiful accessory, this crochet circle bag is a true masterpiece of simplicity and style. Its rounded design and seamless finish give it a modern look that you’ll love to carry. The standout feature of this bag is its spacious interior, with a 48 cm diameter, making it large enough to hold all your daily essentials. Whether you want a casual everyday bag or a statement piece for a special occasion, the clean, circular shape and solid texture ensure it fits every purpose.
Free Super Circle Bag Pattern for Casual Looks
You can customize it with different colors, making it suitable for any season. Go for pastel tones for spring and summer or opt for deeper shades for the colder months. The project uses a sturdy cord yarn and a 4 mm crochet hook to create a durable, structured finish that holds its shape well. Plus, the addition of a long handle, worked with 55 chains (or longer for a customized fit), makes it easy to carry over the shoulder.
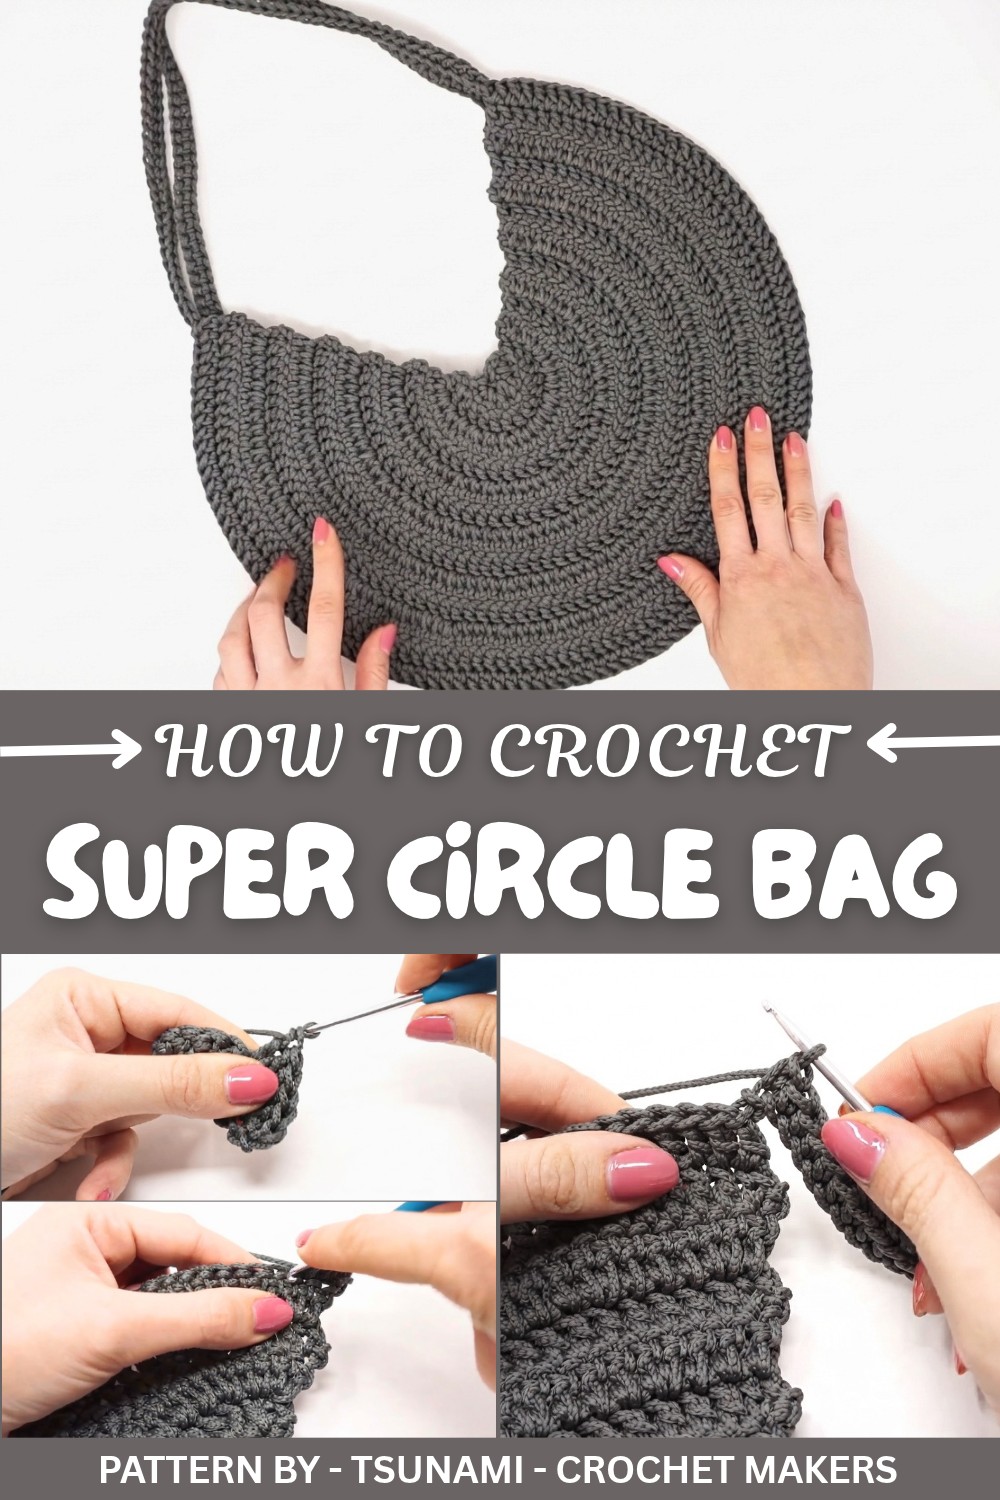
The process of working this bag is beginner friendly yet engaging for all skill levels, with increases used to form a perfect circle. With two identical panels crocheted separately and joined using a simple zigzag stitch, the construction is neat and manageable. Adding depth or a fabric lining can further enhance its functionality.
This lovely design was presented by TSUNAMI - Crochet Makers, where Simona’s clear instructions and tips make the project approachable and enjoyable. The video tutorial walks you through every step, ensuring your circle bag turns out just right. Perfect as a gift or a stylish addition to your own collection, this bag is sure to become a favorite.
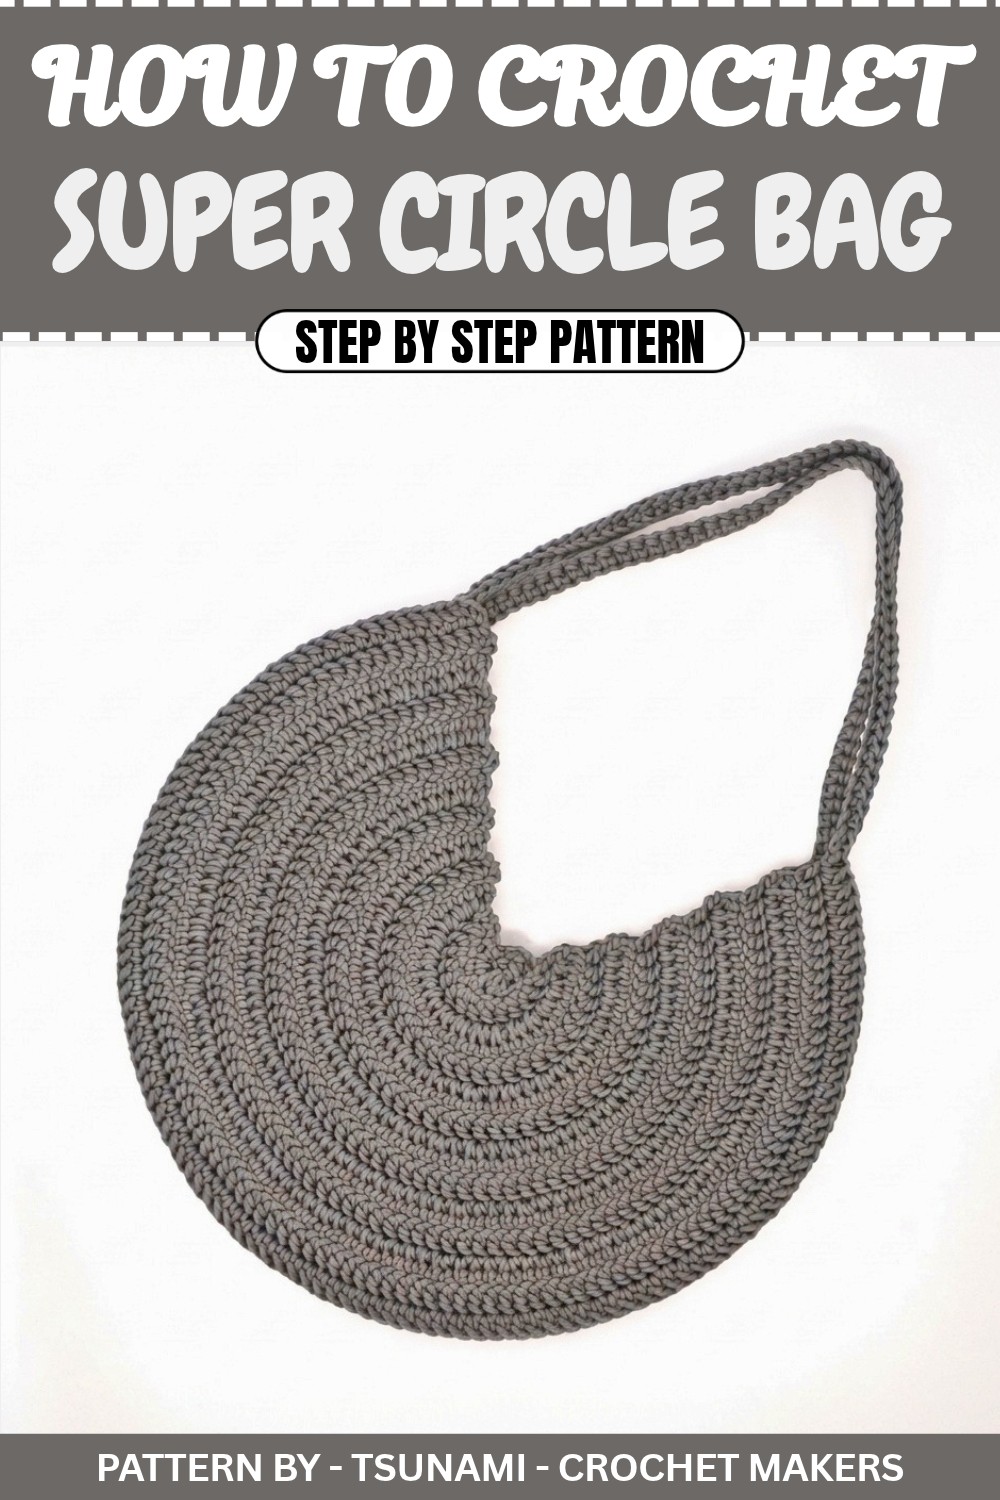
Crochet Pattern: DIY Round Circle Bag
In this step by step guide, you'll learn how to create a beautiful and simple crochet circle bag. This bag is not only stylish and spacious, but it's also easy and fun to make. We'll use a series of basic stitches and gradual increases to craft two round panels, which will then be joined together with a sturdy handle.
Quick Overview of Pattern
- Create two round panels using increases in each round.
- Use basic stitches, primarily double crochet and chain stitches.
- The bag’s handle is made from a chain and reinforced with single crochet along its length.
- The panels are joined with a zig zag sewing technique for a seamless finish.
- Optionally, you can add a depth panel and sew a lining inside for better structure.
Notes
- The bag is worked in the round, beginning from a small chain circle.
- The pattern includes increases in each round to create the circular shape of the panels.
- The first double crochet in every round is replaced with two stacked single crochets for a seamless, polished look.
- The handle is worked directly on the panel and reinforced with single crochet stitches.
- This step by step guide closely follows the transcription of the video tutorial.
Skill Level: Beginner Friendly
You’ll need to know how to:
- Make a slip knot and chain (ch).
- Work slip stitches (sl st), single crochets (sc), and double crochets (dc).
- Work in the round and create increases.
- Use basic sewing stitches with yarn and a darning needle.
Materials
- Yarn: 400 g of cord yarn (works best for a sturdy purse)
- Hook: Size 4 mm crochet hook
- Darning needle: For sewing the two panels together
- Scissors: For cutting thread
- Fabric and sewing thread: Optional, for adding a lining inside the bag
Measurements
- Bag diameter: Approximately 48 cm (19 inches)
- Handle length: Approximately 50 cm (done with a chain of 55 stitches for the yarn and hook size shown in the tutorial)
Note: If you are using thinner yarn, you may need to add more chains to achieve the same handle length.
Gauge
No specific gauge is given, as this is not critical for the pattern. However, the finished bag’s diameter using the materials mentioned measures about 48 cm. You may want to do a quick swatch to ensure your stitches are tight enough to create a sturdy, durable bag.
Stitch Abbreviations
- ch: Chain
- sc: Single Crochet
- dc: Double Crochet
- sl st: Slip Stitch
- inc: Increase (2 double crochets in the same stitch)
Special Stitches
Replacing the First Double Crochet with Two Stacked Single Crochets
To avoid gaps and create a seamless look, the first double crochet of a round is replaced with two single crochets stacked on top of each other:
- Chain 1.
- In the same base stitch, work 1 single crochet (sc).
- Insert the hook into the top of the single crochet, yarn over, pull through, and work another sc.
- This stacked stitch will act as your first double crochet for the round.
The Crochet Pattern
First Round Panel
1.Round 1
- Chain 4.
- Form a ring by joining the first chain to the last chain with a slip stitch (sl st).
- Chain 1. Use the special “stacked single crochet” method to make the first double crochet.
- Work 7 more double crochets into the ring (8 dc total) and join the circle with a sl st to the first dc.
2.Round 2
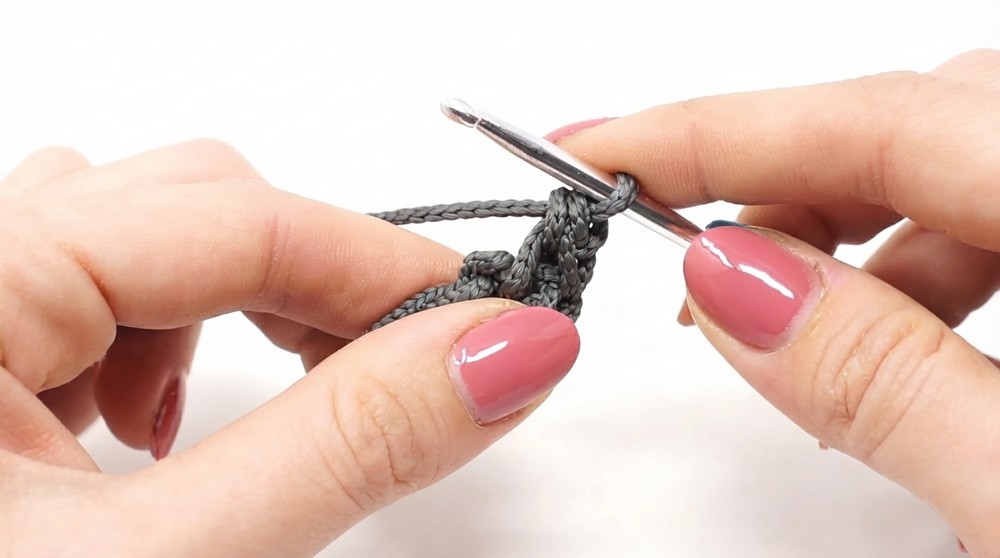
- Chain 1. Use the stacked single crochet method to make the first dc.
- In the same base stitch, work a second dc (first increase).
- Work 2 dc in each stitch around (inc in every stitch).
- At the end of the round, you will have 16 dc.
3.Round 3
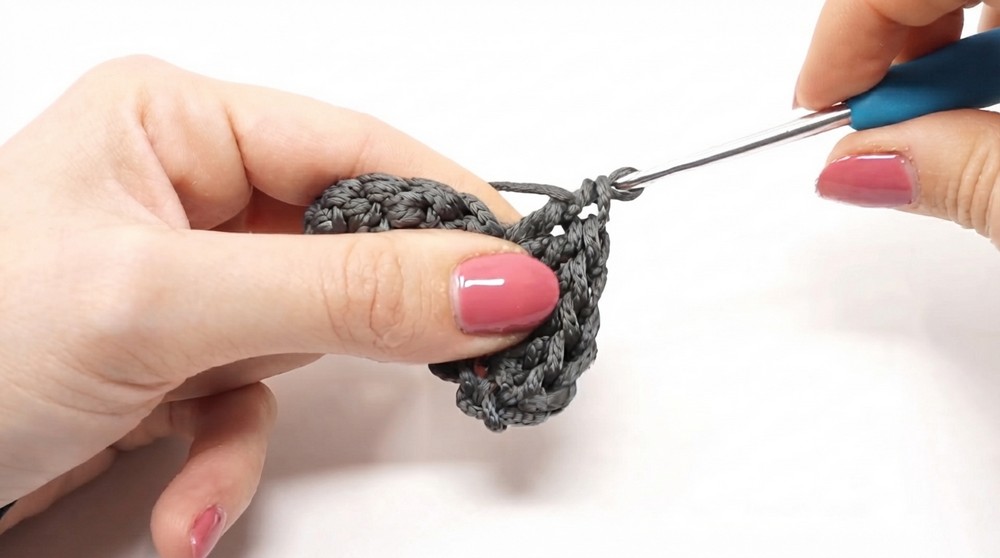
- Chain 1. Use the stacked single crochet method to make the first dc.
- In the same base stitch, work an additional dc (first increase).
- Work 1 dc in the next stitch.
- Continue the sequence: 1 dc inc, 1 dc in the next stitch.
- At the end of this round, you will have 32 dc.
4.Round 4
- Chain 1. Use the stacked single crochet method for the first dc.
- Work 1 dc in each stitch around (no increases).
- You will still have 32 dc at the end.
5.Round 5
- Chain 1. Use the stacked single crochet method for your first dc, followed by an additional dc in the same stitch (first inc).
- Work 1 dc into each of the next 2 stitches.
- Continue the pattern of 1 inc (2 dc in one stitch), then 2 dc (1 in the following 2 stitches) around.
- At the end of the round, you’ll have 48 dc.
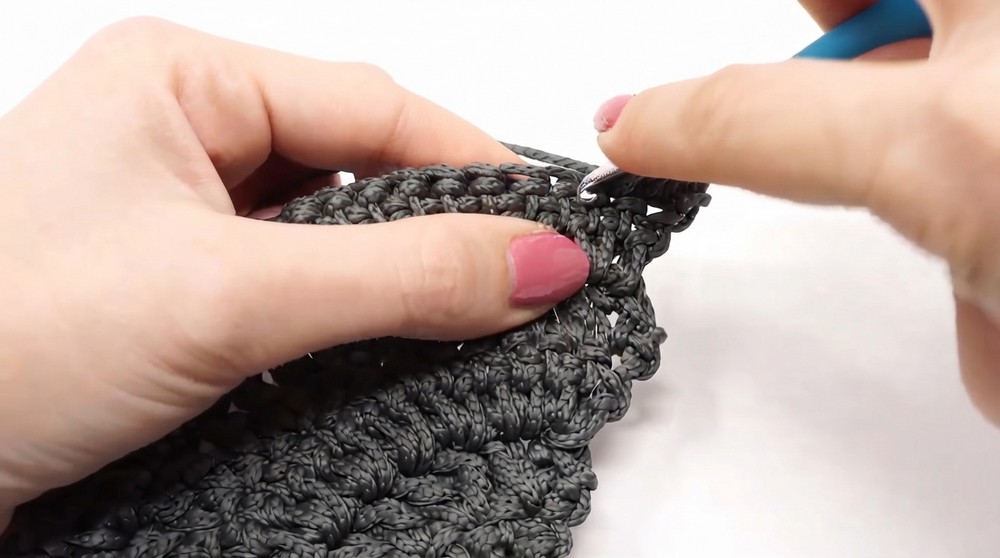
6.Round 6
- Chain 1. Use the stacked single crochet for the first dc.
- Work 1 dc in each stitch around (no increases).
- At the end of the round, you’ll still have 48 dc.
7.Round 7
- Chain 1. Use the stacked single crochet for the first dc, followed by an inc in the same stitch.
- Work 1 dc into each of the next 3 stitches.
- Continue the pattern of 1 inc (2 dc in one stitch) + 3 dc around.
- You will end up with 72 dc at the end of the round.
8.Round 8
- Chain 1. Use the stacked single crochet for the first dc.
- Work 1 dc in each stitch around (no increases).
- You’ll still have 72 dc at the end of the round.
9.Round 9
- Chain 1. Use the stacked single crochet for your first dc, followed by an inc in the same stitch.
- Work 1 dc into each of the next 4 stitches.
- Continue the pattern of 1 inc (2 dc in one stitch) + 4 dc around.
- After completing the round, your panel will have 90 dc.
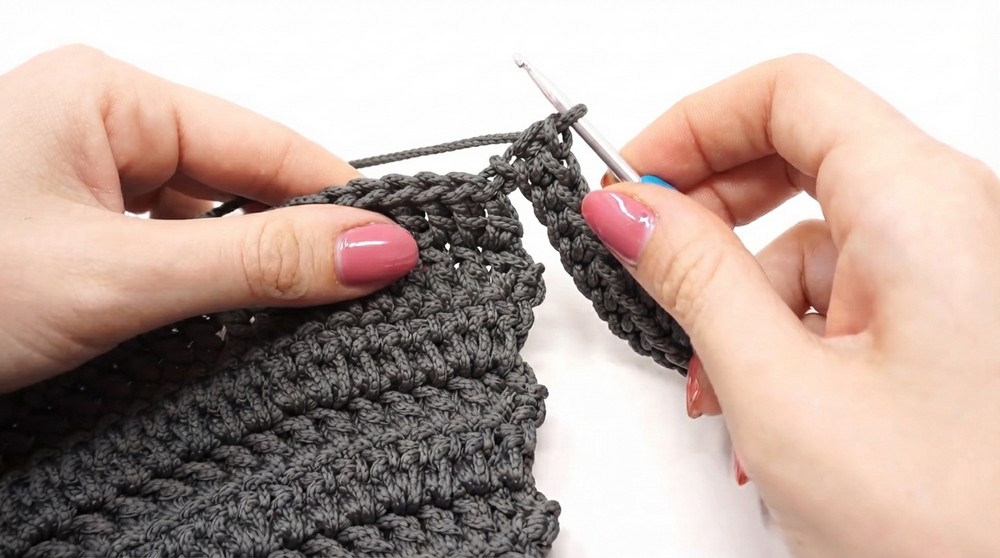
10.Rounds 10–12
- Work another round of regular dc without increases. You'll still have 90 dc at the end.
Creating the Handle
At the end of the 12th round for the first panel:
- Chain 55 (about 50 cm).
- Insert your hook into the first stitch opposite the chain on the circle.
- Work into the opposite dc to attach the chain and continue working dc along the circle.
Then:
- When you reach the chain section, turn the chain around. Work 1 sc into the back loop of each chain stitch to add reinforcement.
- Work all the way across the chain, completing the reinforced handle.
Second Panel
Repeat the exact same pattern (Rounds 1–12) for the second panel, skipping the instructions for the handle.
Assembly
- Align the two panels, with the right sides facing each other.
- Use the yarn tail left from one of the panels and thread it into the darning needle.
- Start at the first stitch of the panel, sewing the two edges together using a zig-zag stitch. Work by grabbing the back loops of the stitches on both panels.
- Sew all the way around the edge, leaving the area inside the handles unsewn.
- Once done, weave in the ends and secure the yarn.
Finished Size
Your completed circle bag will measure about 48 cm in diameter. The handle length will be approximately 50 cm when worked with the specified materials (400 g of cord yarn and 4 mm hook).
Conclusion
Congratulations on completing the DIY Crochet Circle Bag. This fun and versatile bag is not only easy to make but also functional and stylish. With a few color changes, you can adapt it for any season or occasion. If you feel creative, consider adding depth to your bag with a side panel or sewing a lining for an extra touch of functionality.