
Handmade Crochet Basket Pattern That’s Cute and So Useful
Learn how to create a handmade crochet basket with this amazing and simple pattern that’s perfect for organizing your space in a creative way.
A carefully crocheted basket with a handle is not just practical but also adds a touch of handmade charm to your home. MaryJ Handmade, a passionate crochet creator on YouTube, introduces this delightful design in an easy to follow tutorial. The basket, crocheted with sturdy t shirt yarn, blends durability with elegance, offering a stylish storage solution for any space.
Beautiful Handmade Crochet Basket Pattern for Unique Decor
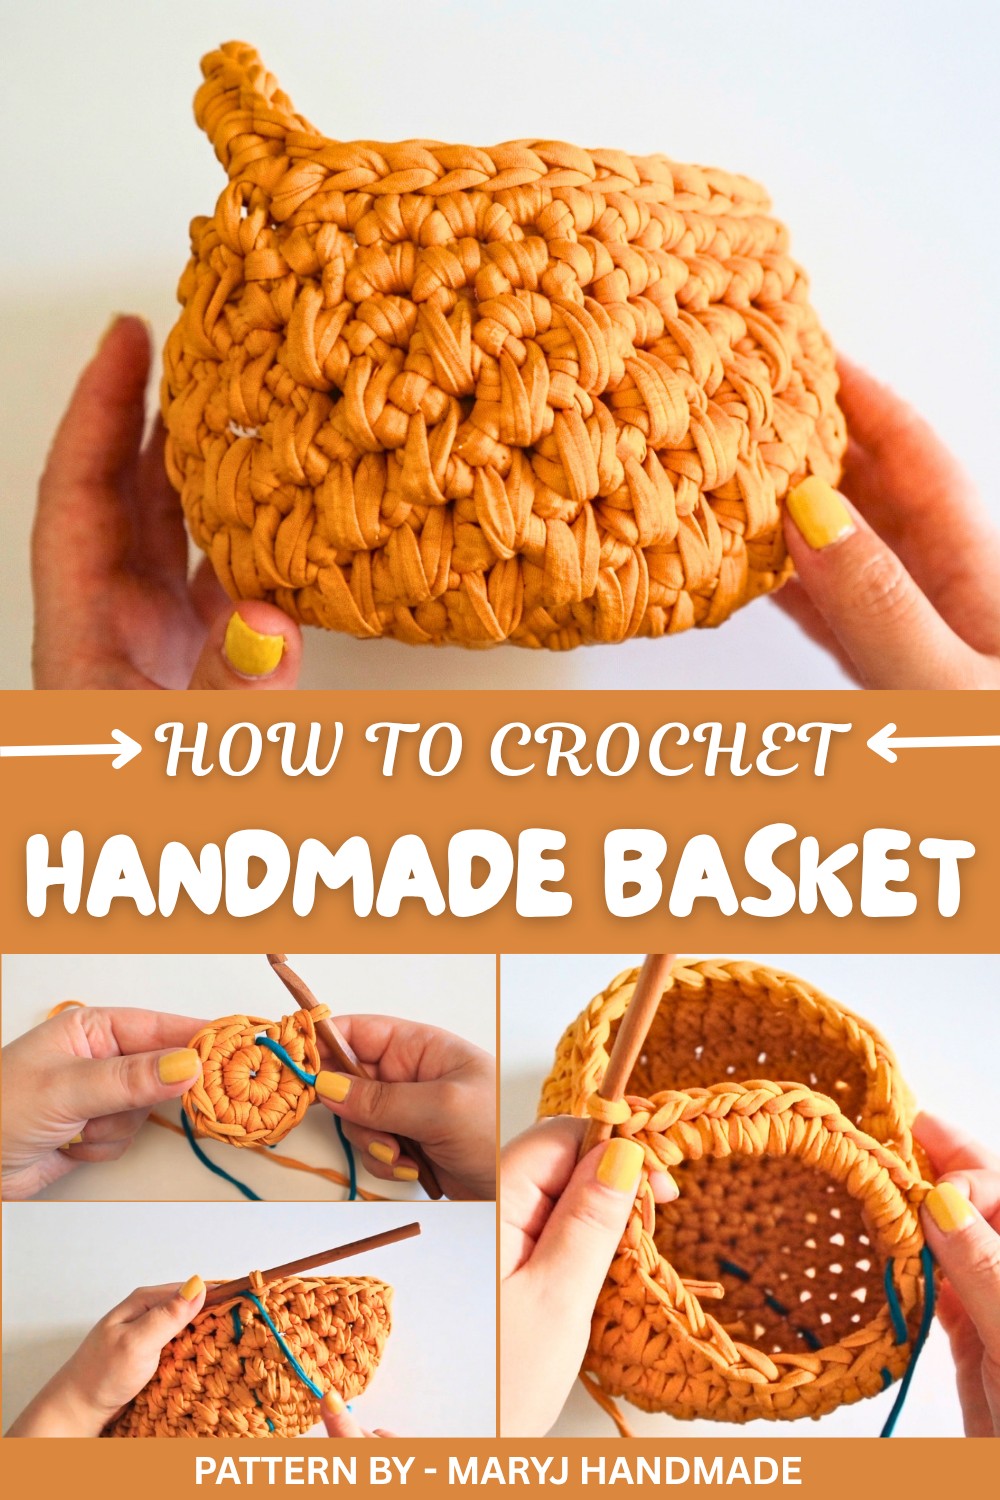
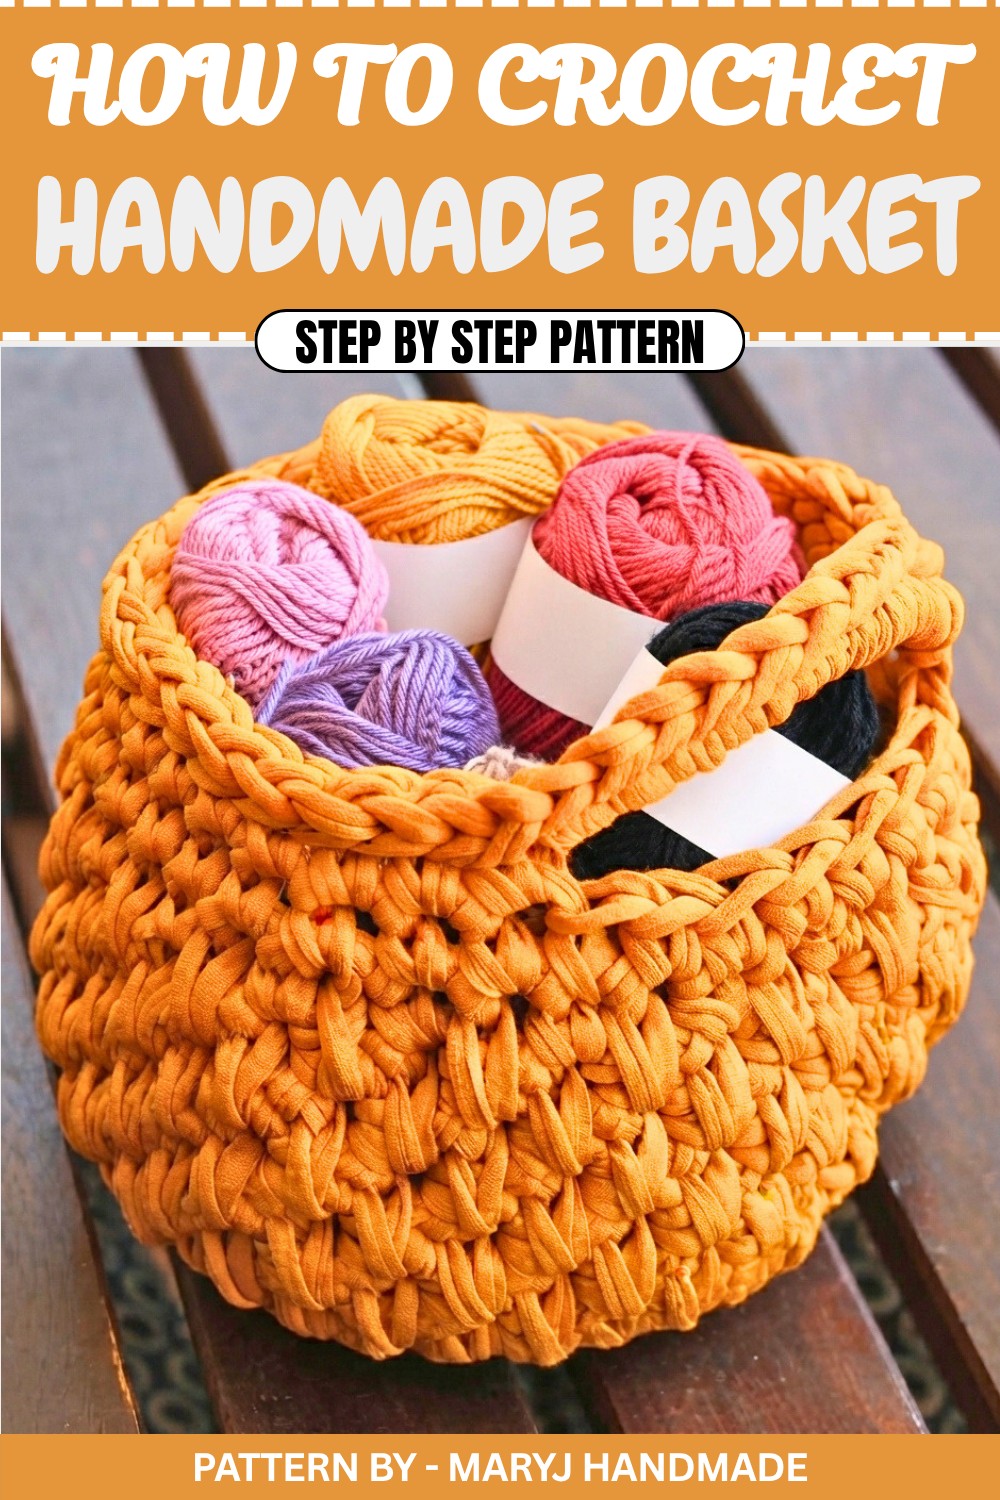
This basket is ideal for keeping your home organized, especially in small spaces where smart storage is a must. The single handle design allows you to hang the basket effortlessly, making it perfect for holding crochet supplies, toiletries, or even as a decorative item. The alternating spike stitch design is one of its most eye catching features, creating a textured look that stands out beautifully. Its rounded base and smooth spiral pattern bring a polished and cohesive feel to the overall shape, ensuring it looks as good as it functions.
Whether you’re making it as a practical item or as a thoughtful gift, this crochet basket has the charm to match its usefulness. The crocheting process is straightforward yet satisfying, with techniques like invisible decrease and shaping the handle adding simple but effective dimensions. This project is a great way to enjoy the creative fulfillment of crochet while crocheting something both beautiful and functional.
Crochet Basket Pattern: Step by Step Guide
In this tutorial, we will create a beautiful and practical crochet basket with a handle that can be hung on the wall, making it both aesthetically pleasing and functional for organizing your items. Whether you’re a beginner or an experienced crocheter, this project is easy to follow and perfect for any home or as a thoughtful handmade gift.
Quick Overview of the Pattern
- Project: Crochet hanging basket.
- Design Features: Comes with a circular base, a structured body, and a sturdy handle for hanging.
- Uses: Ideal for home organization, gift sets, or even as plant holders.
- Skill Level: Beginner-friendly with a few decorative techniques.
- Customization: You can adjust the size and color to suit your preferences or home decor.
Notes
- This basket is worked in spirals (continuous rounds) without joining each round with a slip stitch, ensuring a seamless look.
- Use a stitch marker to identify the first stitch of each round.
- The spike stitch adds a decorative touch to the basket's texture.
- You can use various thicknesses of t shirt yarn to create baskets of different sizes.
Skill Level
Beginner friendly. The pattern utilizes basic crochet stitches with the introduction of the spike stitch—a simple yet decorative stitch that is explained step by step.
Materials
- T shirt yarn (approximately 300g for the larger basket). Any chunky yarn will work for this project.
- Crochet Hook: 8mm for the smaller basket, 12mm for the larger one, or adjust based on your yarn thickness.
- Additional Supplies:
- Piece of yarn for a stitch marker.
- Scissors.
Measurements / Sizing
The finished size will vary depending on the thickness of the yarn and the hook size. With thicker t shirt yarn and a 12mm hook, the basket will be larger, while with thinner yarn and an 8mm hook, it will result in a medium sized basket.
Gauge
Gauge is not critical for this project but may affect the stiffness and final size of the basket.
Stitch Abbreviations
- ch: Chain
- sc: Single Crochet
- inc: Increase (2 sc in the same stitch)
- dec: Decrease (working 2 stitches together)
- sl st: Slip Stitch
Special Stitches
Spike Stitch
- Insert your hook below the single crochet (sc) from the previous round instead of the usual next stitch.
- Yarn over and pull up a loop.
- Yarn over again and pull through both loops on the hook.
This simple stitch creates an elongated appearance, adding texture and visual interest to your basket.
The Crochet Pattern
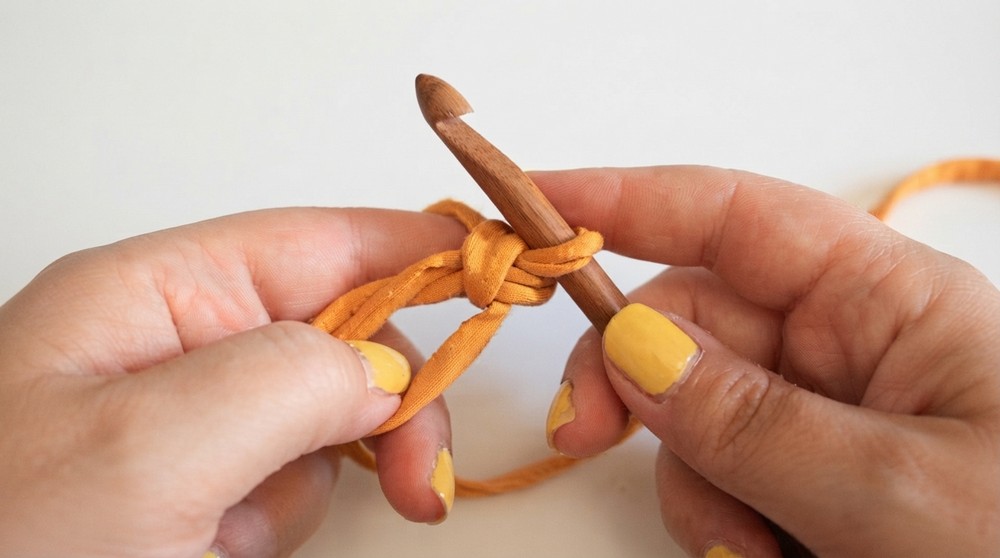
Round 1: Starting with a Magic Loop
- Form a magic loop. Work 6 sc into the loop.
- To make a single crochet (sc):
- Insert your hook into the loop.
- Yarn over and pull the yarn through the loop.
- Yarn over again, and pull through both loops on your hook.
Round 2: Increasing Stitches
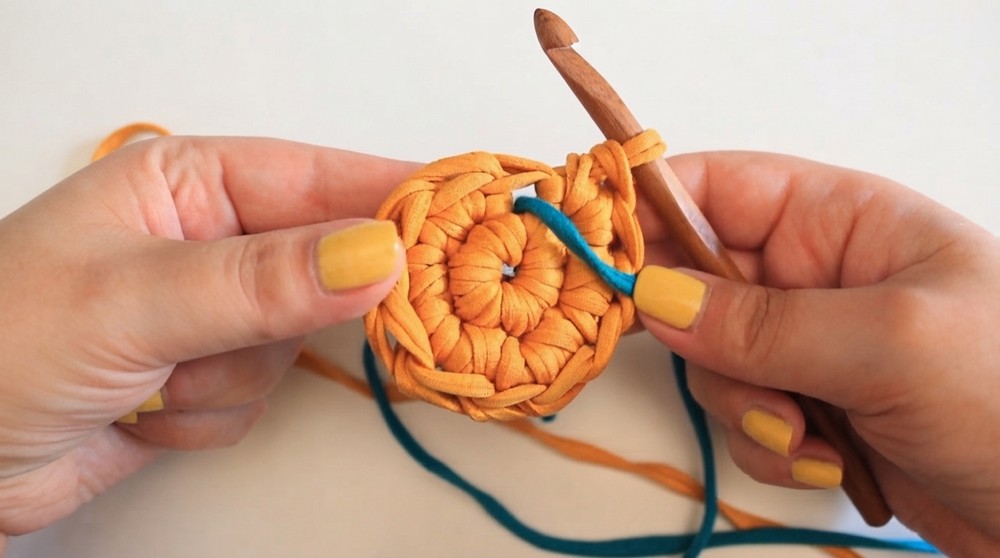
- Place a stitch marker at the beginning of the round.
- Work 2 sc in each stitch around (also known as 6 increases). You’ll now have 12 stitches total.
Round 3: Building the Base
- Follow the pattern: 1 sc, 1 inc repeat 6 times.
- Work 1 sc in the first stitch, followed by an increase (2 sc in the next stitch).
- At the end of this round, you’ll have 18 stitches total.
Round 4
- Follow the pattern: 2 sc, 1 inc repeat 6 times.
- Work 2 sc (one in each of the next two stitches), then an increase (2 sc in the next stitch).
- At the end of this round, you’ll have 24 stitches total.
Round 5
- Follow the pattern: 3 sc, 1 inc repeat 6 times.
- Work 3 sc (one in each of the next three stitches), then an increase (2 sc in the next stitch).
- At the end of this round, you’ll have 30 stitches total.
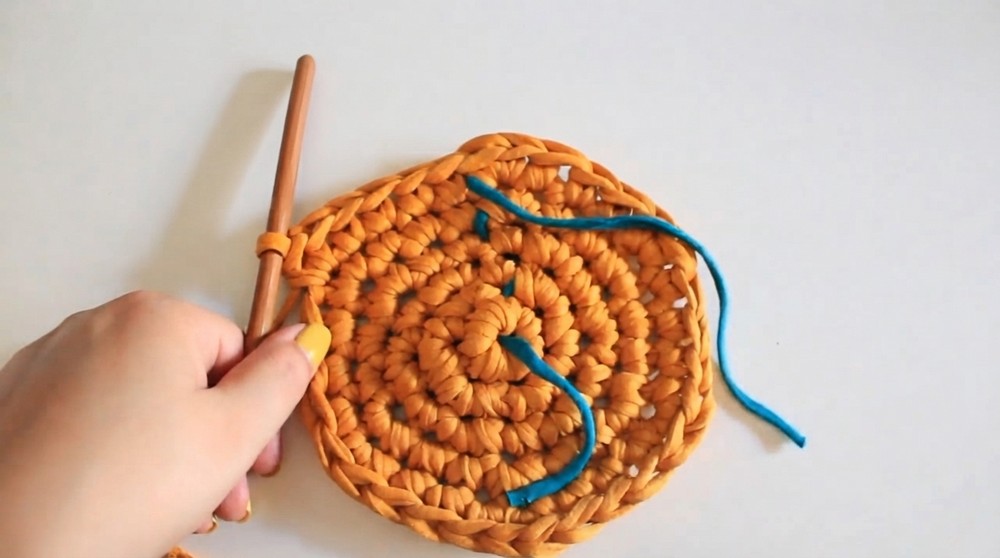
Round 6
- Follow the pattern: 4 sc, 1 inc repeat 6 times.
- Work 4 sc (one in each of the next four stitches), then an increase (2 sc in the next stitch).
- At the end of this round, you’ll have 36 stitches total.
Round 7: Base Adjustment
- Work 1 sc in each stitch, but make an increase in the last stitch.
- You’ll have 37 stitches total.
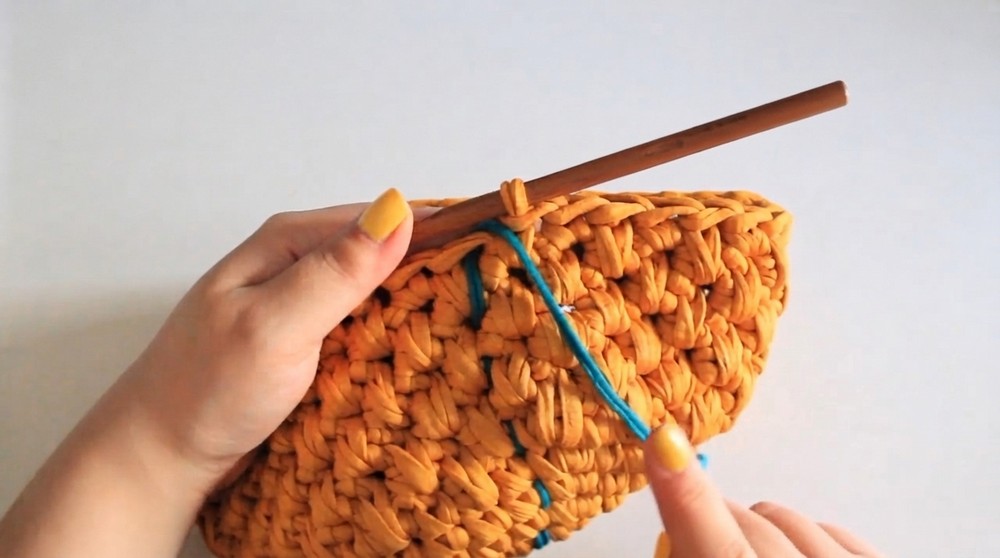
Rounds 8–13: Alternating Spike Stitch
- Alternate between 1 sc and 1 spike stitch for a decorative texture.
- Begin with a single crochet in the first stitch.
- For the spike stitch: Insert the hook under the sc of the previous round, then yarn over and pull up a loop to elongate the stitch. Yarn over again and pull through both loops on the hook. Continue alternating.
- Maintain the spiral by alternating 1 sc and 1 spike stitch until the end of round 13.
Round 14: Introducing Decreases
- Work the pattern: 10 sc, 1 decrease repeat 3 times, then 1 sc.
- For the invisible decrease:
- Insert the hook into the front loop of the first stitch, then into the front loop of the next stitch.
- Yarn over, pull through both loops, yarn over again, and pull through the two remaining loops on the hook.
- For the invisible decrease:
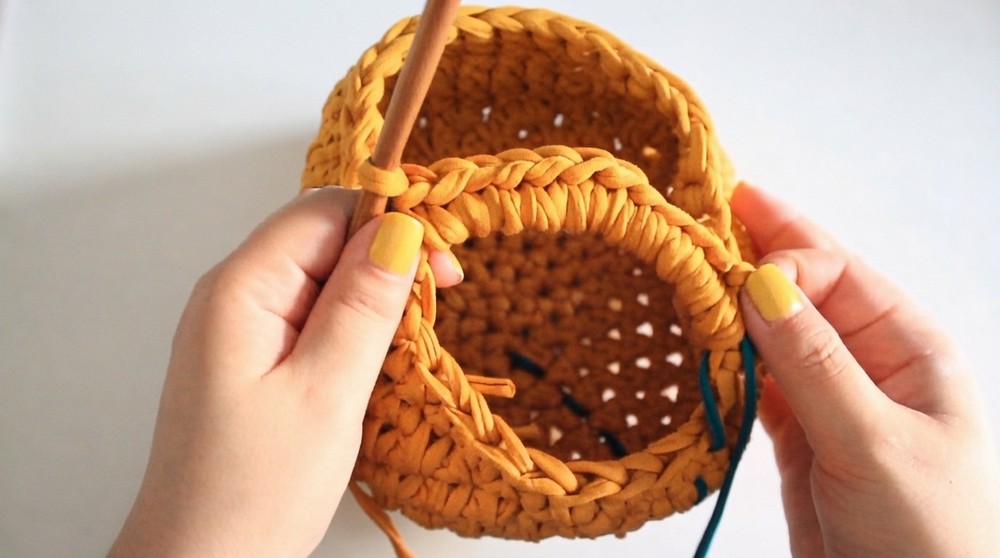
Round 15: Adding the Handle
- Chain 8 to start the handle. Skip 8 stitches, then make a single crochet (sc) in the 9th stitch.
- Work single crochet (sc) in each stitch around the basket until you return to the handle.
Round 16: Working Around the Handle
- Work 12 sc around the chain of the handle, evenly spaced.
- Continue the round with slip stitches (sl st) into the remaining stitches around the basket to finish the edge.
Assembly & Finished Size
- Assembly: After completing the basket, weave in all loose threads securely using your yarn needle. Trim any excess ends.
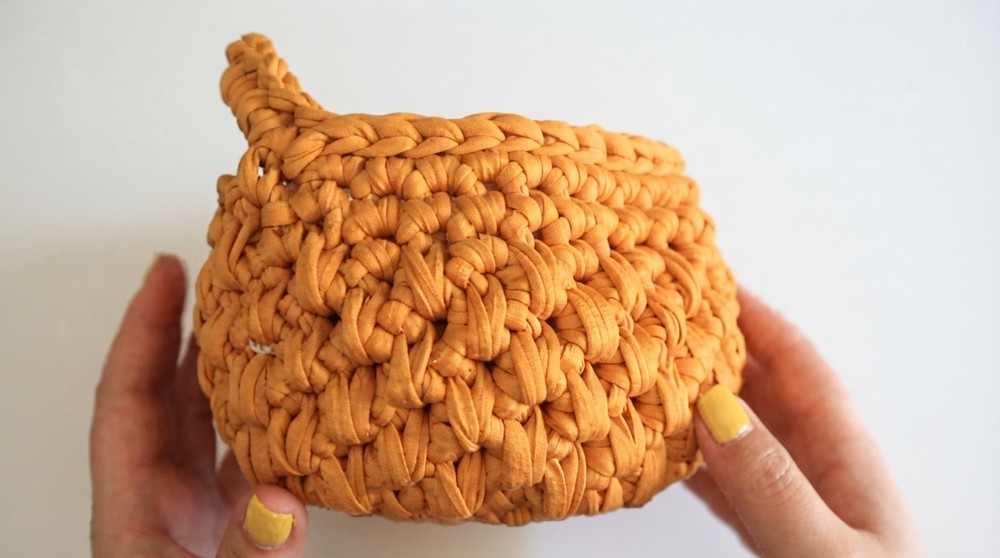
- Finished Size: The size depends on your chosen yarn and hook thickness. For thicker t shirt yarn (using a 12mm hook), the basket will be larger, while thinner yarn (with an 8mm hook) will result in a medium sized piece.
Conclusion and Final Words
Congratulations on completing your hanging crochet basket. This project is not only adorable but also very practical for organizing items around your home or giving as a thoughtful gift.