
Free Crochet Basket With Ears Pattern for Organizing Your Home
Create a unique basket with ears using this free crochet pattern, a playful piece that’s great for home storage, gifting, or festive celebrations.
Pattern By Learning to Crochet by Anna Sakhno
A unique and playful basket serve as a functional storage solution while adding character to your space. This charming design is not just visually appealing, but also highly functional. Whether you're looking for a cute storage solution or a handmade gift idea, this basket is sure to impress. Its playful ear shaped accents make it unique while adding a touch of whimsy to any space.
Free Basket With Ears Pattern for Toys and Small Items
This cute and practical basket is a joy to make and even better to use. Designed with a sturdy base and a textured, well structured body, the basket can hold sweets, small gifts, toys, or even serve as a decorative organizer for everyday items like keys or stationery. Its playful ear shaped accents add a dose of whimsy, appealing to both kids and adults alike. Whether you're preparing for the holidays, organizing your space, or crocheting a personalized gift, this basket is versatile enough for any occasion.
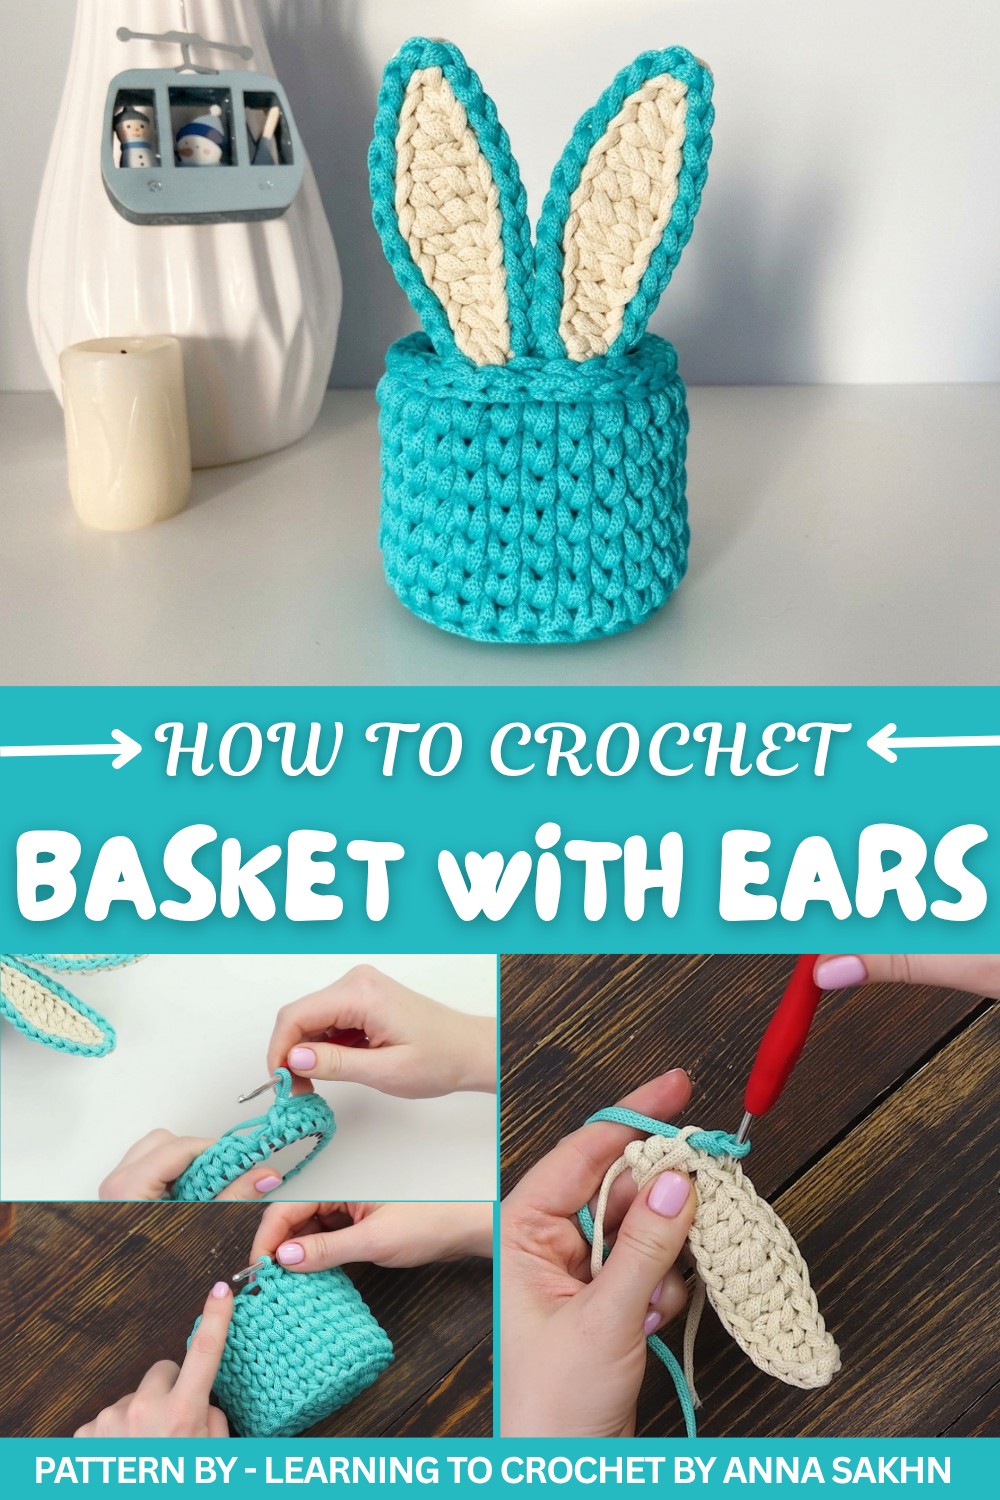
Thanks to the use of flat polyester cord, the basket holds its shape beautifully while still feeling soft to the touch. The firm structure ensures that the ears stay upright, giving the piece a distinctive and delightful look. You can further customize it by choosing your favorite colors, adding contrasting accents, or adjusting the height of the basket to your liking.
Whether you're new to crochet or an experienced crocheter, this project is both enjoyable and rewarding. Follow Anna’s straightforward tutorial to create this timeless design that combines cuteness and functionality effortlessly. It’s a fun way to explore your creativity and make something truly special.
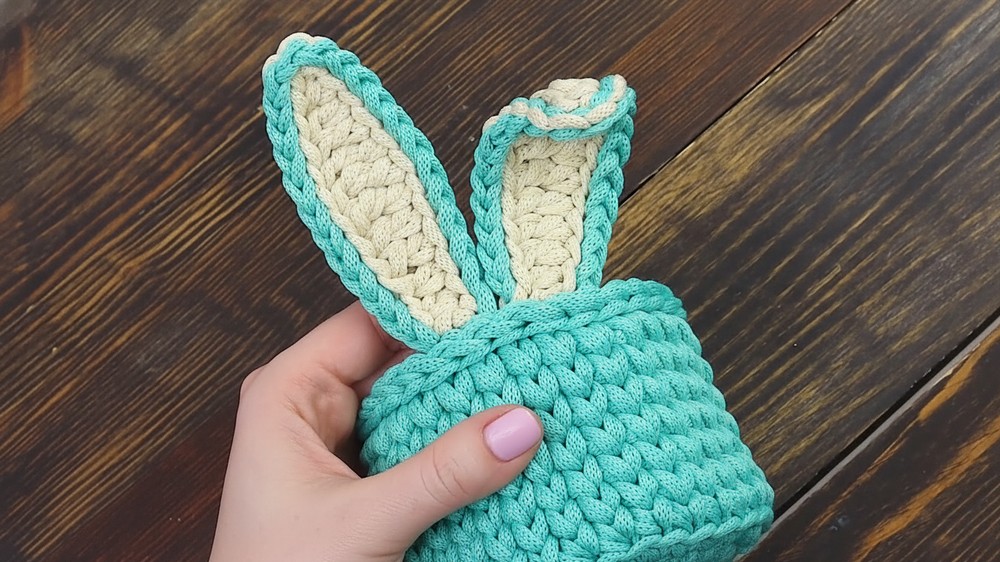
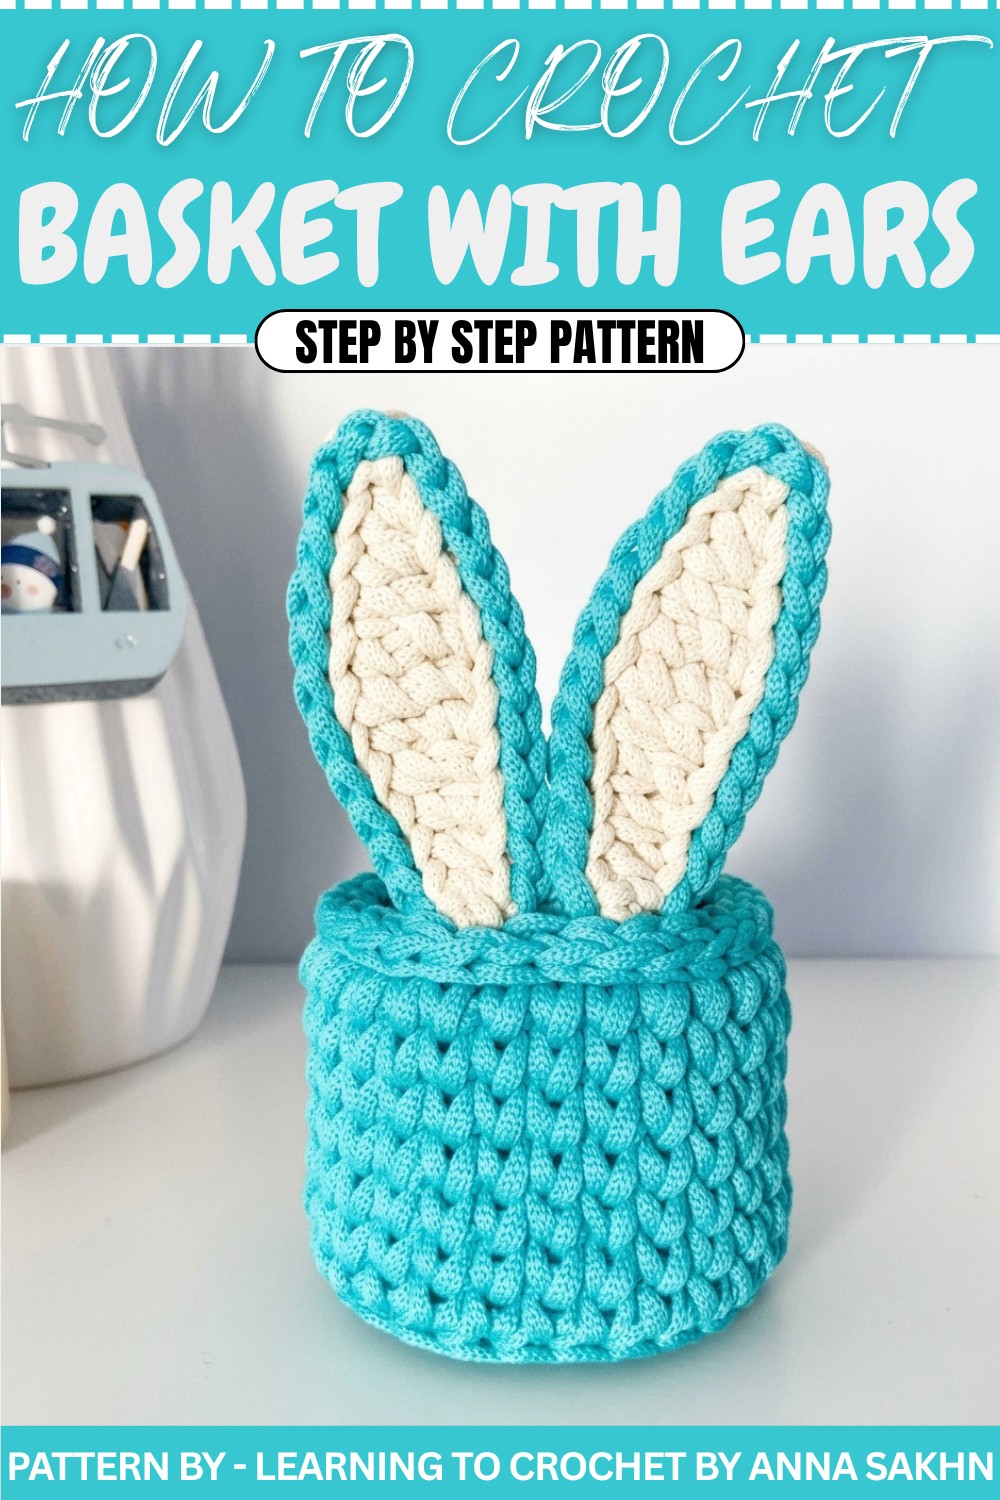
Crochet Pattern: Basket With Ears for Festive Gifts and Decorations
Perfect as a festive decoration for 2023, the Year of the Rabbit, this adorable basket can be filled with candies, small gifts, or even used as creative packaging for holiday celebrations. Kids will love using it for pencils or tiny treasures. It’s also an excellent project for any time of the year to add charm to your home.
Quick Overview of the Pattern
- Project Name: Bunny Ears Basket
- Purpose: Festive decoration or practical storage
- Base: Circular wooden bottom for structure
- Design Details: Bunny ears positioned on the rim of the basket, with optional soft edging
- Features: Sturdy basket walls that hold their shape thanks to flat polyester cord
Notes
- Cord Type: Use flat polyester cord for added stiffness; round cords won’t hold their shape as well.
- Tension: Avoid loose stitches, as they may result in a floppy basket. Tight tension is critical for structural integrity.
- Tools: Burn the ends of polyester cord with a lighter to prevent fraying.
- Customizable Size: Adjust the number of rows for a taller or shorter basket according to your preference and bottom diameter.
Skill Level
Beginner friendly. This project features fundamental crochet techniques (single crochet, half double crochet, double crochet) and uses innovative methods for smooth joinings and shaping.
Materials
- Flat polyester cord: ~75 meters (main color for the basket).
- Contrast polyester cord: Small amount (optional for bunny ears and edge detailing).
- Circular wooden base: 10 cm diameter, pre drilled holes for stitching.
- Crochet hook: 4.5 mm hook is recommended for tight and firm stitches.
- Scissors: For cutting cord.
- Lighter: To seal cord ends.
Gauge
Not critical for this project, but consistent tight stitches will help ensure the basket and bunny ears hold their shape.
Stitch Abbreviations
- ch = chain
- sc = single crochet
- hdc = half double crochet
- dc = double crochet
- tr = treble crochet
- sl st = slip stitch
The Crochet Pattern
Basket Base
- Start Base:
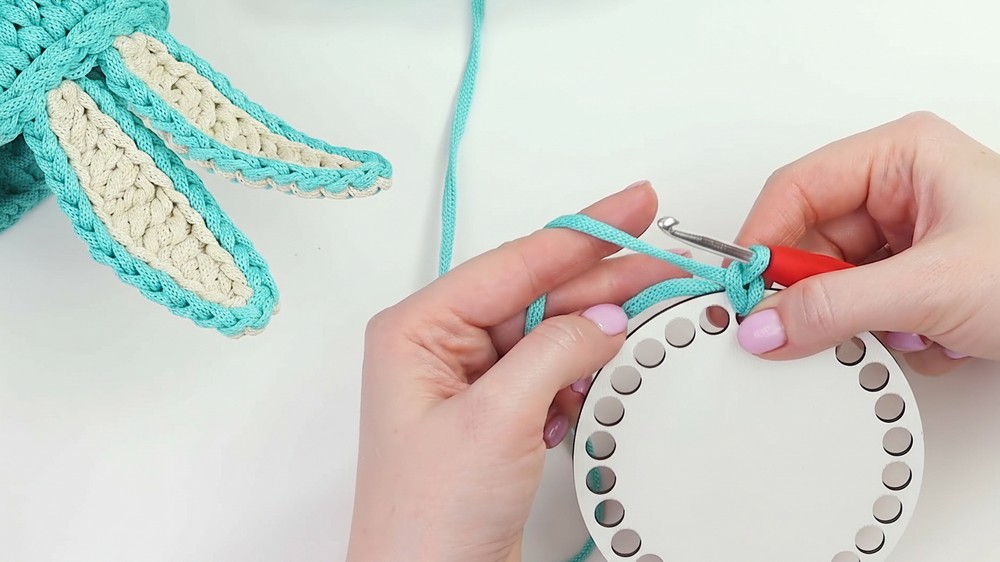
- Insert your hook into any pre drilled hole on the wooden bottom.
- Pull the main cord through to create your first loop and chain 1.
- Round 1:
- Work 1 single crochet (sc) into each hole around the wooden base.
- Do not increase stitches; keep it tight for a firm shape.
- Create Walls:
- Once the first round is complete, gently bend the stitches upwards so they are perpendicular to the base.
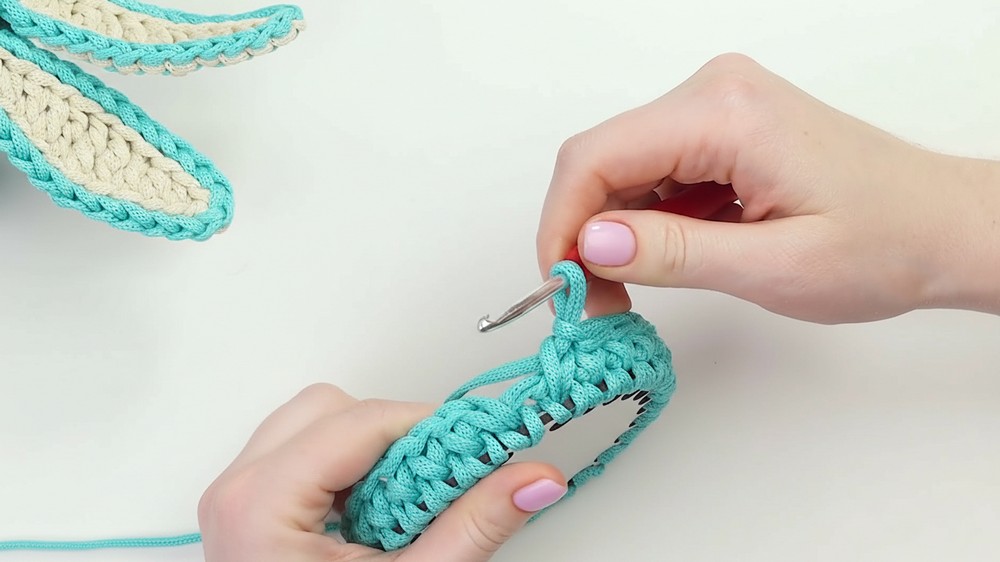
Basket Walls
- Round 2 (Wall Foundation):
- Work 1 single crochet (sc) into the back loop only of each stitch around. This creates a clean transition from the base to the walls.
- Slip stitch (sl st) to join the round.
- Round 3 – 7:
- For all subsequent rounds, work 1 sc into the vertical bars of the stitch below (a technique called the "split stitch").
- Place 1 sc into each split stitch.
- After completing each round:
- Pull up the working loop slightly.
- Insert the hook into the first horizontal bar from the previous round, pull the working loop through, and secure it to join.
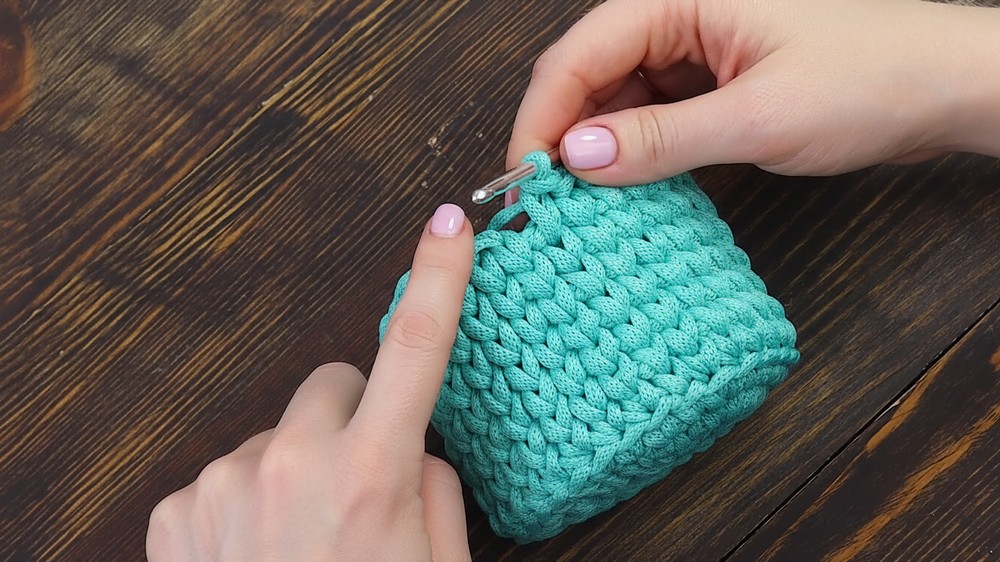
Customizing the Height: To increase or reduce the basket height, adjust the number of wall rounds.
Bunny Ears
Ear Shape
- Foundation Chain (Ear Base):
- Create a slip knot with the contrast color cord.
- Crochet a chain of 13 stitches (ch 13).
- Row 1:
- Skip the last chain stitch.
- Turn your chain to view its underside.
- Work 1 sc into the central loop of the next 12 chains.
- Row 2 (Shaping the Ear):
- Stitch by Stitch:
- Stitch 1: 1 sc
- Stitch 2: 1 hdc
- Stitch 3–4: 1 dc in each stitch
- Stitch 5–7: 1 tr in each stitch (creates height in the middle of the ear).
- Stitch 8–9: 1 dc in each stitch
- Stitch 10: 1 hdc
- Final Stitch: 1 sc
- Stitch by Stitch:
- Row 3 (Finalizing Shape):
- Repeat Row 2 by mirroring the stitch sequence.
- Finish:
- Cut and leave a 5–10 cm tail of the cord.
- Burn the ends using a lighter to prevent fraying.
- Gently pull the cord tail through the last stitch.
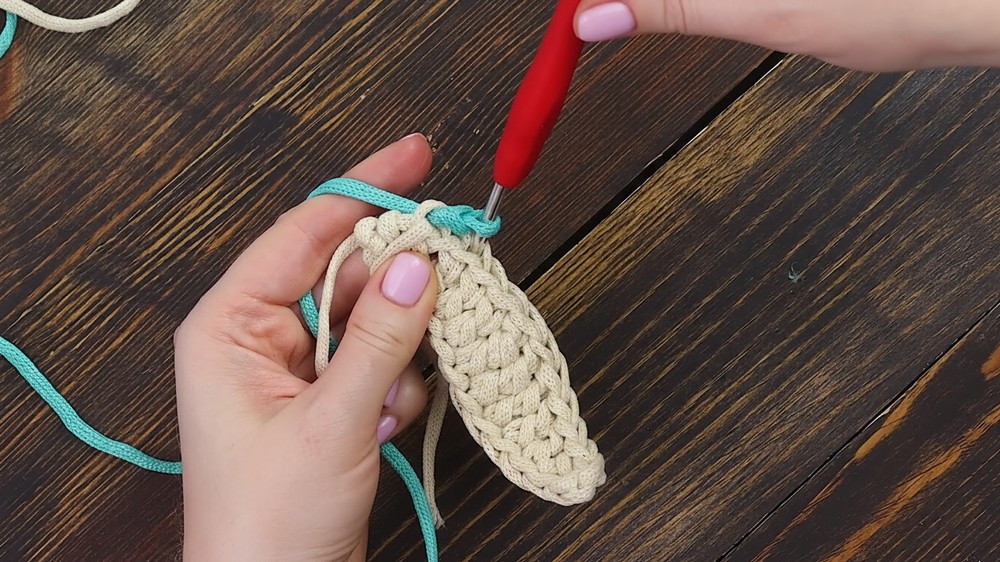
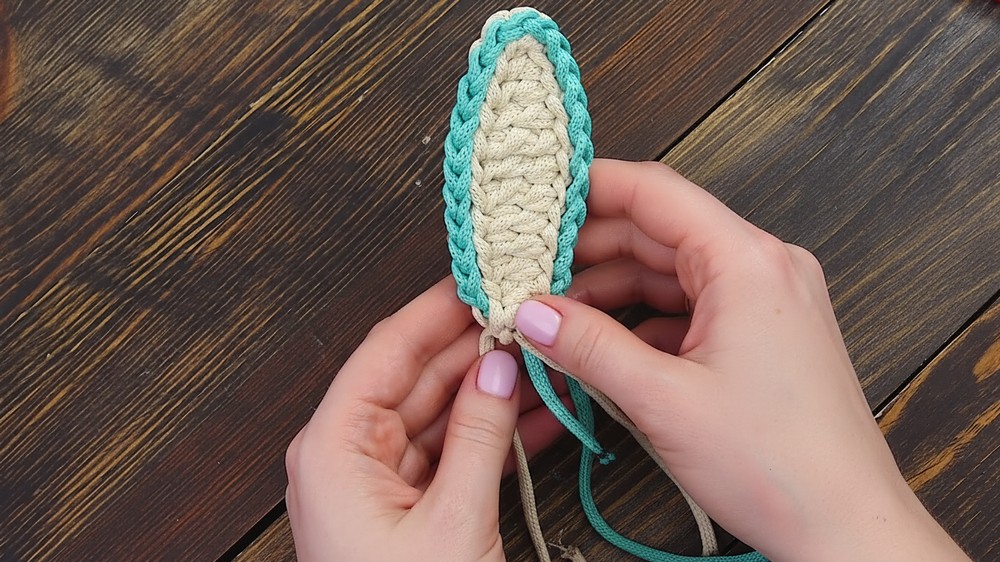
Edging Bunny Ears:
- Attach Contrast Color:
- Secure the contrast cord at the base of one ear.
- Work sl st all around the perimeter of the ear.
- Ensure you keep a consistent tension and avoid pulling too tightly.
- Clean Finish:
- Hide the cord tails by weaving them into the stitches. Burn ends to prevent them from unraveling.
- Make Second Ear:
- Repeat steps 6–12 to create the second bunny ear.
Assembly
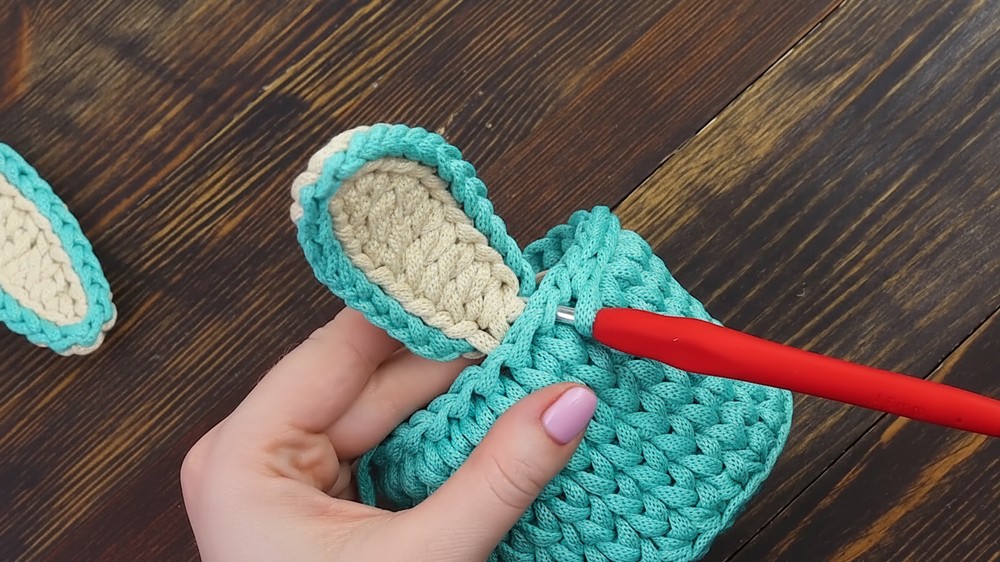
- Attach the Ears:
- Fold the ears slightly to determine symmetrical positioning.
- Mark two points where the ears will be attached to the basket rim.
- Use sl st to secure each ear to the basket rim.
- Final Edging:
- Work sl st around the upper rim of the basket for a clean and polished finish.
Measurements/Sizing
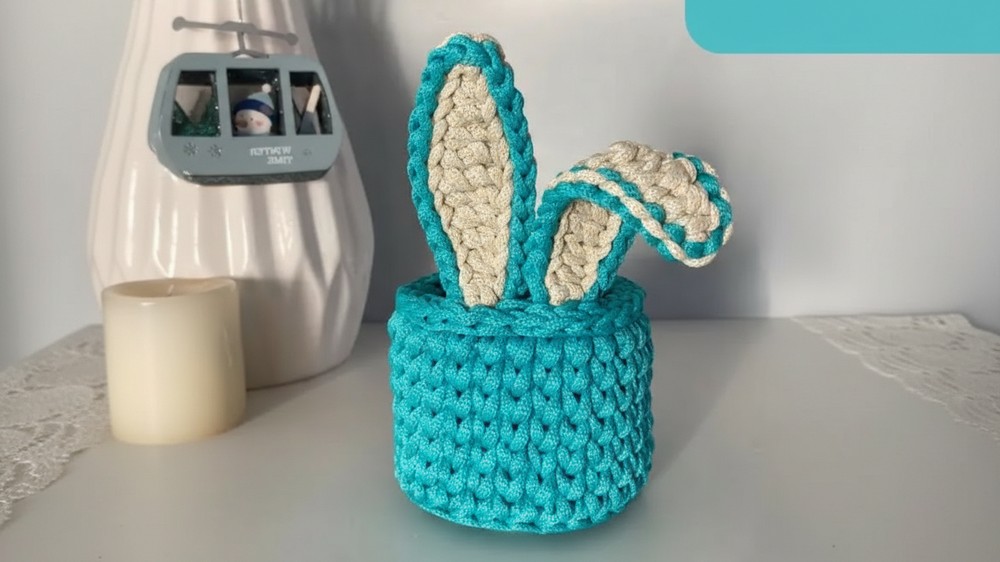
- Basket Diameter: ~10 cm (depends on your wooden base).
- Basket Height: ~8 cm for seven rounds.
- Ear Height: ~6 cm.
Assembly & Finished Size
Once the bunny ears are attached and the basket is complete, the finished size will be roughly 8 cm tall, with the ears adding an extra ~6 cm to the height.
The flat polyester cord ensures the basket maintains its structure and allows the bunny ears to stay upright and cute.Conclusion
Congratulations, You’ve just completed a charming bunny ears basket, ideal for 2023 celebrations or any fun crocheting occasion. Whether used as a gift basket, holiday décor, or storage solution, this design is sure to bring joy to everyone. Customize colors, shapes, or sizes and let your creativity soar.