
Crochet a Bunny Amigurumi Pattern That Will Steal the Show
Steal the spotlight at any baby shower with a thoughtful handmade keepsake by making a cuddly crochet bunny amigurumi in gentle pastel shades.
Bringing life to a cuddly handmade bunny is the kind of project that sparks pure joy. This adorable amigurumi bunny has a charming personality, with its round head, perky ears, and floppy arms, making it the perfect gift, playful decoration, or treasured collectible. Whether you're crocheting for a loved one or adding to your own crochet collection, this bunny adds a touch of whimsy to any space.
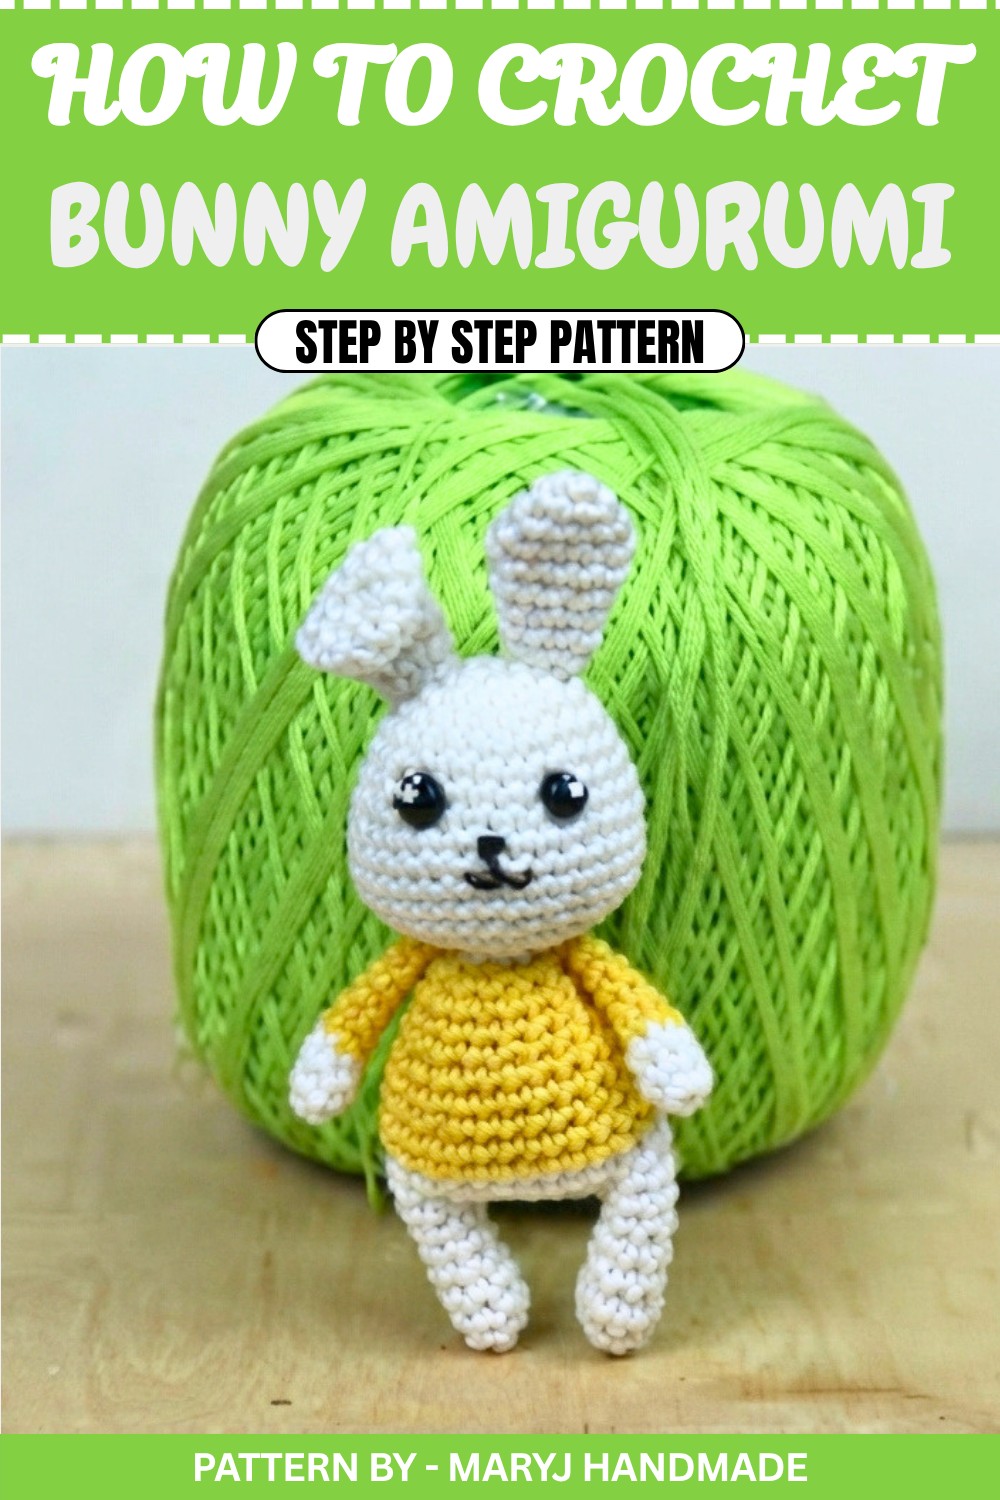
Measuring just the right size to fit snugly in your palm, this bunny is tailored for endless customization. You can make it small and delicate with cotton yarn or create a more plush version using thicker acrylic yarn, both will have their own lovable charm. The manageable cone shaped body, simple limbs, and optional embroidered details make this design approachable for beginners, while still being a rewarding project for those with intermediate crochet skills.
Crochet Tiny Bunny Amigurumi That Fits in Your Hand
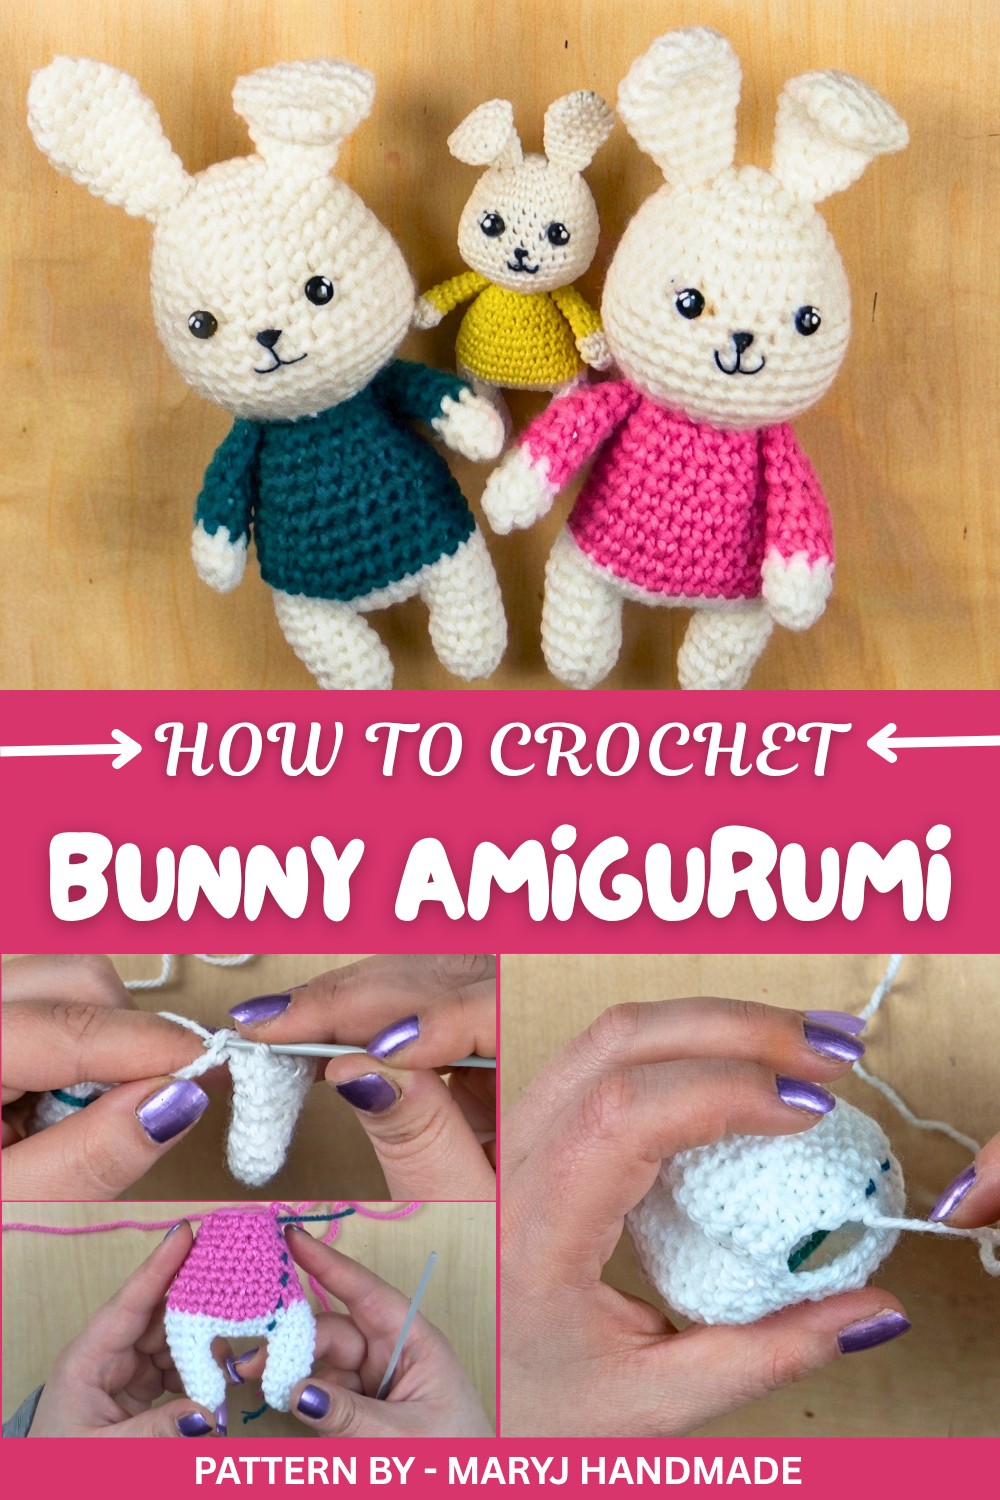
Techniques like working in the round with a magic circle, single crochet, increases, and invisible decreases are central to the project. These techniques ensure clean, seamless shaping that gives the bunny its soft, rounded contours. Safety eyes, craft brads, or embroidered features add a personal touch, giving your creation its own unique expression.
Featured By MaryJ Handmade
For crocheters who enjoy the joy of creating small, lovable characters, this crochet bunny amigurumi pattern will warm your heart and bring delight with every stitch. Dive in, you’re just a few steps away from crocheting a new friend.
Unique Crochet Bunny Amigurumi Pattern
Quick Overview Of Pattern
- One basic amigurumi bunny pattern, fully worked in the round.
- Pieces:
- Body with legs joined in one piece
- Separate head
- Two arms
- Two ears
- Worked with:
- Magic ring
- Increases and invisible decreases
- Optional color change on the body and arms
- Safety eyes or DIY eyes (brads) added to the head.
- Face finished with simple embroidery for nose and mouth.
Notes
- All parts are worked in spiral rounds (continuous rounds), unless a slip stitch is specifically mentioned.
- Always use a stitch marker to mark the first stitch of each round.
- Invisible decreases are used throughout wherever decreases are needed.
- Stuffing is added as you go; with thicker yarn you can stuff later, with thinner yarn you may need to start stuffing earlier.
- Color changes are done by closing the last stitch of the round with the new color.
- The pattern is built from the transcription; stitch counts and sequences follow exactly what is described in the video.
Skill Level
Advanced Beginner / Intermediate
Materials
- Yarn options:
- Acrylic yarn (for medium/large bunnies)
- Cotton size 5 (for a very small bunny)
- Crochet hook:
- 3.0 mm for acrylic
- 1.75 mm for cotton no. 5
- Safety eyes with plastic washers
- or brads/fasteners painted as eyes (DIY eyes)
- Polyester stuffing
- Yarn needle (for sewing parts and weaving in ends)
- Scissors
- Stitch marker
- Pliers (useful for fastening safety eyes/brads)
Measurements / Sizing
Approximate (will vary with yarn, hook, and tension):
- Acrylic yarn + 3 mm hook → medium/large bunny (about 15–20 cm tall).
- Cotton no. 5 + 1.75 mm hook → tiny bunny, fits in the palm of your hand.
No exact schematic is required, as size is flexible and dependent on materials.
Gauge
Exact gauge is not critical for amigurumi, but:
- Stitches should be tight and firm so the stuffing does not show through.
- If you see gaps between stitches, choose a smaller hook than what is recommended for your yarn.
Stitch Abbreviations
(US crochet terms)
- ch = chain
- sc = single crochet
- sl st = slip stitch
- inc = increase (2 sc in the same stitch)
- dec (inv dec) = invisible decrease (see Special Stitches)
- MR = magic ring
Special Stitches
- Magic Ring (MR)
- Invisible Decrease (inv dec)
The Crochet Pattern
1. Legs and Body (one piece)
Legs (make 2)
Each leg:
- Round 1: 8 sc in MR (8)
- Place the stitch marker in the first stitch.
- Rounds 2–6 (5 rounds): 1 sc in each st around (8)
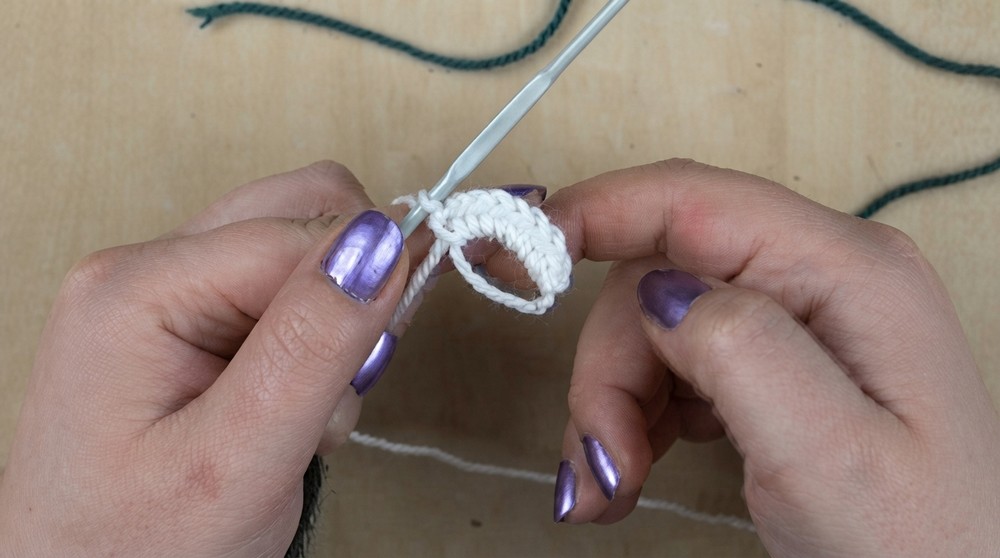
You will have:
- One leg still attached to the ball of yarn (with stitch marker).
- One leg finished and fastened off.
- Hide the ending tail inside the leg so it does not get in the way.
Joining the Legs
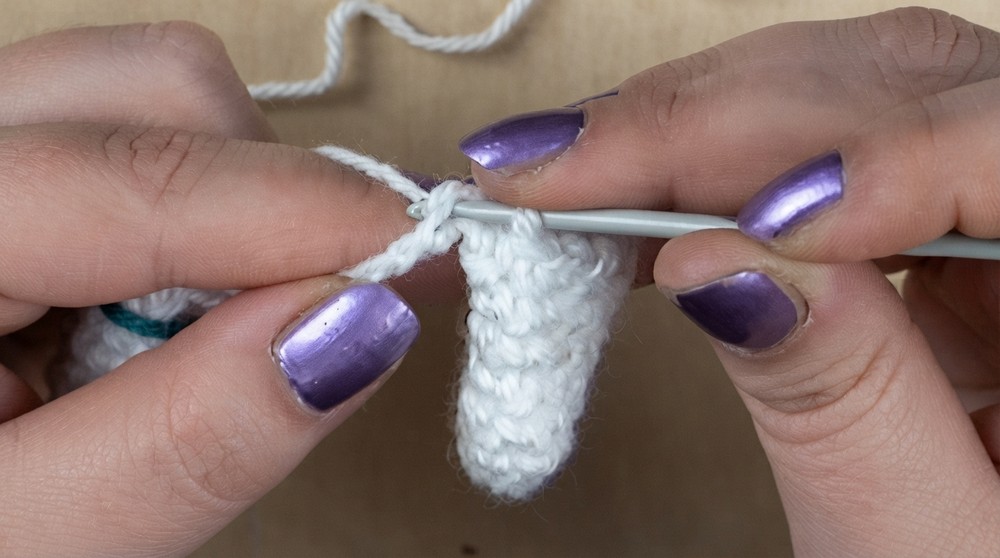
- Take the leg still attached to the yarn.
- Ch 6.
- Insert the hook into the sl st (closing stitch) of the finished leg.
- Pull up a loop and work 1 sc into that stitch – this is the first stitch of the round of joining.
Now work around:
- On the second leg (the one just joined):
- You already made 1 sc in the join point.
- Work 7 more sc around the remaining stitches of this leg → total 8 sc on that leg.
- On the 6 ch (joining chain), first side:
- Work 1 sc in each ch = 6 sc.
- On the first leg (the one attached to the yarn):
- Work 8 sc around.
- On the 6 ch (other side of the chain):
- Work 1 sc in each ch = 6 sc.
At the end of this round you have:
- 8 (leg 1) + 8 (leg 2) + 6 + 6 (both sides of the chain) = 28 sc.
Body – Straight Rounds
- Next 2 rounds:
- 1 sc in each st around (28 sc per round).
Color Change on the Body (optional)
At the last stitch of the second 28-sc round:
- Insert hook, yarn over with the old color and pull up a loop.
- Place the new color on the hook.
- Pull through both loops to close the sc with the new color.
- Move the stitch marker to the first stitch of the new round.
Tip from the tutorial:
- In the first stitch with the new color, work a sl st instead of sc to make the color change less visible.
- While working the first few stitches, hold both yarn tails (old and new color) along the top of the work and crochet over them to secure.
- After a few stitches, trim the excess tails.
- Next 2 rounds (with new color):
- 1 sc in each st (28 sc each round).
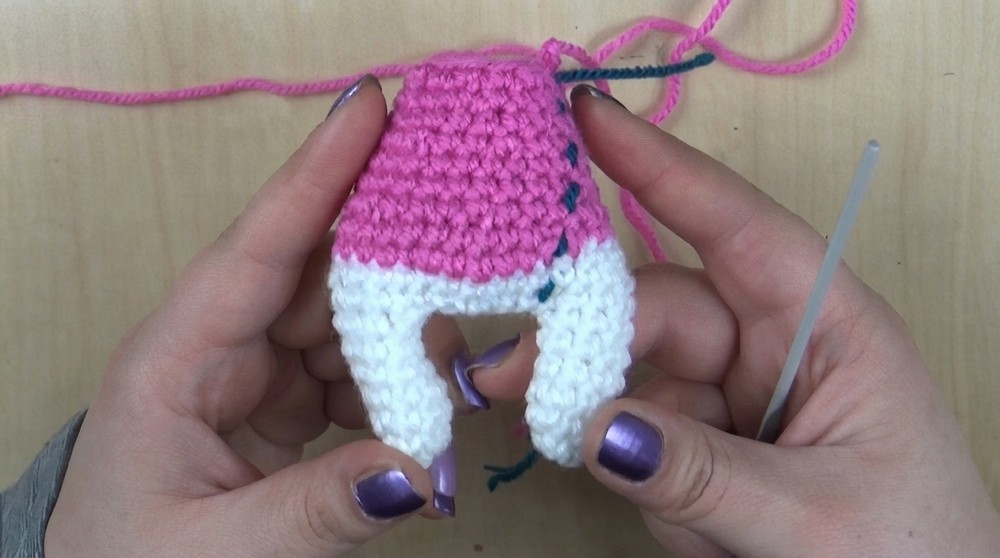
Shaping the Body – Decreases
- Next round:
- (3 sc, inv dec) repeat 6 times → 24 sc
- Next 2 rounds:
- 1 sc in each st (24 sc per round).
- Next round:
- (2 sc, inv dec) repeat 6 times → 18 sc
- Next 2 rounds:
- 1 sc in each st (18 sc per round).
- Last round of the body:
- (1 sc, inv dec) repeat 6 times → 12 sc
Finish the body:
- Work 1 sl st into the next stitch.
- Fasten off and cut the yarn.
Stuffing the body:
- With acrylic and 3 mm hook, the opening with 12 sc is still large enough to stuff after closing.
- With thinner cotton and a small hook (for the tiny bunny), start stuffing earlier, when the opening is still wider.
2. Head
- Round 1: 6 sc in MR (6).
- Pull the ring closed and place the marker.
- Round 2: 6 inc → 2 sc in each st around (12).
- Round 3: (1 sc, inc) x 6 → 18 sc.
- Round 4: (2 sc, inc) x 6 → 24 sc.
- Round 5: (3 sc, inc) x 6 → 30 sc.
- Rounds 6–7 (2 rounds):
- 1 sc in each st around (30 sc per round).
- Round 8: (4 sc, inc) x 6 → 36 sc.
- Rounds 9–12 (4 rounds):
- 1 sc in each st (36 sc per round).
Inserting the Eyes
- Count 8 rounds from the first round.
- Between approximately the 7th and 9th rounds (as shown):
- Insert the first eye.
- Secure it from the inside with the washer or brad backing, using pliers if needed.
- Leave 5 stitches of space between the eyes and insert the second eye at the same height.
Shaping the Head – Decreases
- Next round: (4 sc, inv dec) x 6 → 30 sc.
- Next round: (3 sc, inv dec) x 6 → 24 sc.
- Penultimate round: (2 sc, inv dec) x 6 → 18 sc.
- Final round: (1 sc, inv dec) x 6 → 12 sc.
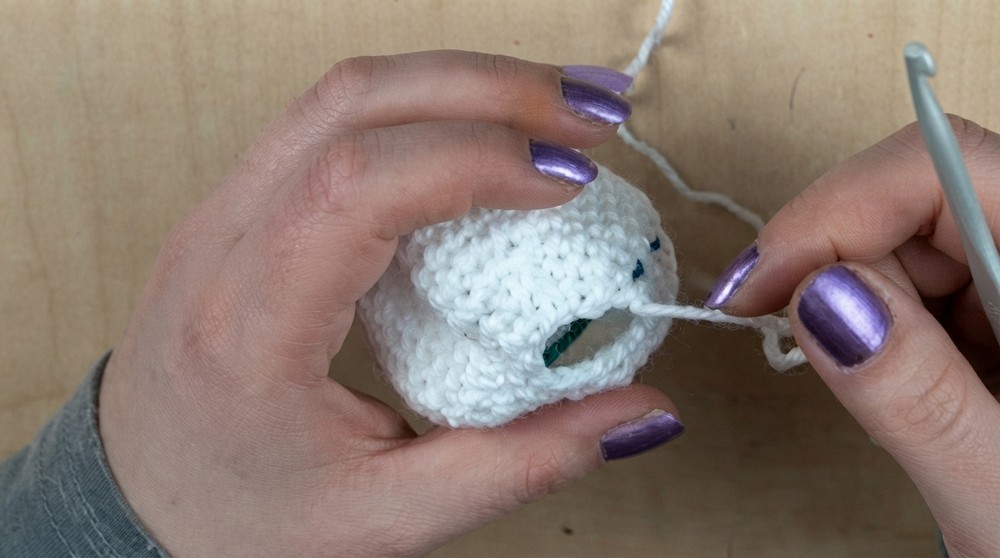
Finish the head:
- Work 1 sl st, fasten off, and cut the yarn.
Stuffing the head:
- As with the body, with acrylic you can stuff after reaching 12 sc;
- With fine cotton for the tiny bunny, start stuffing sooner while you still have more stitches and a larger opening.
3. Arms (make 2)
- Round 1: 7 sc in MR (7).
- Rounds 2–3 (2 rounds):
- 1 sc in each st (7 sc per round).
Color change:
- On the last stitch of Round 3 (second 7-sc round):
- Begin the sc with old color (insert hook, yarn over, pull up a loop).
- Place the new color on the hook.
- Pull through to close the sc with the new color.
- In the first stitch of the new color, work 1 sl st, then continue with sc.
- Next 5 rounds (with new color):
- 1 sc in each st (7 sc per round).
Each arm consists of:
- Round 1: 7 sc in MR
- Rounds 2–3: 7 sc in old color
- Rounds 4–8: 7 sc in new color
Fasten off, leaving a long tail for sewing the arm to the body.
4. Ears (make 2)
- Round 1: 6 sc in MR (6).
- Round 2: (1 sc, inc) x 3 → 9 sc.
- Round 3: (2 sc, inc) x 3 → 12 sc.
- Rounds 4–5 (2 rounds):
- 1 sc in each st (12 sc per round).
- Round 6: (2 sc, inv dec) x 3 → 9 sc.
- Rounds 7–8 (2 rounds):
- 1 sc in each st (9 sc per round).
- Round 9 (last round): (1 sc, inv dec) x 3 → 6 sc.
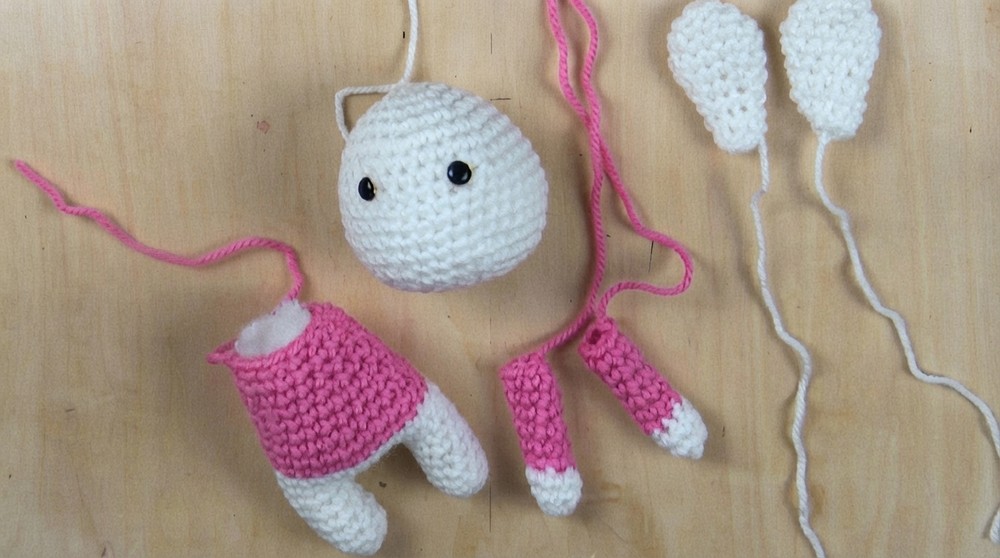
Finish each ear:
- Work 1 sl st, fasten off, and leave a long tail for sewing to the head.
Assembly & Finished Size
- Join Head to Body
- Place the head centrally on top of the body.
- Using the yarn tail and yarn needle, sew the head to the body with small, tight stitches all around the neck opening.
- Attach Arms
- Position the arms on either side of the body, just below where the head is attached.
- Sew them securely using the long tails.
- Attach Ears
- Place the ears on top of the head, either straight up or slightly angled, depending on the expression you want.
- Sew them on with the yarn tails.
- Embroider Face Details
- With a contrasting yarn or embroidery thread:
- Embroider a small nose (triangle or “V” shape).
- Add a little mouth under the nose.
- Add tiny light points on the eyes with white yarn or thread if desired.
- With a contrasting yarn or embroidery thread:
Finished size:
- Depends on yarn and hook:
- Acrylic + 3 mm hook → medium/large bunny.
- Cotton no. 5 + 1.75 mm hook → very small “palm-sized” bunny.
Conclusion and Ending Words
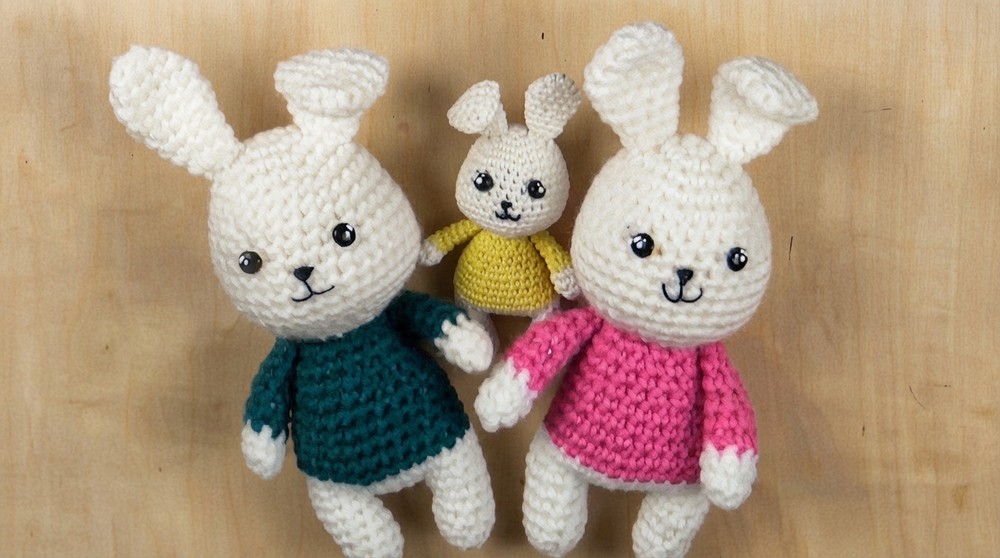
Your amigurumi bunny is now complete: body, head, arms and ears are assembled, the little face is embroidered, and the eyes are in place.
The same pattern works beautifully with different yarns and hook sizes, giving you a whole family of bunnies in various sizes.