
Beautiful Free Crochet Square Pattern for Endless Creativity
Enjoy the simplicity of this free crochet square pattern, designed to guide you in making beautiful, versatile squares for making unique and cozy decorations or gifts.
Who would have thought that something as simple as a square could hold so much charm and potential? This beautiful crochet square is all about combining easy stitches with a neat and balanced design, making it both a joy to work on and a delight to look at. The real magic lies in the textured clusters that give it depth and character, transforming it into something perfect for blankets, pillows, or even statement coasters. Whether you go for a single color elegance or mix and match vibrant hues, this square has a way of standing out in just the right way.
Featured By Anerom
As you follow this pattern, you'll learn how to work in rounds to create a smooth square shape while mastering the art of stitching clusters effortlessly. With just a few steps, you'll figure out how simple it is to add airy spaces, neat edges, and a polished texture, skills that can help build your confidence for even larger projects in the future.
Simple Yet Stunning Free Crochet Square Pattern to Explore
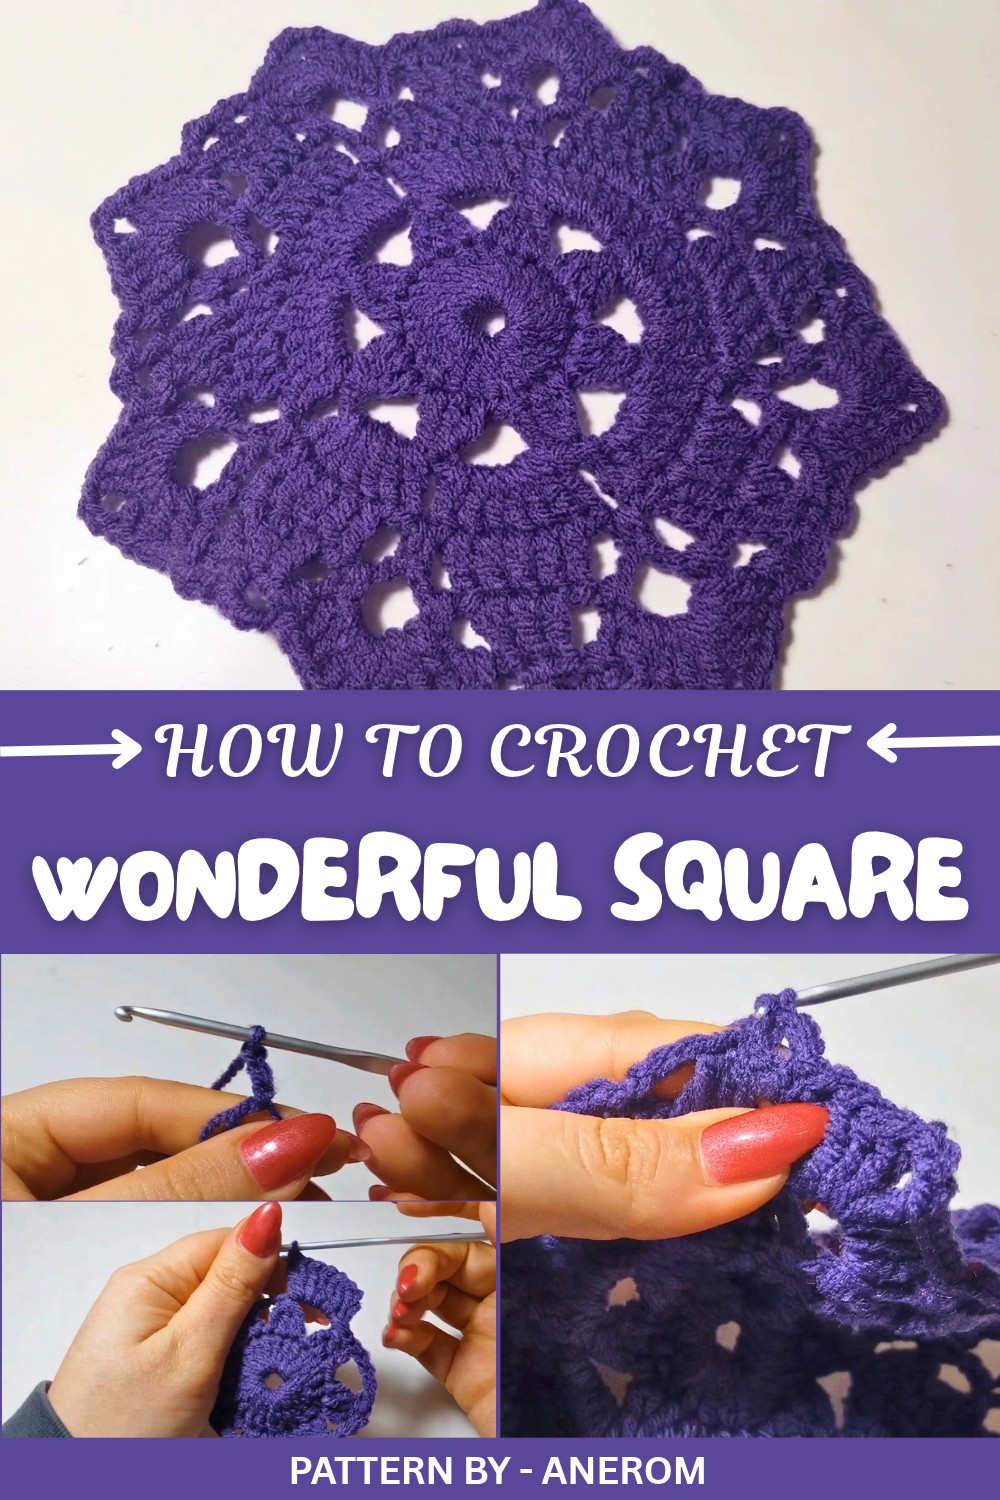
And here’s the exciting part, this isn’t just a square; it’s a foundation for endless possibilities. Connect a few to make cozy blankets, or try smaller sizes for mats, table settings, or wall décor. Go bold and combine squares to crochet colorful tote bags or dainty shawls. You can even shrink the size and use the same stitch techniques for intricate keychains or ornaments. It's one of those projects that starts small but keeps giving you fresh ideas with every stitch.
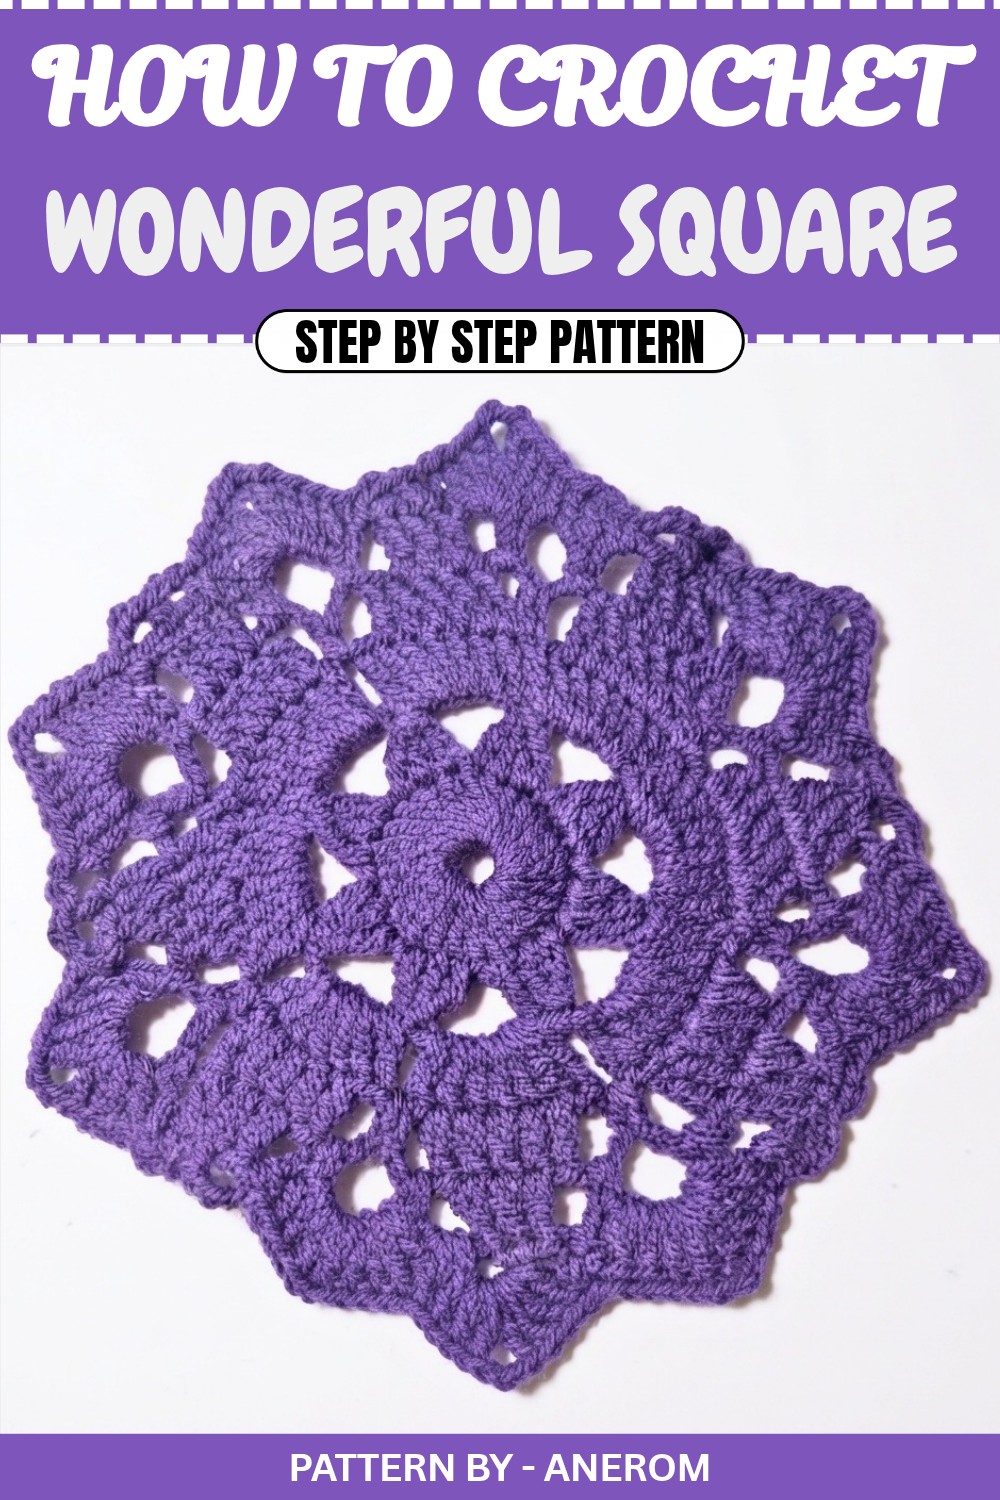
Decorative Crochet Square Pattern
Quick Overview of Pattern
- Type: Decorative Mattonella (Crochet square motif).
- Main Features: Structured stitch clusters and chain spaces for a textured, lace-like design.
- Durability: The pattern creates tight, dense stitches for a solid and balanced result.
Notes
- Ensure even tension to maintain uniformity.
- This pattern requires careful attention to detail for precise construction.
- If you are unfamiliar with cluster stitches or the magic ring technique, it may be helpful to reference instructional videos.
Skill Level
Intermediate — Ideal for crafters with prior experience in crochet techniques like clusters, magic rings, and working in the round.
Materials
- Yarn: Lightweight or medium (Category 4 yarn preferred).
- Hook Size: 3.5mm or 4mm hook (adapt as needed for personal tension).
- Accessories:
- Tapestry needle for weaving in ends.
- Scissors for cutting yarn.
Measurements
The finished motif should measure approximately 15cm x 15cm (6” x 6”), depending on hook size, yarn, and tension.
Gauge
Gauge is not critical for this project, but maintaining consistent tension will ensure uniform results.
Stitch Abbreviations
| Stitch | Abbreviation |
|---|---|
| Chain | ch |
| Double Crochet | dc |
| Single Crochet | sc |
| Slip Stitch | sl st |
| Magic Ring | mr |
| Double Crochet Cluster | cl |
Special Stitches
Magic Ring:
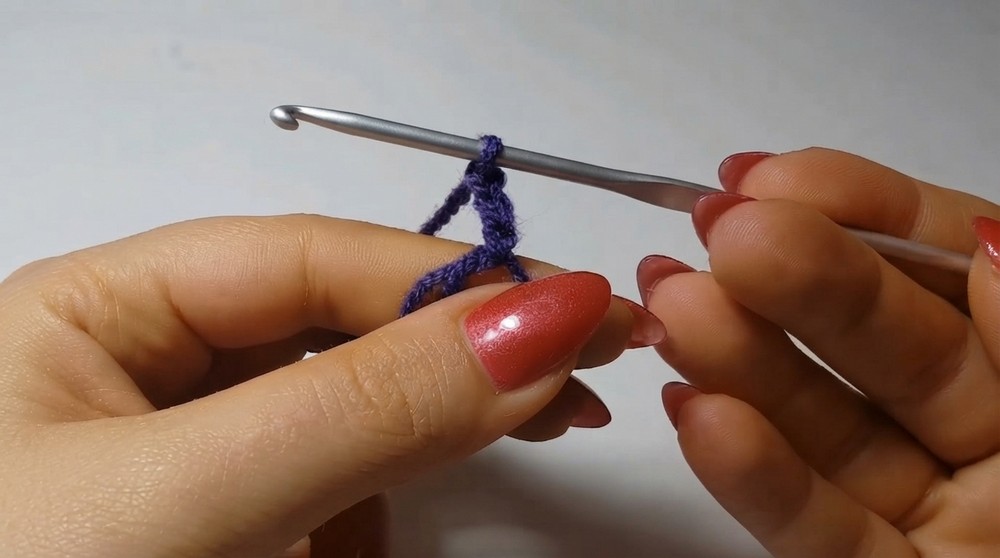
Make a loop with the yarn. Insert the hook into the loop, yarn over, and pull through, forming a slipknot ready for stitching in the round.
Double Crochet Cluster:
Work 2 or more double crochets as instructed, completing the first part of each double crochet (yarn over, pull through two loops) and leaving the last loop unworked on the hook. Once all the incomplete double crochets have been worked, yarn over and pull through all remaining loops on hook.
The Crochet Pattern
Round 1: Foundation
- Begin with a magic ring.
- ch 3 (counts as the first dc) inside the ring.
- Work 23 dc into the ring (total of 24 stitches, including the starting chain).
- Close the ring by pulling the tail tightly to secure the center.
- Join the round with a sl st into the top of the third chain from the starting chain-3.
Round 2: Creating Clusters
- Begin with ch 3 (counts as first dc) to start a new round.
- Work 2dc closed together (cluster stitch) in the next stitch: yarn over, insert into the stitch, pull loop through, yarn over, pull through two loops. Repeat in the next stitch, then pull through all loops on the hook, forming the cluster.
- Chain 4 as a separator between clusters.
- Continue working clusters in each stitch separated by ch 4 around the whole circle.
- End the round with a sl st into the top of the starting ch 3.
Round 3: Expanding With Spaces
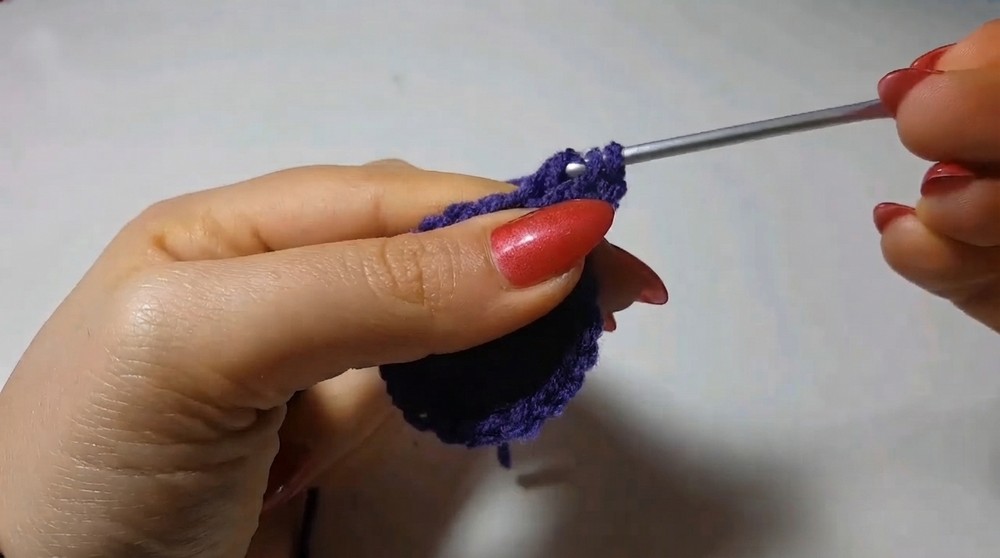
- sl st into the nearest 4 chain space from the previous round.
- Chain 3 (counts as the first dc). Work 6 more dc into the same chain space for a total of 7 dc.
- Chain 1 to separate clusters.
- Repeat 7 dc clusters into each 4 chain space around, separated by ch 1.
- Complete the round by slip stitching into the third chain of the initial chain 3.
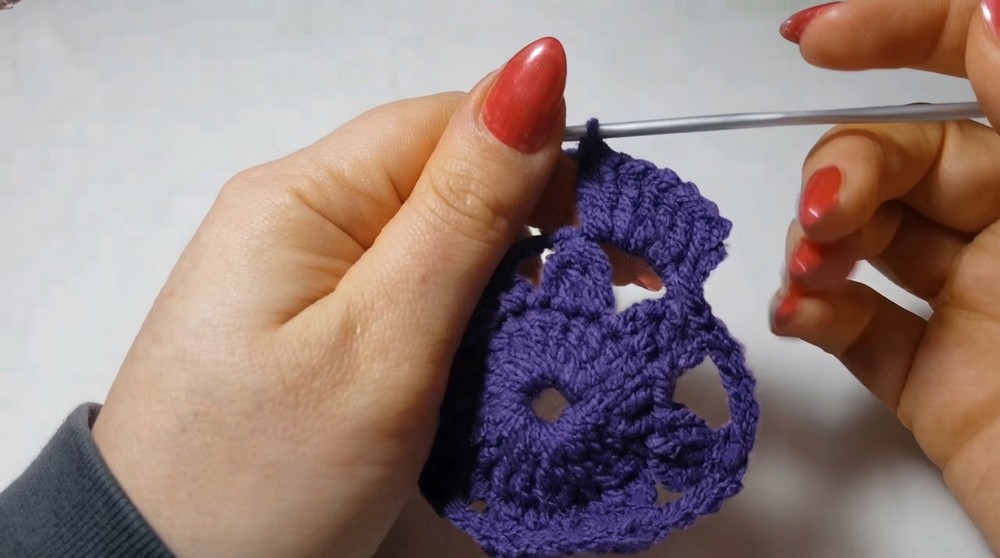
Round 4: Shaping and Clusters
- sl st into the second stitch of the cluster (aligning with the middle stitch).
- Chain 3 (counts as first dc), then work 4 dc into the next 4 stitches (total: 5 dc block, skipping the first and last stitches of the previous cluster).
- Chain 3, work sc into the 1 chain space from the previous round. Chain 3 again for separation.
- Continue creating blocks of 5 dc, chaining and single crocheting between spaces.
- At the end, join with a sl st in the third chain of the starting chain 3.
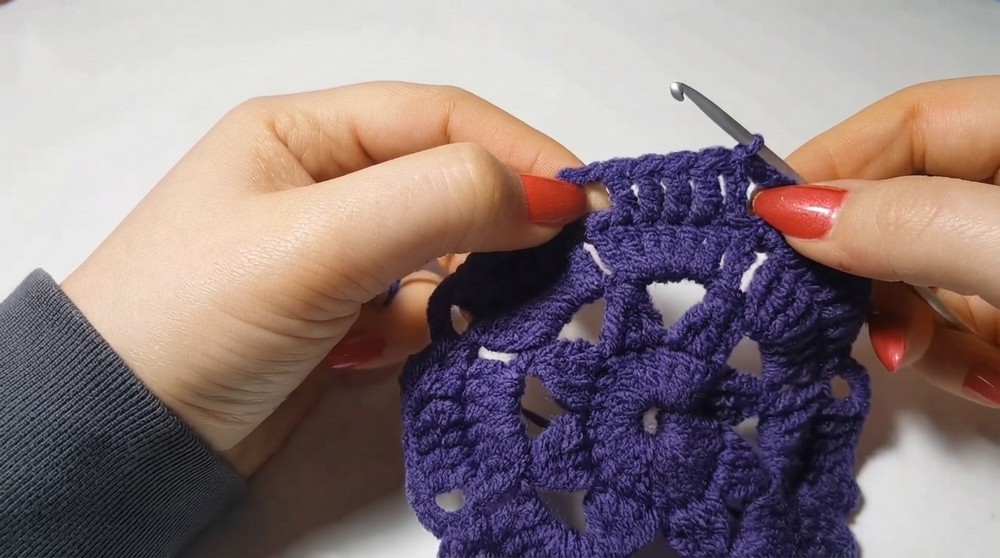
Round 5: Compact Formations
- sl st into the second stitch of the 5 stitch block.
- Chain 3, work 2 dc into the next two stitches (total: 3 stitches in the block).
- Chain 3, work sc into the next space. Chain 4, then single crochet into the adjacent chain space.
- Repeat 3 dc blocks along clusters, separated by chains and spaces.
- Join with sl st at the end.
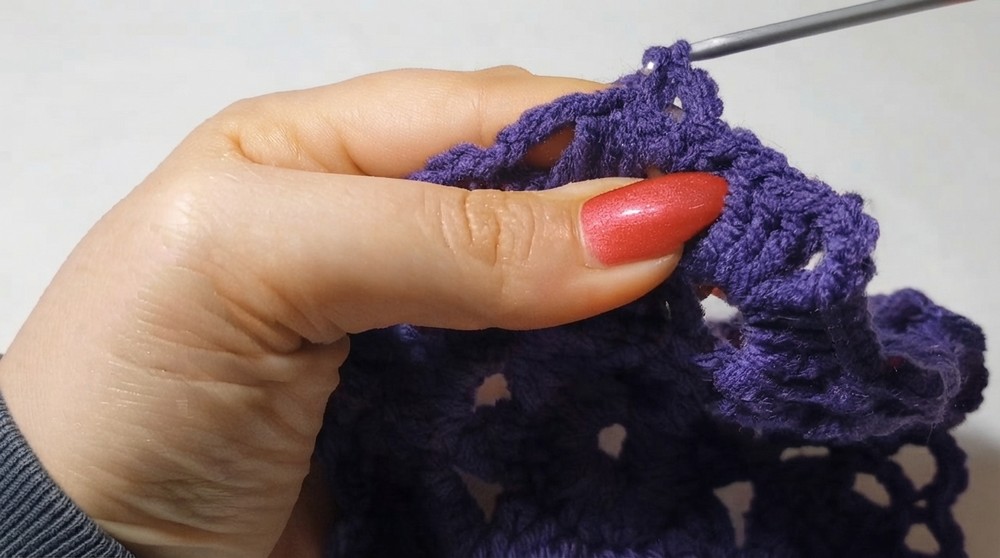
Round 6 (Final Round): Detailed Border
- sl st into the middle stitch of the 3 dc block to align properly.
- Chain 3 and work sc into the next space.
- In the central 4 chain space (from the previous round): Work 4 dc, ch 3, 4 dc to create a detailed border element.
- Add sc into the next chain space, followed by ch 3, repeating into more spaces.
- Continue the round with this formation until fully complete.
- End with a sl st, fasten off, and carefully weave in all ends using a tapestry needle.
Assembly & Finished Size
- Once finished, ensure threads are neatly concealed.
- Finished Size: Approx. 15cm x 15cm (6” x 6”).
Conclusion
This unique mattonella design offers a refreshing twist to traditional crochet motifs. It’s versatile, whether used as decorative accents for household items or part of a larger crochet project. Complicated as it may seem, following every step will ensure your motif is as stunning and refined as the one demonstrated.