
Free Crochet Pattern for Doily That Also Hold Items
Try this free crochet pattern to make a cute doily that is perfect for holding little treasures and decorating your favorite spaces.
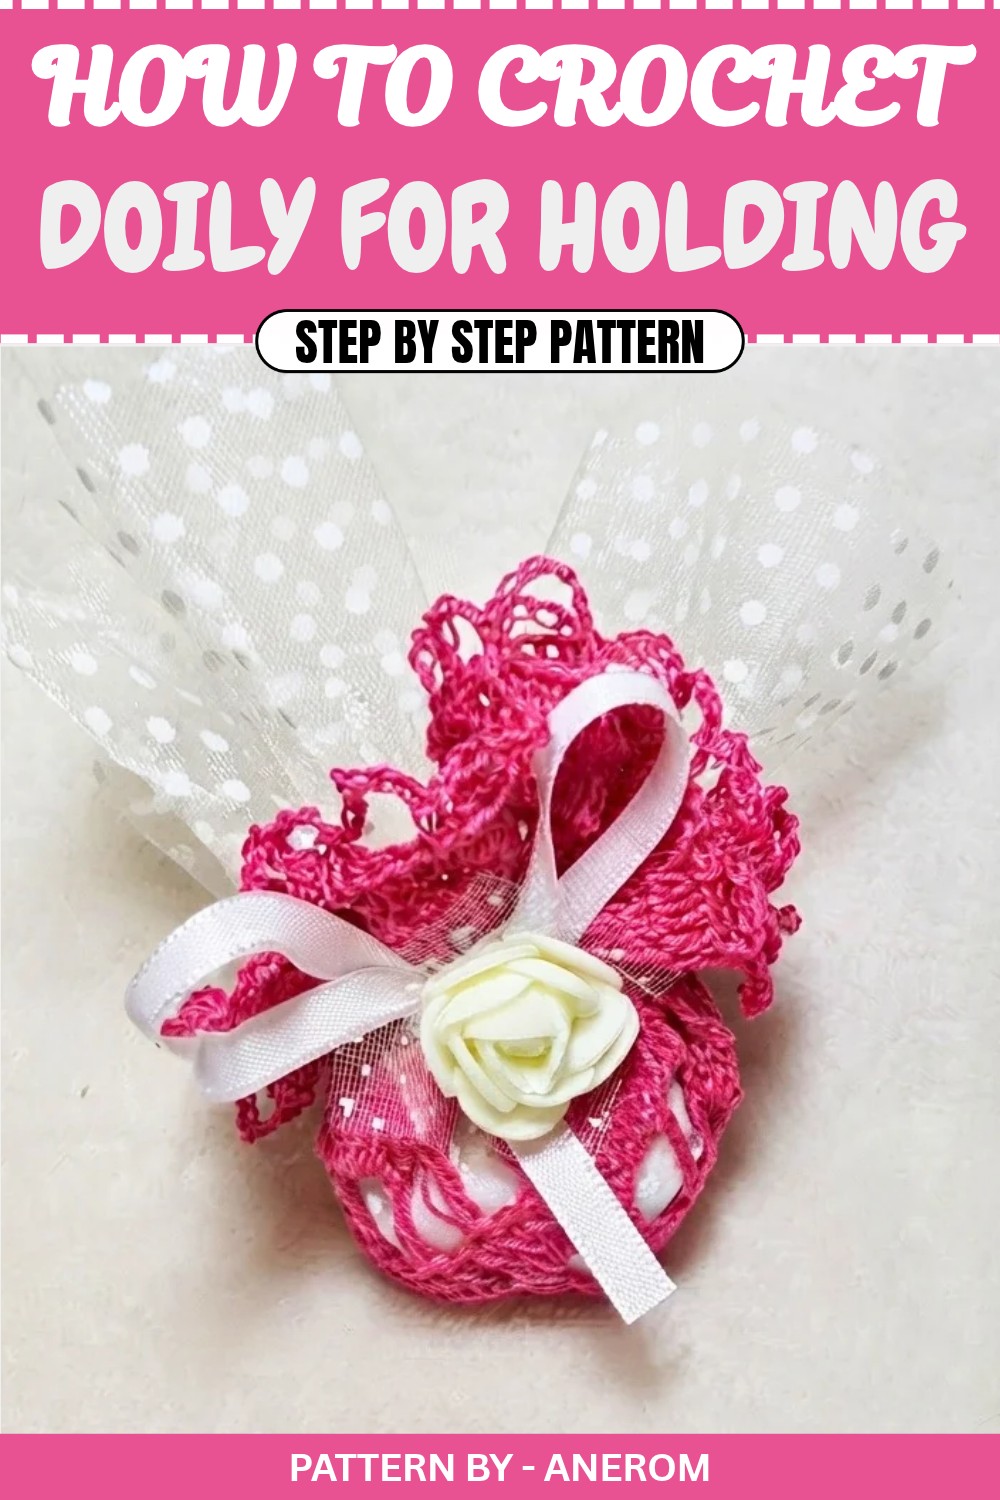
Delicate and intricate, this doily is more than just a decorative piece, it’s a blend of beauty and versatility. Whether you use it as a traditional table accent, a gift embellishment, or get creative and transform it into a confetti holder for special occasions, this design adds charm to any space. Its soft cotton texture and graceful pattern make it ideal for events like baptisms, birthdays, or weddings, especially when paired with pastel colors like pink or white.
Gorgeous Crochet Doily Pattern You Can Make for Free
This charming doily features a combination of simple crochet techniques, making it suitable for beginners and experienced crocheters alike. Starting with a magic ring, the design is built from the center outward using rounds of double crochets, separation chains, and slip stitches. The pattern alternates layers of textured arches and intricate clusters, resulting in a symmetrical and elegant finish. The final round features delicate loops that add a lacy border, giving the doily its signature timeless look. It’s a relaxing project that doesn’t require a lot of time and effort but leaves you with a stunning end result.
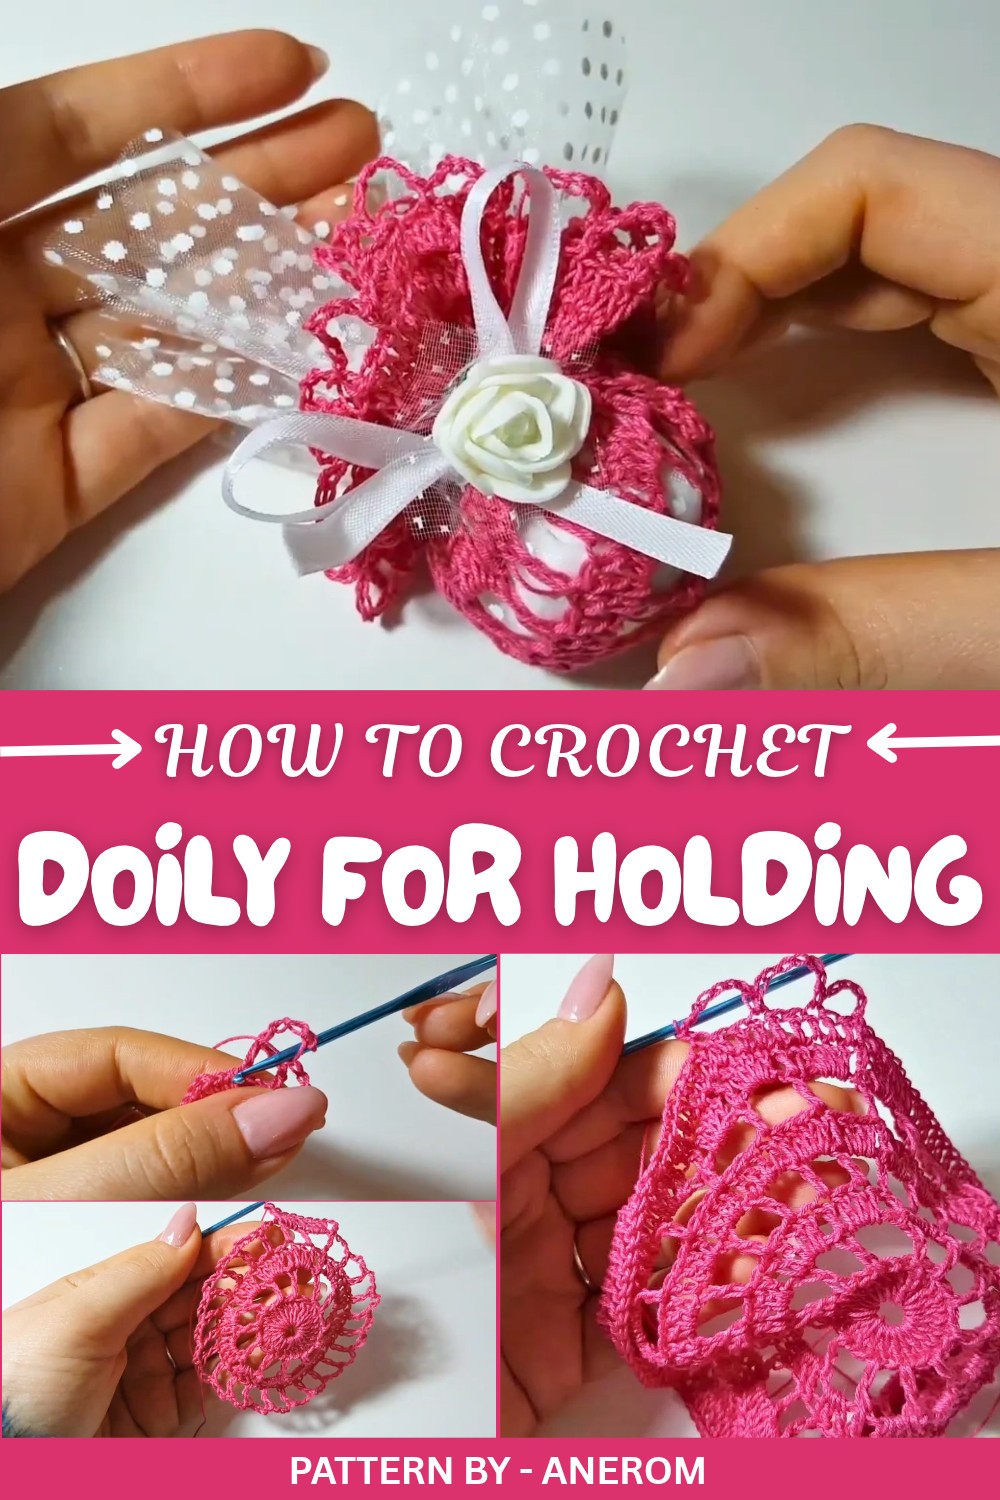
Anerom, the talented creator of this pattern, shares easy to follow guidance in her YouTube tutorial, making the process enjoyable and clear. She also suggests unique ideas, such as using the doily to wrap small gifts or confetti in a sheer veil, tied together with a ribbon for a stylish presentation. Adding tiny decorative roses or other small embellishments can elevate the design even further.
This doily’s charm lies in its versatility and delicate structure, making it perfect for adding a touch of elegance to your home or giving a heartfelt handmade gift. With the step by step instructions, you’ll have this refined and graceful doily completed in no time.
Crochet Doily Pattern
In this tutorial, we’ll create a lovely crochet centerpiece that doubles as a confetti holder. This design is versatilem it can be used as a simple centerpiece or modified for special occasions, such as births, weddings, or birthdays. While I chose pink for a charming feminine look and added a small rose for decoration, you’re free to customize the colors to suit your style or event theme.
Quick Overview of Pattern
- Type of Item: Centerpiece/Confetti Holder
- Primary Stitch: Double crochet with chain spaces
- Decoration: Optional floral embellishment
- Rounds: Multiple rounds adding layers of chains, double crochet, and clusters
Notes
- This pattern is versatile: use it as a simple centerpiece or dress it up as a confetti holder.
- While pink is used in this example, feel free to use colors matching your event or project.
- Gauge is not critical for this project, making it beginner friendly.
Skill Level
Intermediate (Requires familiarity with basic crochet stitches, including magic circle, chain stitch, single crochet, and double crochet).
Materials
- Yarn: Cotton yarn (color of your choice; pink is used in the video)
- Hook: Crochet hook suitable for the chosen yarn (suggested size is 3 mm)
- Scissors
- Tapestry Needle (for weaving in ends)
- Decorations: Optional mini rose or ribbon for embellishment
- Optional Fabric: Tulle or organza for the confetti holder
Measurements / Sizing
Dimensions will depend on the yarn and hook used and your tension. The finished confetti holder can typically fit over small packets of tulle wrapped confetti.
Gauge
Gauge is not crucial for this project. As long as your stitches are even and create a flat, neat piece, your project will look great!
Stitch Abbreviations
- ch: Chain
- sl st: Slip stitch
- dc: Double crochet
- sc: Single crochet
- m/c: Magic circle
Special Stitches
- Magic Circle: A method of starting your work that allows you to pull the stitches closed into a loop.
The Crochet Pattern
Round 1
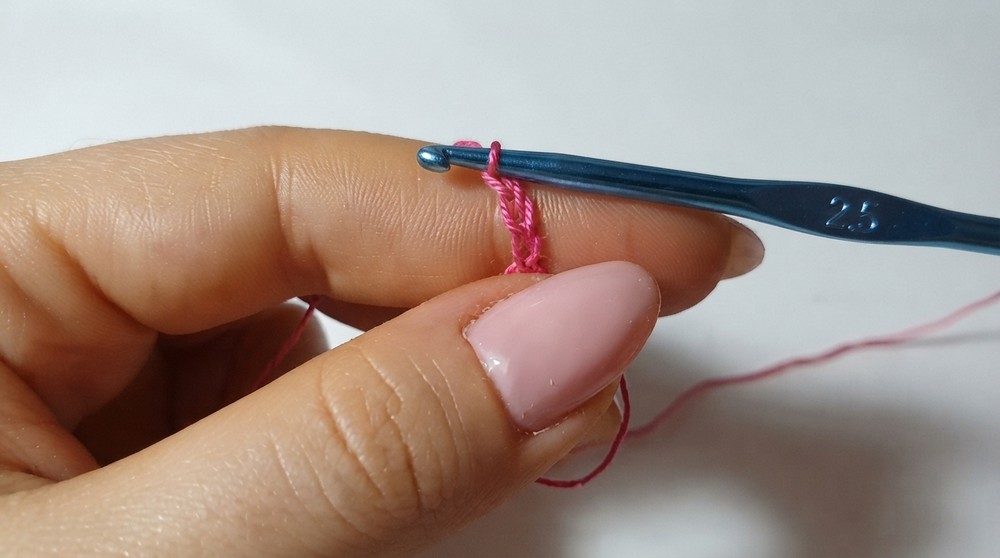
- Start with a magic circle.
- Chain 2 to replace the first double crochet.
- Within the magic circle, work 23 double crochets.
- To make a double crochet: Yarn over, insert the hook into the ring, yarn over again, pull through, yarn over, pull through two loops, yarn over, pull through the last two loops.
- Once all 23 dc are complete, pull the magic circle tight to close the hole.
- Slip stitch into the 3rd chain of the starting chain to join the round.
Round 2
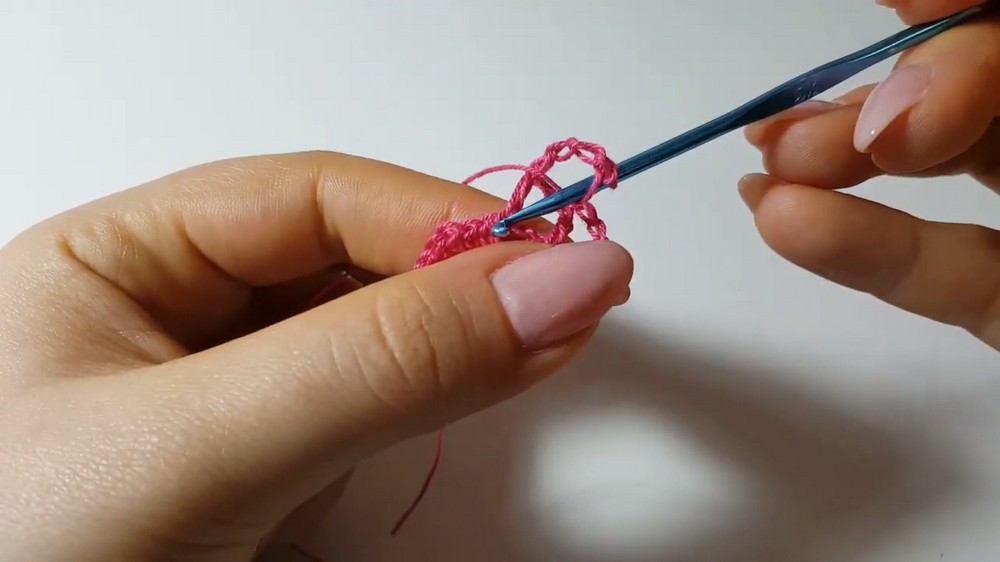
- Chain 6 to create the first loop.
- Skip one stitch and make a double crochet into the next stitch.
- Chain 3.
- Skip another stitch and make 1 double crochet into the next stitch.
- Repeat the pattern of chaining 3, skipping one stitch, and making 1 dc until the end of the round.
- Slip stitch into the 3rd chain of the initial starting chain.
Round 3
- Chain 3.
- Into the chain space from the previous round, crochet 3 double crochets.
- Crochet 1 double crochet into the top of the double crochet from the previous round.
- Repeat this pattern—3 double crochets into the chain space, followed by 1 double crochet into the double crochet stitch—until the end of the round.
- Slip stitch into the 3rd chain of the starting chain.
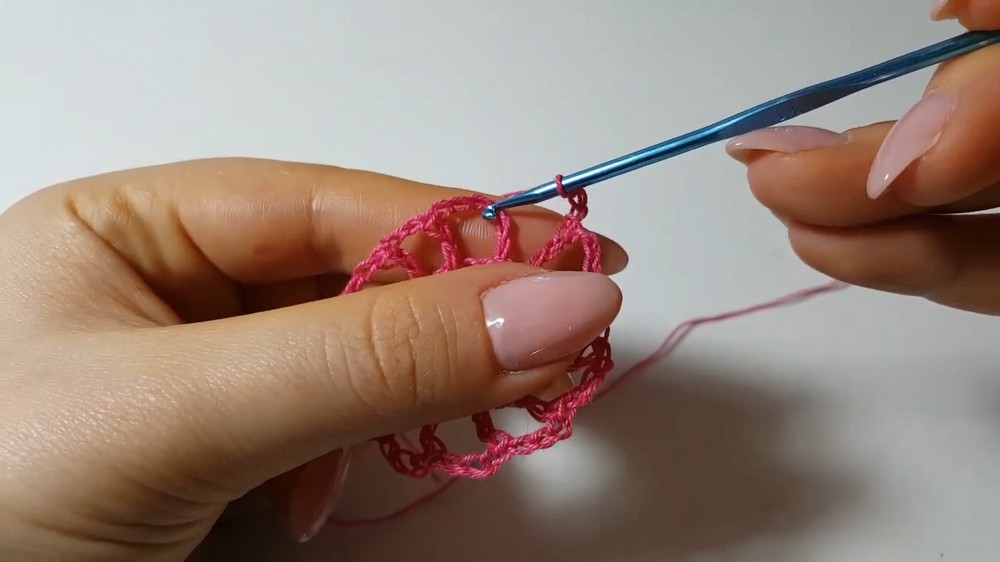
Round 4
- Repeat Round 2 (chain 6, skip one stitch, make 1 dc, and chain 3 for all spaces).
Round 5
- Chain 3.
- Into the chain space from the previous round, crochet 4 double crochets.
- Crochet 1 double crochet into the top of the double crochet from the previous round.
- Repeat the pattern—4 double crochets into the chain space, followed by 1 double crochet into the double crochet stitch—until the end of the round.
- Slip stitch into the 3rd chain of the starting round.
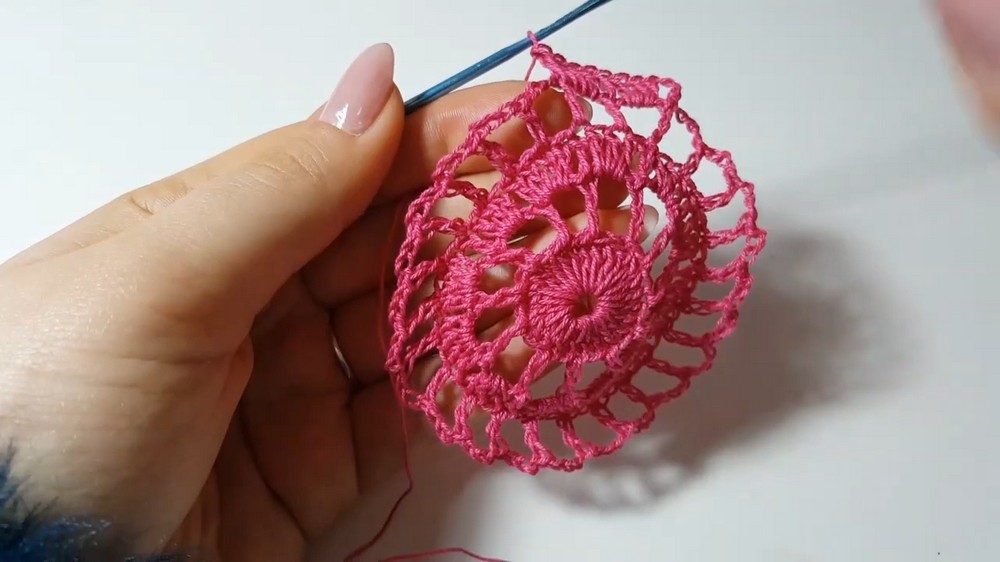
Round 6
- Chain 7.
- Skip 3 stitches and make 1 double crochet into the next stitch.
- Chain 4.
- Skip 3 stitches and make 1 double crochet into the next stitch.
- Repeat this pattern—chain 4, skip 3 stitches, 1 dc into the next stitch—until the end of the round.
- Slip stitch into the 3rd chain of the starting round.
Round 7
- Chain 3.
- Into the chain space from the previous round, crochet 4 double crochets.
- Crochet 1 double crochet into the top of the double crochet from the previous round.
- Repeat the pattern—4 double crochets into the chain space, followed by 1 double crochet into the double crochet stitch—until the end of the round.
- Slip stitch into the 3rd chain of the starting round.
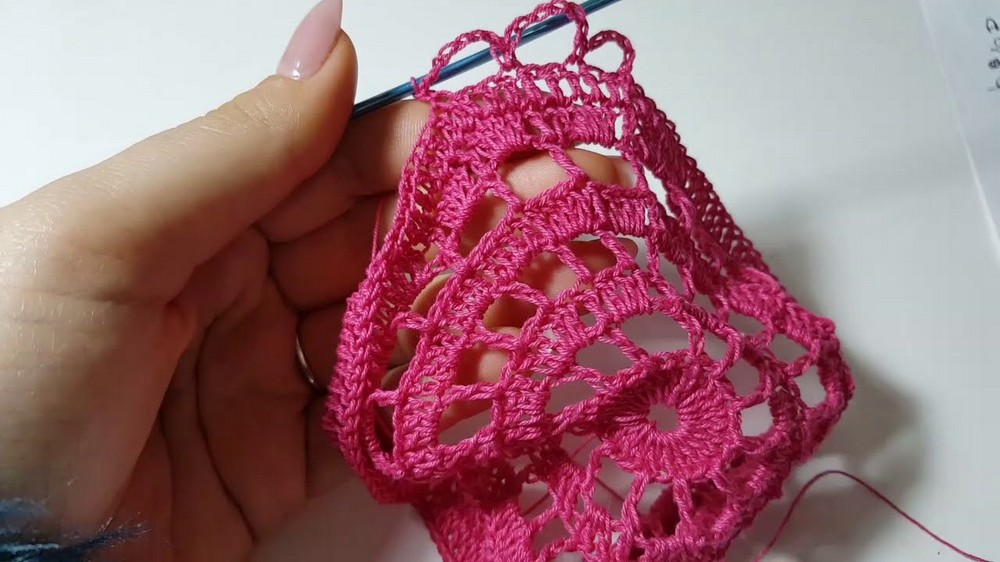
Round 8 (Final Round)
- Chain 7.
- Skip 2 stitches and make 1 single crochet into the next stitch.
- Repeat—chain 7, skip 2 stitches, single crochet into the next stitch—until the end of the round.
- Slip stitch into the last point to close the work.
- Cut and fasten off your yarn. Use a tapestry needle to weave in and hide the tail.
Assembly & Finished Size
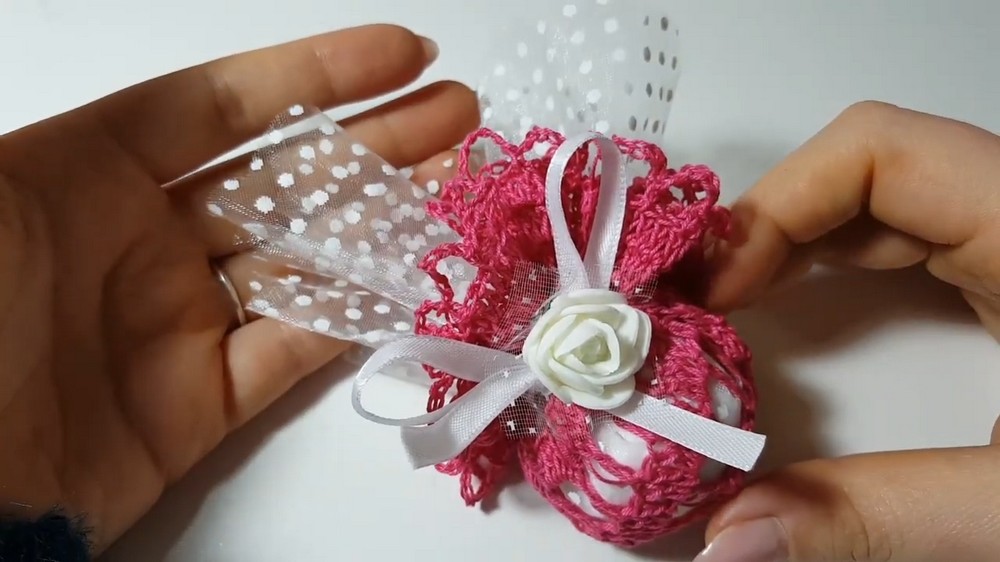
- To turn your finished centerpiece into a confetti holder:
- Place a piece of tulle (or organza) in the center.
- Add your confetti (or other small items) inside.
- Gather the edges of the tulle upward to create a pouch.
- Secure with a small decorative ribbon, tying it tightly to hold everything in place.
Conclusion
And voilà—your beautifully crocheted confetti holder is complete! This elegant design makes a great addition to any event or simply as handmade decor. Experiment with colors, embellishments, and ribbon styles to make your creation unique. I hope this tutorial inspires your creativity and brings joy to your crocheting.