
Free Adorable Kitten Crochet Pattern That’s So cute
Slip cheerful animal energy onto your office desk with a Free Crochet Kitten Amigurumi Pattern, a cute tiny cat that brightens long workdays.
Tiny paws, a fluffy tail, and the cutest little face you’ll ever crochet, this kitten is an absolute charmer. With its perfect balance of playfulness and heartwarming details, like an optional red heart for some extra love, it’s the kind of project that’s guaranteed to make anyone smile. Whether you’re crocheting a small, palm sized kitty or a big cuddly toy with soft plush yarn, this design will melt hearts.
Crochet a Fluffy Friend with This Free Kitten Pattern
The real beauty of this project lies in its versatility and simplicity. You don’t need to be a crochet expert to bring this little feline to life, just follow along and enjoy the process. Each little detail is designed to be easy to make but so effective in creating a realistic and adorable look. The naturally curled tail and perfectly shaped ears practically assemble themselves as you crochet, turning simple stitches into something magical.
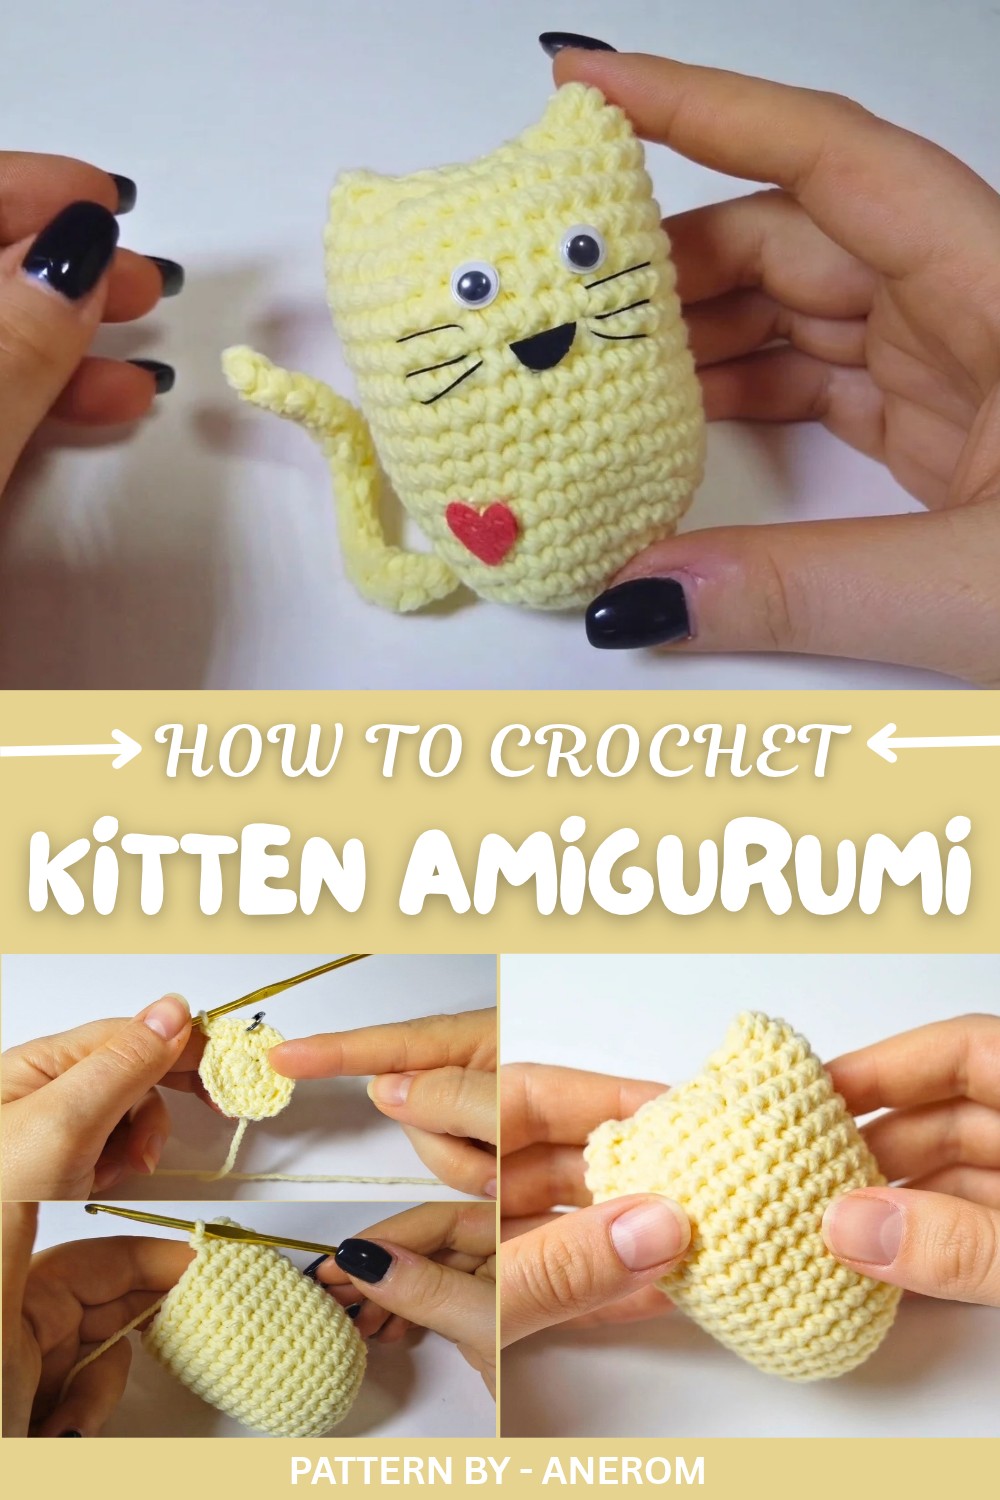
This pattern is as thoughtful as it is beautiful. Gift it to someone special for Valentine’s Day, surprise a child with their new favorite toy, or even keep it as your desk buddy for a daily dose of cuteness. You can also add your style with personalized colors and embellishments that speak to your creative spark.
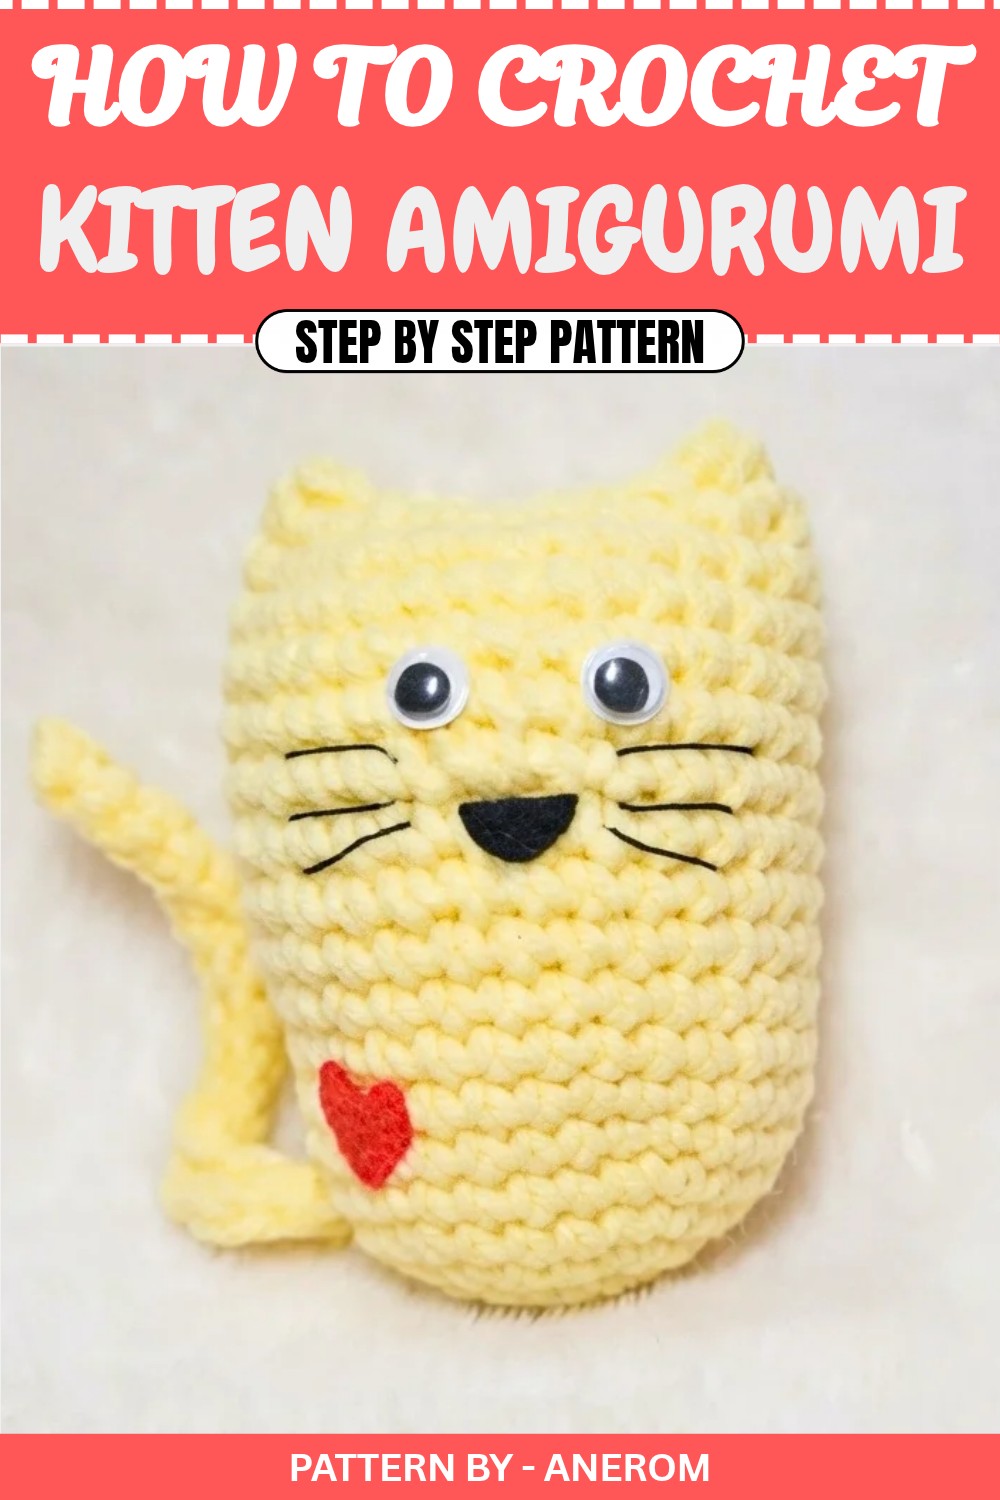
Brought to you by Anerom, a channel that’s all about making crochet fun and accessible for everyone, this kitten pattern comes complete with an easy to follow video tutorial. Perfect for beginners and experienced crocheters alike, you’ll feel like a crochet pro by the time you finish. If you’re ready to add a bit of whimsy and love to your crochet collection, this kitten is calling your name.
Crochet Amigurumi Cat with Heart Pattern
Quick Overview of the Pattern
- Crochet a small cat with basic shapes and techniques.
- Add a red felt heart to customize the design for a Valentine's Day theme.
- Incorporate careful stuffing and assembly for a polished finish.
- Work with rounds to create the cat’s body, ears, tail, and final details.
Notes
- The pattern is worked in continuous rounds unless otherwise stated.
- Always use a stitch marker or a safety pin to mark the first stitch of each round.
- Use lightweight cotton for a small cat or thick yarn for a plush size version.
- Adjust the stuffing density to give your cat more firmness or softness, depending on your preference.
Skill Level
Beginner
Materials
- Yarn in yellow (or your preferred base color)
- Red felt for the heart
- Black embroidery thread (optional for the face)
- Polyester stuffing
- A 2.5–3 mm crochet hook (adjust for your yarn)
- Tapestry needle for sewing pieces together
- Safety eyes or plastic googly eyes
- Scissors
- Hot glue gun or fabric glue (optional for felt details)
Measurements
Finished amigurumi cat: Approximately 12–15 cm tall (depending on yarn weight and tension).
Gauge
Gauge is not critical for this project. Focus on maintaining tight and even stitches to prevent the stuffing from showing through.
Stitch Abbreviations
- ch – Chain
- sc – Single Crochet
- sl st – Slip Stitch
- st(s) – Stitch(es)
- inc – Increase (two sc in one stitch)
- dec – Decrease (invisible single crochet decrease)
Special Stitches
- Invisible Decrease (dec): Insert your hook into the front loop of the first stitch, then into the front loop of the next stitch. Yarn over and pull through the first two loops on the hook. Yarn over and pull through the remaining two loops.
The Crochet Pattern
1. Cat Body
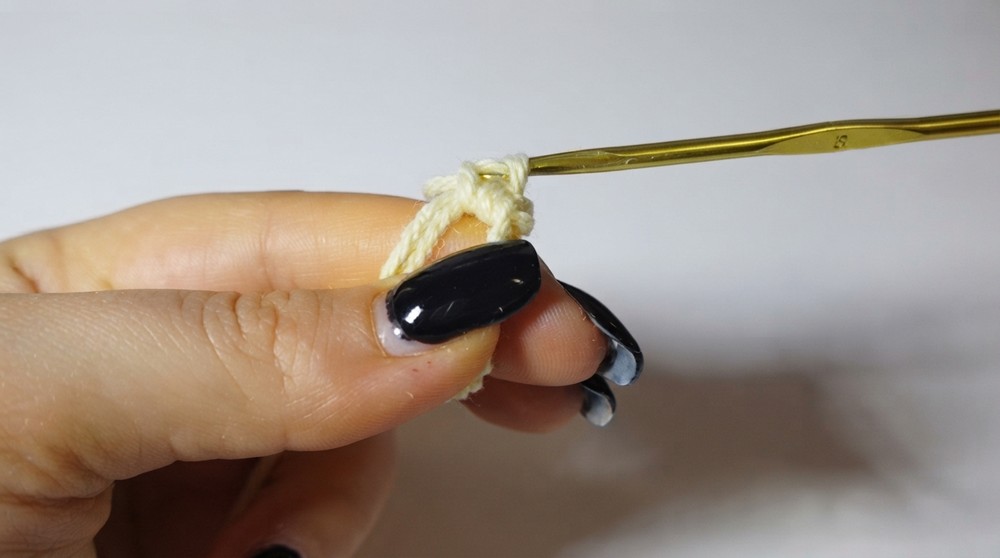
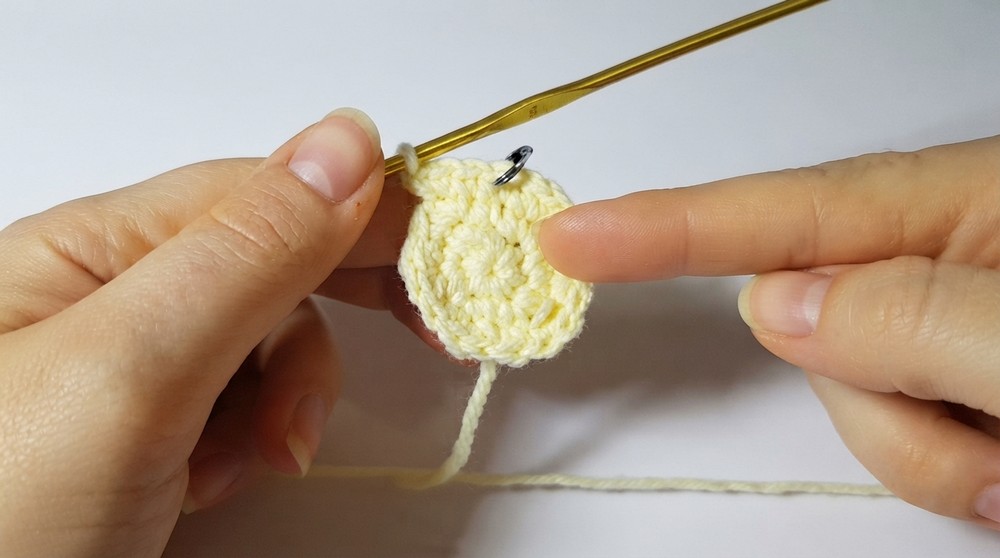
- Round 1: Using yellow yarn, create a magic ring. Work 6 sc into the magic ring. Tighten the ring to close. (6 sts)
- Round 2: Work 2 sc in each st around. (12 sts)
- Round 3: Alternate 1 sc, inc around. Repeat 6 times. (18 sts)
- Round 4: Alternate 2 sc, inc around. Repeat 6 times. (24 sts)
- Round 5: Alternate 3 sc, inc around. Repeat 6 times. (30 sts)
- At this point, you should have a smooth, flat circle.
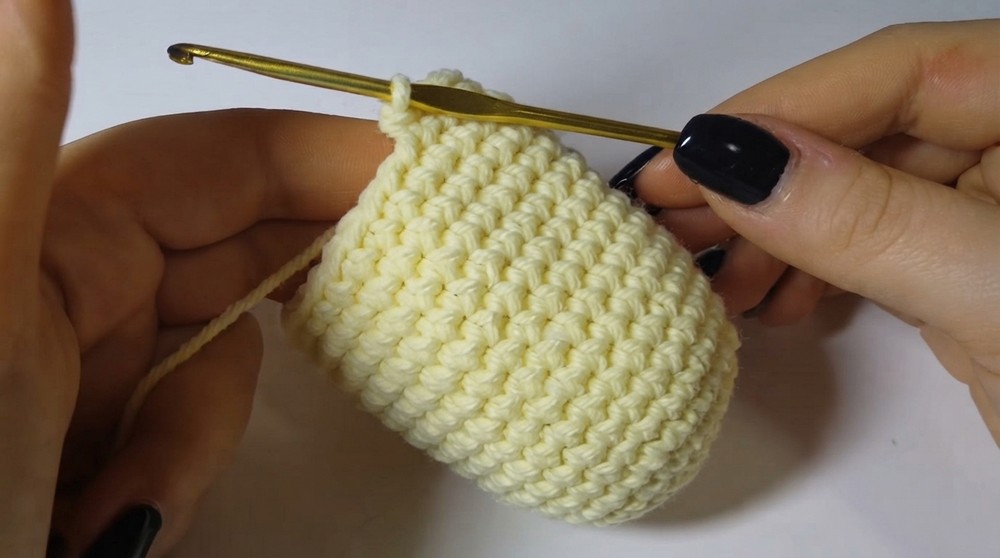
- Rounds 6–17: Work 1 sc in each st around. (30 sts per round for 12 rounds) – No increases.
- As you work, the piece should form a cylinder.
- Round 18: Alternate 3 sc, dec around. Repeat 6 times. (24 sts)
- Round 19: Alternate 2 sc, dec around. Repeat 6 times. (18 sts)
- Round 20: Alternate 1 sc, dec around. Repeat 6 times. (12 sts)
- Add stuffing to the body before completing the next round. Ensure it is firm but not overstuffed.
- Round 21: Work dec around. Repeat 6 times. (6 sts)
- Fasten off, leaving a long tail for sewing. Use the needle to close the opening, weaving through the remaining stitches.
2. Ears
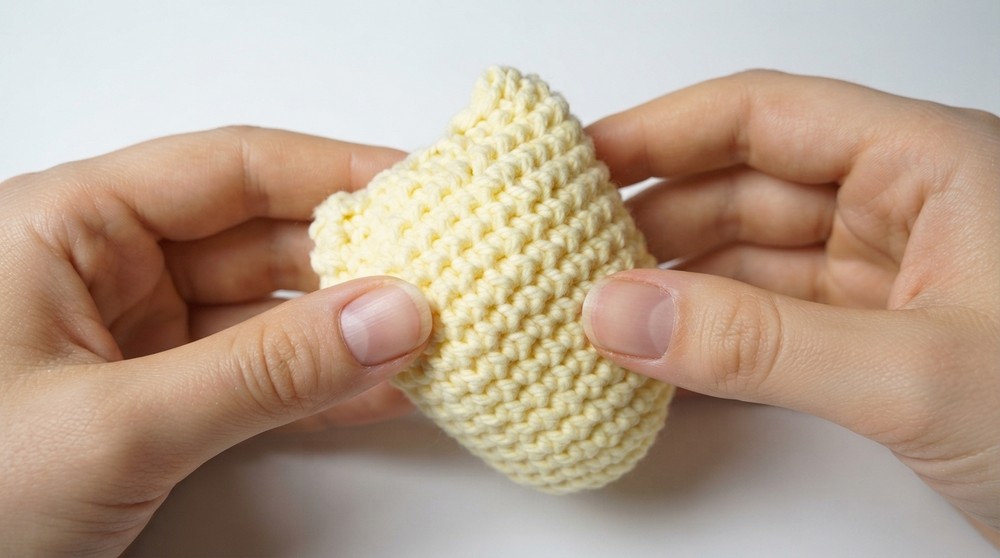
- Create a magic ring with yellow yarn and work 6 sc into the ring. Tighten the ring. (6 sts)
- Round 2: Work 1 sc in each st around. (6 sts)
- Round 3: Work 1 sc in the first st, inc in the next. Repeat 3 times. (9 sts)
- Fasten off, leaving a long tail for sewing.
- Create a second ear following the same steps. Set aside for assembly.
3. Tail
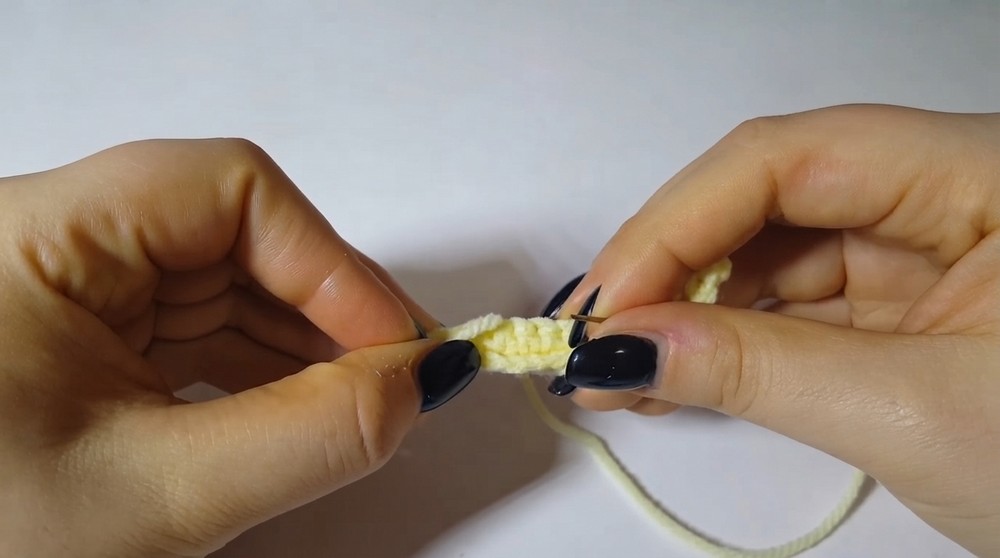
- Create a foundation chain of 18 ch.
- Starting from the second ch from the hook, work 1 sc in each ch to the end of the row.
- Ch 1, turn. Work 1 sc in each sc.
- At the end of the row, work 1 sl st to finish. Fasten off and leave a long tail for sewing.
- Use the tapestry needle to sew the tail into a "tube" by folding it lengthwise and stitching the edges together.
4. Assembly and Sewing
- Stuffing the cat body: Make sure the body is evenly stuffed before sewing.
- Close the base: Use the long tail left on the body to gather and seal the bottom.
- Sew the ears: Place the ears on the top corners of the cat’s head. Use the tapestry needle to sew them securely, ensuring they are symmetrical.
- Sew the tail: Decide where you'd like to place the tail (suggested: on the bottom-left of the cat’s back). Sew it in place. You can position it to hang to the side or upwards.
- Embroider facial features (optional):
- Use black thread or yarn to embroider a small nose, mouth, and whiskers.
- Alternatively, attach felt pieces for the face using glue or thread.
5. Adding Details
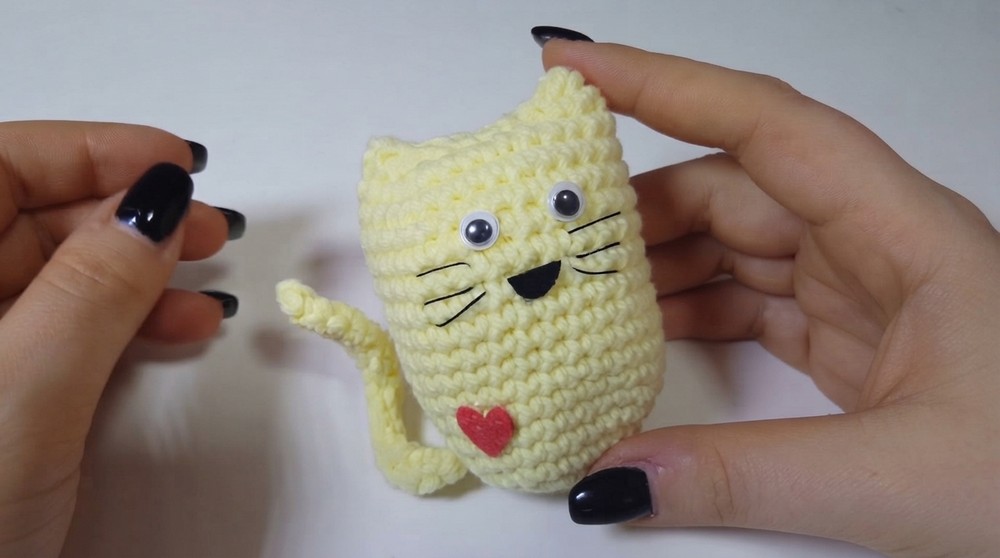
- Safety Eyes: Attach safety eyes to the face or use googly eyes with glue for a playful touch. Position the eyes evenly on the head.
- Red Heart: Cut a heart shape out of red felt. Attach it to the chest area using fabric glue, or sew it with matching thread.
- Final assembly: Weave in all loose ends, ensuring they are securely tucked into the stuffing to avoid unraveling over time.
Assembly & Finished Size
- The cat should now measure approximately 12–15 cm tall.
- The heart can be placed either on the center of the chest or near one of its paws.
- Attach any additional decorations as you like.
Conclusion
Your adorable crochet cat is now complete. It’s a simple, heartwarming project perfect for beginners or anyone looking for a delightful handmade gift. The cat can be customized for various occasions, making it a versatile addition to your crochet repertoire.