
Simple Yet Stylish Crochet Square Pattern for All Levels
Join dozens of bright blocks together to craft a cozy bed throw or trendy tote bag using this wonderful crochet square pattern built for easy wins.
Soft textures and clean edges make this crochet square an absolute standout piece for your collection of handmade wonders. With its smooth shape and balanced design, the square transforms simple yarn into something airy and elegant. Whether you’re dreaming up a cozy blanket, decorative pillow, or even a detailed wall hanging, this crochet work opens up endless possibilities.
Free Crochet Square Pattern That’s Easy and Gorgeous
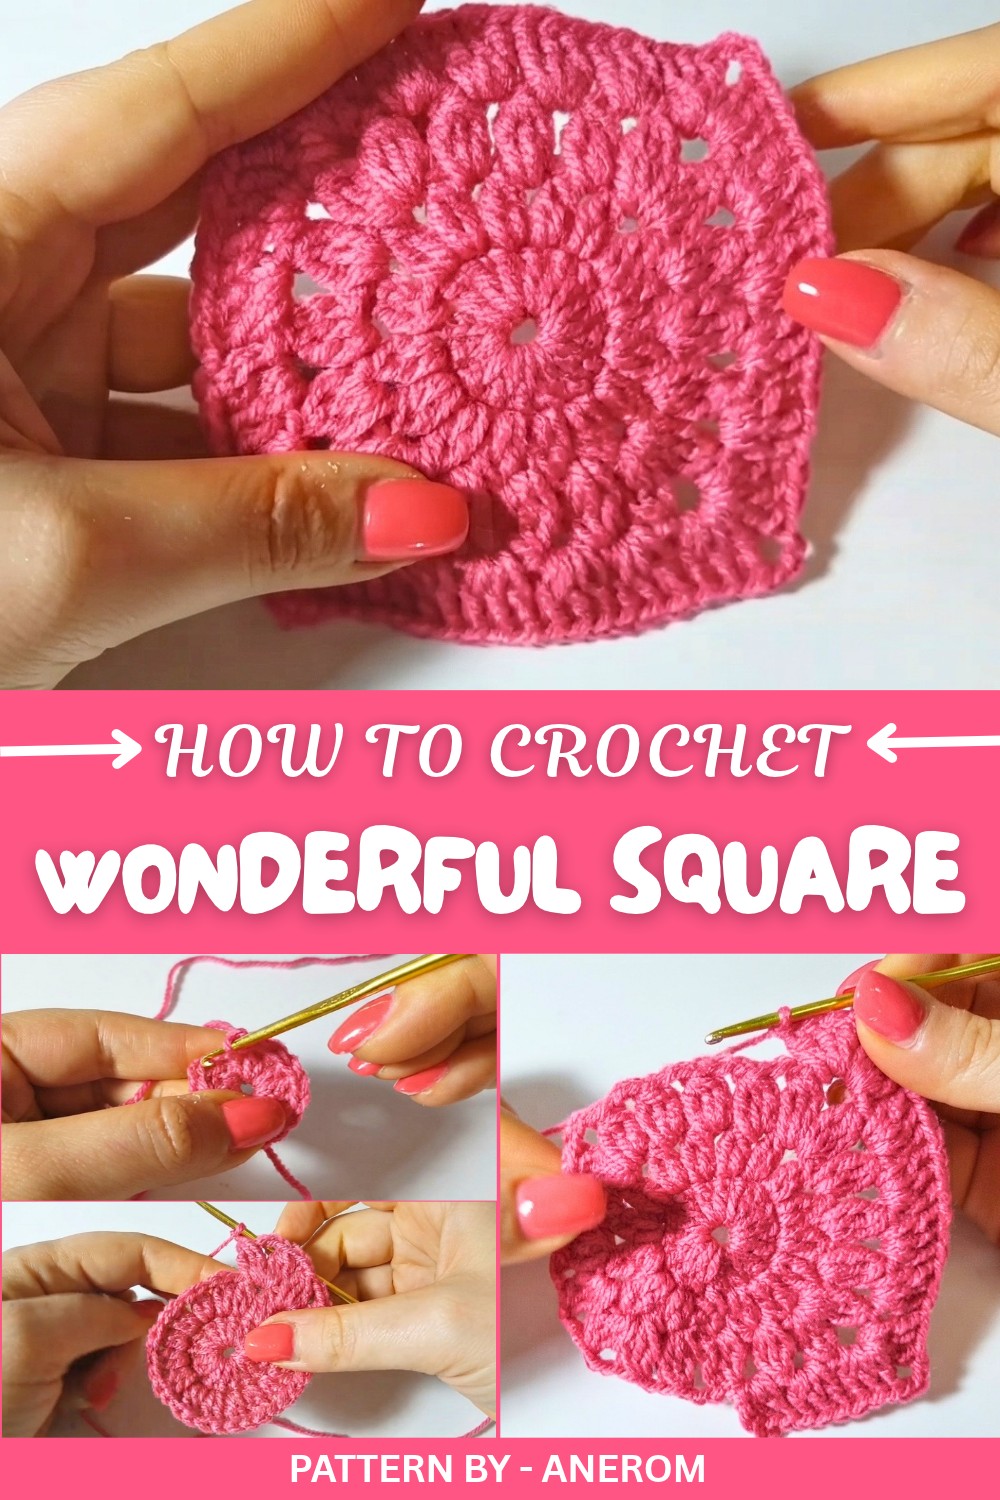
What sets this square apart is how effortlessly it blends symmetry and charm. Beginning with a magic ring, the design evolves round by round, starting as a circle before naturally transforming into a striking square. The corners are created with a clever pattern of double crochets, chains, and precise spacing, giving each square clean, defined edges that interlock beautifully during assembly. The ribbed details—achieved using groups of double crochets—lend the square a visually rich texture, making it a pleasure to admire and touch.
This tutorial, shared by Anerom, is a breath of fresh air for anyone wanting to pick up their crochet hook and dive into a fun yet straightforward project. The video is packed with smart tips and patient explanations, even for beginners. She shares thoughtful techniques like creating neat separation chains and perfect corners while making sure the process is approachable. Her use of pink yarn and a 3 mm crochet hook adds a playful and lighthearted vibe, perfect for experimenting with different color palettes.
Whether you’re building a larger project or simply want to enjoy the art of crochet one square at a time, Simona’s tutorial ensures you’ll have a masterpiece that’s as satisfying to make as it is to look at. Craft away and let those charming squares stack up.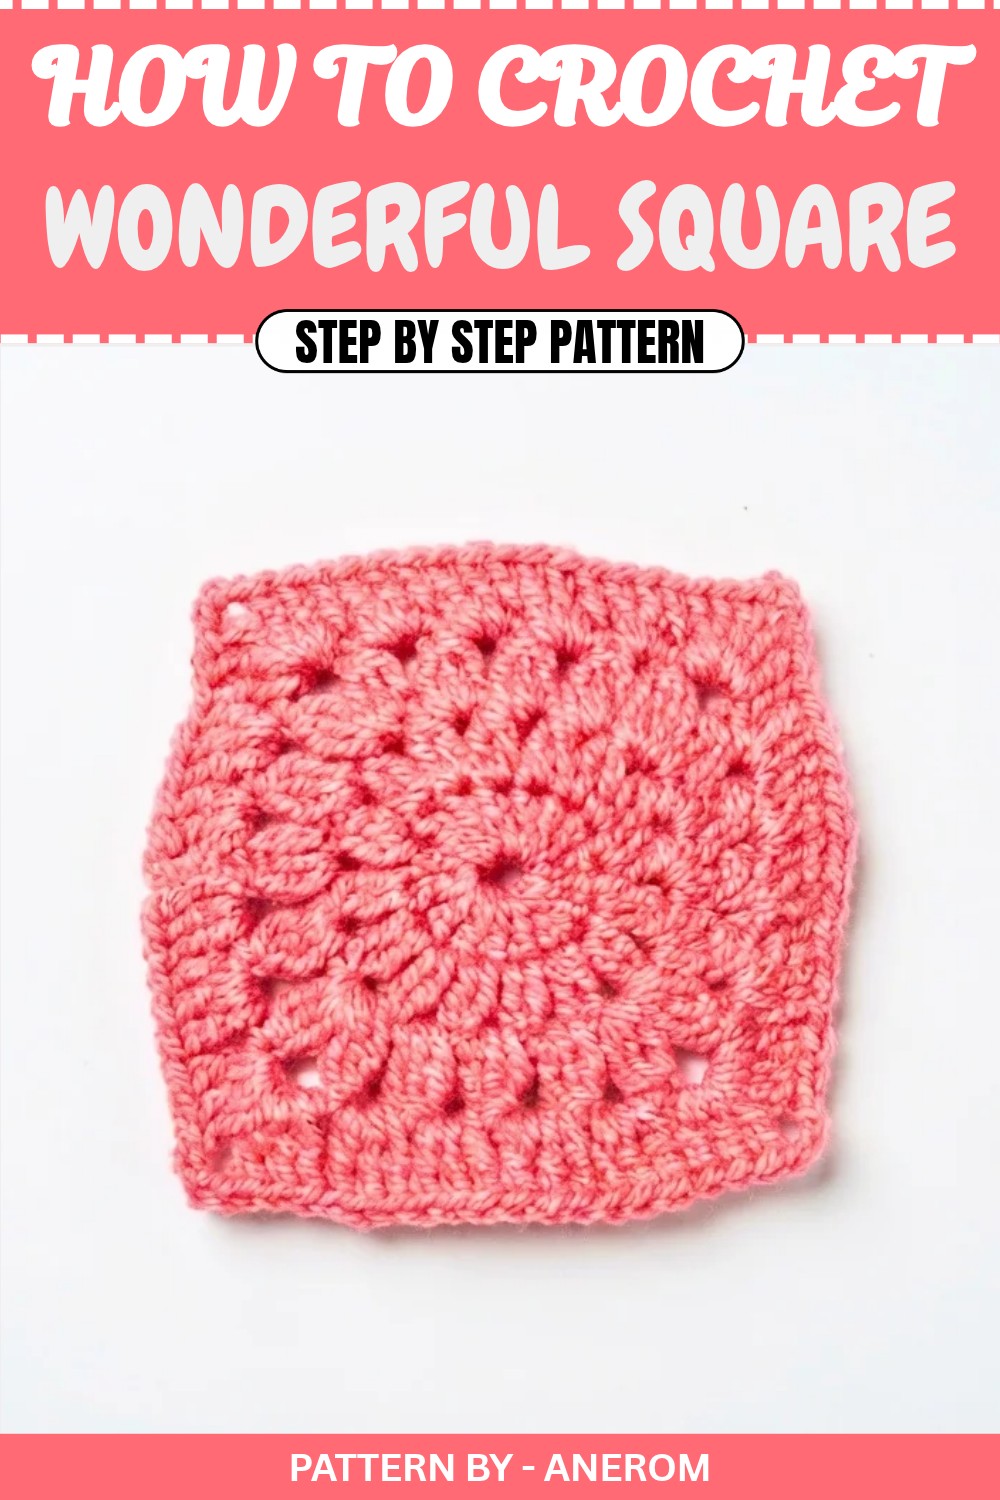
Crochet Pattern: Simple Square Design
Quick Overview of the Pattern
- Design: Crocheted tile in a square shape.
- Stitch Type: Includes double crochet, chained spaces, and basic join techniques.
- Pattern Use: Great for blankets, table mats, coasters, or quilt inspired designs.
- Customization: You can adjust the color and size based on your project needs.
Notes
- The pattern is crocheted in rounds, creating a closed design from the inside out.
- Be sure to use a stitch marker to mark the start point of your rounds if necessary.
- For beginners, work slowly to practice stitches such as double crochet and magic ring.
Skill Level
Beginner friendly.
Materials
- Yarn: Rosy pink cotton yarn (or any color of your choice).
- Hook: Crochet hook size 3mm.
- Tools: Scissors and yarn needle (to weave in ends).
Measurements / Sizing
The final crochet tile can be customized in size depending on the project. The dimensions depend on your tension and number of rounds, but each tile should measure around 10–12 cm on each side when using a 3mm hook and medium weight cotton yarn.
Gauge
Gauge is not specifically required for this project; just ensure your tension is consistent and the tile forms evenly.
Stitch Abbreviations
- ch: Chain
- dc: Double Crochet (Maglia Alta)
- sl st: Slip Stitch (Maglia Bassissima)
- sp: Space (Spazio)
- sts: Stitches
Special Stitches
- Magic Ring: Create a loop with the yarn, insert the hook, yarn over, pull through the loop, and begin crocheting your first round inside the ring.
- Double Crochet Two Together (DC2Tog): Yarn over, insert hook into stitch, pull up a loop, yarn over, pull through two loops. Repeat in second stitch. Yarn over and pull through remaining loops on hook.
The Crochet Pattern
Round 1: Center Circle
- Start with Magic Ring: Using pink cotton yarn, create a magic ring.
- Ch 2 (counts as first dc): Work 15 Double Crochet (dc) into the ring. (15 sts)
- Close Round: Pull the tail to tighten the magic ring. Make a slip stitch (sl st) into the third chain of the starting ch 2. You should now have a complete circle.
Round 2: Creating Groups of DC2Tog
- Ch 3: Start the round with 3 chains from the current location of your hook.
- 1 dc into the same stitch: In the same stitch as your 3 chains, work 1 double crochet (dc).
- Ch 1: Chain one to create separation.
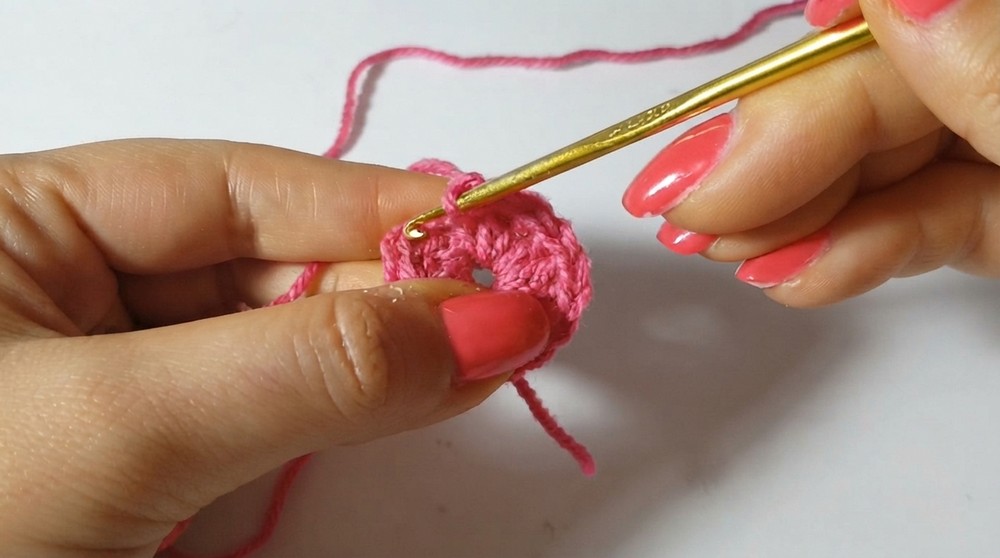
For all other stitches in this round:
4. In each stitch: Work 2 Double Crochets closed together (DC2Tog), following these steps:
- Yarn over, insert hook into the stitch, and pull up a loop. Yarn over, pull through two loops (leaving one loop on the hook).
- Yarn over again, insert hook into the same stitch, pull up another loop, yarn over, pull through two loops. You should have 3 loops remaining on the hook.
- Yarn over and pull through all three loops to close the DC2Tog. This creates a group of double crochets that are joined together at the top.
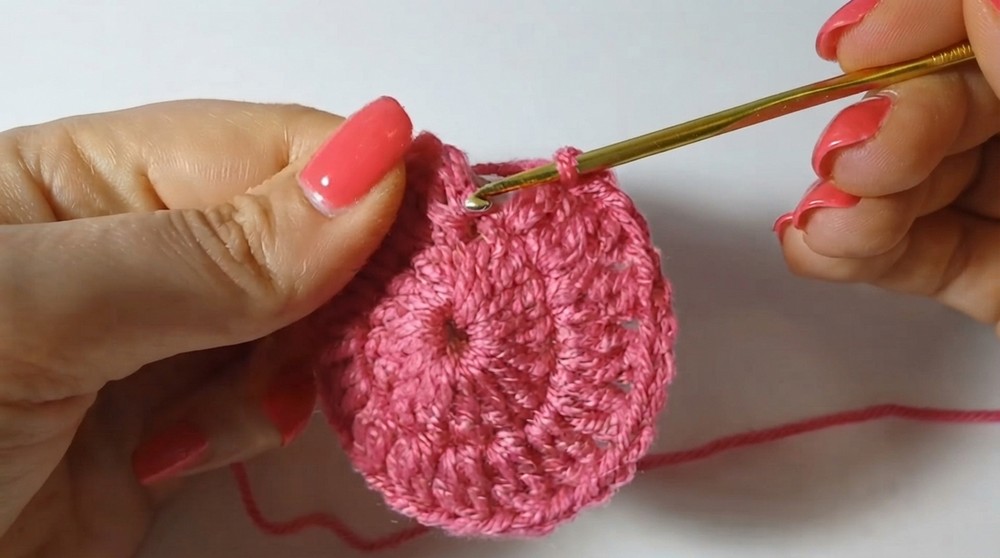
- Ch 1: After each group of DC2Tog, chain one to separate the clusters.
- Closing the Round: Once you’ve made your last group of DC2Tog, make your final ch 1 and sl st into the third chain of the starting ch 3.
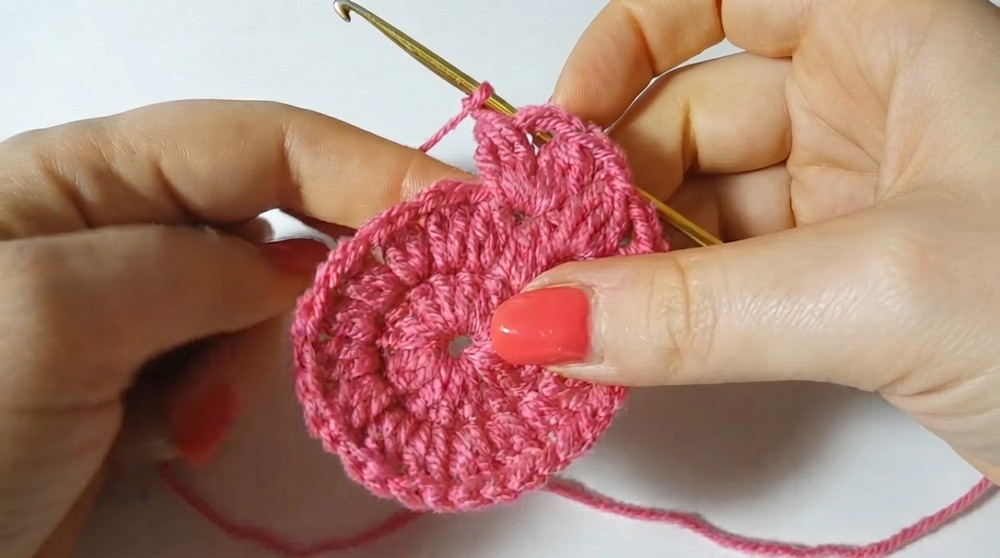
Round 3: Transforming the Circle into a Square
- Shift Into Space: To start on the correct area for the next round, make 1 sl st to move into the space created by the ch 1 from the previous round.
- Start the Pattern: Work 3 ch followed by two more DC2Tog stitches in the space.
- Ch 2: After this, chain two as a separator.
- Normal Spaces: For the next two spaces (except corners), work 3 DC2Tog stitches and separate them with 2 ch.
- Creating the Corner: To form the corner of the square:
- Into the next space, work: 3 DC2Tog, 3 ch, and another 3 DC2Tog in the same space.
- Repeat the pattern for the next side:
- Work 3 DC2Tog stitches separated by 2 ch in each space.
- Work the corner pattern (3 DC2Tog + 3 ch + 3 DC2Tog) in the fourth space to define the corner.
- Continue working around the circle to create 4 corners and 4 well-defined sides for the square.
- Closing the Round: Work your last 2 ch, and sl st into the third chain of the starting ch 3 to finish the round.
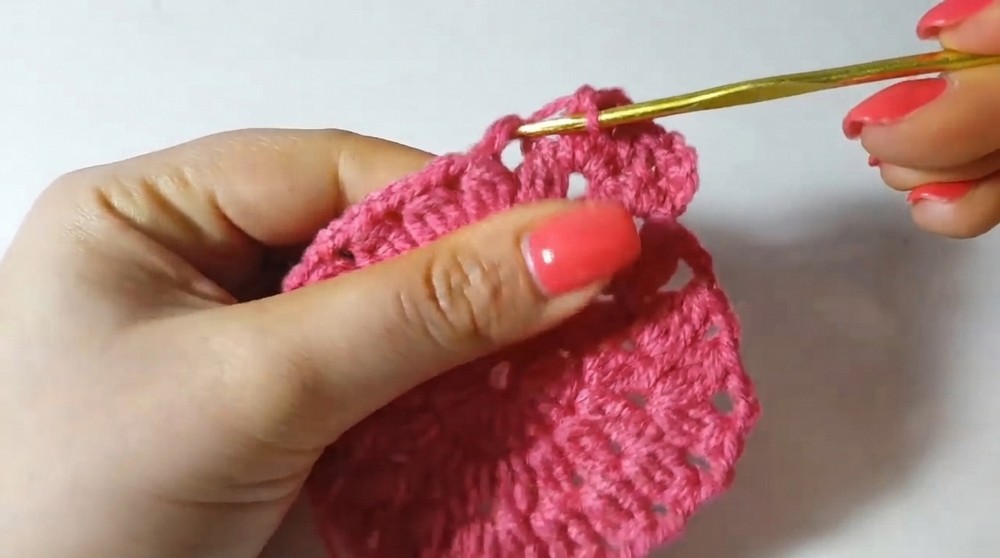
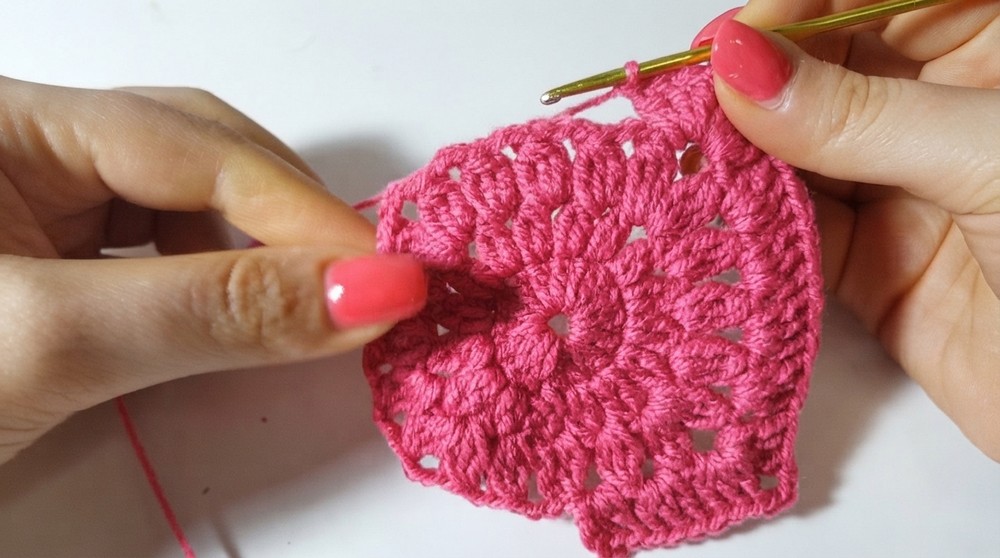
Round 4: Adding the Border
- Shift Into Space: Move into the next space using a sl st.
- Start the Row: Into the space, work 3 ch + 2 dc stitches. This creates the first cluster of 3 double crochets.
- Work Each Space: For the next spaces (excluding the corners), work a cluster of 3 dc into each space.
- Creating the Corner: For every corner, work:
- 3 dc + 3 ch + 3 dc into the same space.
- Continuing Around the Square: Continue working clusters of 3 dc in each space and use the corner pattern for the four corner spaces.
- Closing the Round: Work the last cluster of 3 dc in the final space and sl st into the third chain of the starting ch 3.
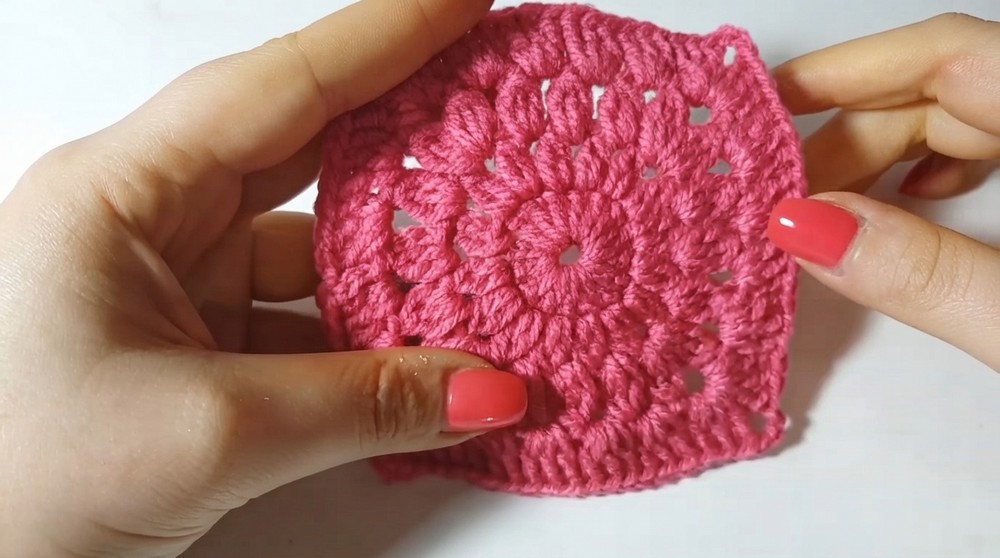
Assembly & Finished Size
- After completing the last round, fasten off and cut the yarn.
- Use a yarn needle to weave the loose ends into the project for a neat finish.
- Trim any extra strands and fluff up the edges to ensure your tile looks polished.
Finished Size: The crocheted tile square should measure approximately 10–12 cm, depending on your yarn thickness and tension.
Conclusion
Your beautiful crochet tile is complete. This versatile design is not only incredibly easy but also customizable to fit any project you have in mind—be it blankets, cushions, table mats, or personalized gifts.