
Free Wonderful Crochet Square Pattern to Style Homes
Turn those leftover yarn scraps hiding in your closet into stunning blanket blocks with this free and fabulous crochet square pattern.
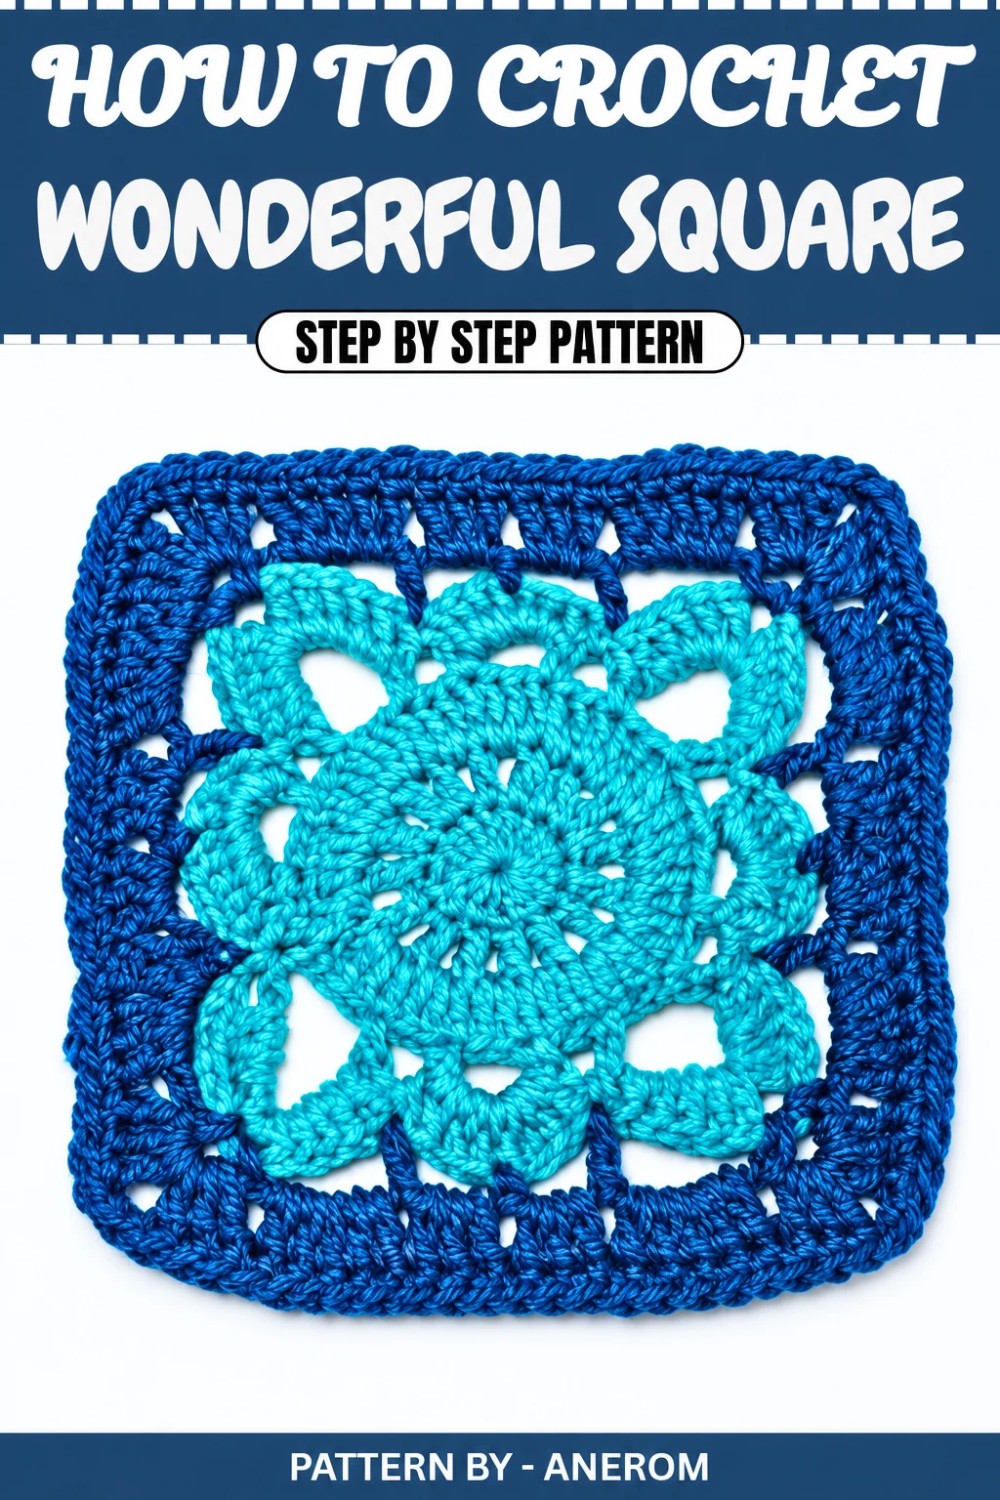
Soft curves and delicate edges meet bold lines in a crochet pattern that blends elegance and versatility. This beautiful design transitions from a rounded center to a symmetrical square with scalloped corners and intricate arches. The combination of textures and layered details gives it a timeless appeal, perfect for adding charm to any space or project. Whether you use it as part of a larger creation or display it as a standalone decoration, this crochet square pattern is simply stunning.
The square shines brightest when crafted with contrasting yarn colors, showcasing its layered beauty and dimensional look. It’s perfect for a variety of uses: stitch several together to make cozy blankets, stylish table runners, or even intricate wall art. Smaller versions can work as coasters or embellishments for bags and pillows. Its adaptable design lets you choose from delicate, light hues or go bold with striking tones, all while keeping the beauty of the pattern intact.
Free Wonderful Crochet Square Pattern for Market Bags
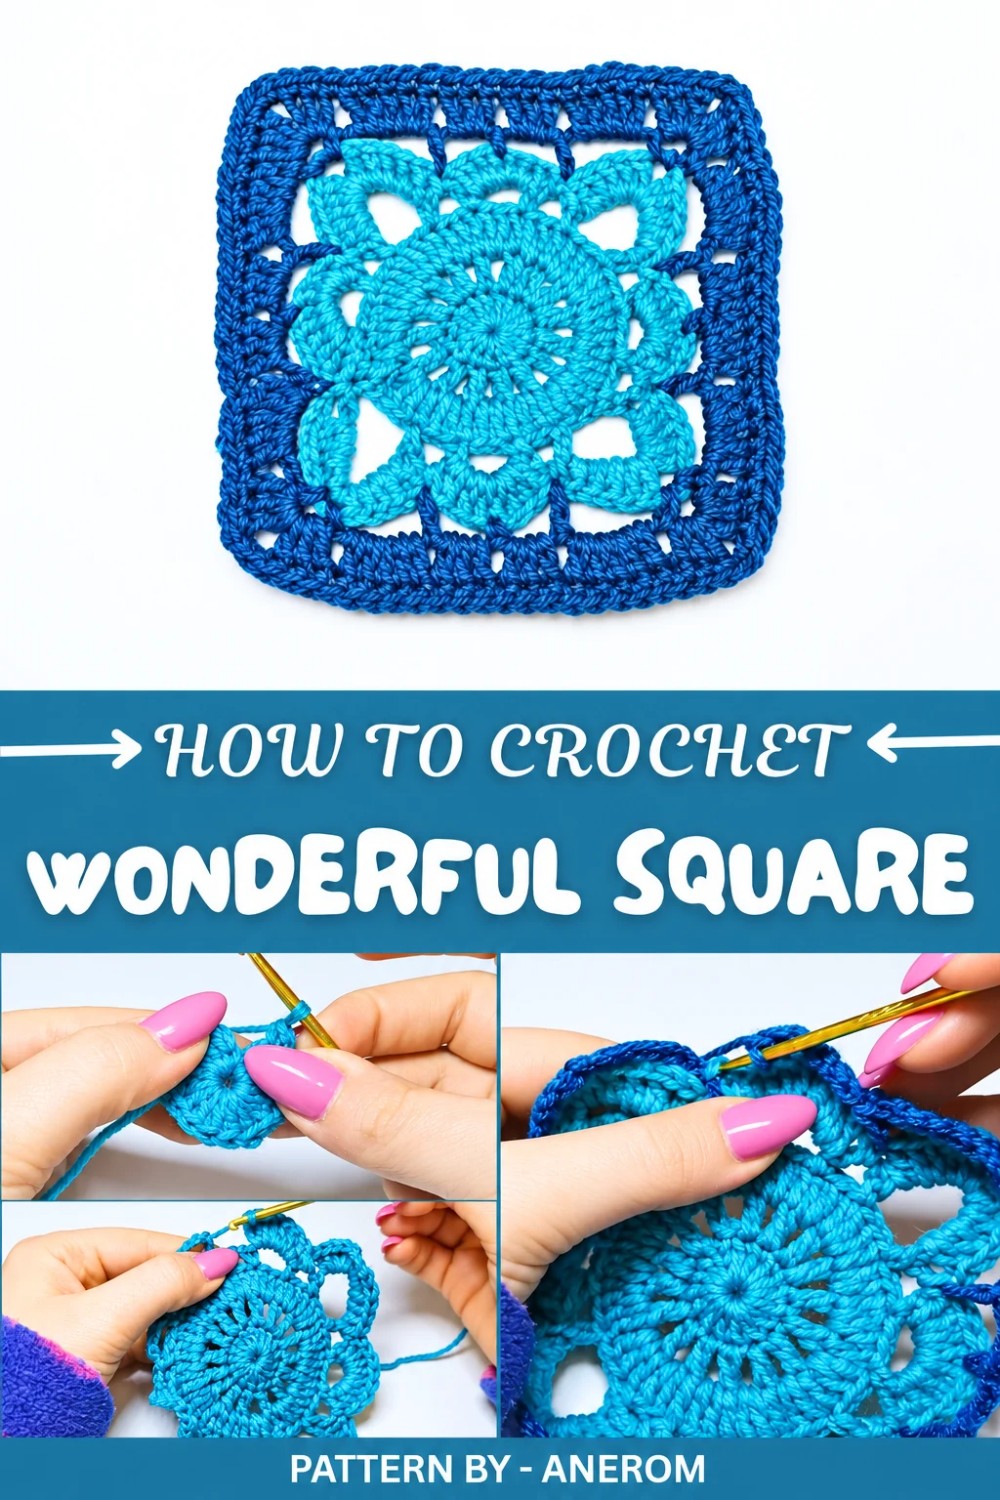
Working on this square is a delightful process, made simple by clever construction techniques. Beginning with a magic ring at its center, the pattern builds outward with double crochets, chain spaces, and loops that transform seamlessly into scalloped corners. The final touches include single crochet edges for a polished finish.
For an easy to follow pattern, check out the "Anerom" YouTube channel. The creator’s calm explanations and handy advice, such as picking an acrylic number three yarn and size 3 crochet hook, make it perfect for beginners while still engaging experienced crocheters. With this crochet square, you’ll not only enjoy a relaxing process but also end up with a truly captivating piece to treasure or share.
Crochet Two Color Granny Square Pattern
This beautiful crochet granny square pattern uses two contrasting colors of size 3 acrylic yarn for added dimension and detail. Carefully follow the step by step instructions below to complete your square using a 3 mm crochet hook. Whether you're creating one motif or piecing multiple squares for larger projects, these instructions will guide you toward a perfectly made square.
Materials
- Yarn: Size 3 acrylic yarn (2 contrasting colors: one light and one dark).
- Crochet Hook: 3 mm.
- Scissors: For cutting yarn.
- Yarn Needle: To weave in loose ends.
Abbreviations
- CH = Chain
- SC = Single Crochet
- DC = Double Crochet
- SL ST = Slip Stitch
- ST(s) = Stitch(es)
Pattern Details
- Skill Level: Beginner.
- Gauge: Not critical for this project, but keep your stitches tight and even for a neat finish.
- Finished Size: Approximately 5 x 5 inches, depending on the tension of your work.
The Pattern
Round 1: Magic Ring and First Layer of Double Crochets
- Begin with a magic ring.
- CH 3 (counts as the first DC).
- Work 15 DC into the magic ring.
- Pull the short end of the magic ring tightly to close the center.
- SL ST into the top of the starting CH 3 to close the round.
(You now have a total of 16 stitches.)
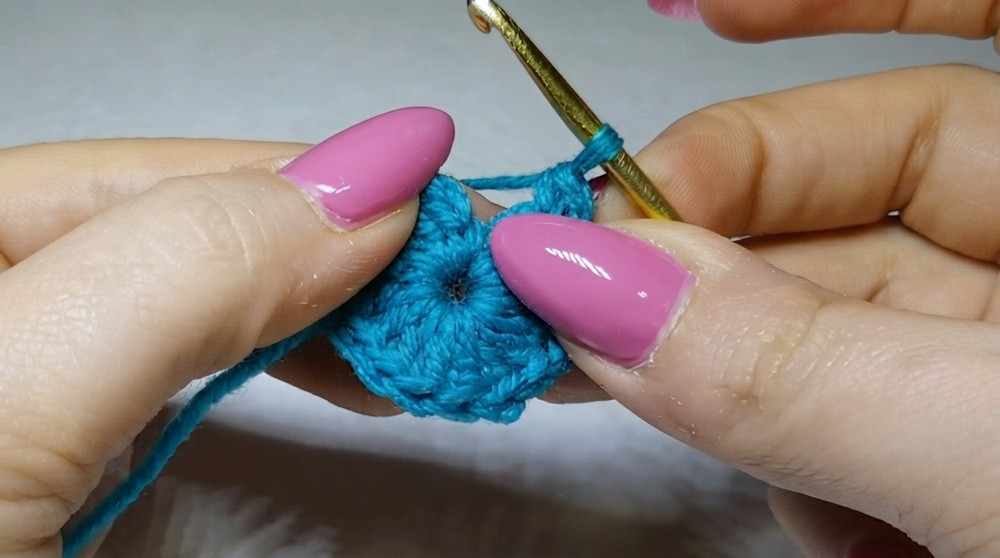
Round 2: Establishing Chain-1 Spaces
- CH 4 (counts as 1 DC + CH 1).
- DC into the next stitch, CH 1.
- Repeat (DC, CH 1) in every stitch around.
- SL ST into the 3rd chain of the starting CH 4 to close the round.
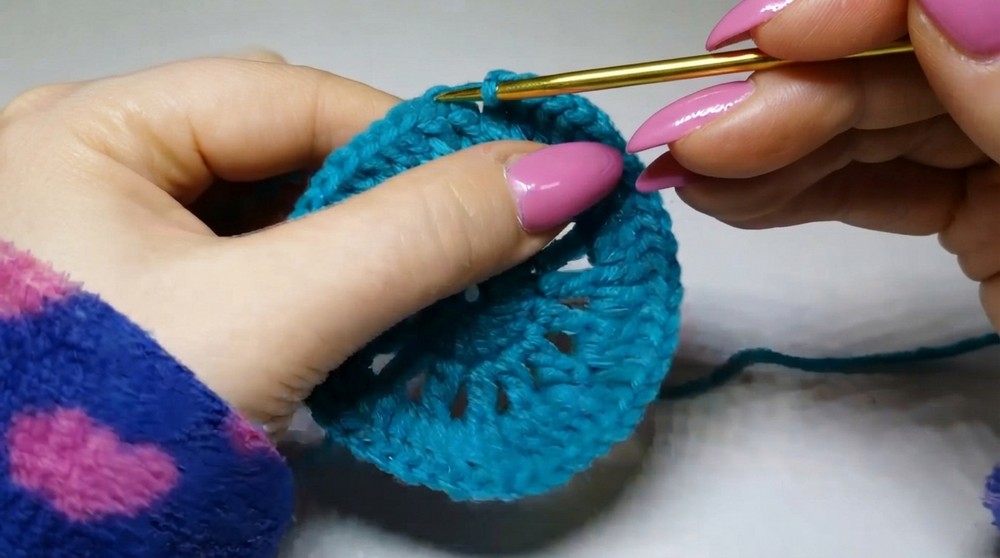
Round 3: Expanding the Circle
- CH 3 (counts as the first DC).
- Work 2 DC into each CH-1 space from the previous round.
- Work 1 DC into each DC stitch from the previous round.
- Complete the round and SL ST to the top of the starting CH 3.
(Your circle’s size will now expand significantly.)
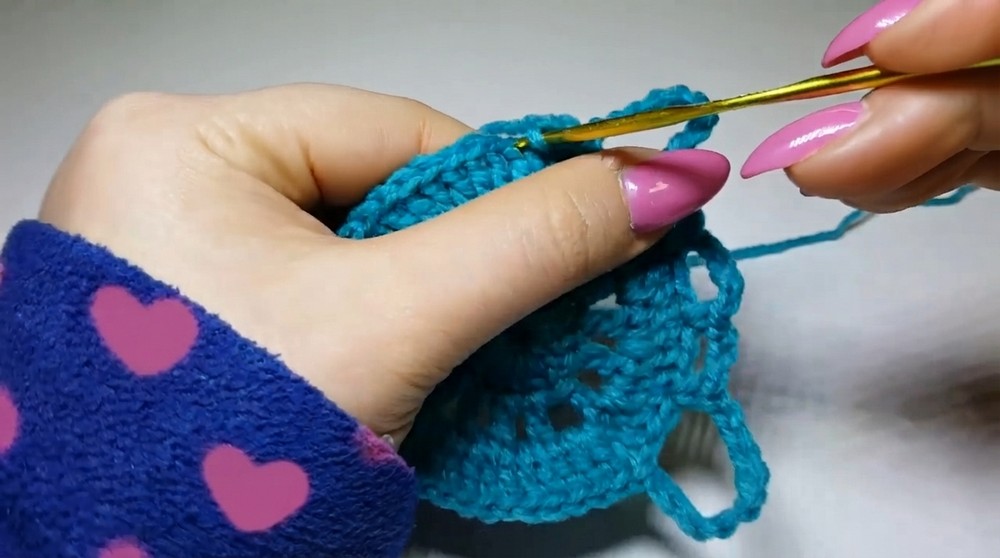
Round 4: Shaping the Square Base
- CH 11 to create the first large corner loop.
- Skip the next 2 stitches, and SC into the 3rd stitch.
- CH 3, skip 2, SC into the 3rd stitch.
- CH 5, skip 2, SC into the 3rd stitch.
- CH 3, skip 2, SC into the 3rd stitch.
- CH 10, skip 2, SC into the 3rd stitch.
- Repeat the above sequence (CH 11, CH 3, CH 5, CH 3, CH 10) for a total of four sides.
- SL ST into the starting point to complete the round.
(This round establishes the square format from the circular work.)
Round 5: Defining the Corners
- CH 3 (counts as the first DC).
- In the corner CH 10 space, work 4 DC, CH 3, and 5 DC to create the corner.
- SC into the small CH 3 loop.
- In the CH 5 loop, work 7 DC.
- SC into the next CH 3 loop.
- Repeat the corner (4 DC, CH 3, 5 DC) and other stitch sequences (SC, 7 DC, SC) for each side.
- SL ST into the starting CH 3 to close the round. The base is now a square!
Round 6: Adding Second Color
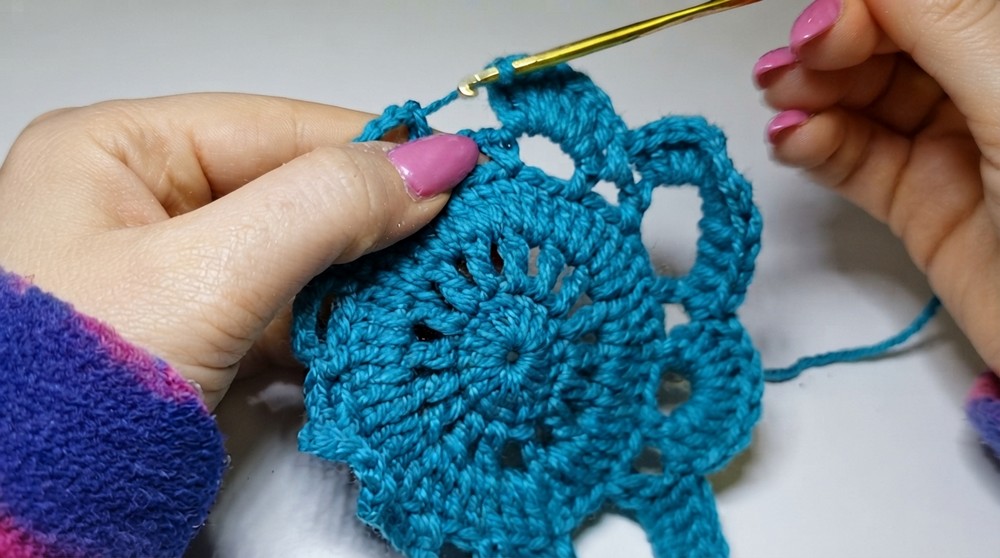
- Attach the second color to any stitch with a SL ST.
- CH 8 (3 for height + 5 chains for creating a loop).
- SC into the first CH 3 loop.
- CH 3, SC into the same loop to form a small arch.
- CH 5, and in the previously made SC stitch from the last round, work a DC.
- CH 3, skip to the 4th DC of the 7 DC fan, and SC into it.
- CH 3, work DC into the next SC from the previous round.
- CH 5, and repeat the corner sequence (4 DC, CH 3, 5 DC) with the new color.
- Continue this pattern for all sides: corners, CH-3 loops, and connecting fans.
- SL ST to the starting CH 8 to close.
Round 7: Building the Final Shape
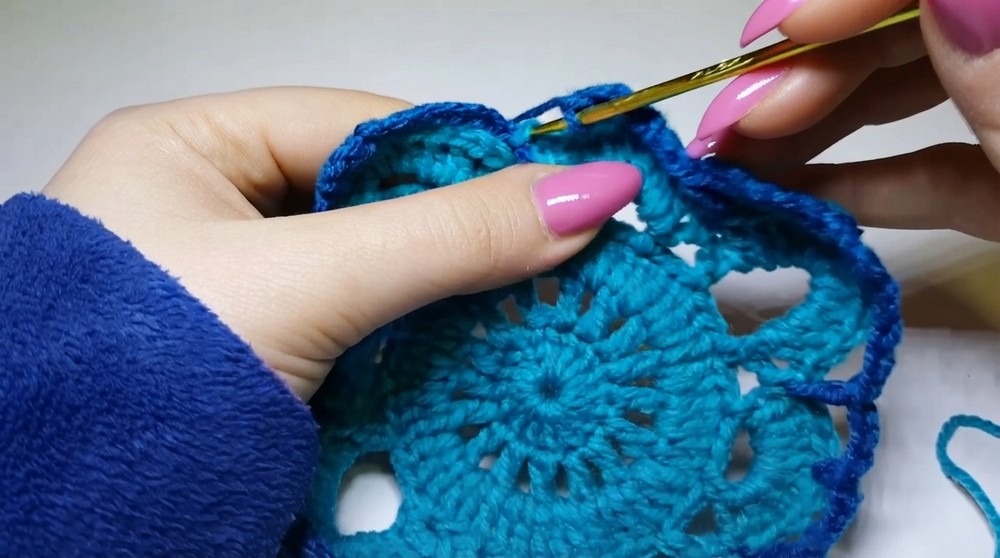
- CH 3 (counts as the first DC).
- In the corner CH-3 space, work 3 DC, CH 3, and 3 DC.
- Work 5 DC into the large 5-chain spaces along the edges.
- Work 3 DC into the small 3-chain spaces.
- Repeat this pattern for all sides of your square.
- SL ST to the starting CH 3 to close the round.
Round 8: Finishing the Square
- CH 1.
- Work 1 SC into every stitch around for a clean, defined edge.
- In the corners, work 1 SC, CH 3, 1 SC to keep the pointed shape.
- Complete the round and SL ST to the starting CH 1.
- Cut the yarn and weave in all loose ends with a yarn needle.
Assembly & Finished Size
Your granny square is now complete. The finished square measures approximately 5 x 5 inches when worked with size 3 acrylic yarn and a 3 mm hook. You can join multiple squares together for blankets, bags, or table runners, or use a single square as a decorative piece.
Conclusion
Congratulations, You’ve now created a beautiful, versatile crochet square that transitions seamlessly from a circular base to a square shape. The interplay of colors and stitch textures adds depth and dimension, making it perfect for any crochet project.