
Free Crochet Christmas Gift Bag Pattern to Make This Holiday
Float into cozy winter celebrations with a Free Crochet Christmas Gift Bag Pattern, a colorful handmade pouch that holds festive holiday treats perfectly.
Inspiration From Anerom
When the holiday season rolls around, there’s nothing better than giving gifts wrapped with love and thoughtfulness. Handmade items always carry a little extra warmth, don’t they? One of the sweetest ways to add a personal touch to your Christmas presents is by making charming crochet gift bags. These lovely little pouches work beautifully to hold small treasures like candies, jewelry, or even heartfelt notes. They’re not just practical, they become part of the gift itself.
Using basic single crochet stitches, you can create these adorable gift bags in no time. The single crochet stitch is one of the easiest and most essential stitches for beginners, it’s like the building block of crochet. Once you learn this stitch, you can go on to make other things like coasters, headbands, and even scarves. The repetitive motion is meditative and perfect for relaxing during the busy holiday season.
Festive Crochet Christmas Gift Bag Pattern You’ll Love
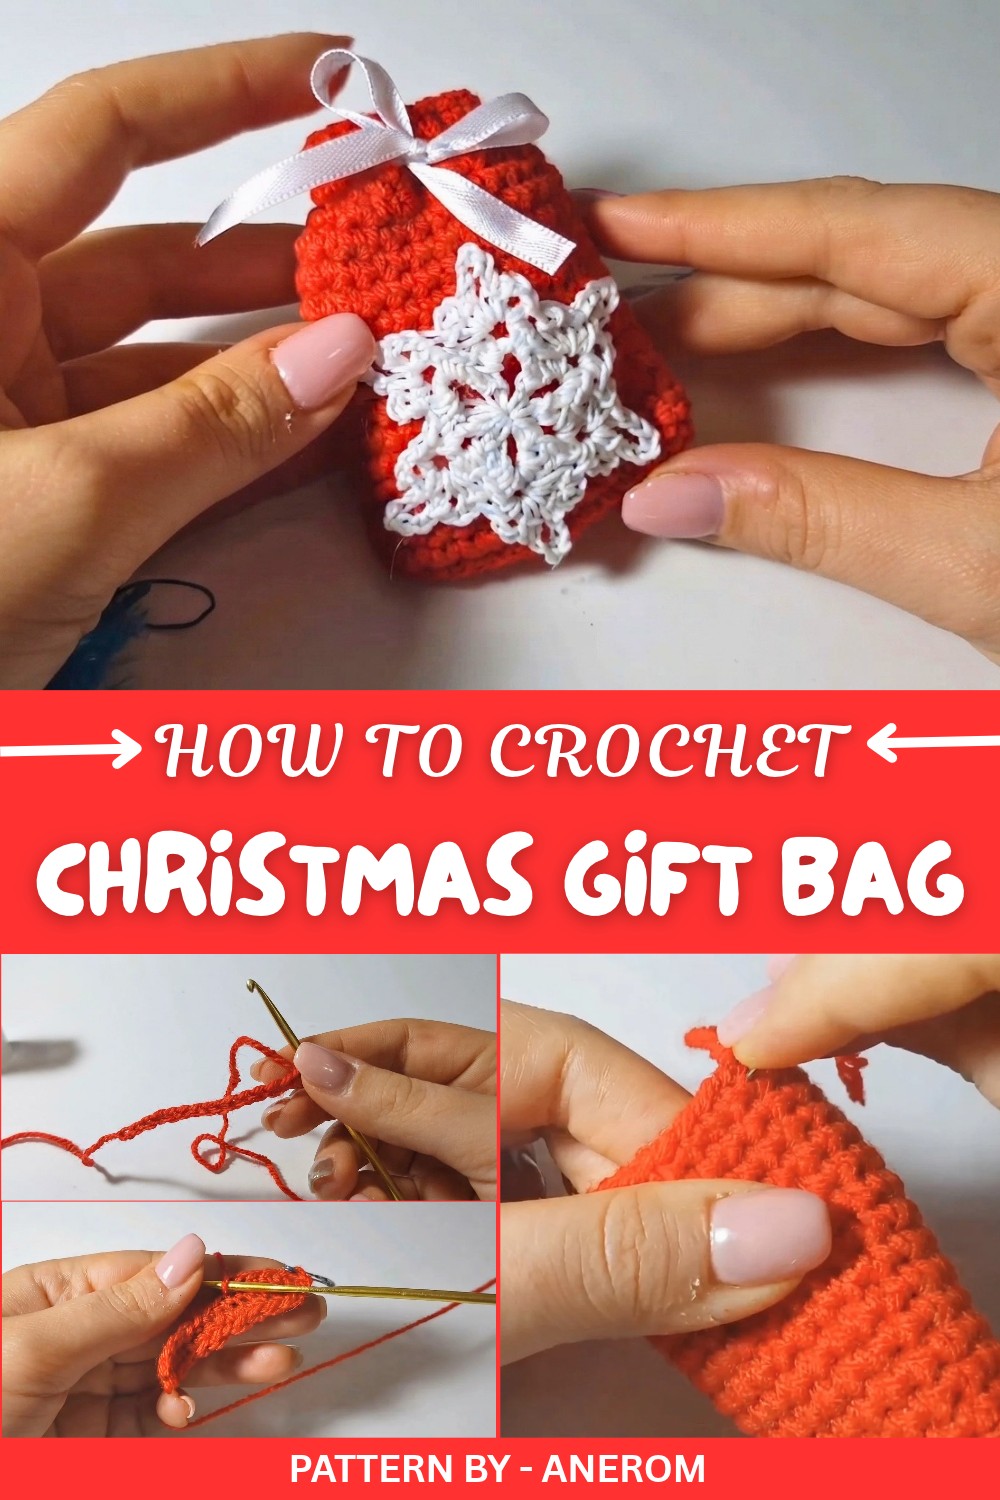
By following this pattern, you’ll learn how to crochet in continuous rounds, create neat edges, and add a pop of decoration using ribbon or embellishments, like a mini snowflake. You’ll also pick up tips on hiding yarn tails seamlessly and shaping your project properly. The best part? You can easily customize your bag size to fit whatever gift you plan to give, whether it’s a small pair of earrings or a larger keepsake.
This pattern goes beyond just making gift bags. After you master the technique, you can use the same steps to make other items like small storage pouches for jewelry, reusable eco friendly bags, or even party favor bags for birthdays and special occasions. The possibilities are endless, and you’ll be amazed at how versatile and practical these charming creations can be.
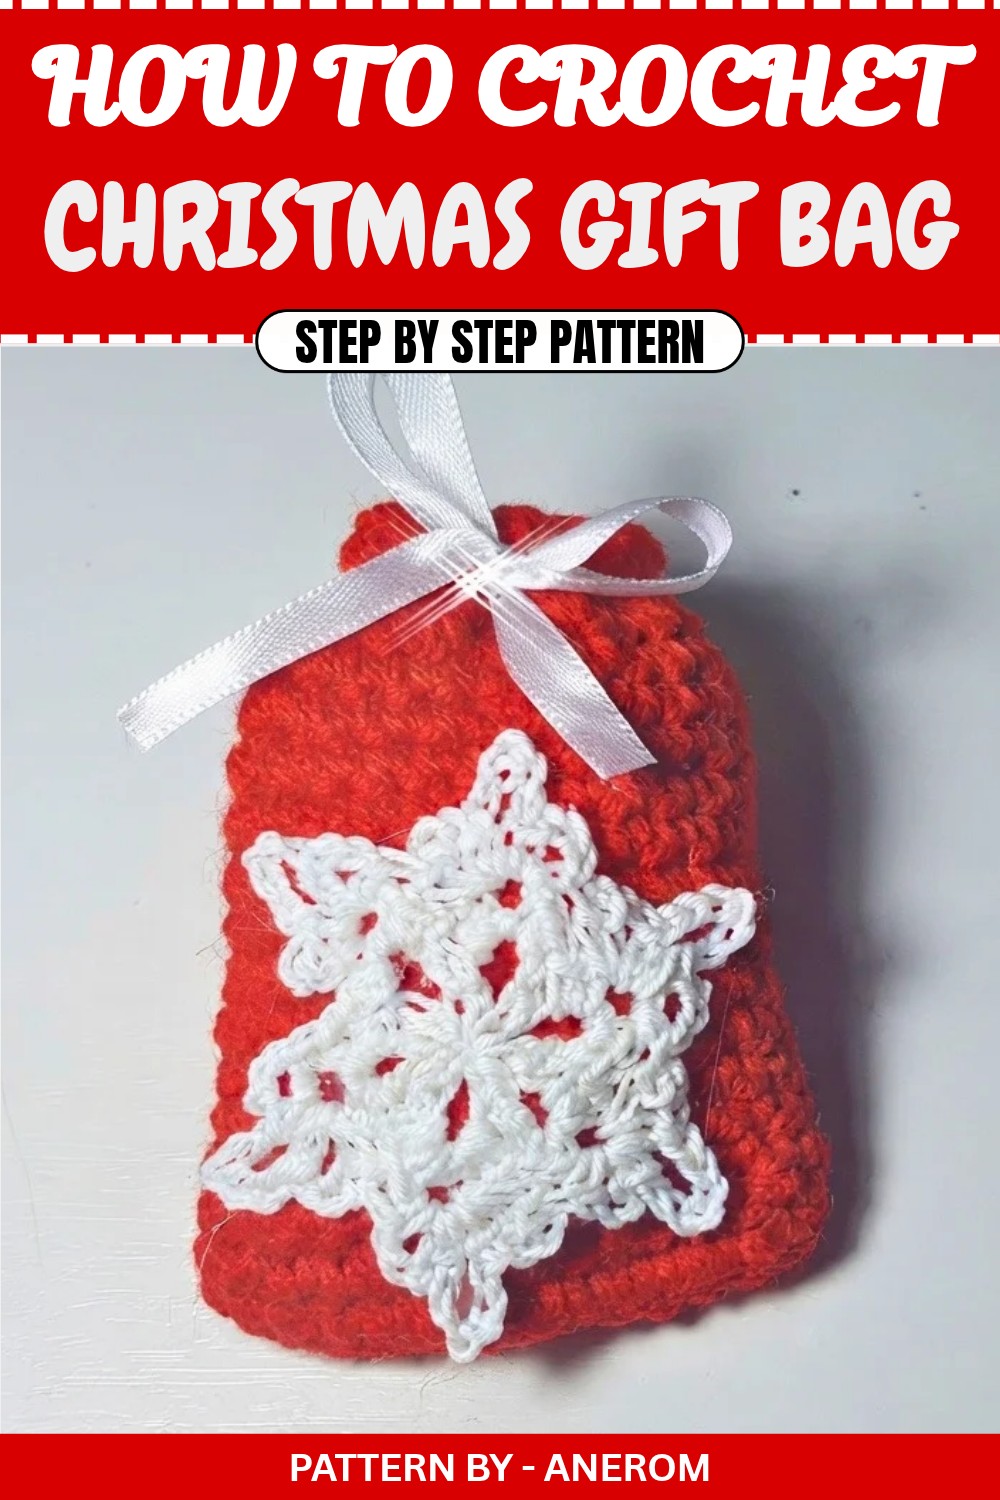
Crochet Gift Bag with Snowflake Embellishment – Free Pattern
This little bag is the perfect handmade project for gifting small presents, especially for the holiday season. It’s a simple and fast design that even beginners can enjoy. The final touch of a snowflake embellishment and a cute ribbon tie makes it look extra special. In this tutorial, I’ll guide you through making this gift bag step by step and also explain how to customize it to make a larger version if you need more space for your gift. Let’s get started on this fun project!
Quick Overview of Pattern
- Crochet a small gift bag by working in a circular pattern with single crochets.
- Create 15 foundation chains for a small bag, or increase the number for a larger one.
- Work single crochets in continuous rounds to shape the bag.
- Add a decorative ribbon and an optional snowflake embellishment for a festive touch!
Notes
- If you want a larger bag, increase the number of foundation chains and adjust the number of rounds to achieve your desired size.
- You can customize the decoration using different ribbons or handmade embellishments like the crochet snowflake in the tutorial.
Skill Level
Beginner – Simple stitches and techniques are used, suitable for crocheters who know how to work single crochets and continuous rounds.
Materials
- Yarn: A durable yarn (choose a medium weight or sturdy cotton suitable for bags).
- Hook: 3.5 mm crochet hook (or the size needed for your yarn).
- White Ribbon: For decorating the bag (approximately 1 meter depending on bag size).
- Hot Glue Gun: To attach the embellishments (optional).
- Scissors
- Optional Embellishment: Crochet snowflake or other decorative items (details for the snowflake are found in a separate tutorial).
Measurements / Sizing
Completed Size: Small gift bag size, perfect for small presents like jewelry or other little trinkets.
- Foundation chain for small bag: 15 chains.
- Optional larger size: Increase the foundation chain length and add additional rounds accordingly.
Gauge
Gauge is not critical for this project. Adjust hook size or yarn weight for different dimensions or textures.
Stitch Abbreviations
- ch: Chain
- sc: Single Crochet
- sl st: Slip Stitch
The Crochet Pattern
Foundation Chain:
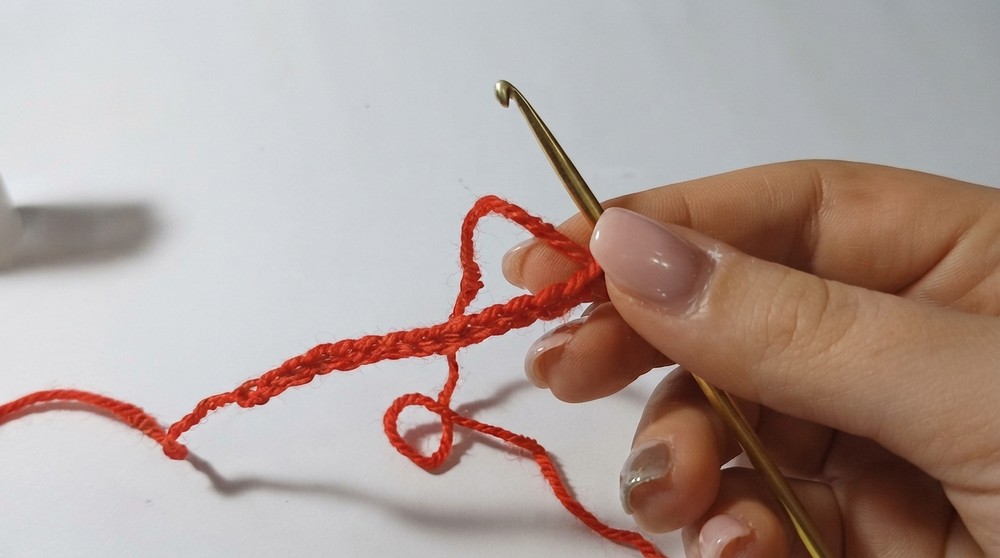
- Start with a slip knot on your hook.
- Chain 15 for the foundation of the small gift bag.
Note: If you need a larger bag, increase the number of chains.
Round 1:
- Work 1 sc into the second chain from the hook.
- Continue working 1 sc into every chain across until the end of the row.
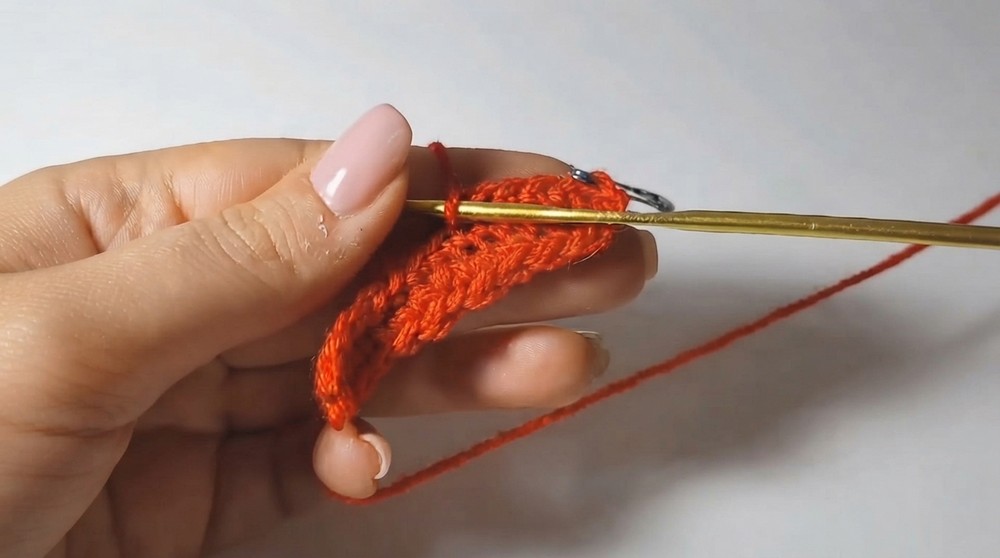
- Turn the work and continue working on the other side of the foundation chain.
- Insert your hook into the first chain on the other side and begin working 1 sc in every chain along the second side of the foundation chain.
- Make sure to hide the tail from the slipknot as you work along to give a clean finish to the edge.
- You should have completed one full round of single crochet all around the foundation chain.
Rounds 2–18:
- For this round and every round hereafter:
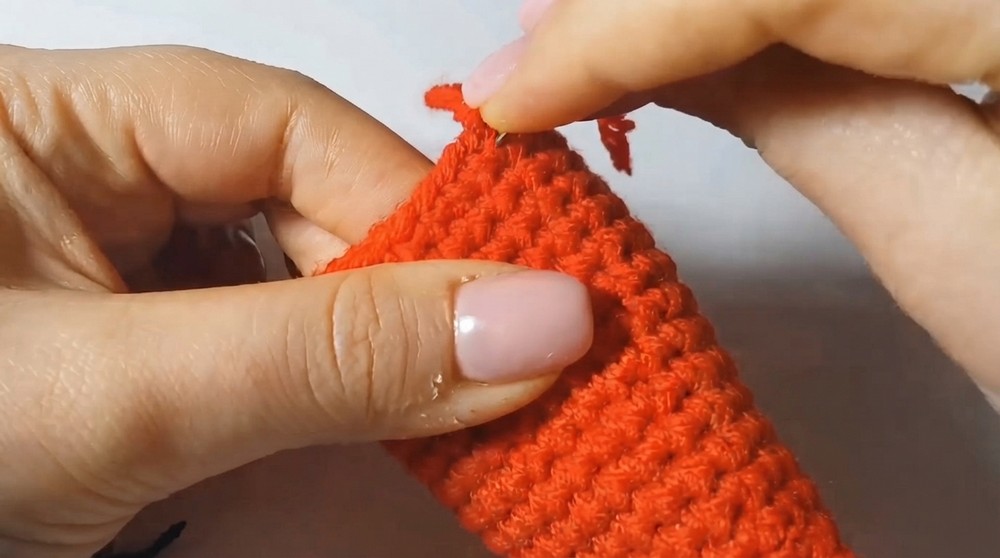
- Work 1 sc into each stitch around the base of the bag.
- Use a stitch marker (or a spare piece of yarn) on the first stitch of each round to keep track of where the round starts and ends.
- Continue working round and round without joining, in a spiral. Ensure every stitch is worked with a single crochet.
- For the small gift bag size, complete 17 more rounds (total 18 rounds).
Note: If you are creating a larger bag, add more rounds as needed until you reach the desired height of the bag.
Closing the Bag Base:
- Once you reach the desired height, finish the round with a slip stitch.
- Pull the yarn through the last loop, leaving a tail for weaving in.
- Use a yarn needle to weave in the tail, passing it through a few stitches to secure it.
Assembly & Decoration
Adding the Ribbon:
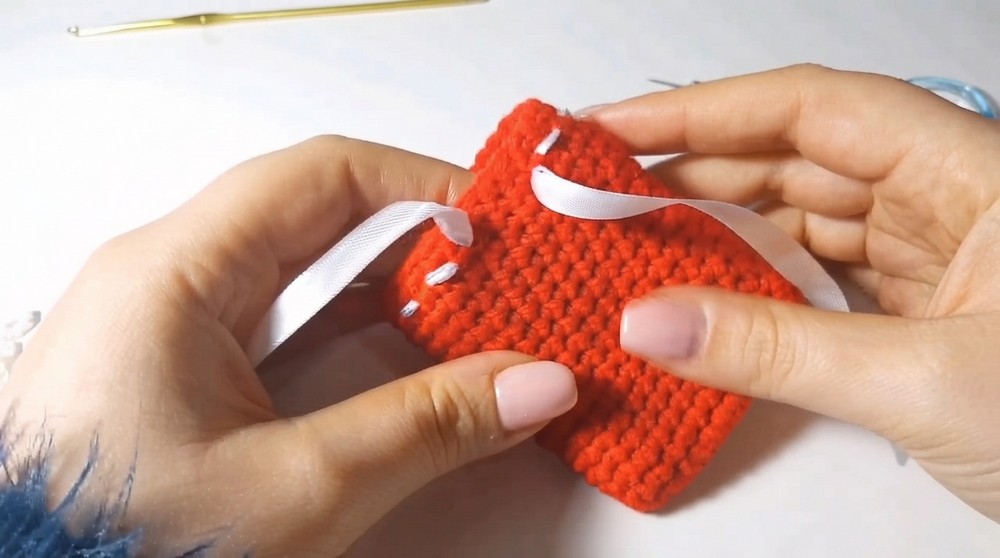
- Thread a white ribbon through a large needle for easy handling.
- Line up the bag so the row of stitches near the top opening is visible. Start weaving the ribbon in and out of the stitches, skipping every other stitch.
- Once the ribbon has been woven around the entire opening, pull the ends tight and tie a bow at the center front of the bag. Adjust the bow to your liking.
Adding the Snowflake Embellishment (Optional):
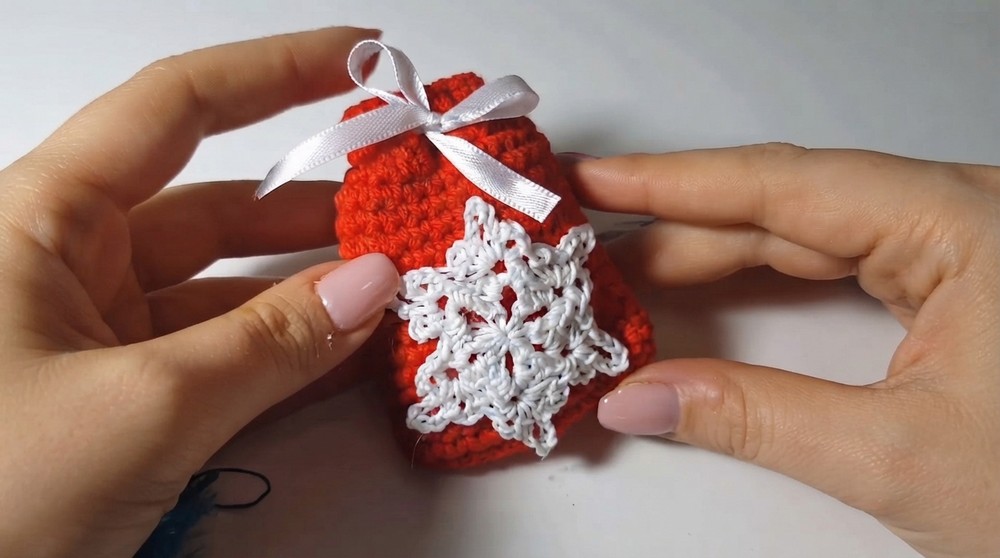
- To make your bag festive, you can add a crochet snowflake made in a previous project (details for the snowflake are in another pattern).
- If you don’t have a snowflake tutorial, you can decorate the bag with any other embellishment, such as buttons or store bought decorations.
- Use a hot glue gun to attach the snowflake or decoration securely to the bag.
Final Touches:
- Insert your gift into the bag. In the case of this project, a small necklace or piece of jewelry works perfectly.
- Pull the ribbon tight and secure it with a tidy bow on the front of the bag.
Conclusion and Ending Words
Congratulations on completing your crochet gift bag! This project is a quick and easy way to add a handmade touch to your holiday gifts. The simple stitch pattern makes it beginner friendly and allows customization to fit gifts of all sizes. Whether you’re adding a snowflake embellishment or experimenting with different ribbons, this bag will make your gift extra special. Thank you for following this tutorial, and I hope it inspired your creativity.