
Free Easy Crochet Christmas Ball Pattern to Wow Your Tree
Skip the store and try this free crochet pattern to create charming Christmas balls that showcase your personal holiday style.
Free Crochet Christmas Ball Pattern: The Easiest Festive Idea
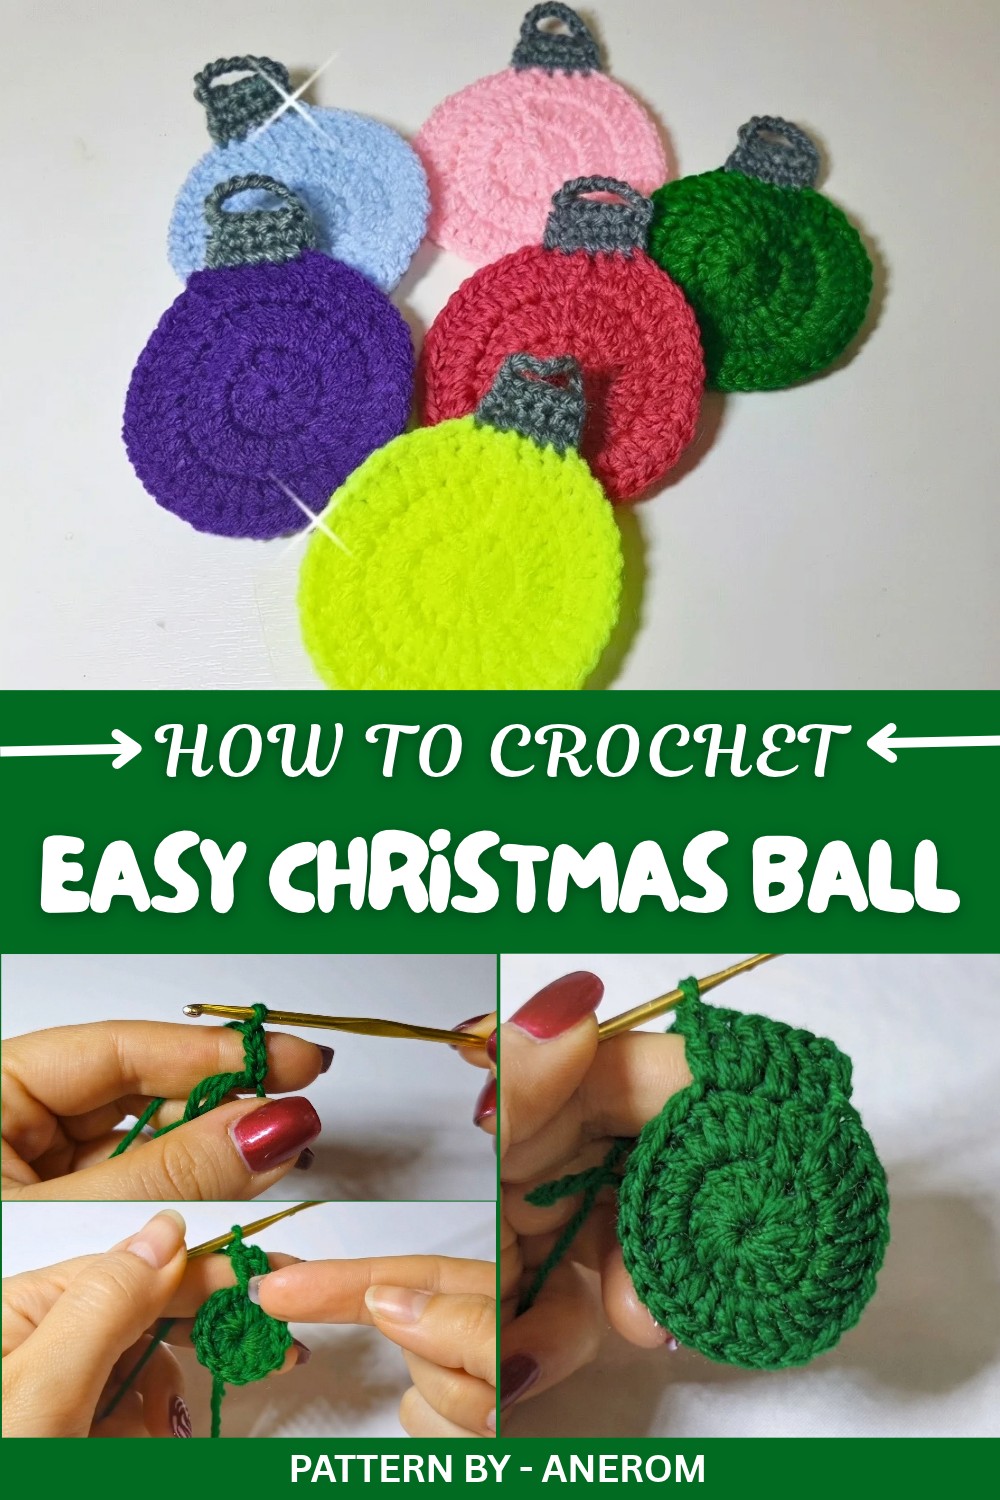
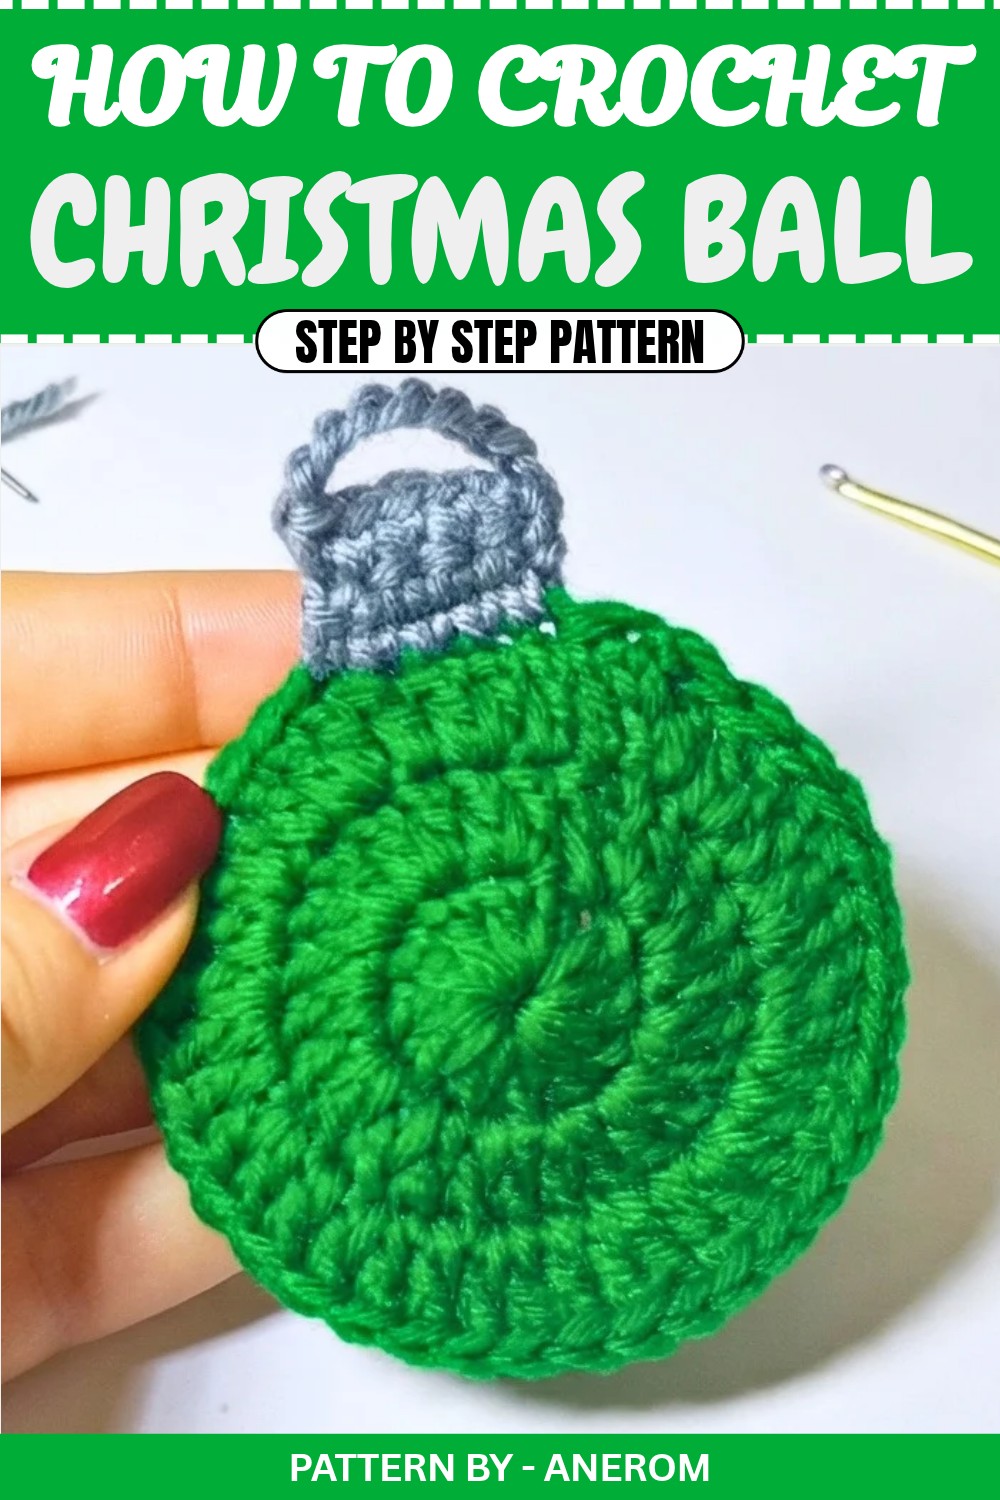
Free Crochet Flat Christmas Bauble Pattern (Step by Step)
Introduction
Hello everyone, welcome back to my channel, and to new subscribers, welcome! In this tutorial, I’ll show you how to create these flat Christmas baubles—not amigurumi, not stuffed. I find this idea super cute and versatile:
- They work great as place card holders for your holiday table.
- Or you can hang them on your Christmas tree as ornaments.
- They can be used as coasters,
- Or even as a decorative banner for your walls by attaching them together in a chain.
As you can see in the video, I’ve created them in a variety of colors—neon yellow, green (which I’ll demonstrate with you here), fuchsia, pink, light blue, and purple.
The amount of yarn used is minimal, so this project is perfect for recycling leftover bits of acrylic yarn or skeins that are too small for another project. For the hanging loop and cap, you can use any contrasting color; even less yarn is needed for that part!
I hope you enjoy this project, and I hope my tutorial is clear, as it’s very simple to make. If you enjoy it, please give the video a thumbs up, subscribe to the channel, and leave a comment if you have any questions. Now, let’s get started with the tutorial!
Quick Overview Of Pattern
- Crochet a flat bauble ornament (non-stuffed and not an amigurumi design).
- Worked in rounds for the circle, followed by flat rows for the hanging loop and top section.
- Project can be used as: tree ornaments, coasters, place markers, or decorative banners.
- Super quick to make—ideal for small amounts of leftover yarn.
- Fully customizable with different color combinations.
Notes
- The bauble circle is worked in rounds of double crochet (UK: treble crochet) starting with a magic ring.
- The top cap and hanging loop are worked in rows of single crochet (UK: double crochet) after finishing the circle.
- Minimal yarn is needed, making it a scrap yarn-friendly project.
- Crochet stitches are worked in a standard US terminology format in this pattern.
- Ends should be neatly hidden using a yarn needle.
Skill Level
Beginner to Advanced Beginner
You should be comfortable with the following techniques:
- Magic ring
- Chains
- Single crochet
- Double crochet
- Slip stitches
- Working in the round and in rows
Materials
- Yarn
- Main: Acrylic yarn in any color (e.g., green in the video).
- Contrast: Acrylic yarn for the top cap and loop (e.g., grey in the video).
- Crochet Hook
- Hook size: Choose based on the yarn weight (e.g., 3–4 mm for DK).
- Notions
- Yarn needle for weaving in ends.
- Scissors.
Measurements / Sizing
Approximate final size (may vary depending on yarn weight and hook size):
- Bauble Diameter: ~8–10 cm (3–4 inches).
- Height with Loop: ~12–14 cm (4.5–5.5 inches).
Gauge
Gauge is not critical for this pattern.
As a point of reference, with typical DK yarn and a 4 mm hook:
- ~12 double crochets in a magic ring will create a circle roughly 6 cm across at the end of Round 1.
Feel free to experiment with yarn and hook sizes for different results.
Stitch Abbreviations
- mr – magic ring
- ch – chain
- sc – single crochet
- dc – double crochet
- sl st – slip stitch
- inc-dc – increase in double crochet (2 dc in the same stitch)
Special Stitches
- Magic Ring (mr):
Create a loop in the yarn, insert the hook into the loop, yarn over and pull up a loop. Proceed to work stitches into the loop by following the specified instructions. Tighten the loop by pulling the loose end.
The Crochet Pattern!
Part 1 – Main Circle (Bauble)
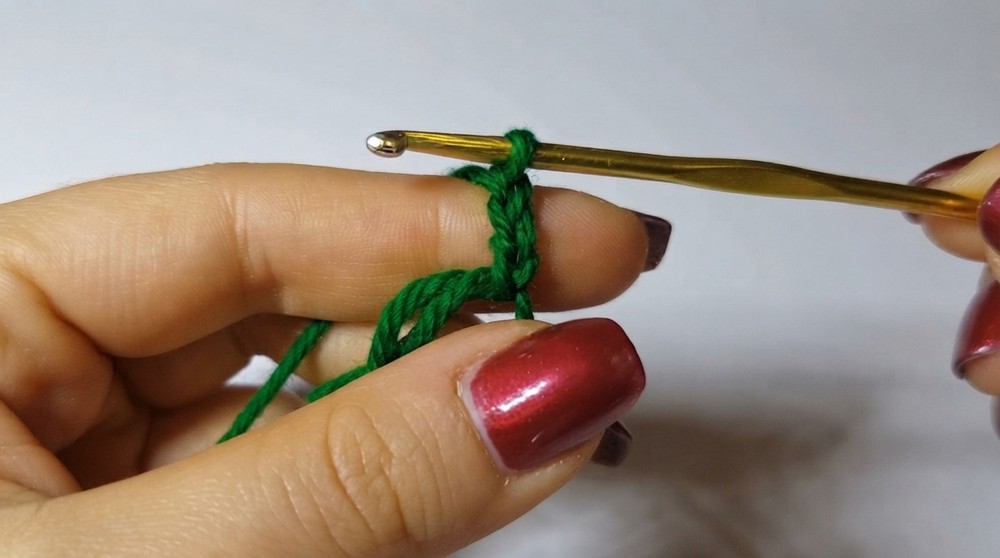
Round 1
- Using your main color (green in the example), create a magic ring.
- Work ch 2 (counts as the first double crochet).
- Then crochet 11 dc into the magic ring.
- This gives a total of 12 dc (counting the ch-2 beginning as 1 dc).
- Tighten the magic ring by pulling on the yarn tail to close the center.
- Join the round with a sl st to the 3rd ch of the starting chains.
Round 2
- Begin with ch 3 (counts as 1 dc).
- Work 1 dc in the same stitch as the starting chains. This creates the first increase (inc-dc).
- Work 2 dc in each stitch of Round 1 (an increase in each stitch).
- At the end of the round, slip stitch into the 3rd ch of the starting chain.
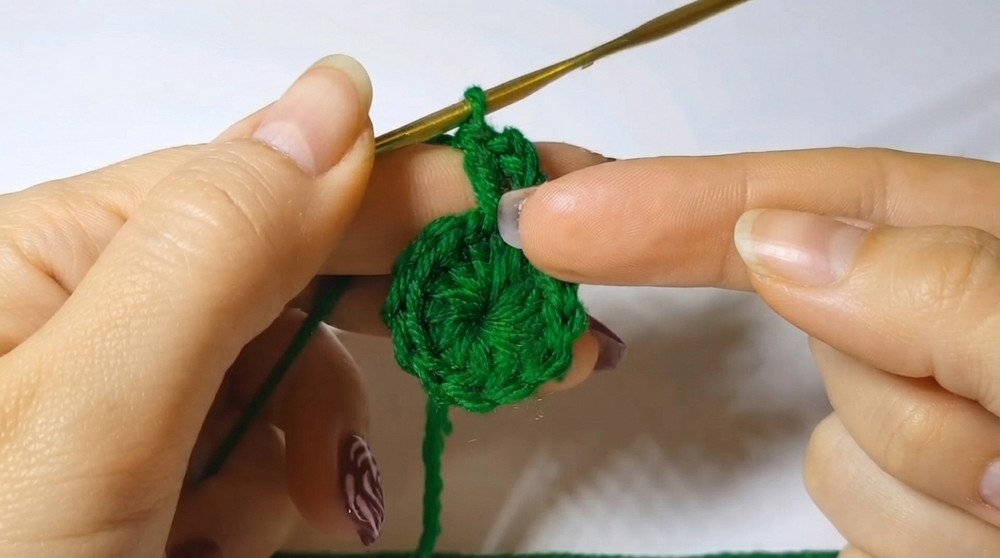
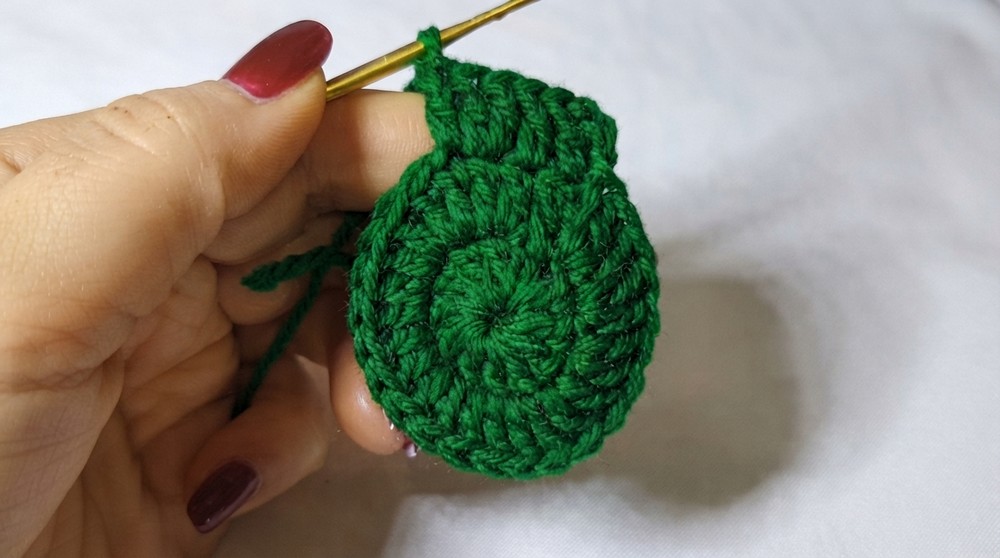
You should now have 24 double crochets in total.
Round 3
- Start with ch 3 (counts as 1 dc).
- Work 1 dc in the same stitch (another inc-dc).
- In the next stitch, work 1 dc (no increase).
- Alternate in this pattern: [inc-dc, 1 dc] around the circle.
- At the end of the round, slip stitch into the 3rd ch of the starting chains.
This round alternates an increase with one double crochet. You will have 36 dc in total.
Fasten Off
- Pull the working yarn up and fasten off.
- Weave in the ends using a yarn needle, passing the yarn tail between the stitches across the back.
- Trim the yarn.
Congratulations! Your flat circle bauble is ready.
Part 2 – Top Cap and Hanging Loop
Row 1 (Attach yarn and single crochet):
- Attach the contrast color yarn (e.g., grey) with a slip knot to one stitch at the top edge.
- Crochet 5 sc evenly across the top edge to create a short horizontal strip.
Row 2
- Work ch 1, then turn.
- Work 4 sc into the next 4 stitches.
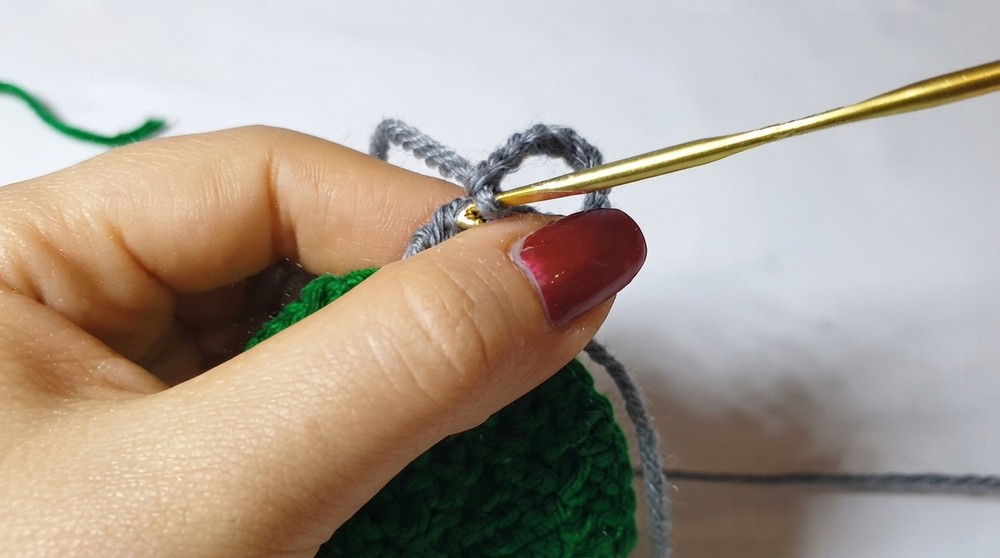
Row 3
- Work ch 1 again, and turn.
- Work 4 sc into the next 4 stitches.
Hanging Loop
- After completing Row 3, work ch 9 to create the hanging loop.
- Attach the end of the chain to a stitch on the other side of the cap with a sl st.
- Fasten off and weave in the ends securely.
Your bauble now has a cap and a loop for hanging.
Assembly & Finished Size
No additional assembly is required as all parts (circle, cap, loop) are worked directly onto the project.
Final approximate dimensions:
- Diameter: 8–10 cm
- Height including loop: 12–14 cm
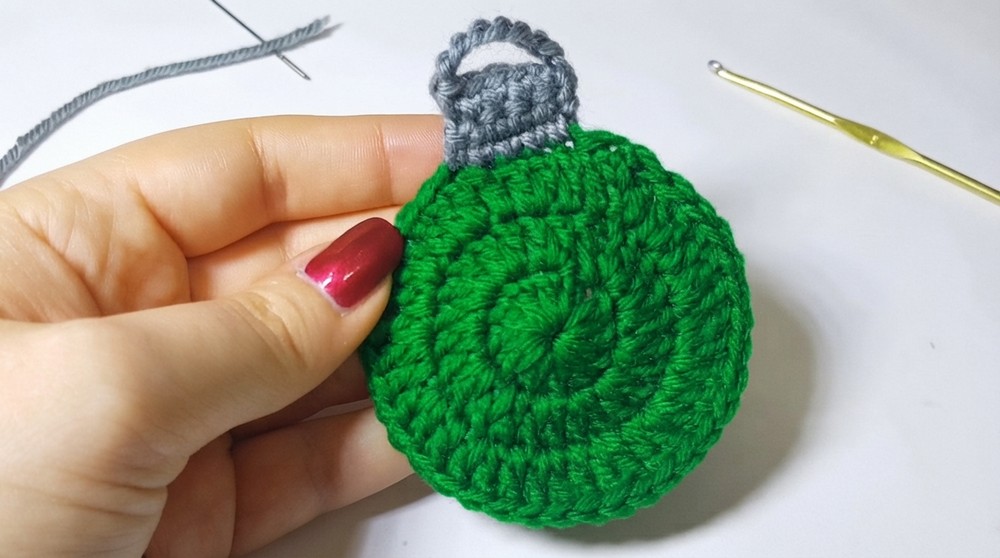
Use your baubles as tree ornaments, coasters, or craft multiple baubles for decorative purposes like garlands.
Conclusion and Ending Words
This charming flat crochet Christmas bauble is extremely quick and satisfying to make! Great for using up small leftover scraps of yarn, it adds a handmade touch to your holiday decor. You can play with color combinations to suit your festive theme.