
Free Crochet Christmas Decoration Pattern for Your Home
Style your evergreen tree using a Free Crochet Christmas Decoration Pattern as you make cute handmade ornaments to hang on pine branches.
Creating handmade decorations for Christmas is such a fulfilling way to celebrate the holidays. Whether you’re crocheting ornaments for your Christmas tree or small decorations for your room, adding your personal touch makes everything feel extra magical. The design not only adds beauty to your space but carries that warm, handmade holiday vibe.
The piece has an elegant shape with symmetrical tips that resemble a snowflake or starburst, ideal for Christmas themes. You can customize it easily by changing the thread color or adding accents like ribbons or small embellishments. A red bow, for example, ties everything together with a classic holiday look, while white cotton thread keeps the ornament looking crisp and traditional. The beauty of this design lies in its simplicity and versatility: you can hang it on your tree, place it on a wreath, or even use it as a gift topper for your presents.
Free and Fun Holiday Decor Crochet Pattern for Christmas Magic
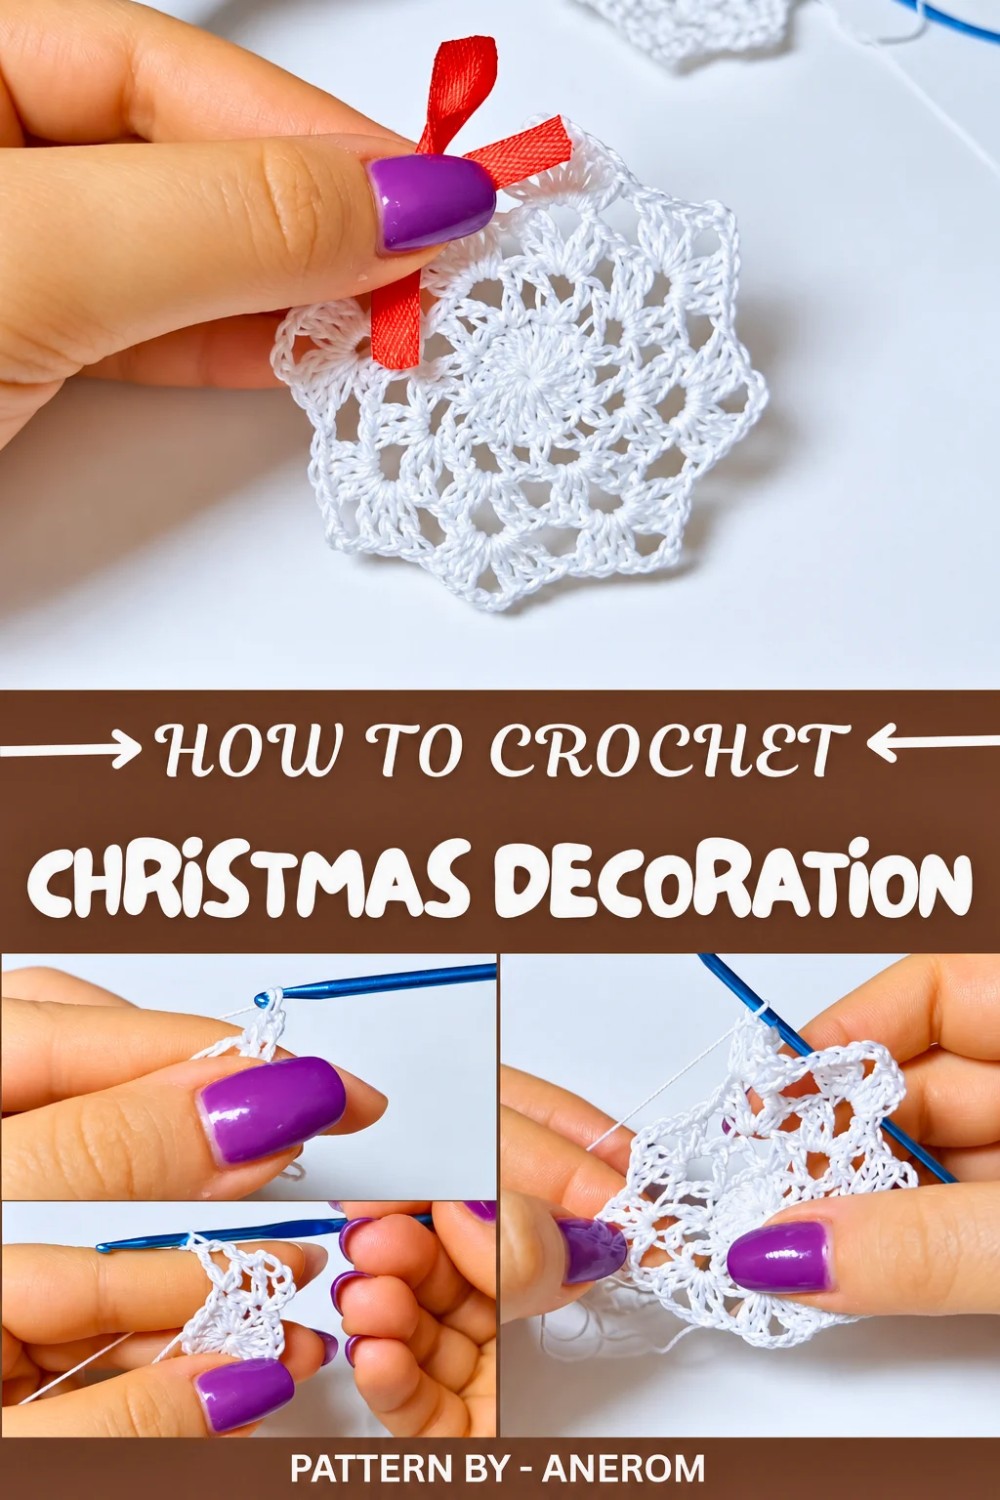
The pattern, featured on the YouTube channel Anerom, is delightful to follow. In the tutorial, you’ll learn how to make a magic ring and combine double crochets and chain stitches, which form the foundation of this creation. The stitches repeat in a way that makes the work simple and quick, it only takes about two minutes to complete. Anerom also shares practical tips like how to stiffen the finished piece using methods like starch or clear nail polish, ensuring durability and long lasting beauty.
From this pattern, you’ll learn basic crochet techniques while creating an ornament that looks intricate yet beginner friendly. Once you master this, you can apply the same stitches to make snowflake shaped necklaces, coasters, or even garlands. The possibilities are endless, and each creation will bring a handmade holiday touch to your space.
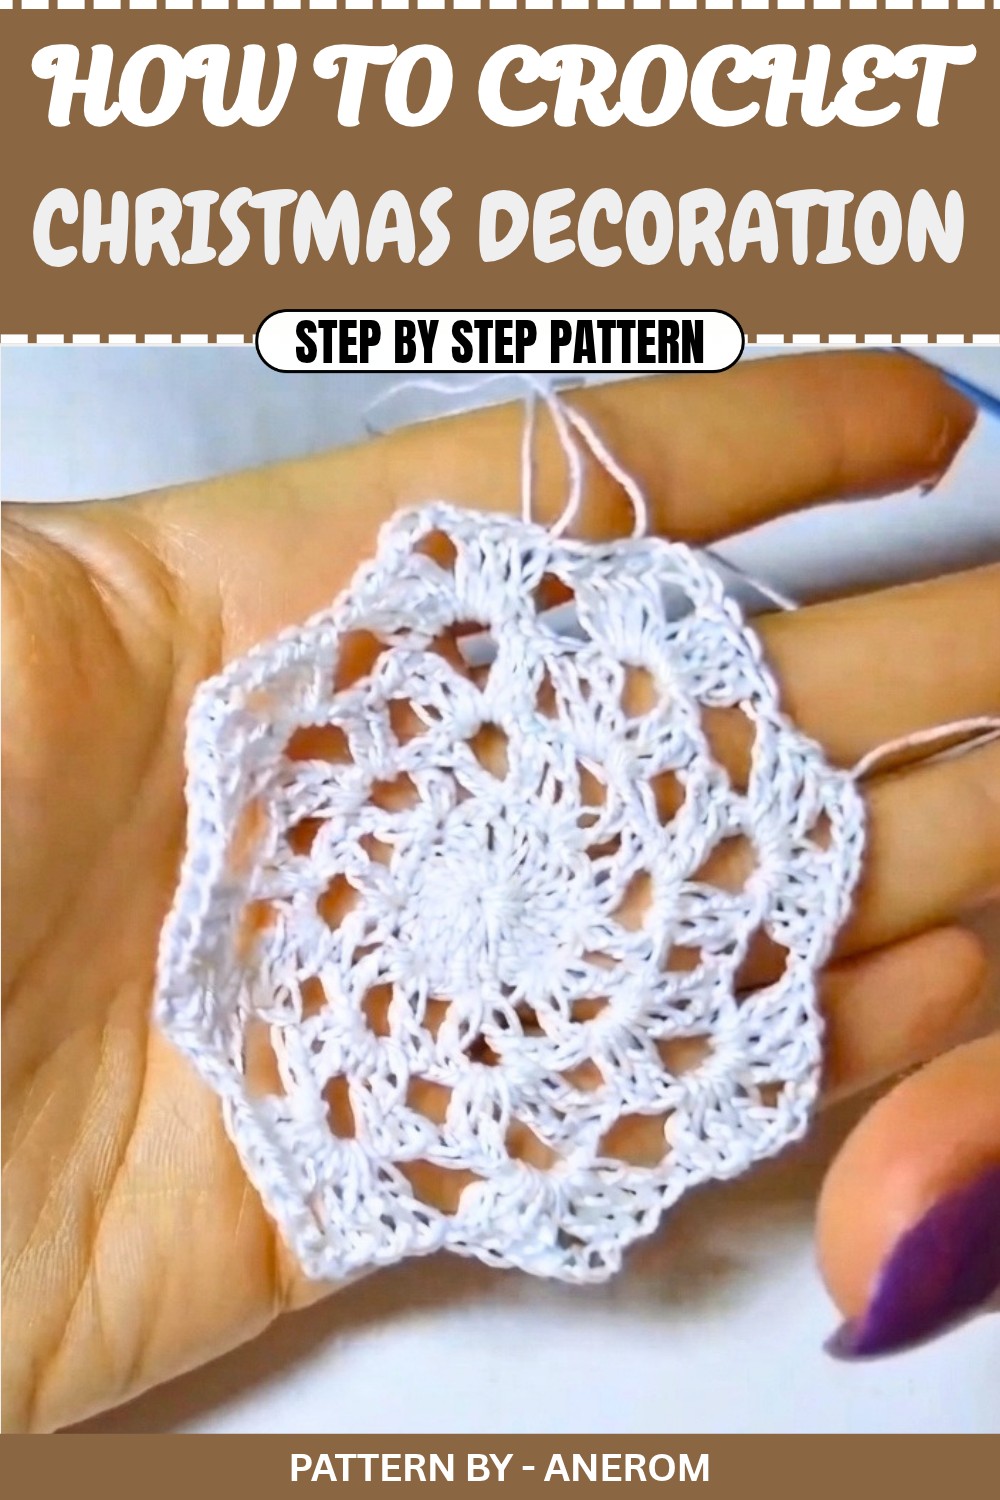
Crochet Christmas Decoration Pattern
This pattern guides you through making a beautiful, small crochet Christmas decoration, ideal for hanging on your tree or around your home. This quick and beginner friendly project is customizable in size, depending on yarn thickness, and can be decorated with a bow or thread for a festive touch. Perfect for personal use or as a thoughtful gift, this design is captivating and easy to make.
Quick Overview of Pattern
- Create a magic ring and work the first round with double crochets.
- Add open spaces and decorative arches in subsequent rounds.
- Finish off the design with pointed arches to add a festive effect.
- Harden or stiffen the piece for durability and decorate with a bow.
- Optional: Add a string to hang the finished decoration on a Christmas tree.
Notes
- The decoration is small and ideal for Christmas trees.
- Thicker yarn will result in a larger decoration, while thinner yarn will create a smaller piece.
- Use amido (starch) or clear nail polish to stiffen the final work.
- Add bows and hanging loops to customize the design.
Skill Level
Beginner – This pattern involves basic crochet stitches such as magic rings, chains, single crochet, and double crochet.
Materials
- Yarn: White cotton yarn (or any color of your choice).
- Hook: 3 mm crochet hook (or size suitable for your chosen yarn).
- Decorations: Ribbon for a bow and string for hanging.
- Others: Clear nail polish or starch for stiffening, scissors, yarn needle.
Measurements / Sizing
The finished decoration is approximately 10 cm in diameter, but size may vary depending on the yarn used.
Gauge
Gauge is not critical, but consistent stitch tension is necessary for a neat result.
Stitch Abbreviations
- ch: Chain
- sc: Single Crochet
- dc: Double Crochet
- sl st: Slip Stitch
- mr: Magic Ring
Special Stitches
- Magic Ring (mr): A technique for starting projects in the round. Adjust the ring to close up gaps.
The Crochet Pattern
Round 1: Create the Base Circle
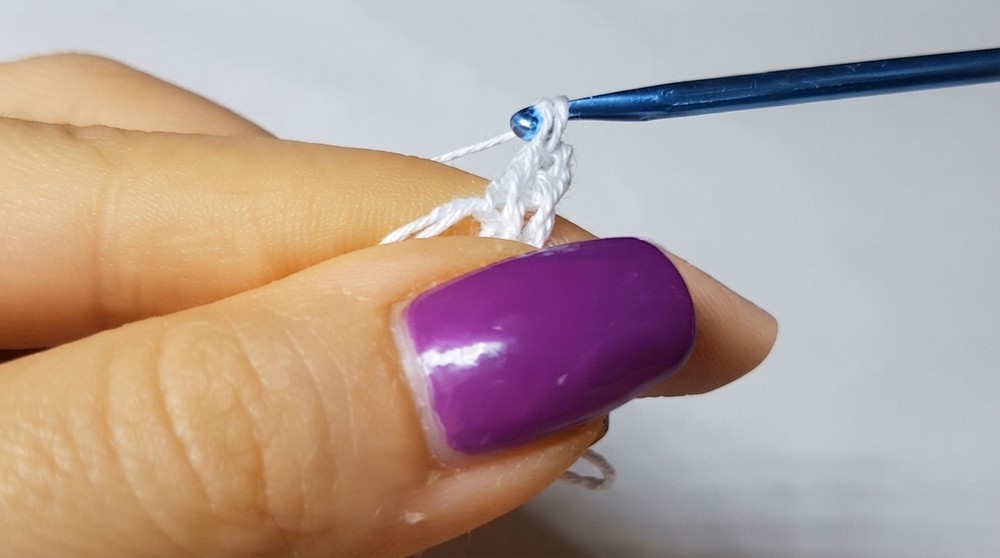
- Start with a magic ring (mr).
- Work 3 chains (ch), which count as the first double crochet (dc).
- Work 15 dc into the magic ring to get a total of 16 double crochets (including the 3 chains).
- Pull the yarn tail to tighten the magic ring.
- Close the round with a sl st in the third chain of the starting chain.
Round 2: Add Open Arches
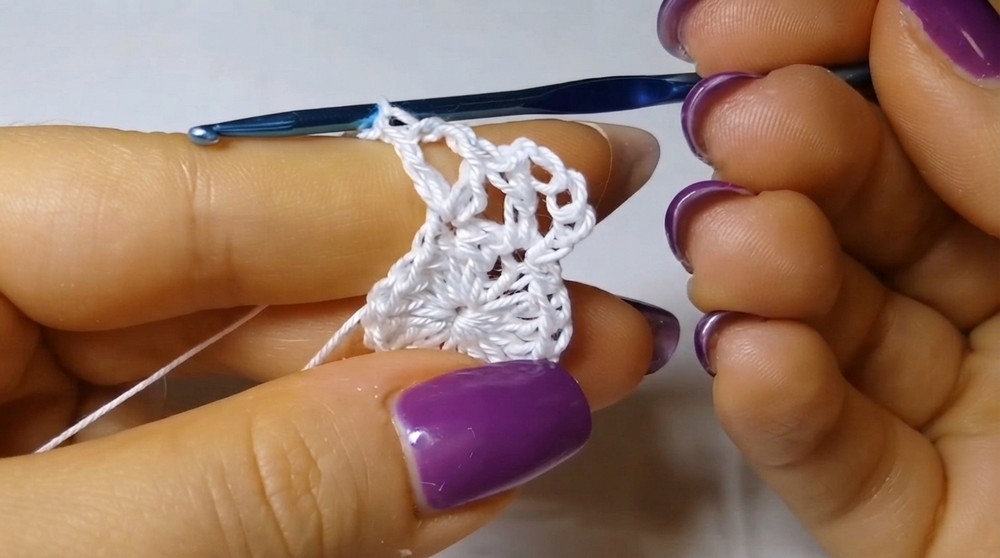
- Chain 5 (5 ch) – this counts as the first dc and 2 ch.
- Work 1 dc in the same stitch where the chain 5 started.
- Skip the next stitch and move to the following one. In this stitch:
- Work 1 dc, 2 ch, 1 dc (all in the same stitch).
- Repeat the pattern (skip one stitch, then dc, ch 2, dc in the next stitch) until the end of the round.
- Close the round with a sl st in the third chain of the starting chain.
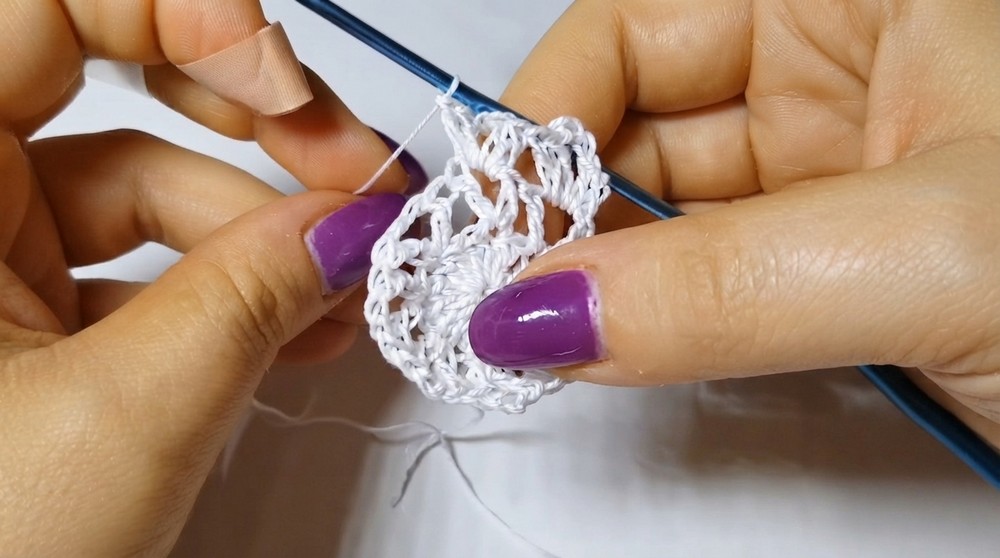
Round 3: Decorative Arches in Alternating Spaces
- Identify the chain spaces created in the previous round. You will work in every alternate space (skip one space, work in the next).
- In the first space, work:
- 1 sc, 2 ch, 1 dc, 3 ch, 2 dc.
- Skip the next space, and in the following space, repeat the same pattern:
- 2 dc, 3 ch, 2 dc.
- Continue alternating spaces and repeating the pattern until the round is complete.
- Finish the round by closing with a sl st in the first single crochet (sc) of the round.
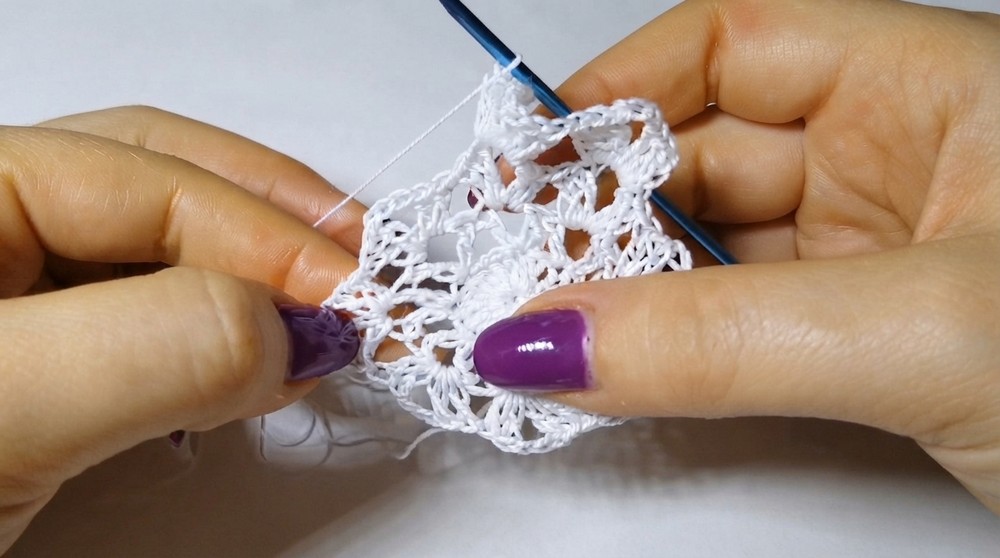
Round 4: Add Final Pointed Arches
- Begin working in the pointed chain spaces created in the previous round.
- In the first point, work:
- 1 sc, 2 ch, 5 dc.
- Skip the next chain space and repeat the following pattern for every alternate space:
- 3 dc, 3 ch, 3 dc.
- Continue this round alternating spaces, working 3 dc, 3 ch, 3 dc until the round ends.
- Close the round with a sl st, cut the thread, and weave in the yarn ends using a yarn needle.
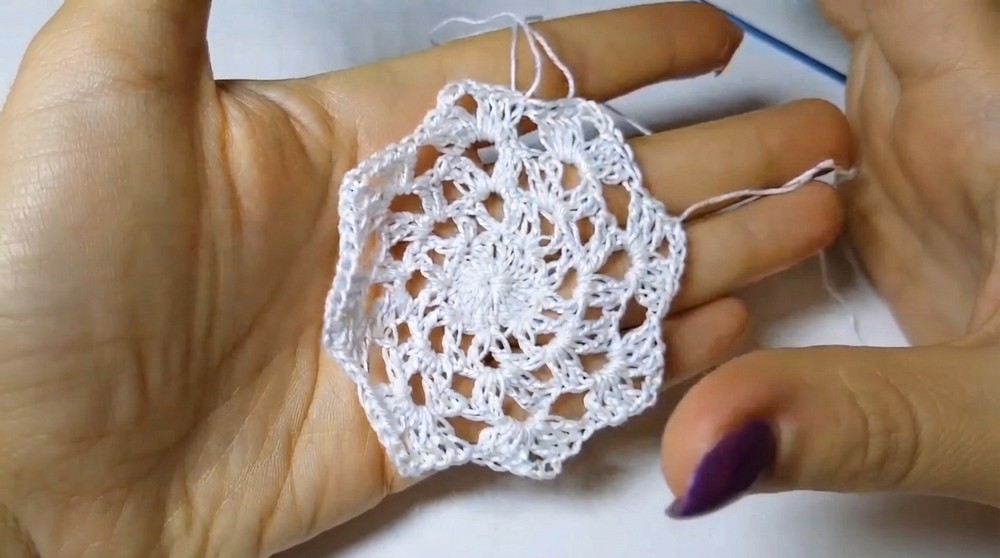
Assembly & Finished Size
- Once the crochet work is complete, stiffen the decoration using one of the following methods:
- Amido (starch): Mix starch with water and apply to the decoration. Let it dry completely.
- Clear Nail Polish: Apply over the surface, let it dry, and repeat on the back.
- After stiffening, add final decorative touches:
- Attach a small red bow at the top for a festive finish.
- Add a hanging loop using the same yarn to attach the decoration to your Christmas tree.
- The final size is approximately 10 cm in diameter, making it ideal for small trees or wall decor.
Conclusion and Ending Words
Your crochet Christmas decoration is now complete! This versatile craft can be hung on a tree, added to garlands, or even gifted to loved ones during the holiday season. With its elegant design and simplicity, it adds a festive handmade charm to any space. Customize it with different colors or embellishments, and enjoy spreading the holiday cheer through your craft.