
Free Crochet Autumn Leaf Pattern for Fall Décor Fun
Use this free crochet pattern to create a lovely autumn leaf that brings warm and festive feelings to your home or fall projects.
The crisp air of fall, the crunching leaves beneath your feet, and the vibrant colors of autumn are enough to spark anyone’s creativity. That’s when I stumbled upon this adorable autumn leaf tutorial by Anerom, and it felt like the perfect way to bring the coziness of the season indoors. This little leaf feels just like plucking a piece of fall and keeping it forever, no raking required.
Crochet This Adorable Autumn Leaf with a Free Pattern
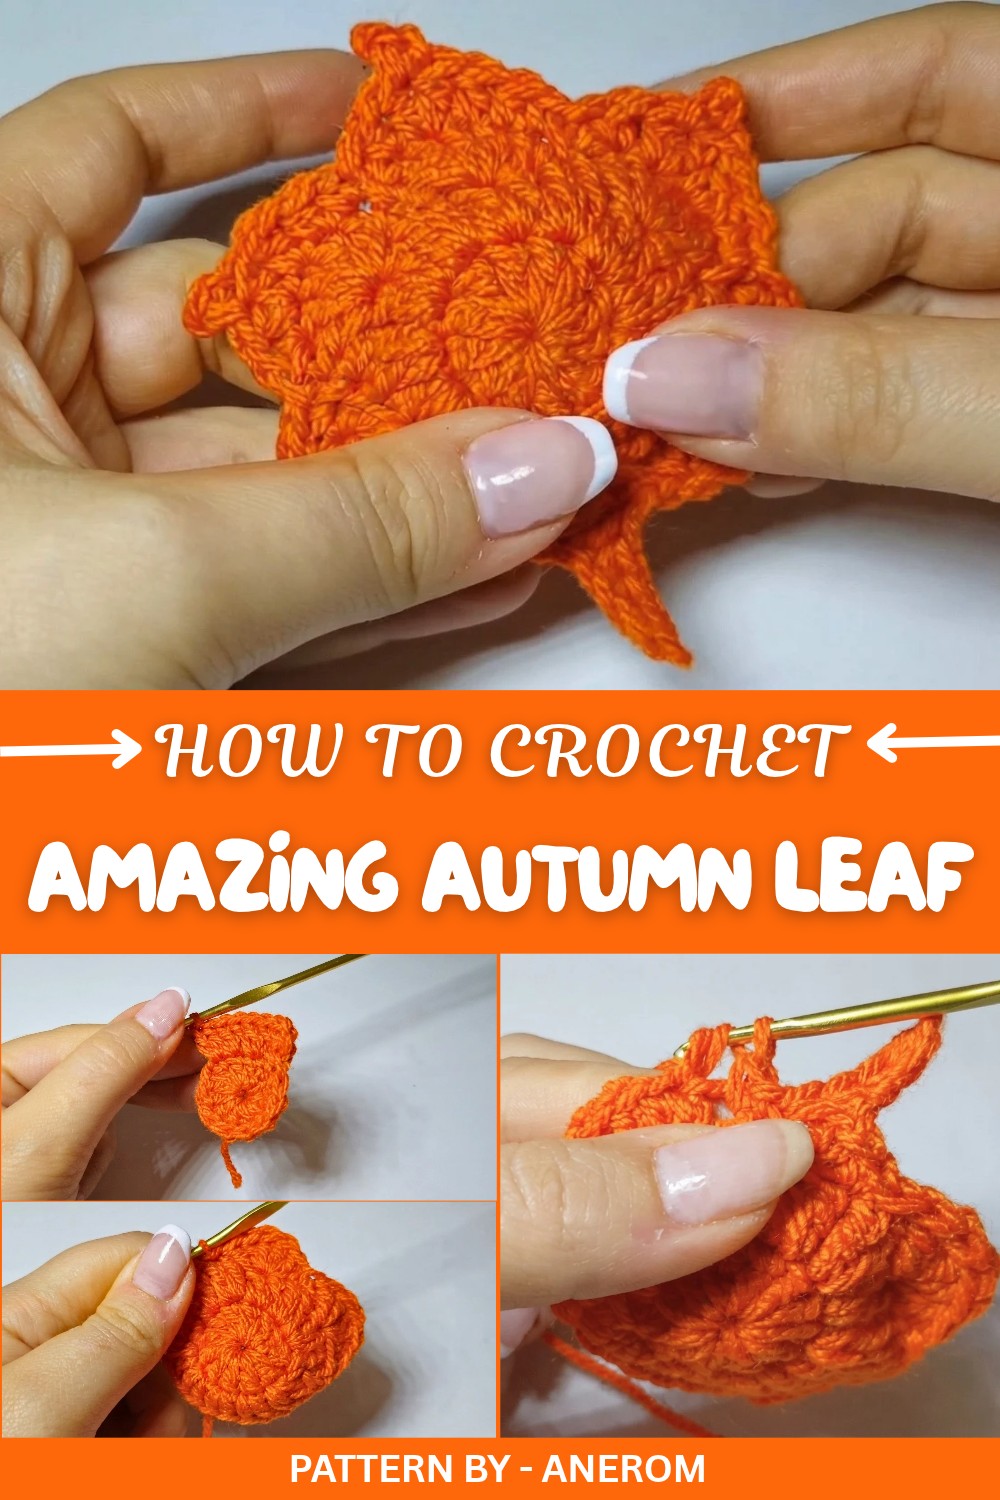
The curved edges mimic natural leaf patterns, and the tiny stem gives it that authentic look. You can play with colors, from warm oranges to deep greens, for a whole autumn collection. These leaves add charm to any room, whether scattered across a table as décor, strung up as a garland, or even sewn onto your favorite sweater. And the best part? They’re so quick to make that you’ll find yourself wanting to create more than just one.
With just a hook, some yarn, and the easy to follow steps, this project is a breeze for beginners but still satisfying for seasoned crocheters. The magic circle start keeps it seamless, while fun stitches like double crochets and half double crochets work together to form the elegant texture. Whether you’re looking for a cozy weekend project or a little personal touch for the season, these leaves are sure to bring a smile to your face. Autumn vibes have never looked cuter.
Crochet Autumn Leaf Pattern
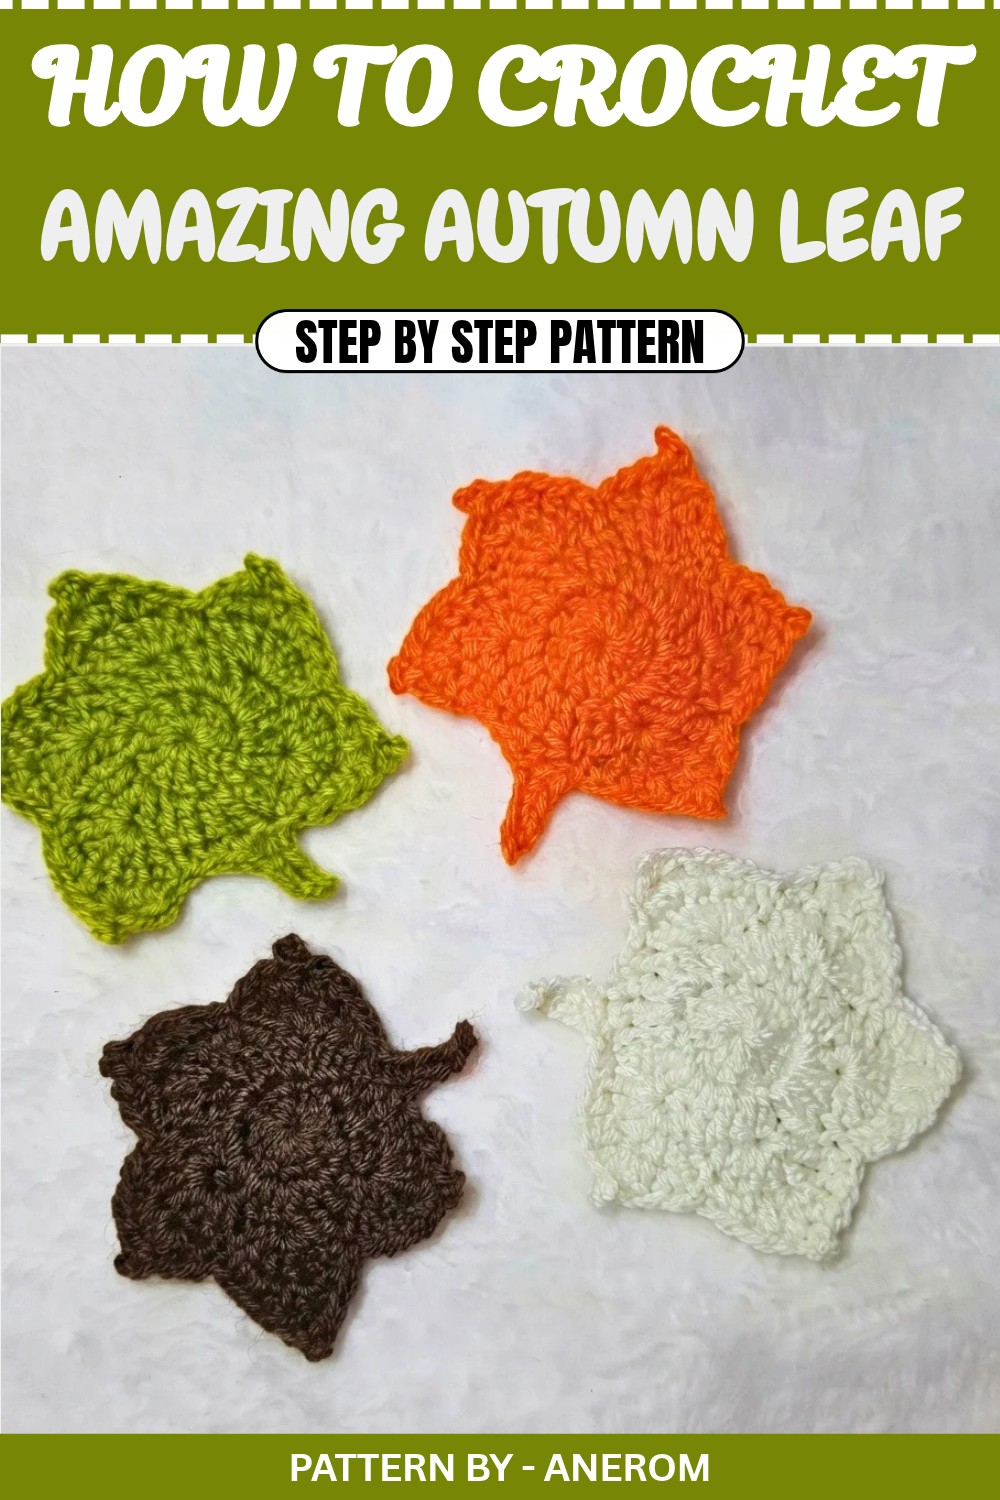
Welcome to this simple, fun, and quick crochet project where you’ll learn how to create an adorable autumn leaf. Perfect for the fall season, this project is beginner friendly and can be made using different yarn colors for variety. Whether you use an orange, brown, green, or even off white yarn, this autumn leaf will add a cozy and seasonal touch to your home décor, craft projects, or even as an applique. Follow this step by step pattern, and let’s crochet together.
Quick Overview of Pattern
- Type: Crochet Autumn Leaf
- Difficulty Level: Beginner to Intermediate
- Techniques Used: Magic ring, double crochet, increases, slip stitch, chain stitches, and backtracking for leaf stem
- Features: Five detailed, textured leaf sections with a decorative stem
Notes
- This pattern is worked in rounds and specific sections.
- Use a stitch marker to track the beginning of your rounds when necessary.
- Pay special attention to steps involving the "leaf tip" for accuracy.
- All instructions are in US crochet terms.
Skill Level
Beginner to Intermediate – The project is easy with repeated steps, but the final shaping of the leaf tips and stem might take some care and patience.
Materials
- Yarn:
- Size 3 acrylic yarn (or similar weight) in your desired autumnal color (e.g., orange, green, brown, or beige).
- Hook: 3.0 mm crochet hook.
- Scissors
- Tapestry needle for weaving in ends.
Measurements / Sizing
- Finished Size: Approximately 8–10 cm (excluding any stretching or optional blocking). Measurements may vary depending on yarn weight and hook size.
Gauge
Gauge is not critical for this project, especially as it’s decorative, but for reference: 10 dc = 4 cm in length.
Stitch Abbreviations
- ch – Chain
- sc – Single Crochet
- hdc – Half Double Crochet
- dc – Double Crochet
- sl st – Slip Stitch
- inc – Increase (2 stitches in one stitch)
Special Stitches
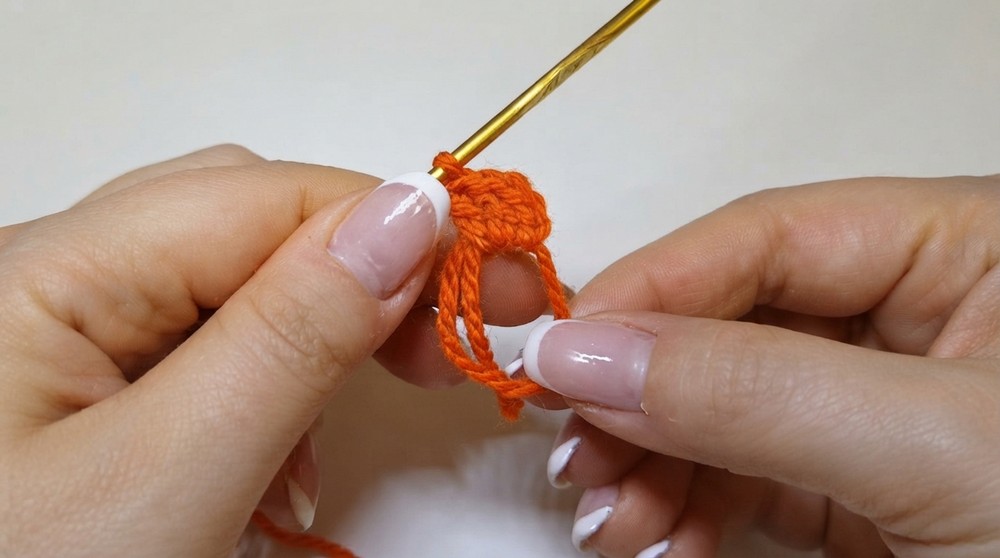
Magic Ring:
Wrap the yarn into a loop, insert the hook, pull up a loop, and chain 1. Work the required stitches directly into the ring, then pull the tail to close.
The Crochet Pattern
Leaf Base
- Start with the magic ring:
- Create a magic ring. Add ch 3 (acts as the first dc).
- Round 1:
- Work 11 dc into the magic ring. With the beginning ch 3, you should have a total of 12 stitches in the ring.
- Pull the tail tight to close the ring. Join the round with a sl st into the third chain of the initial ch 3.
- Round 2:
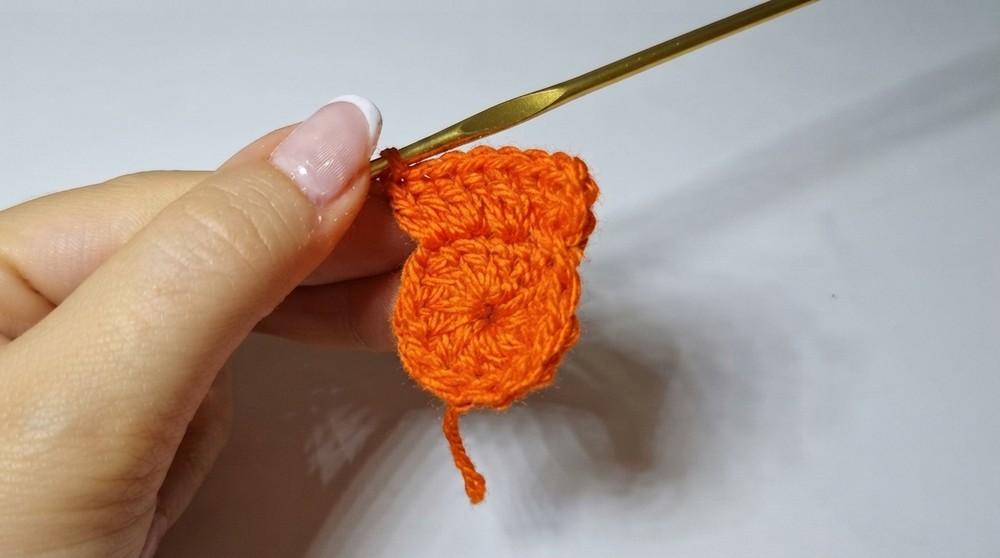
- Begin with ch 3 (counts as the first dc). In the same stitch, work 1 dc.
- Work 2 dc in each stitch around to increase. (Total: 24 dc).
- Join with a sl st into the third chain of the initial ch 3 to close.
Leaf Shape – Creating Petals
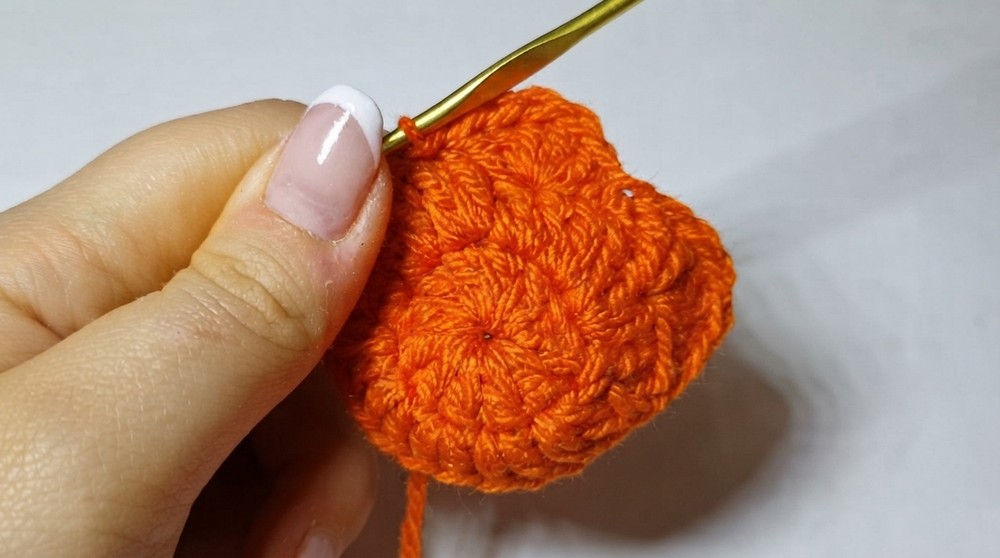
- Start the First Petal:
- Skip the first two stitches.
- In the third stitch, work 5 dc into the same stitch.
- Anchor the Petal:
- Skip 1 stitch.
- In the next stitch, work 1 sl st to secure the petal.
- Repeat the Petal Pattern:
- Skip 1 stitch.
- In the next stitch, work 5 dc into the same stitch.
- Skip 1 stitch, then sl st into the following stitch.
- Continue:
- Repeat the above process until you have made a total of five petals around the circle (each petal consists of 5 dc worked into one stitch, anchored by sl st in the next).
Leaf Stem
- Chain the Tail of the Stem:
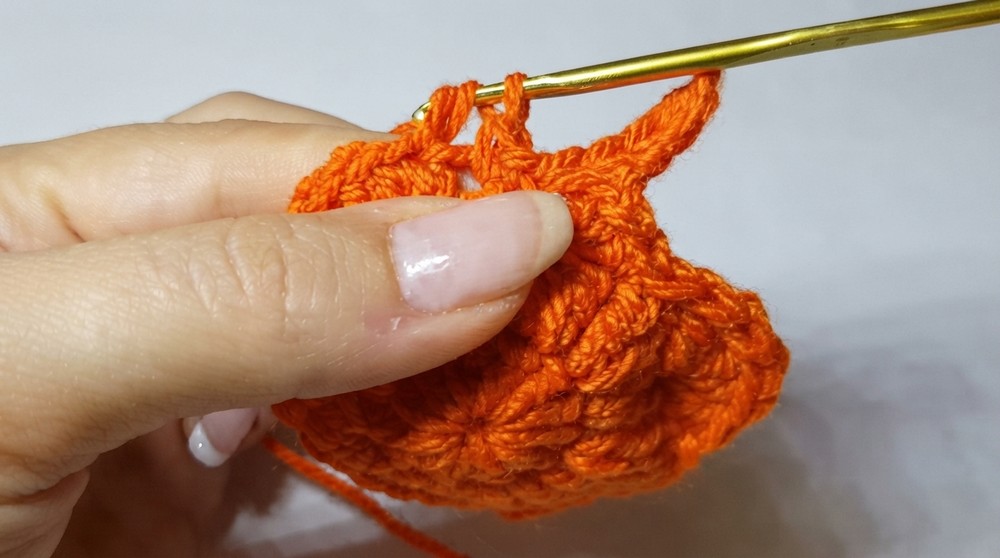
- From the last slip stitch, work ch 5.
- Work Backwards for Stem Detail:
- Turn and start working back along the chain to form the stem texture.
- Into the 4th chain from the hook, work 1 sc.
- Into the next chain, work 1 sc.
- Repeat in the remaining two chains, continuing to work 1 sc into each chain stitch.
- Turn and start working back along the chain to form the stem texture.
- Connect Stem to Leaf Base:
- Anchor the stem by working a sl st into the leaf base (same stitch you worked into previously for sl st).
Petal Details – Finishing Each Petal
- For Each Petal Section (5 Total):
- Into the first stitch: 1 sc.
- Into the second stitch: 1 hdc.
- Into the third stitch: 1 dc.
- Into the fourth stitch: 1 dc.
- Chain 2 for the leaf tip, then sl st into the “V” of the last two dc worked to pinch the tip.
- Into the third dc of the petal, work 1 dc again.
- Into the fourth dc, work 1 hdc.
- Into the fifth dc, work 1 sc.
- Anchor:
- After finishing each section, work a sl st into the base to anchor the petal.
Repeat for Remaining Petals:
Finish shaping all five petals using the above instructions.
Assembly & Finished Size
- Finishing:
- After all petals and the stem are complete, fasten off by pulling the yarn tight and trimming the excess.
- With a tapestry needle, weave in the ends securely through the base of your stitches so the leaf does not unravel.
- Optional Blocking:
- To straighten and refine the shape, optionally block the leaf by pinning it to a flat surface and applying steam or lightly wetting it.
- Finished Size:
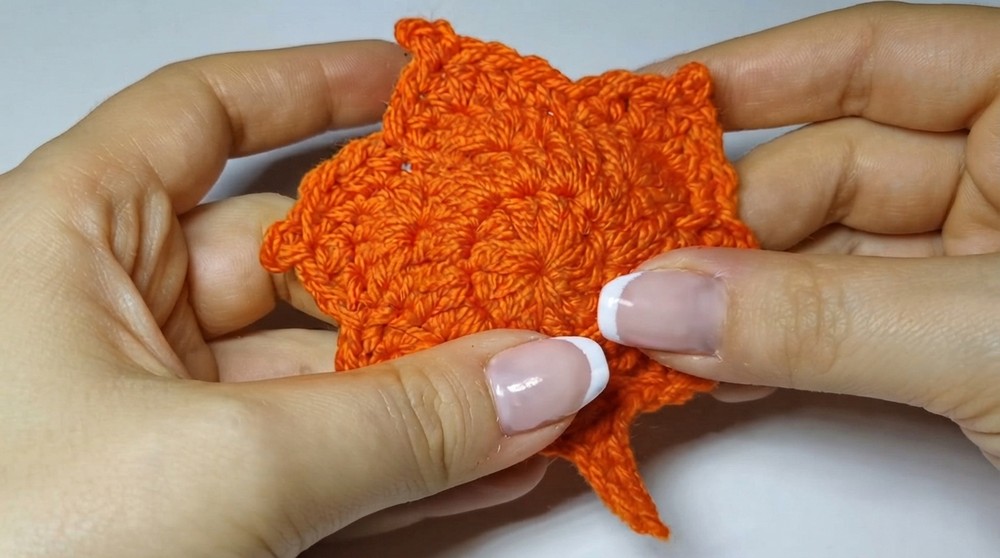
- Your leaf will measure approximately 8–10 cm from tip to stem's end, depending on your yarn and hook size.
Conclusion
Your crochet autumn leaf is now complete! Whether you made it in orange, green, brown, or another fall-inspired color, this decorative leaf is perfect for enhancing your seasonal crafting projects. Use it as table décor, gift accents, garlands, or appliques on bags, scarves, and more. With its simple structure and refined details, you’ll love making this leaf again and again.