
Free Crochet Halloween Bag Pattern for Spooky Fun
Crochet your own handmade Halloween bag with this free pattern that’s perfect for beginners and great for any trick or treater.
Pattern By Anerom
Halloween is just around the corner, and what could be better than having an adorable bag to hold all those sweet treats? Meet this festive and charming project that’s both fun and functional, a pumpkin inspired Halloween bag. With its rounded shape, sturdy texture, and delightful pops of orange and green, it’s the perfect accessory for little ones heading out for trick or treating or for adding a handmade touch to your holiday décor.
Try This Exciting and Easy Free Pattern for Halloween Bag
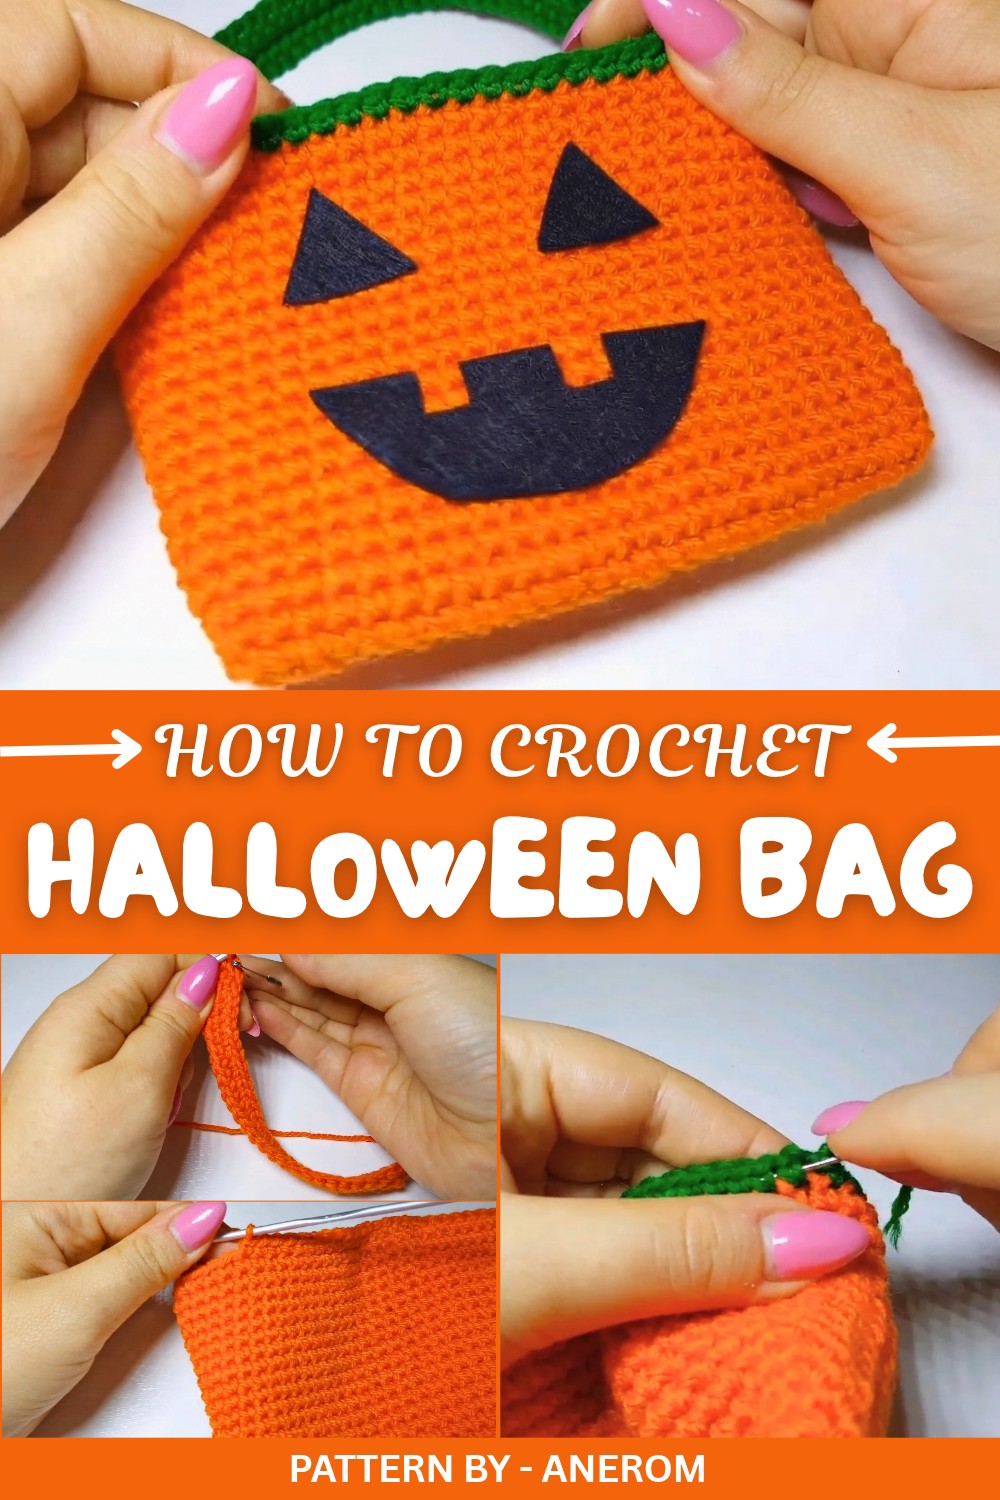
Shaped like a classic pumpkin, this bag is worked up in continuous rounds, giving it a seamless, tidy appearance. The use of single crochet stitches provides a closely woven texture, giving the bag a robust feel that can handle a generous haul of candies without stretching out. To top it off—literally—a simple but cute green border and handle emulate the charm of a pumpkin’s stem, adding to the festive Halloween feel.
The fun part? The pumpkin’s signature grin. This feature uses felt cutouts for its playful face and allows you to customize its expression however you please. Want a spooky jack o' lantern? Or maybe a sweet, smiling face? It’s up to you. A hot glue gun and scraps of black and white felt make it super simple to bring your pumpkin bag to life in no time.
For this project, soft but sturdy cotton yarn works best because of its ability to hold its shape while offering a crisp, neat texture. For those with creative minds, you can even mix and match yarn colors for a unique twist. Whether it’s for gifts, Halloween fun, or simply as a cute storage option, this bag is sure to delight and add some extra holiday cheer to your home.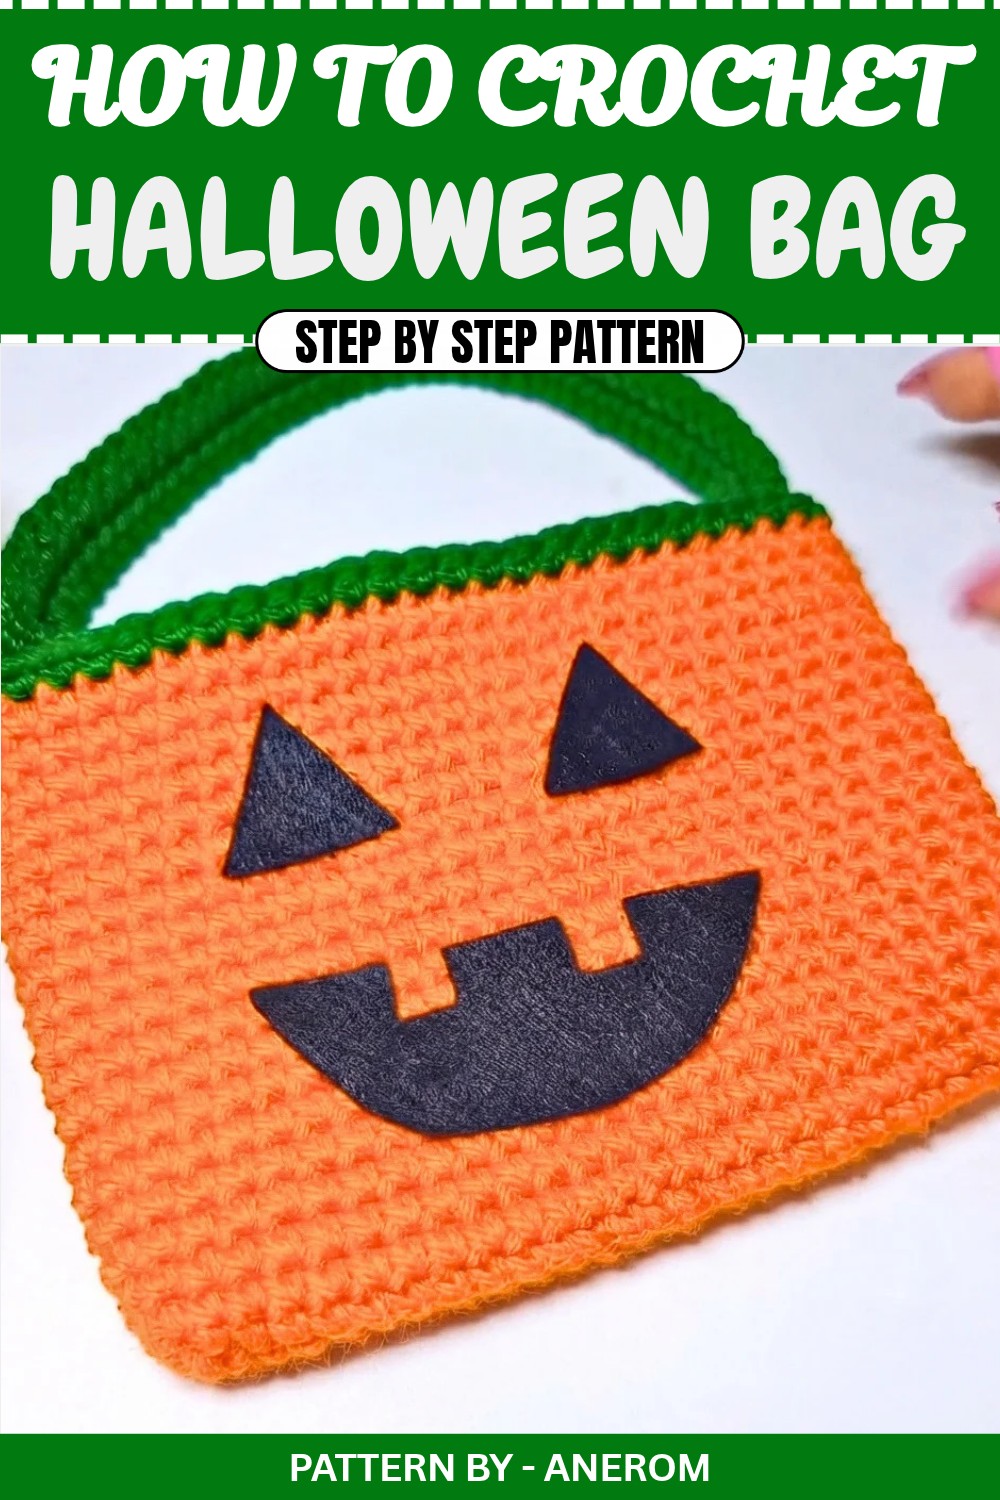
Crochet Halloween Pumpkin Treat Bag Pattern
Quick Overview of Pattern
- Type: Crochet Halloween Pumpkin Treat Bag
- Difficulty Level: Beginner Friendly
- Techniques Used: Chains, single crochets, slip stitches, basic sewing techniques for adding details
- Features: Pumpkin shaped crochet bag with felt jack o’ lantern details
Notes
- This bag is worked in basic rows and continuous rounds, so there are no seams to sew on the main body.
- The handle can be customized to any length by adjusting the number of chains in the starting row for the strap.
- Adding details like the jack-o’-lantern face is optional but adds a fun Halloween touch.
Skill Level
Beginner – Requires basic knowledge of single crochet, chain, and slip stitches. Perfect for a quick and fun project.
Materials
- Yarn:
- Orange acrylic yarn for the main body
- Green acrylic yarn for the top edging and handle
- Hook: 3.0mm crochet hook
- Felt: Black felt for eyes and mouth (jack-o’-lantern face)
- Tools:
- Glue gun or fabric glue (to attach felt details)
- Tapestry needle (to weave ends and attach the handle)
- Scissors
Measurements / Sizing
- Bag Size: Approximately 12 cm (4.7 inches) in height and 10 cm (3.9 inches) in diameter (depending on your yarn and crochet tension).
- Strap Length: Adjustable to your preference (around 50 chains for a hand-held bag, 60–70 chains for a shoulder bag).
Gauge
Gauge is not crucial for this project, but for reference:
- 10 single crochet stitches and 12 rows = 4x4 cm.
Stitch Abbreviations
- ch – Chain
- sc – Single Crochet
- sl st – Slip Stitch
Special Stitches
There are no special stitches in this pattern. Simply focus on even and consistent single crochet stitches for a neat and tidy look.
The Crochet Pattern
Step 1: Starting the Base
- Begin with orange yarn to make the base of the bag. Start by creating a slipknot.
- Chain 30 stitches. This will be the foundation for the bag’s base.
Step 2: Working on the Foundation Chain
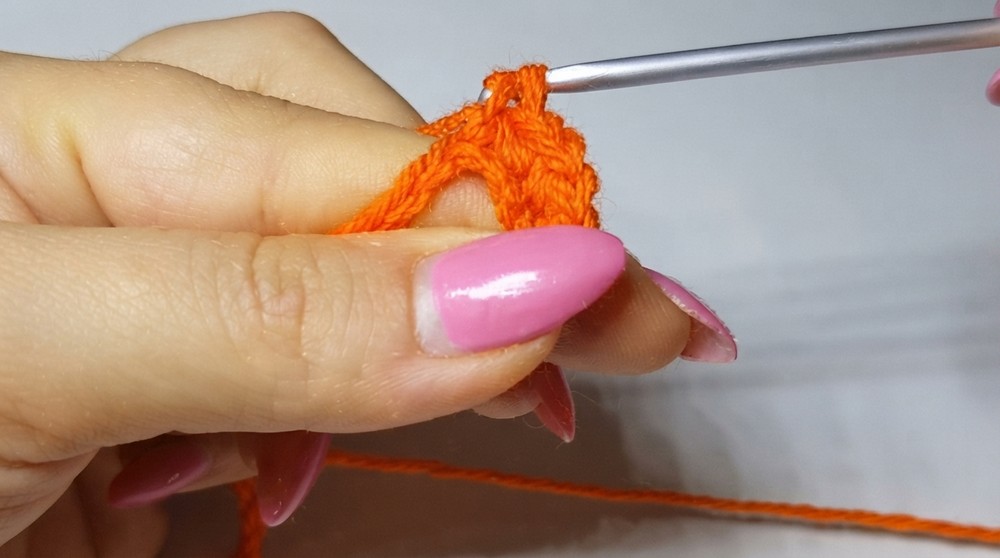
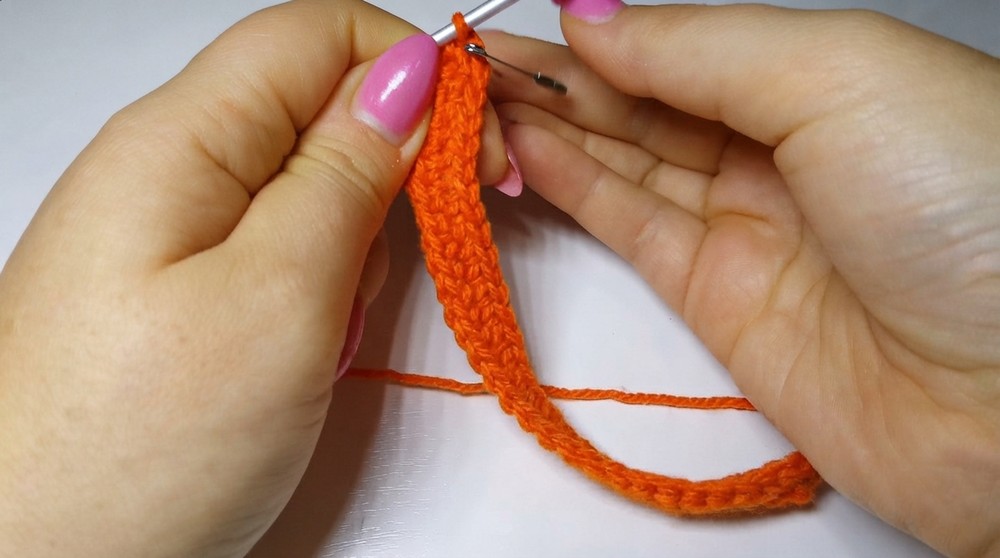
- Starting from the second chain from the hook, work 1 sc in each chain across the row. You should have a total of 29 single crochet stitches by the end of this row.
- Once at the end, turn the work and begin working back along the opposite side of the foundation chain, effectively working in a circular shape.
- Work 1 sc into every stitch, hiding the loose yarn end as you go by stitching over it.
Step 3: Building the Bag’s Walls
- To create the height of the bag, continue working in continuous rounds without joining:
- Mark the first stitch with a stitch marker to indicate the start of the round.
- Work 1 sc into each stitch through the end of the round. The round begins and ends at the stitch marker.
- Repeat this for a total of 18 rounds to build the height of the bag.
- You will notice the bag beginning to stretch into a cylindrical shape.
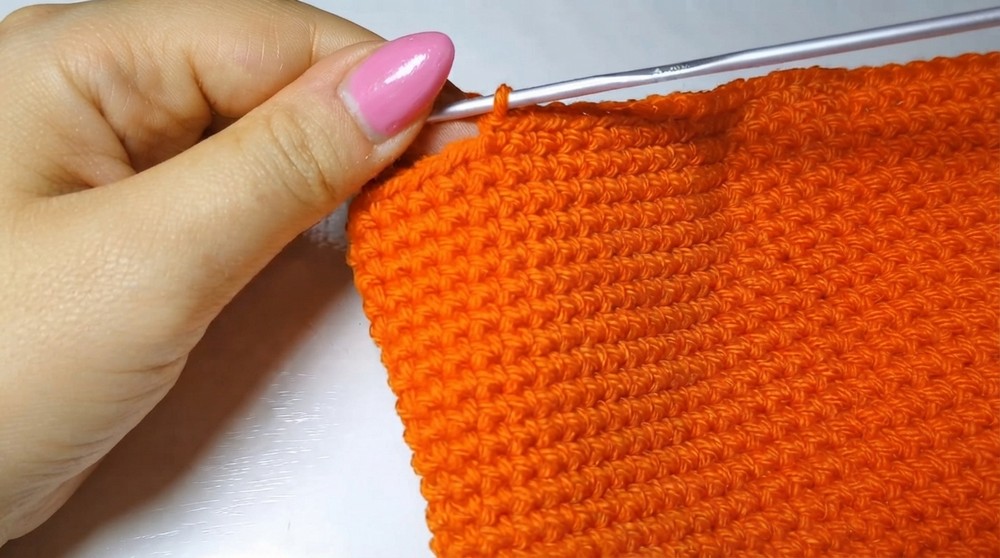
Step 4: Adding the Green Rim
- When the 18 rounds are complete, fasten off the orange yarn. Then, join the green yarn just above the last orange stitch.
- Work 1 round of sc in green yarn around the top of the bag. Slip stitch to close the round, and fasten off, leaving a tail of yarn to weave in.
- Use the tapestry needle to securely weave in the green yarn ends into the stitches on the inside of the bag, keeping it neat and tidy.
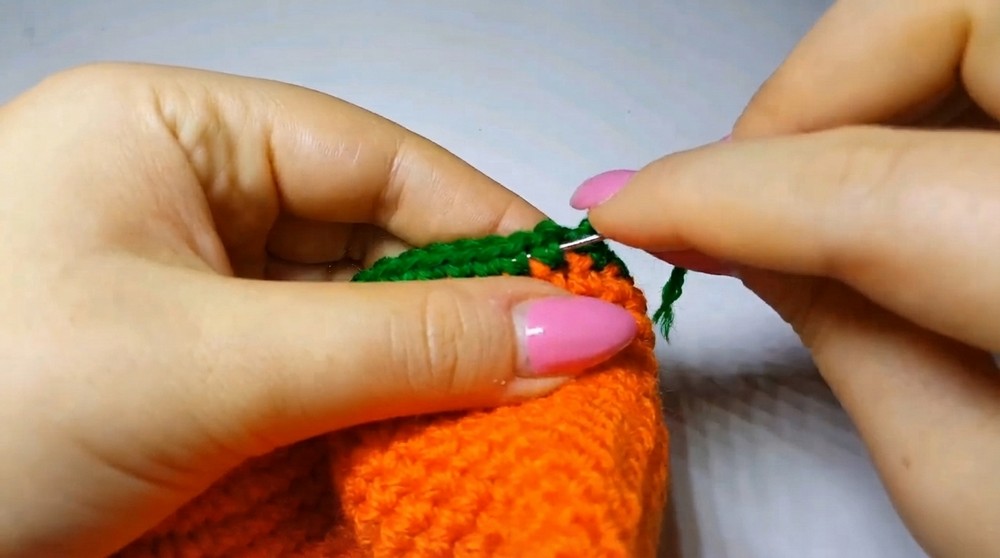
Step 5: Creating and Attaching the Handle
- For the handle/strap, use the green yarn:
- Begin with a slipknot and chain 50 (or more for a longer handle).
- Starting from the second chain from the hook, work 1 sc into each chain. Continue this until the entire row is complete.
- To thicken the strap for durability, work back along the row again, making 1 sc into each stitch. Repeat this process for a total of 3 rows.
- Finish the strap with a sl st into the last stitch, then fasten off, leaving a long tail for sewing.
- Attach the strap to the bag:
- Position the ends of the handle on opposite sides of the bag near the green rim.
- Using a tapestry needle, sew one end of the handle to the green section using the long yarn tail. Secure the handle with a few stitches, ensuring it is firmly in place. Repeat for the other side of the handle.
- Make sure to only sew onto the green section of the bag to keep the stitches clean and invisible. Hide any loose ends of yarn inside the bag.
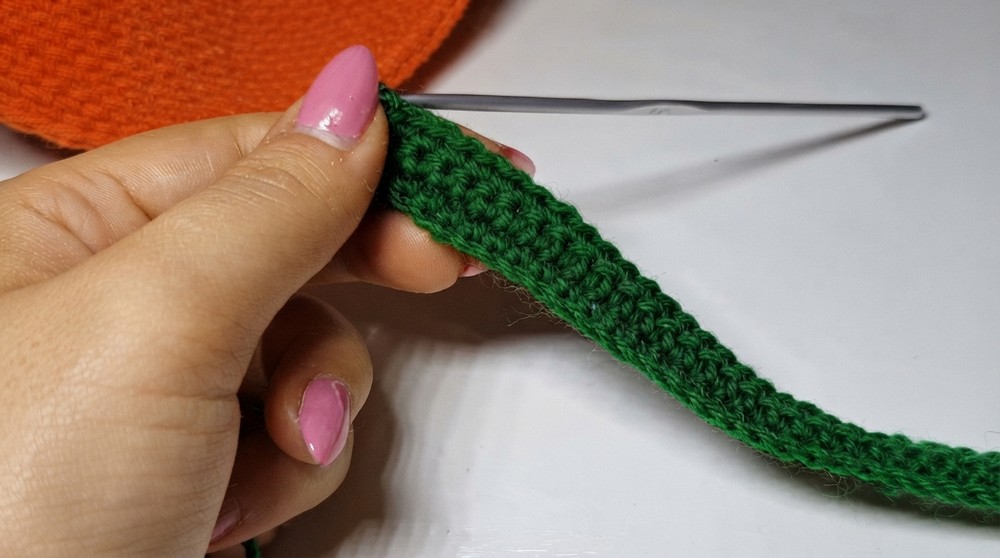
Step 6: Adding the Jack o’ Lantern Face
- Use black felt to create the jack o’ lantern face:
- Cut two small triangles for the eyes.
- Cut a crescent shape for the mouth and add small rectangles or triangular shapes for teeth (optional).
- Using a hot glue gun or fabric glue, carefully attach the felt pieces to the orange part of the bag to create your jack o’ lantern face. Allow the glue to dry completely.
Assembly & Finished Size
- Final Size: The bag should stand approximately 12 cm tall with a diameter of about 10 cm. The handle length can vary depending on the number of starting chains. For a small hand held bag, 50 chains should suffice, while a longer strap may require 60–70 chains.
- Finished Look: You should now have a pumpkin style Halloween bag complete with a green strap and a cute jack o’ lantern face attached.
Conclusion and Final Words
Your crochet Halloween treat bag is complete. This adorable pumpkin themed bag is perfect for kids to carry their Halloween candy or as a gift bag to give out treats to friends and family. The project is beginner-friendly, quick to make, and fully customizable. You can even adjust the size and colors to create different types of treat bags for other holidays or occasions.
Fill your finished bag with candies, chocolates, or small toys for a Halloween gift that will surely bring a smile to anyone’s face.