
Crochet Amigurumi Cones Pattern to make cute play food
Make your crochet projects more exciting with this free pattern for colorful ice cream cones, turning ordinary yarn into delightful handmade treasures.
Crocheted cones are small, adorable creations that bring joy and creativity into any crochet project. Perfect for a variety of uses, these cones work wonderfully as toys for children, party favors, keychains, or cheerful decorative items for your home. Their design is full of charm, featuring a neat cone shape that can be customized with fun facial expressions, colorful bows, or other creative details. The endless design possibilities make them both fun to create and delightful to display.
The pattern is explained beautifully by Anerom, a channel known for its easy to follow and creative crochet tutorials. The video tutorial covers every step, from crocheting the base to adding cute finishing details, ensuring that your cones come out looking perfect every time.
Deliciously Adorable Amigurumi Crochet Cone Pattern – Free
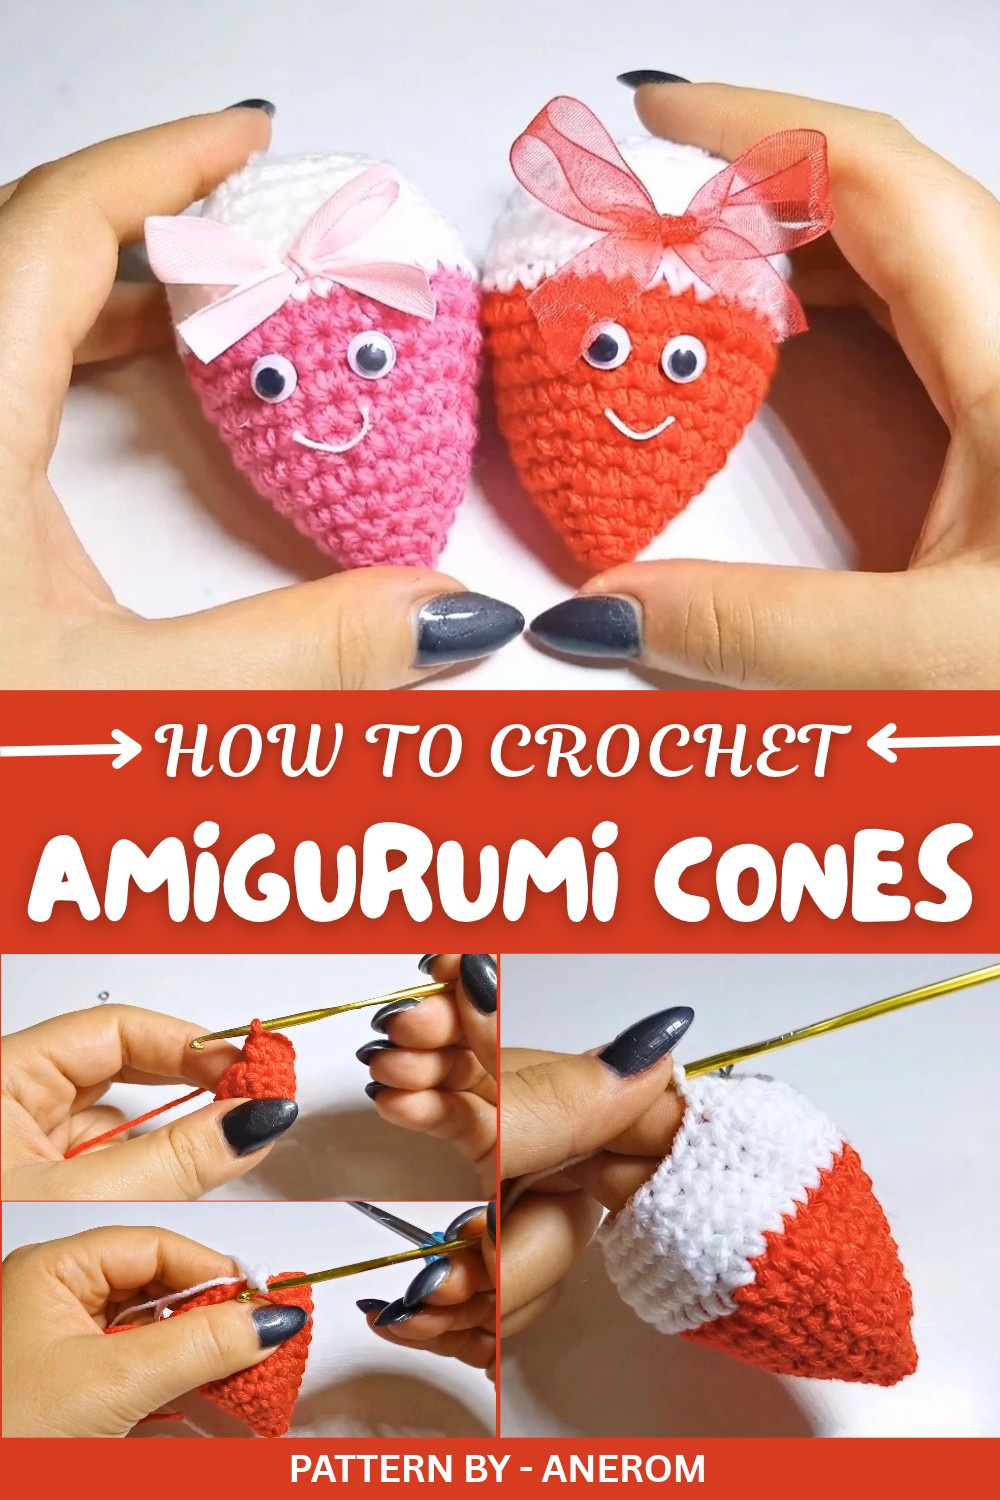
These cones are made by starting with a magic ring, followed by rounds of single crochet. Increases at the bottom create the wider base, while gradual decreases shape the cone into its iconic pointed form. To give the cone a plump, plush appearance, you can stuff it with soft fiberfill before finishing. The project is quick, allowing you to produce multiple cones in no time. Experiment with bright colors, stripes, or tiny accessories to make each one unique.
These crocheted cones are an enchanting little project, perfect for gifting or adding a playful touch to your space. With this guidance, you’ll enjoy the process of making these adorable keepsakes while unlocking your creativity in new and delightful ways.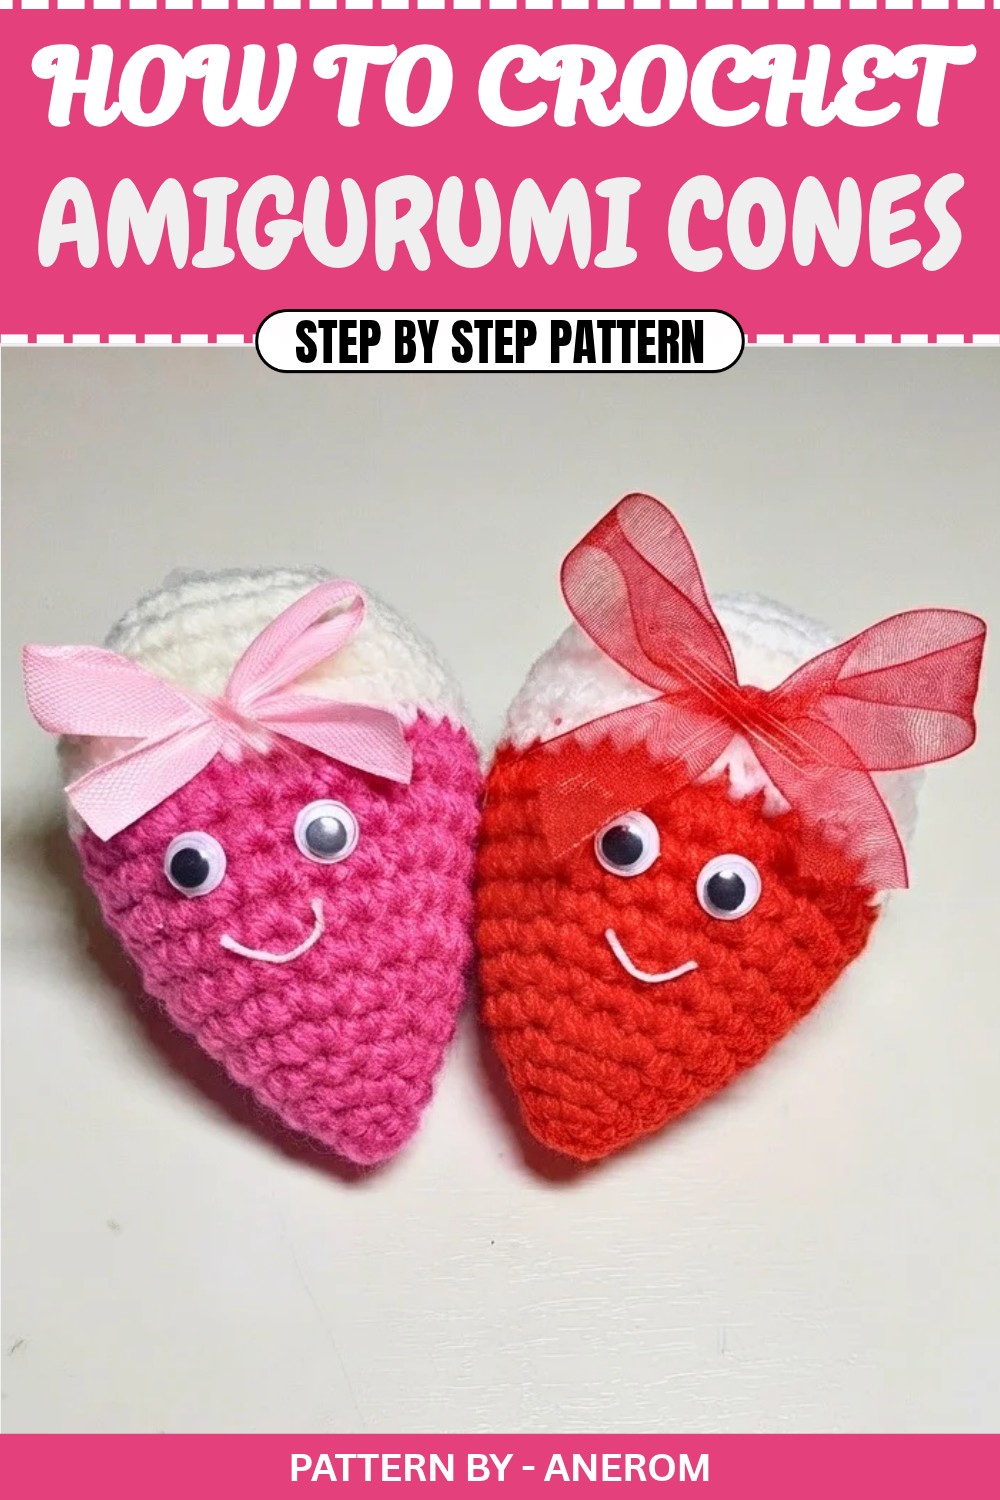
Crochet Pattern: Colorful Amigurumi Ice Cream Cone
This crochet pattern creates a bright and cheerful amigurumi ice cream cone, perfect for party favors, gifts, or simply a fun craft project. Written in US crochet terminology, the step by step instructions ensure clear and accurate construction of the colorful cone.
Materials
- Yarn: Medium weight acrylic yarn in two colors (e.g., Red for the ice cream and White for the cone).
- Crochet Hook: 3–3.5 mm.
- Polyfill/Batting: For stuffing the cone.
- Safety Eyes (Optional): To decorate the cone.
- Embroidery Thread (Black): For adding facial features like the mouth.
- Small Bow Embellishments (Optional): For decoration.
- Scissors.
- Yarn Needle: For assembly and closing gaps.
Abbreviations (US Terminology)
- MR: Magic Ring
- SC: Single Crochet
- Inc: Increase (2 SC in one stitch)
- Dec: Decrease (SC2tog through front loops only)
Gauge
Gauge is not critical, but tight stitches are recommended for amigurumi so that the stuffing doesn’t show through.
The Crochet Pattern: Amigurumi Ice Cream Cone
Ice Cream Cone (Choose Your Color, e.g., Red)
- Round 1:
- Create a magic ring (MR).
- Work 6 SC into the ring.
- Pull the ring tight to close.
- Round 2:
- Work 1 SC in each of the 6 stitches (no increases).
- Round 3:
- Work 1 increase in each stitch (2 SC into each stitch) for a total of 6 increases.
- You’ll now have 12 stitches.
- Round 4:
- Crochet 1 SC in each stitch around (no increases).
- Round 5:
- Alternate 1 SC, 1 increase; repeat around.
- Round 6:
- Crochet 1 SC in each stitch around.
- Round 7:
- Alternate 2 SC, 1 increase; repeat around.
- Round 8:
- Crochet 1 SC in each stitch around again.
- Round 9:
- Alternate 3 SC, 1 increase; repeat around.
- Round 10:
- Crochet 1 SC in each stitch around.
- Round 11:
- Alternate 4 SC, 1 increase; repeat around.
- End the round with a slip stitch, cut the yarn, and fasten off.
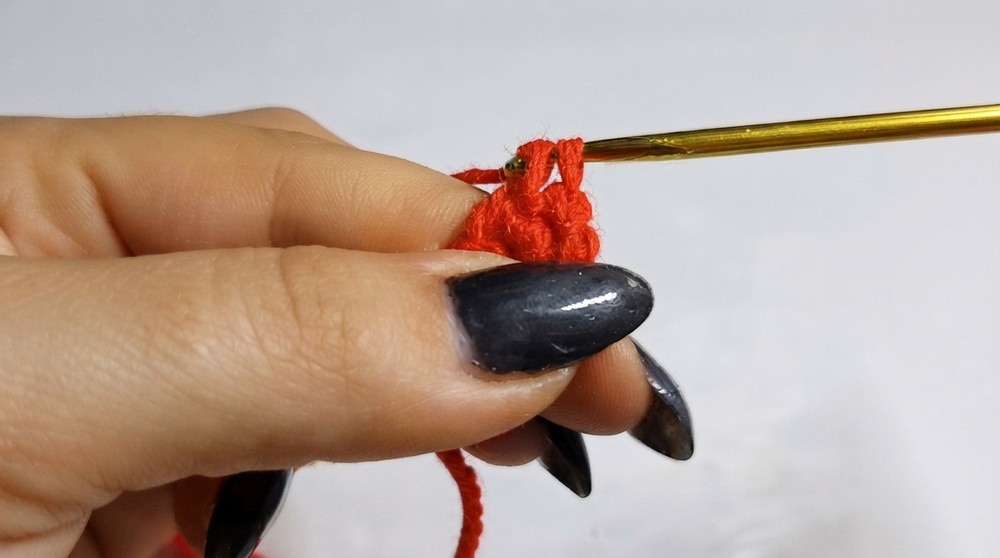
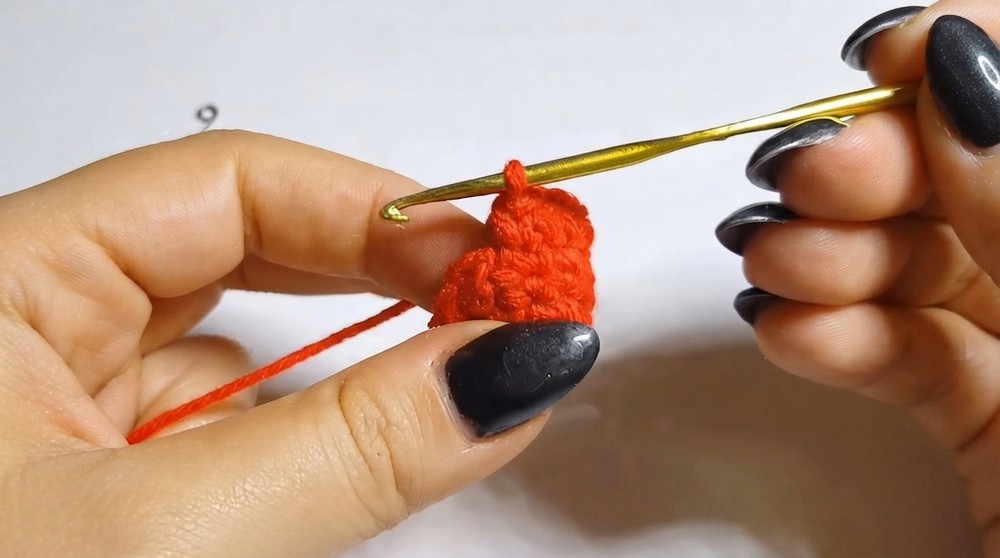
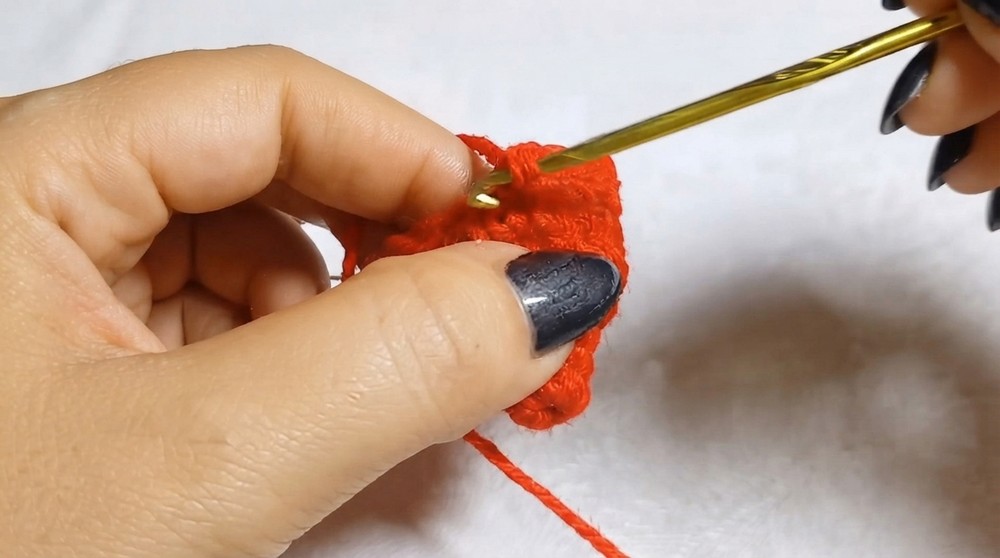
Ice Cream Scoop (Switch to White Yarn)
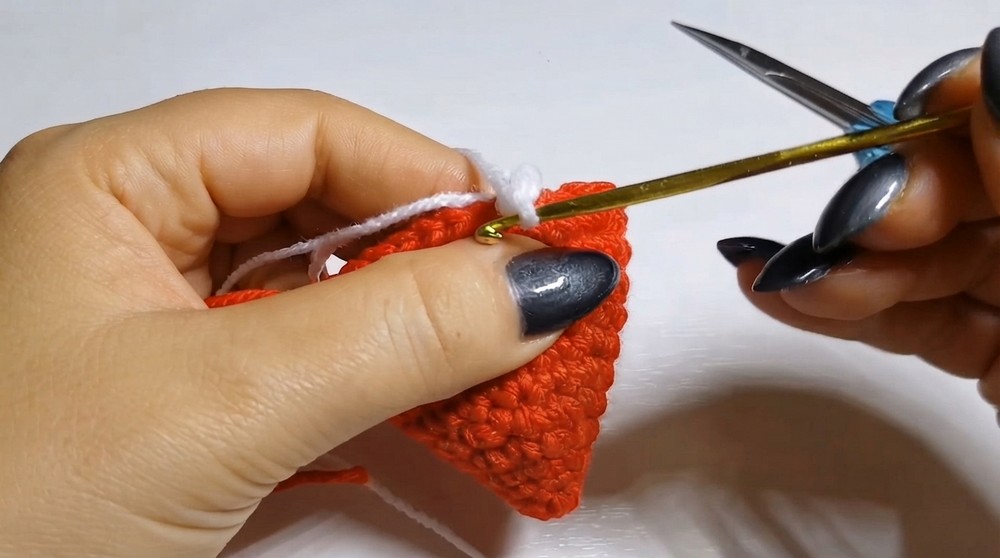
- Attach the white yarn:
- Create a loop and secure it to any stitch in the last round.
- Crochet 1 SC in each stitch around.
- Work 2 more rounds:
- Crochet 1 SC in each stitch around for both rounds.
- Decrease Round 1
- Alternate 4 SC, 1 decrease (through front loops only); repeat around.
- Decrease Round 2:
- Alternate 3 SC, 1 decrease; repeat around.
- Decrease Round 3:
- Alternate 2 SC, 1 decrease; repeat around.
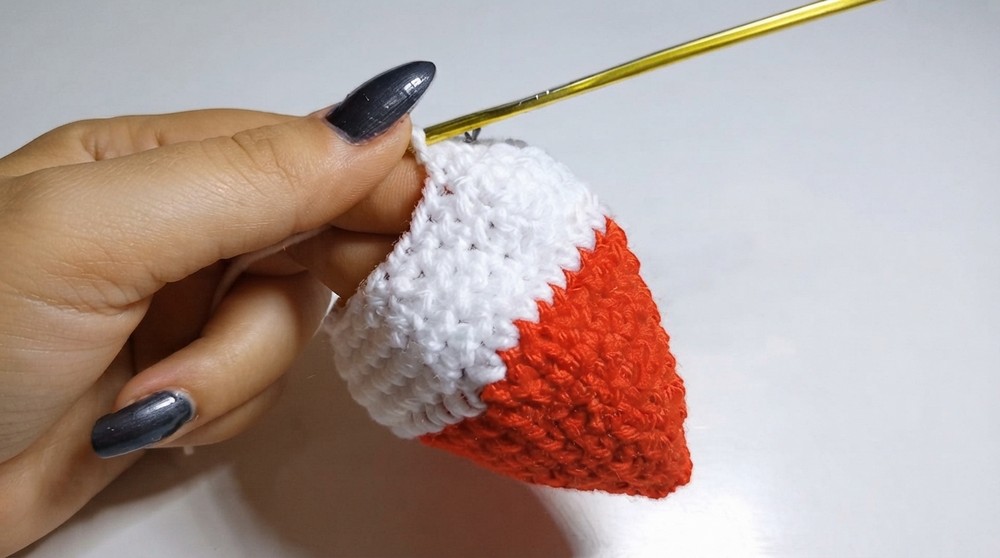
Stuffing the Cone
- Stuff the cone firmly:
- Use polyfill or batting to fill the cone until it is shapely and firm.
Final Decrease and Closing
- Decrease Round 4:
- Alternate 1 SC, 1 decrease; repeat around.
- Final Closing Round:
- Work 6 consecutive decreases to close the hole completely.
- Sew closed:
- Use the yarn needle and remaining yarn tail to stitch the small gap shut tightly.
- Weave in the end and hide the tail securely inside the cone.
Decoration and Details
- Eyes:
- Attach safety eyes near the top edge of the cone for a playful look.
- Alternatively, embroider small eyes with black thread or yarn.
- Mouth:
- Stitch a small curved smile using black yarn or embroidery floss.
- Bow or Extras:
- Attach a small bow near the top for extra charm.
- Use glue or thread to secure decorative bows.
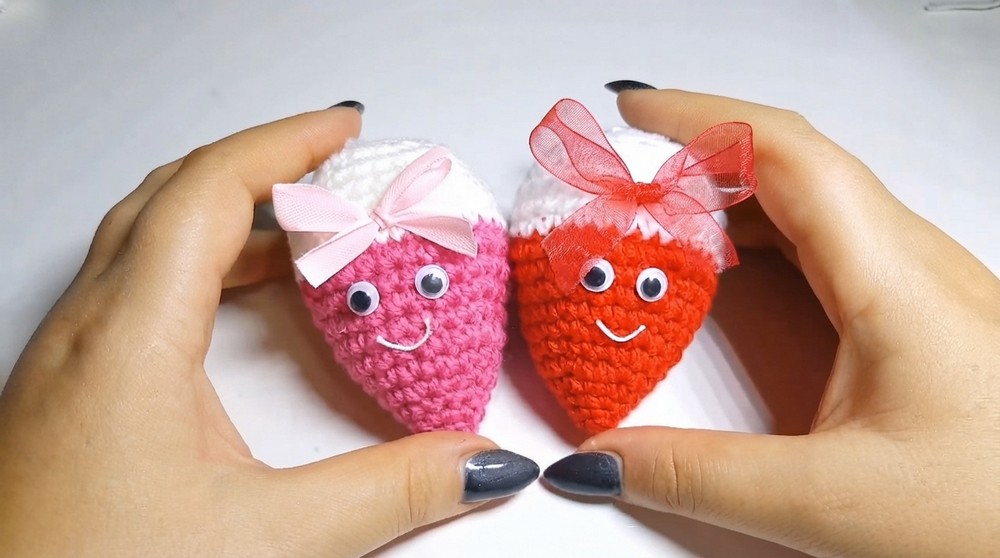
Assembly & Finished Size
- Once decorated, the completed ice cream cone should stand approximately 6–8 cm tall depending on your yarn and hook size.
Tips and Variations
- Customize with Color: Experiment with different ice cream colors (e.g., pink, yellow, mint).
- Rosy Cheeks: Add blush beneath the eyes using fabric paint or embroidery.
- Gift Idea: Make sets in different colors for party favors or decorations.
Conclusion
Congratulations, You’ve successfully crocheted a colorful amigurumi ice cream cone. This fun and simple project is perfect for all skill levels. Personalize it with colors, decorations, and fun details to make it uniquely yours. These cones are great as gifts, party favors, or whimsical decorations. Happy crocheting, and I look forward to seeing you in the next tutorial! 🍦