
Delightful Free Crochet Christmas Placeholder Pattern to Create
Add a cozy and festive touch to your table with this free crochet Christmas placeholder pattern, simple and fun for everyone.
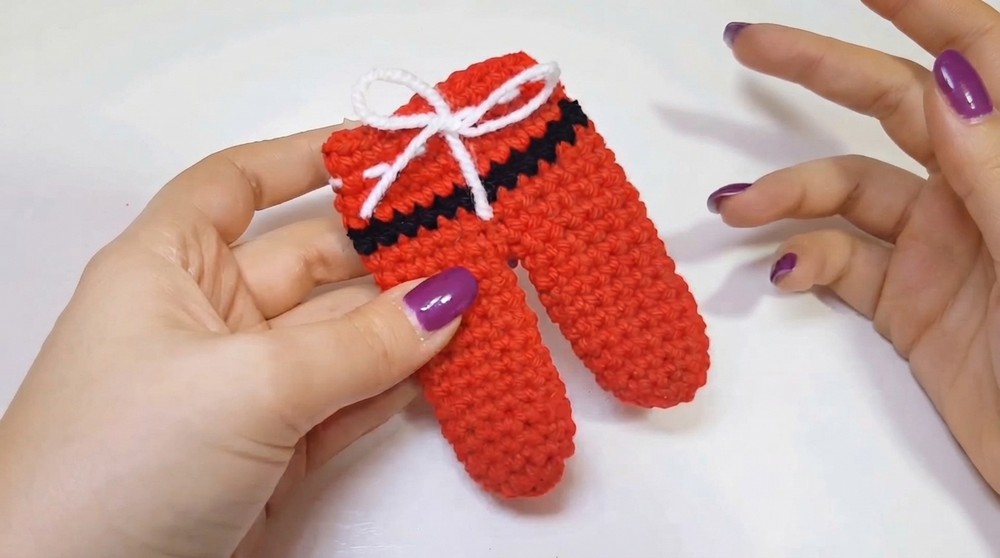
Christmas is the perfect time to add a bit of personal flair to your table settings, and this cute placeholder is sure to steal the show. The Delightful Free Crochet Christmas Placeholder Pattern is a mini Santa inspired pouch, complete with festive colors and charming little details. Its bold red base, black belt detail, and a white ribbon accent make it an eye catching addition to your holiday decor and a fun way to hold cutlery or holiday treats.
Charming Free Crochet Christmas Placeholder for Holiday Decor
The placeholder has a sturdy yet soft texture, thanks to the use of single crochet stitches, and its simple shape makes it ideal for customization. It’s just the right size for holding utensils, but if you prefer something larger or smaller, that’s easy to adapt by tweaking the rows or stitch count. This project suits beginners who want a quick holiday boost without any complicated techniques and advanced crocheters looking for a lighthearted afternoon project.
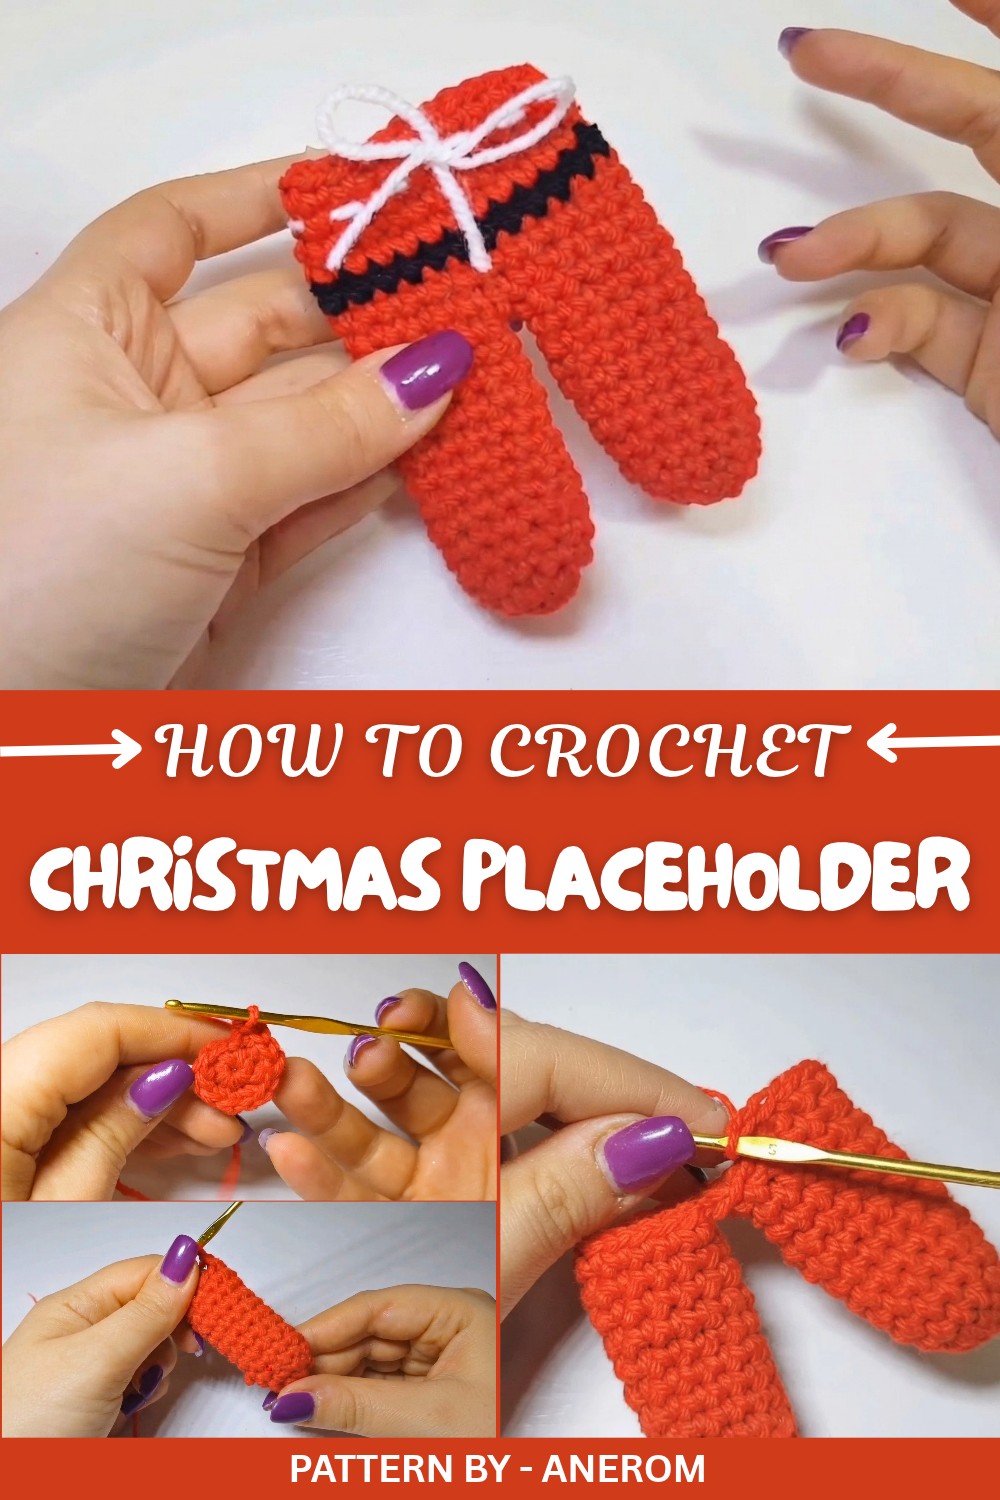
Featured By Anerom
Construction involves working in rounds to form the base, legs, and belt section, keeping everything seamless and polished. Color changes bring the design to life, and a final row of festive white yarn adds a decorative ribbon effect that ties it all together. Acrylic yarn works beautifully here, it’s durable, holds its shape well, and gives the piece a smooth, elegant finish. I always recommend using bright, festive shades for maximum holiday cheer.
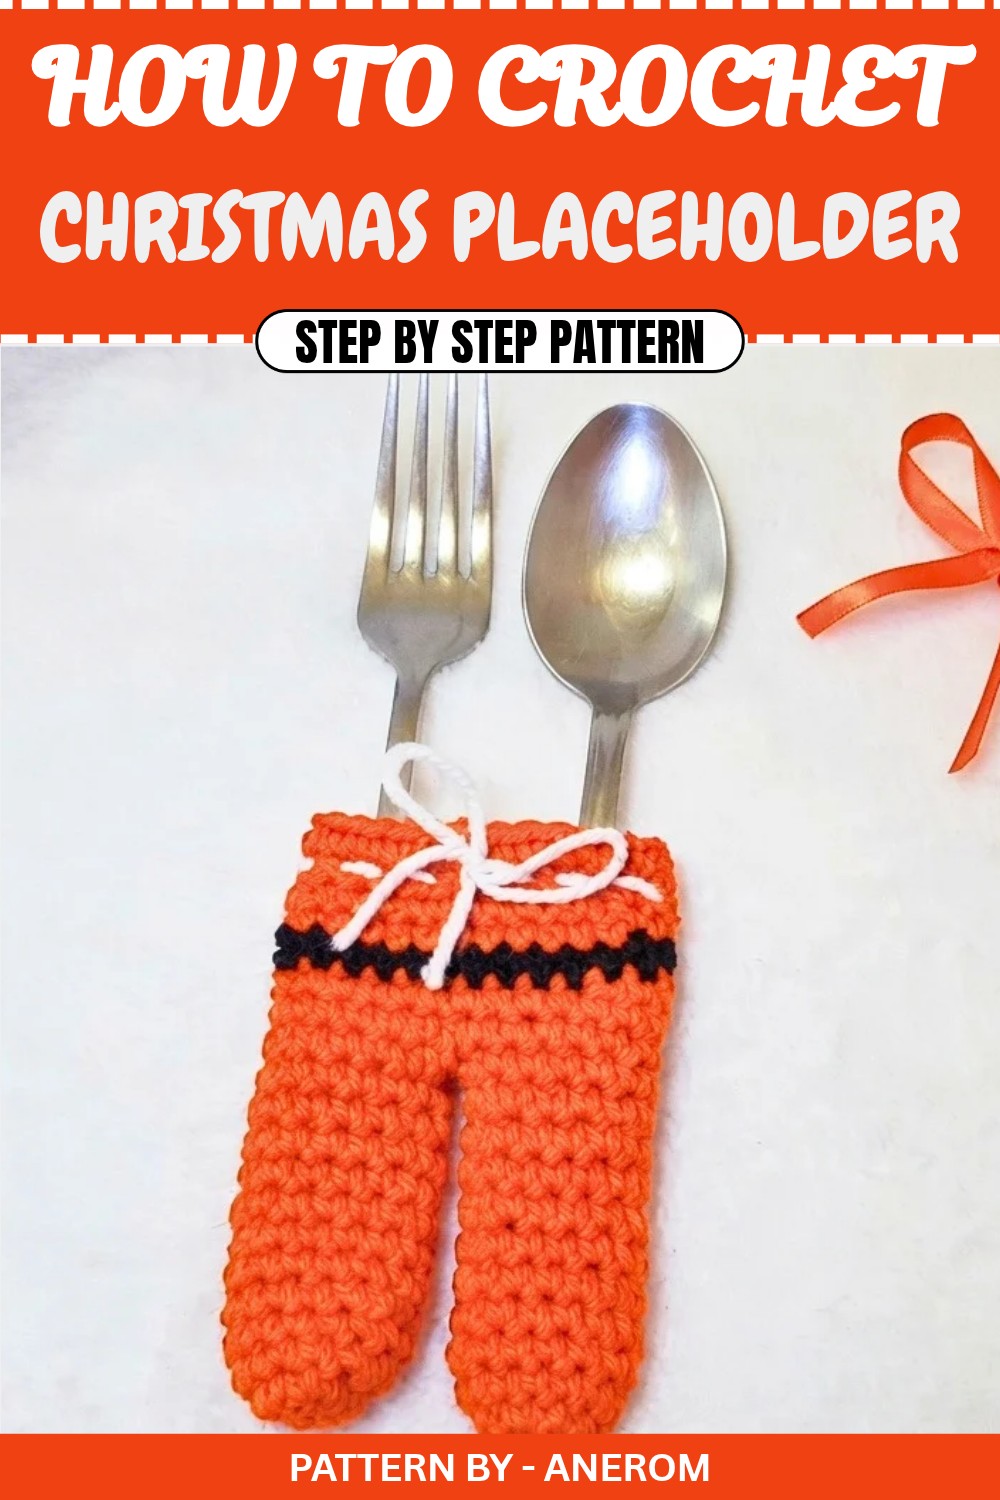
Inspired by the classic Santa suit, this design is both playful and practical, making it a delightful addition to any table setting. Whether you’re crafting for family gatherings or just looking to show off your crochet skills, this placeholder brings a little extra magic to the holidays.
Crochet Christmas Placeholder Pattern
Quick Overview of the Pattern
- Crochet two identical legs with a magical ring and single crochet.
- Attach both legs and crochet additional rounds for the placeholder's shape.
- Add a black round for the "belt" of Santa Claus.
- Finish with red rounds for the continuation of Santa's outfit.
- Use white yarn for hemming and create a bow for added decorative flair.
Notes
- Acrylic yarn is used in the tutorial, but cotton can also work—adjust sizing accordingly.
- The placeholder is designed to hold cutlery but can also be used as festive decor.
- Feel free to substitute the bow with a ribbon or decorative embellishment for personalization.
Skill Level
Beginner – Basic crochet techniques like single crochet, slip stitch, and magic ring are used.
Materials
- Yarn: Red acrylic yarn, white acrylic yarn, and black acrylic yarn.
- Hook: Crochet hook size 3 mm.
- Needles: Yarn needle for joining and finishing.
- Tools: Stitch markers and scissors.
Measurements / Sizing
The project creates a placeholder approximately 15 cm tall, ideal for holding standard-sized cutlery.
Gauge
Gauge is not critical for this project, but the placeholder should maintain consistent stitches for accurate proportions.
Stitch Abbreviations
- ch: Chain
- sc: Single Crochet
- sl st: Slip Stitch
- mr: Magic Ring
Special Stitches
- Magic Ring (mr): A technique to start crochet projects in the round with adjustable tension.
The Crochet Pattern
1. First Leg
Round 1: Create a magic ring (mr). Work 6 sc into the mr. Pull the yarn tail tight to close the ring.
Round 2: In each of the 6 sc from the previous round, make 2 sc. This totals 12 sc.
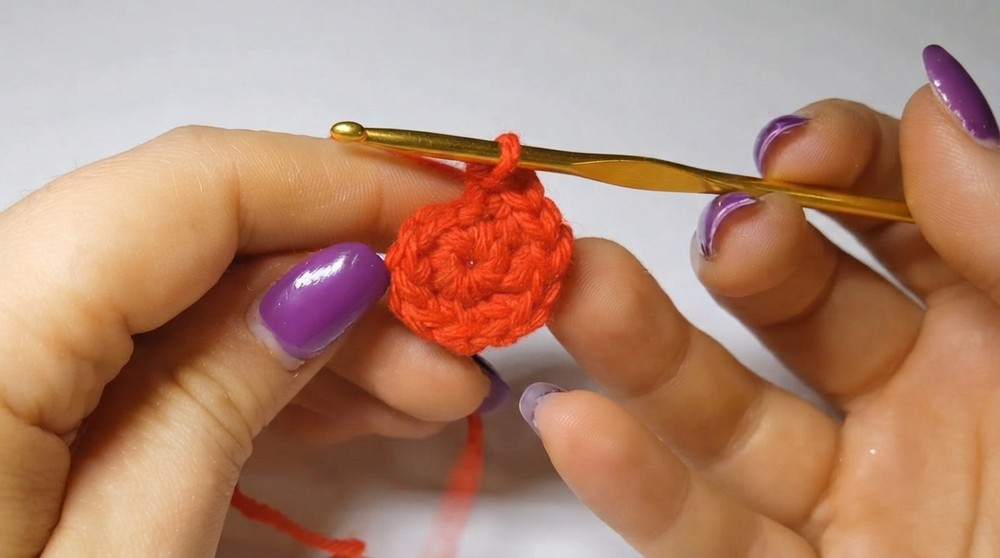
Rounds 3–12: Work 10 rounds of 12 sc each without increases.
- Finish the round with a sl st, pull the yarn, and cut it. Secure the thread by weaving the tail using a yarn needle.
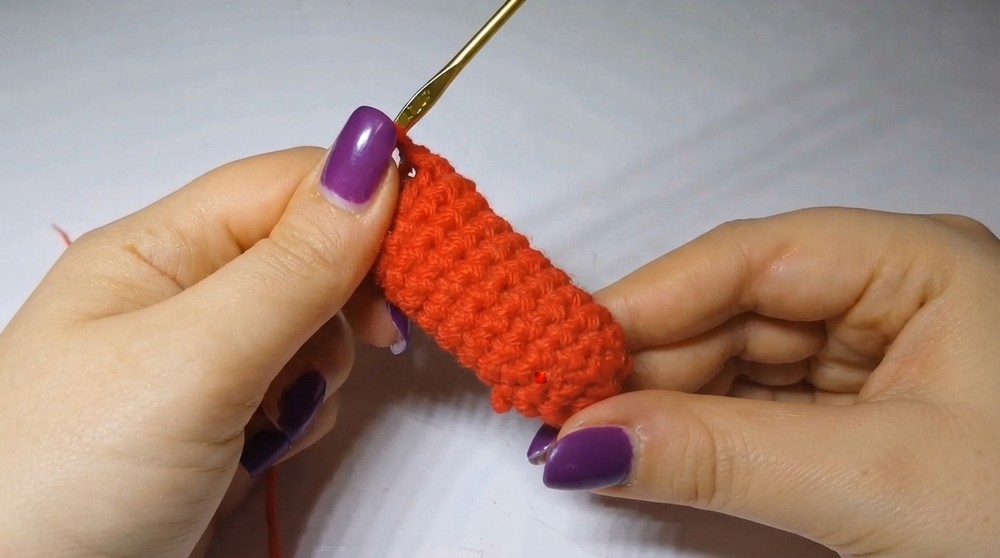
2. Second Leg
Steps: Repeat the instructions for the first leg but do not cut or finish the yarn at the end.
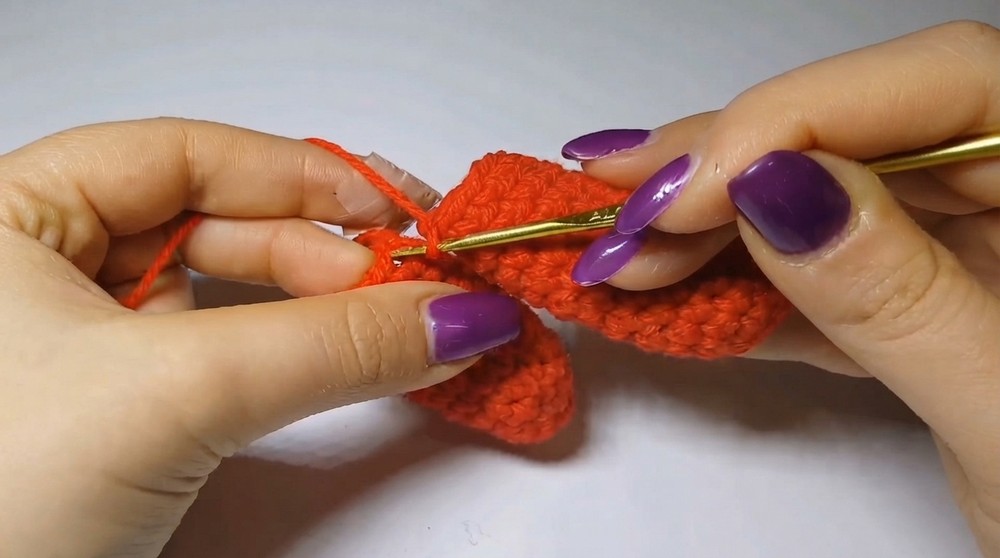
3. Joining the Legs
- Position the two legs next to each other.
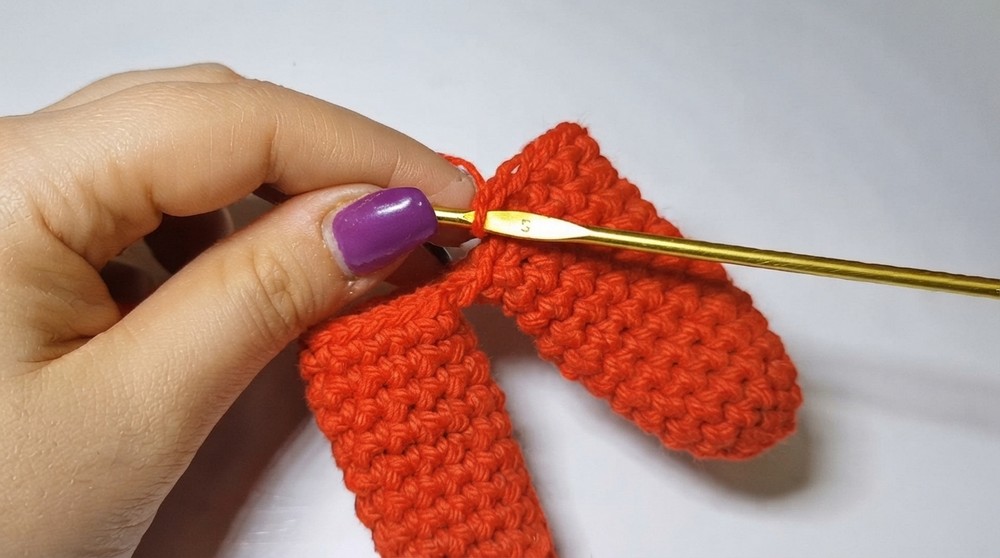
- Round 1 (Joining Round): Begin with 1 sc in any stitch on the first leg, then continue to crochet 12 sc around the first leg. Move to the second leg and work 12 sc around it. You’ll now have 24 sc for the joined legs.
Rounds 2–3: Continue to work 24 sc per round without any increases for two rounds.
4. Add the Black Belt
Round 1: Attach the black yarn to any stitch from the joined legs using a slip knot. Crochet 24 sc for a full round, forming the belt.
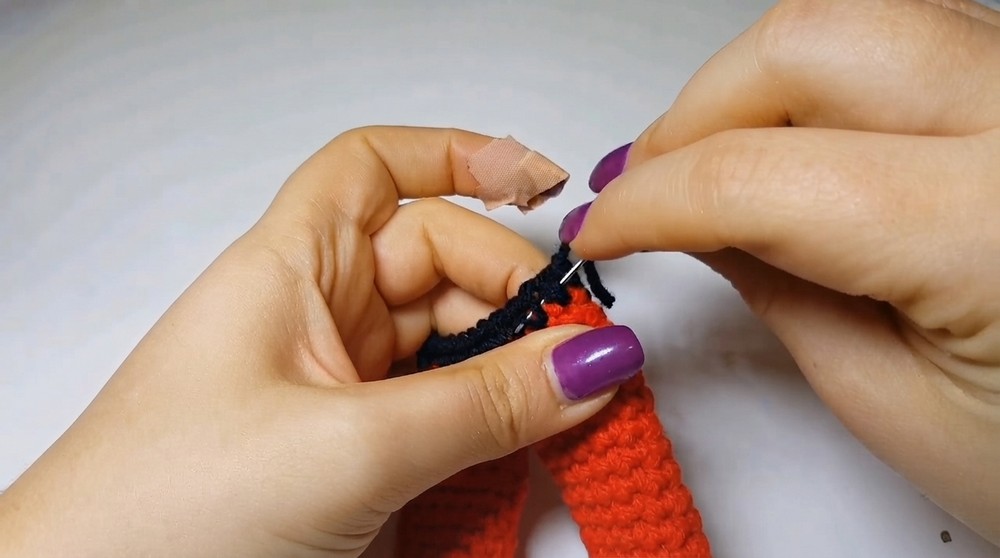
End the Round: Close with a sl st, pull the yarn tight, and cut it. Use the yarn needle to weave in the tail and secure it.
5. Add the Red Section
Round 1: Attach the red yarn using a slip knot to any point in the last round (above the black section). Crochet 24 sc for a round.
Rounds 2–5: Continue working 24 sc per round using the red yarn for four rounds in total.
End the Round: Complete the last round with a sl st, pull the yarn tight, and cut it. Weave in the tail securely with the yarn needle.
6. Final Decorative Layer (White Yarn)
- Thread white yarn through a yarn needle, leaving the yarn long enough for hemming.
- Starting on the third round above the black section, insert the needle above and below each stitch across the round.
- Keep the thread loose to maintain a soft and decorative effect and tie a knot at the end.
7. Create the Bow
- With the loose ends of the white thread, tie a bow securely in the front of the placeholder.
- Optionally replace the bow with a decorative ribbon for a more personalized finish.
Assembly & Finished Size
- The placeholder holds cutlery and stands approximately 15 cm tall.
- Adjust the bow, ensuring it’s neat and centered for visual appeal.
Conclusion and Ending Words
Your crochet Christmas placeholder is now complete. This festive and functional design adds charm to any holiday table. Whether you use it for cutlery, gift wrapping, or decoration, this fun craft project is quick, easy, and perfect for spreading holiday cheer.