
Free Barbapapa Crochet Pattern for the Whole Family
Refresh your daily school bag with a Free Crochet Barbapapa Amigurumi Pattern when you want a cute cartoon charm to clip onto your zipper pull.
Pattern By Anerom
Bring a touch of nostalgia and creativity to your crochet collection with this charming amigurumi project. Inspired by the lovable characters from the iconic Barbapapa family, this crochet creation is bursting with personality and warmth. Whether you’re making it as a special gift, a unique room decoration, or an adorable collectible, this design is perfect for anyone who loves imaginative handmade crochets. Its round, soft shape and cheerful features make it impossible to resist.
This crochet design is ideal for beginners venturing into the colorful world of amigurumi or intermediate crocheters looking for a quick and satisfying project. Crafted primarily with simple techniques like single crochet, magic rings, increases, and decreases, this project ensures an enjoyable and stress free crafting experience. Using soft acrylic yarn in vibrant colors such as pink, orange, or yellow allows you to bring these cheerful characters to life while maintaining a plush, durable finish.
Free Fun Crochet Pattern to Make an Adorable Barbapapa
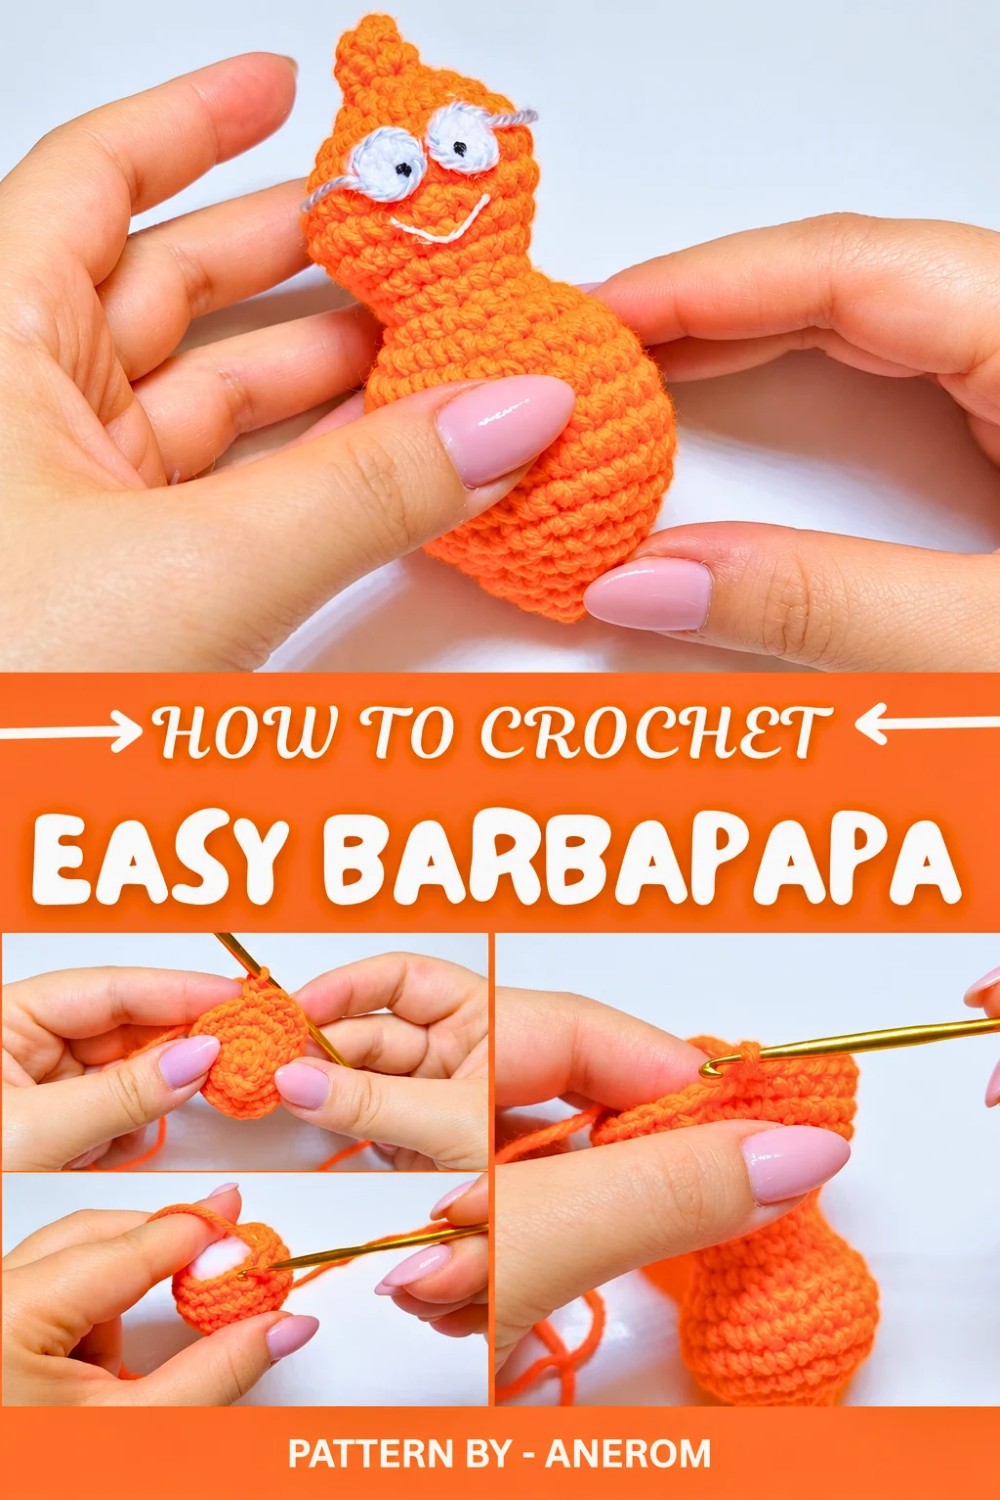
The finished piece is both compact and delightfully plump, making it a wonderful addition to any display shelf or playroom. At approximately 12 to 15 cm tall, it’s small enough to handle yet big enough to stand out. Adding fun details such as expressive eyes, cute facial features, and bold colors truly highlights the unique personality of each character.
Prepare to fall in love with this free Barbapapa crochet pattern, a timeless crochet project that will brighten any space and inspire smiles wherever it’s placed.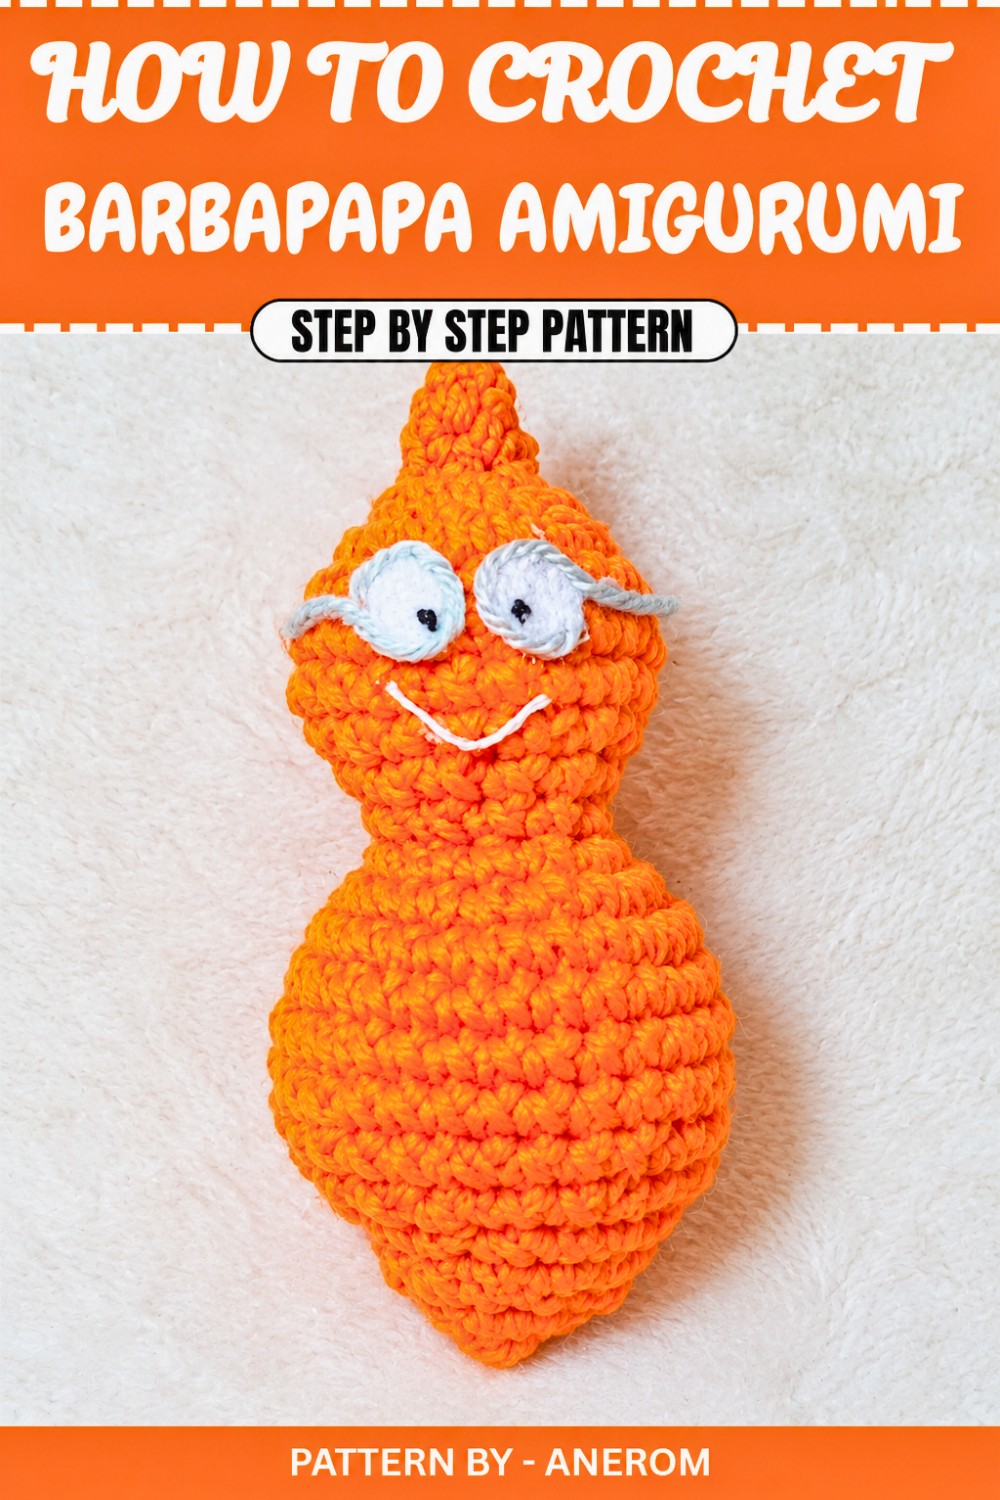
Crochet Pattern: Barbapapa Amigurumi Doll
This tutorial will guide you through creating Barbapapa, the smart and adorable member of the Barba Papà family. This is the last piece in the Barba Papà Amigurumi family series. Barbottina is recognizable by her iconic glasses, and in this pattern, I’ll show you step by step how to crochet her and create her intelligent look.
Quick Overview Of Pattern
- Project Type: Barbottina Amigurumi Doll (Barba Papà series)
- Uses: Cute decoration, collectible, or gift for kids and fans of Barba Papà
- Customization: Add unique details with embroidery, felt, and yarn
Notes
- Work in continuous rounds unless otherwise stated. Mark the first stitch of each round using a stitch marker or yarn scrap to keep track of your position.
- Use a lighter green acrylic thread for outlining Barbottina’s eyeglasses if possible.
Skill Level
Intermediate – Basic crochet skills needed, including single crochet, increases, decreases, and working in the round.
Materials
- Yarn: Weight 3 acrylic yarn in orange for Barbottina’s body
- Crochet Hook: 3.0 mm
- Stuffing: Polyfill for filling the doll
- Felt: White and green felt for eyes and eyeglasses
- Black acrylic yarn: For detailing and the mouth
- Permanent marker (black): To draw the pupils
- Needle: For sewing and weaving in ends
- Stitch marker or safety pin: To mark the beginning of each round
- Scissors
Measurements / Sizing
The finished Barbottina Amigurumi doll is approximately 10 to 12 cm (4 to 5 inches) tall, depending on the yarn and tension used.
Gauge
Gauge is not critical for this project but ensure a tight and even stitch to prevent stuffing from showing.
Stitch Abbreviations
- ch = chain
- sc = single crochet
- inc = increase (two sc in the same stitch)
- dec = invisible decrease (single crochet two stitches together)
- st(s) = stitch(es)
Special Stitches
Magic Ring (MR):
- Create a loop with your yarn and hold it in place.
- Insert the hook into the loop, yarn over, and pull through.
- Work stitches into the ring, then pull the tail tight to close.
Invisible Decrease (inv dec):
- Insert your hook into the front loop of the first stitch.
- Without yarning over, insert your hook into the front loop of the second stitch.
- Yarn over and pull through two loops on your hook.
- Yarn over again and pull through the last two loops.
The Crochet Pattern
Step 1: Start with the Magic Ring
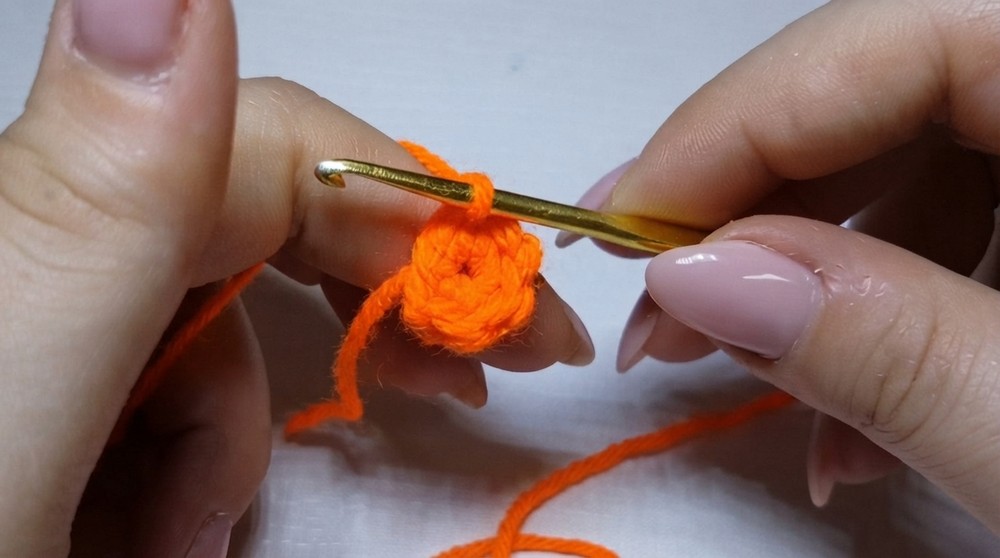
- Begin with a magic ring and work 6 sc into the ring. Pull the tail to tighten. [6 sts]
- Rounds 1–2:
- Work 6 sc in each round (1 sc in each st). [6 sts per round]
- Optionally, you can do these 2 rounds consecutively without a stitch marker, simply counting 12 stitches.
- Round 3 (Increase):
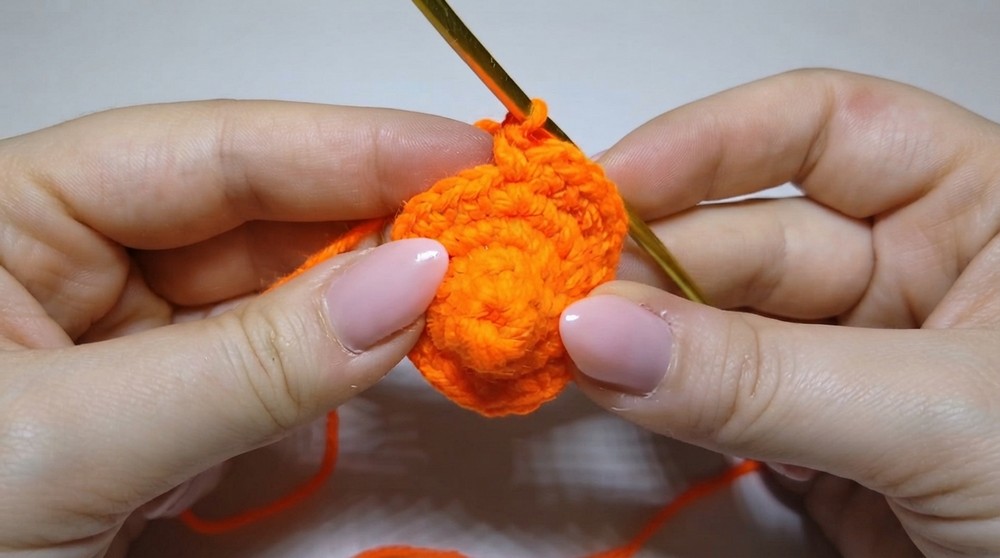
- Work 1 inc in every stitch around. [12 sts]
- Round 4:
- Alternate 1 sc, 1 inc in each stitch around. [18 sts]
- Round 5:
- Alternate 2 sc, 1 inc in each stitch around. [24 sts]
- Rounds 6–7:
- Work 1 sc in every stitch for these 2 rounds. [24 sts per round]
Step 2: Shaping the Head
- Round 8:
- Work 2 sc, 1 inc in each sequence around. [32 sts]
- Round 9:
- Alternate 3 sc, 1 inc in each sequence around. [40 sts]
- Rounds 10–12 (Body Height):
- Work 1 sc in every stitch for 3 full rounds. [40 sts per round]
- Round 13:
- Alternate 3 sc, 1 dec in each sequence around. [32 sts]
- Round 14:
- Alternate 2 sc, 1 dec in each sequence around. [24 sts]
- Before starting the next round, lightly stuff the head section with polyfill.
- Push the stuffing evenly to ensure a smooth shape.
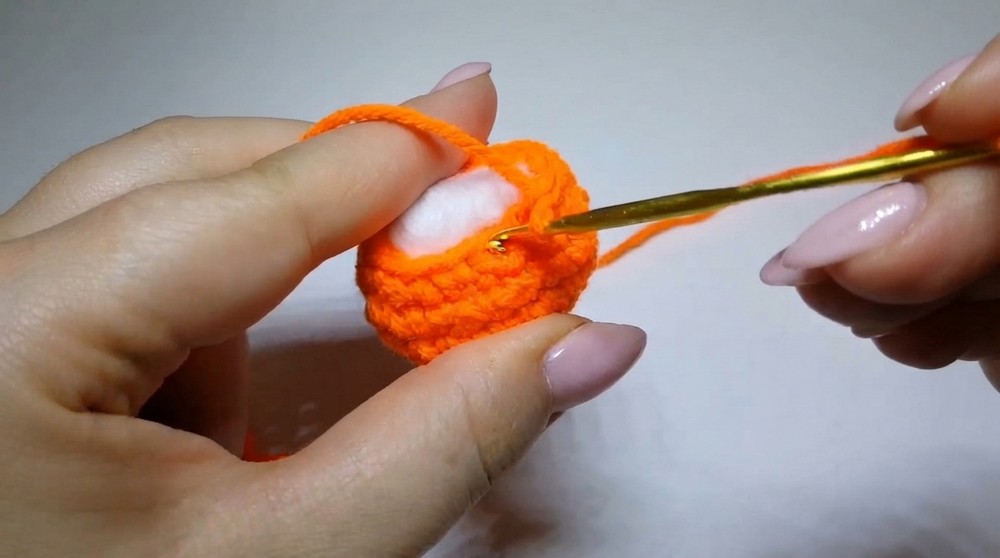
Step 3: Body Formation
- Rounds 15–16:
- Work 1 sc into each stitch for 2 full rounds. [24 sts per round]
- Round 17:
- Alternate 1 sc, 1 inc around. [36 sts]
- Round 18:
- Alternate 2 sc, 1 inc around. [48 sts]
- Round 19:
- Alternate 3 sc, 1 inc around. [60 sts]
- Rounds 20–22:
- Work 1 sc in every stitch for 3 rounds.
- This defines the shape of Barbottina’s body. [60 sts per round]
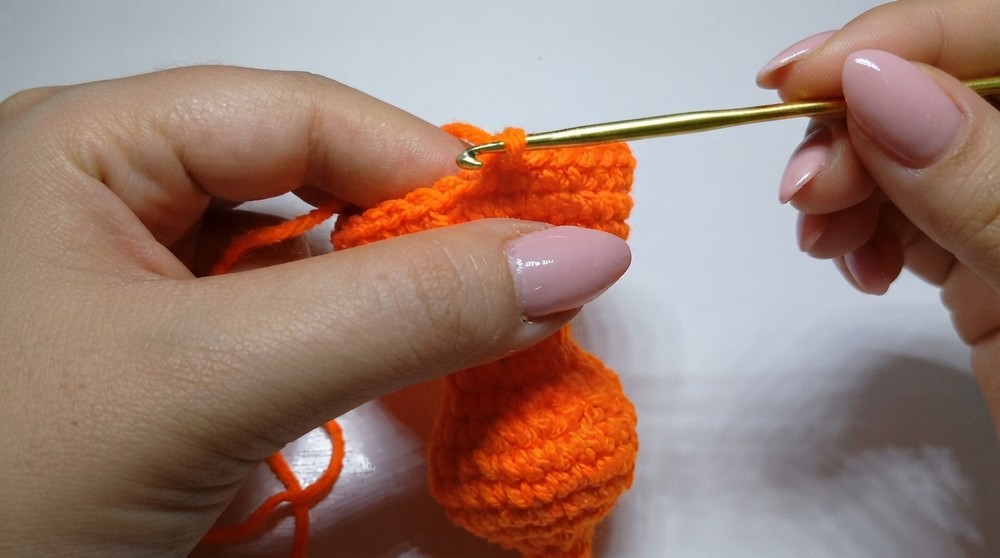
Step 4: Shaping the Bottom
- Round 23:
- Alternate 3 sc, 1 dec around. [48 sts]
- Round 24:
- Alternate 2 sc, 1 dec around. [36 sts]
- Round 25:
- Alternate 1 sc, 1 dec around. [24 sts]
- Before proceeding, stuff the body to ensure a full shape.
- Round 26 (Final Round):
- Work 6 consecutive dec to close the opening. [6 sts]
- Fasten Off:
- Pull the loose yarn tail tightly to close the opening. Thread the tail into a yarn needle and stitch the opening closed securely.
- Weave in the remaining tail through a few stitches and trim any excess yarn.
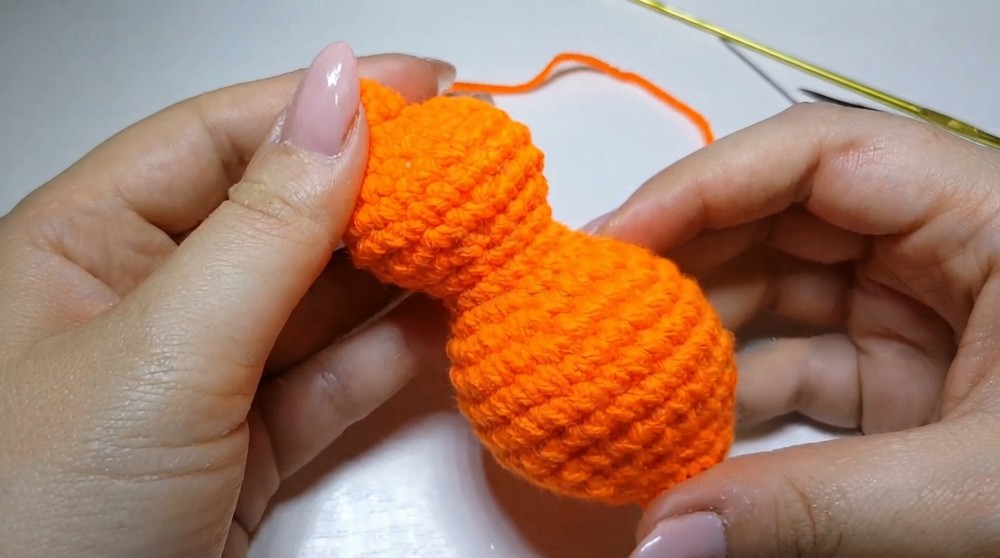
Assembly & Finished Size
- Finishing the Face:
- Eyes: Cut two white felt circles and a pair of black dots from black felt for Barbottina’s eyes. Attach the black dots to the white circles with glue to create pupils.
- Glasses: Wrap green acrylic thread around the white felt circles to mimic glasses. Glue securely around the eye shapes.
- Mouth: Use dark thread or embroidery floss to sew on a slight smile.
- Attach the Features:
- Glue the finished eyes (with glasses) onto Barbottina’s face.
- Use a permanent marker to add final details like eyelashes or any custom features.
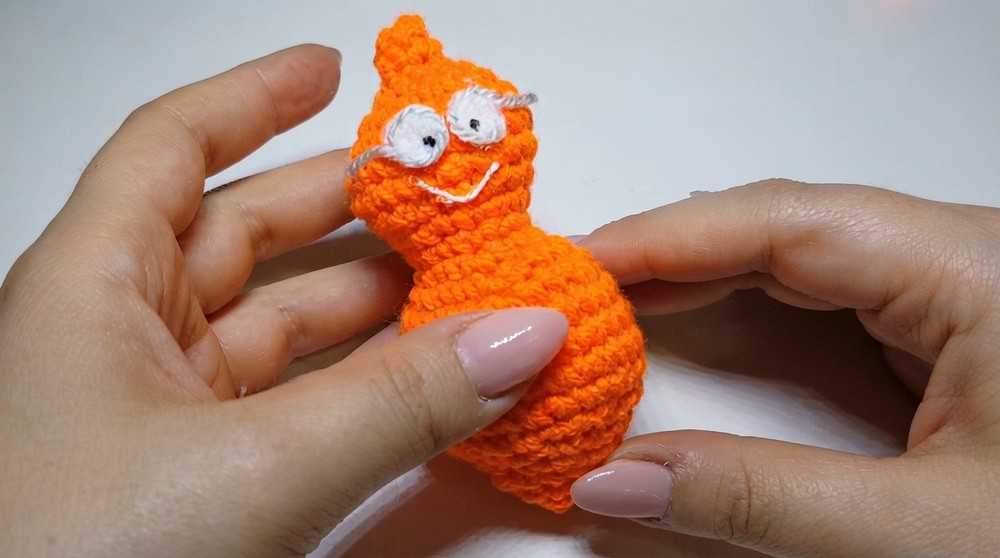
Conclusion and Final Words
Congratulations—you’ve now completed Barbapapa, the intelligent member of the Barba Papà family. With her charming glasses and bright personality, she’s a great addition to your amigurumi collection. Perfect as a gift, child’s toy, or collectible, this project is as fun to make as it is to admire.