
Free Crochet Barbapapà Pattern to Wow Everyone
Bring Barbapapà to life with this amazing free crochet pattern that is easy to use and fun to make for kids and adults alike.
There’s something truly delightful in bringing a Barbapapà character to life with yarn and a crochet hook. The talented creator behind the Anerom YouTube channel makes the process easy and fun with clear, step by step instructions.
With its vibrant colors and rounded, plush body, this project is perfect for kids, collectors, or fans of the iconic Barbapapà family. The charm lies in its simplicity, the smooth, bulbous shape of the character is easy to achieve, and the addition of expressive facial features made from felt and simple embroidery gives it a heartwarming personality. Starting with a magic ring as the foundation, the body is built up using basic stitches like single crochet, increases, and decreases. Watching it take shape stitch by stitch is incredibly exciting and satisfying.
Free Crochet Pattern for an Adorable Barbapapà Toy
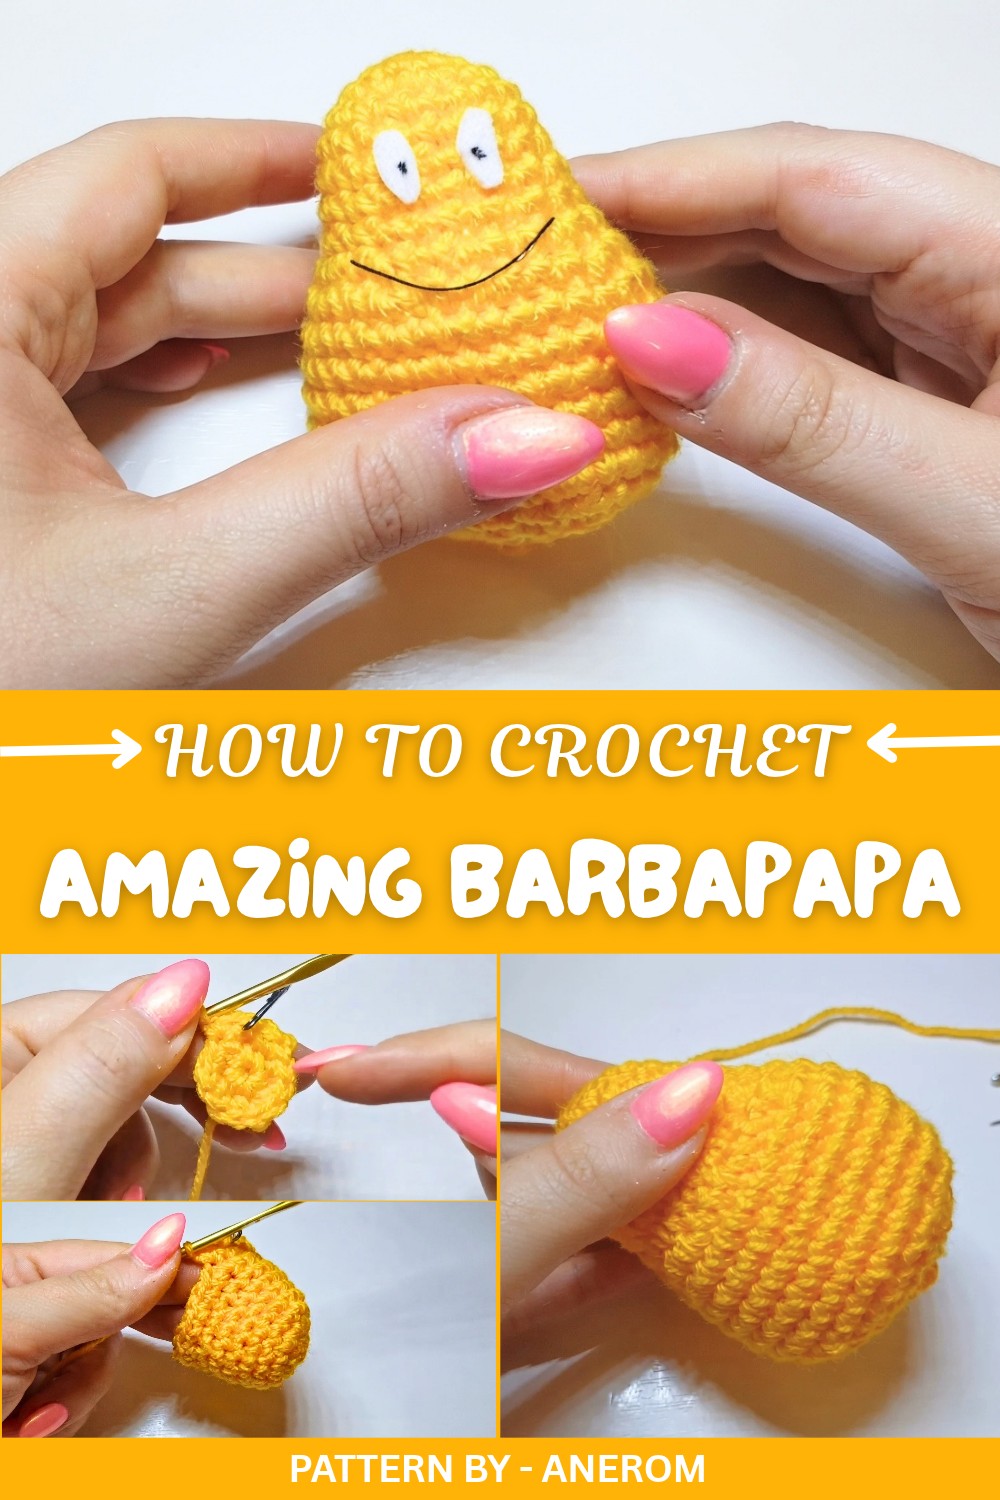
This pattern shines not just in its design but in its flexibility. You can stick to the classic pink Barbapapà or explore other color options to recreate members of the Barbapapà family. It’s the kind of project that sparks creativity—perfect for gifts or charming decorations. Using acrylic yarn in bright, cheerful hues ensures the final piece is both soft and durable, ideal for cuddling or collecting.
Whether it’s your own nostalgic love for these characters or a desire to create a memorable handmade gift, crocheting a Barbapapà is both a relaxing and enjoyable experience. Let the magic of crochet transport you into their lovable world while you create your very own version of this cheerful character.
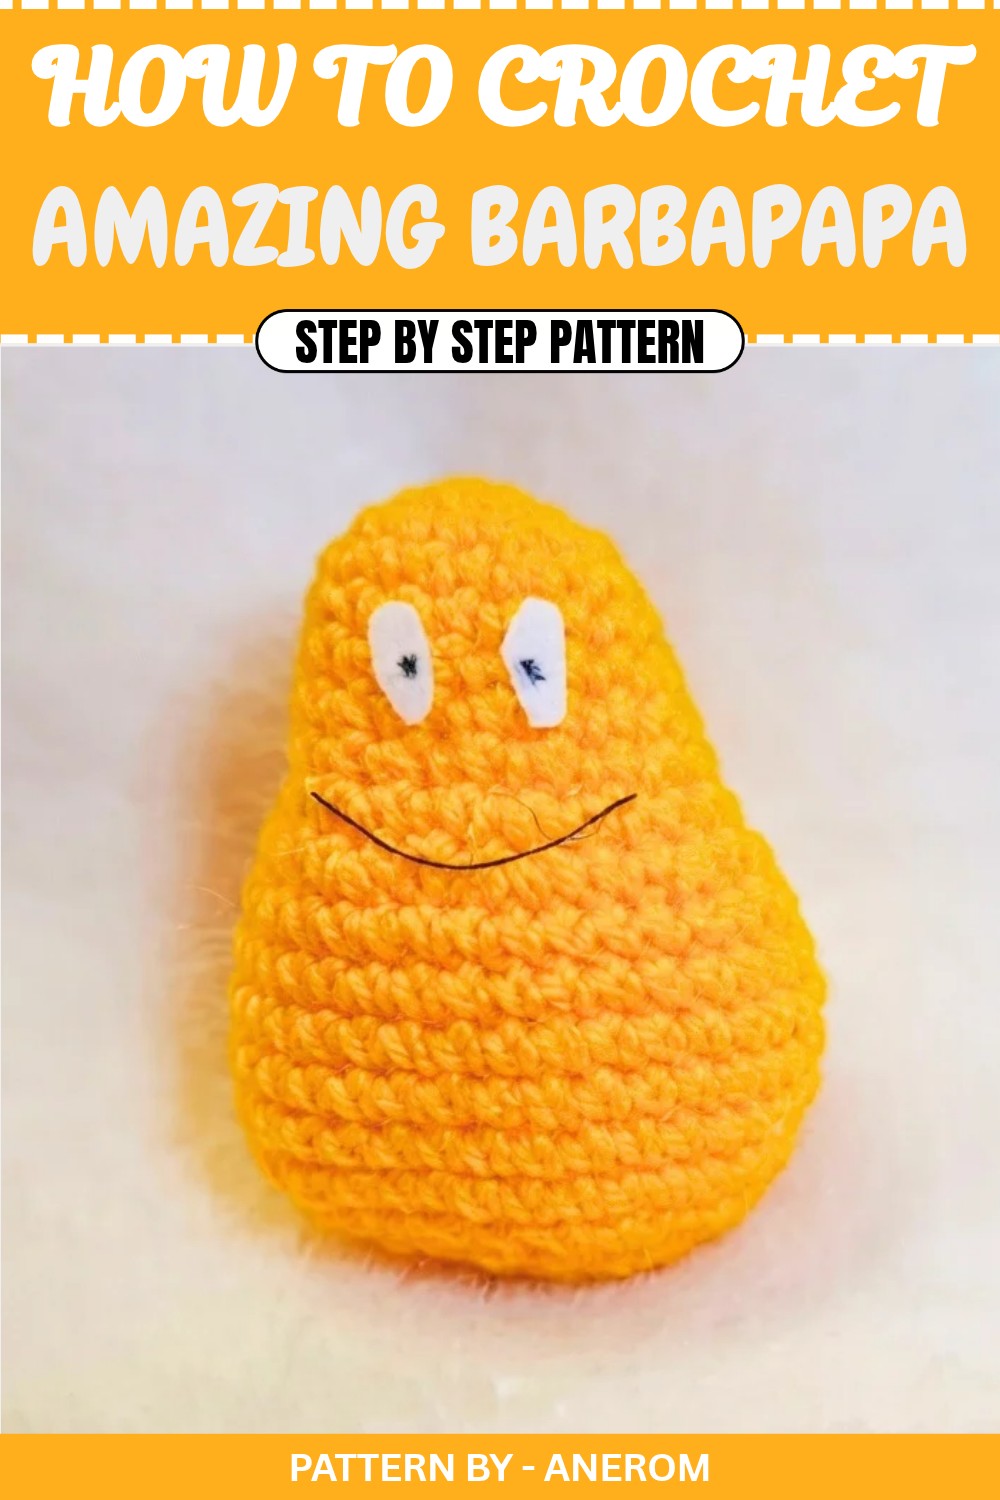
Free Crochet Pattern: Barbapapà
Quick Overview of Pattern
- Begin with a magic ring and build the foundational rounds of single crochets.
- Gradually increase stitches to form the oval like body of Barbazoo.
- Maintain rows of single crochets to create the body shape.
- Add stuffing to give Barbazoo the correct structure.
- Close the final round with decreases to complete the body.
- Add facial details like eyes, pupils, and mouth to complete the character using felt and thread.
Notes
- Ensure the stitches are neat and tight for a smooth and even finish.
- Use stitch markers to track the first stitch of each row for accuracy while working.
- Prepare all materials in advance, including felt for eyes and thread for facial features.
- Stuff the figure before finishing the final decreases.
- Take your time when sewing the final details for a polished look.
Skill Level
Beginner-Friendly
This project requires basic crochet skills, such as working single crochets, increases, and decreases.
Materials
- Yarn:
- Acrylic yellow yarn, size 3 (or medium weight yarn of your choice).
- Hook:
- 3.0mm crochet hook.
- Stuffing material: Polyfill or cotton for shaping the body.
- Felt: White felt for the eyes.
- Permanent Black Marker: For the pupils.
- Black Cotton Thread: For sewing the mouth.
- Tapestry Needle: For sewing and weaving ends.
- Scissors: For cutting yarn and felt.
Measurements / Sizing
- The finished Barbazoo measures approximately 15–20 cm, depending on yarn tension and stuffing.
Gauge
Gauge is not critical for this project, but ensure stitches are tight enough to hold stuffing without gaps.
Stitch Abbreviations
- ch – Chain
- sc – Single crochet
- inc – Increase (2 sc in the same stitch)
- dec – Decrease (single crochet 2 stitches together)
- sl st – Slip stitch
Special Stitches
Magic Ring
The magic ring creates a tight, closed center for working in the round. Wrap yarn into a loop, crochet into the loop, pull tight to close, and continue stitching as instructed.
The Crochet Pattern
Step 1: Body
- Foundation (Round 1):
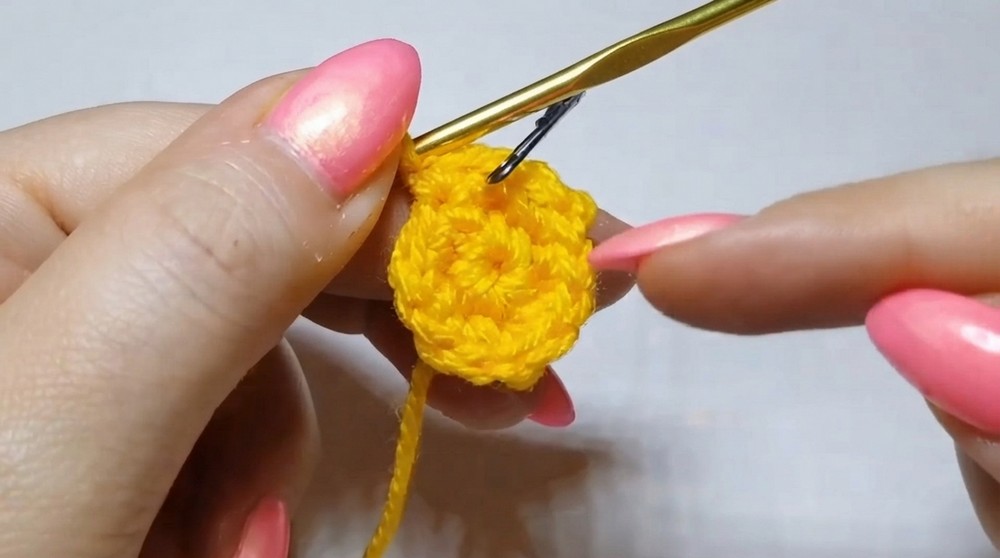
- Make a magic ring.
- Crochet 6 sc into the ring. Pull the short tail to close the ring tightly.
- Round 2:
- Make 2 sc in each of the 6 sc from the previous round (6 increases). You should now have 12 sc.
- Round 3:
- Alternate 1 sc in the first stitch, 2 sc in the second stitch (repeat around). This gives you 18 sc total.
- Rounds 4–8:
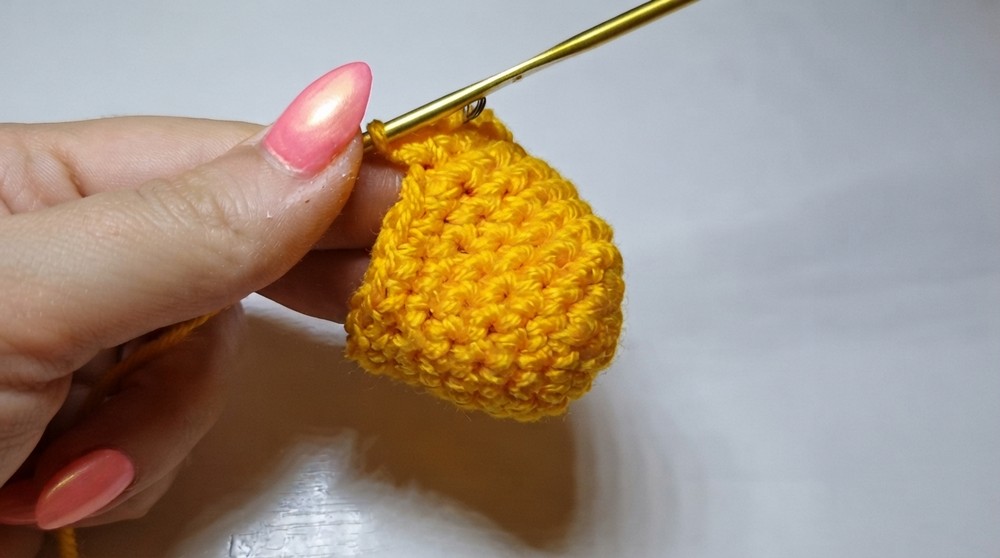
- Work 5 rounds of sc with no increases. Make 1 sc in each stitch around.
- Remember to mark the first stitch with a stitch marker for accurate rounds.
- Round 9:
- Alternate 1 sc, 2 sc in the following stitch for this entire round.
- This gives you 27 sc total.
- Round 10:
- Alternate 2 sc followed by an increase (2 sc in the next stitch) throughout the round. This gives you 36 sc total.
- Rounds 11–16:
- Work 6 rounds of sc with no increases. Ensure each row starts with a stitch marker for accuracy.
- Round 17:
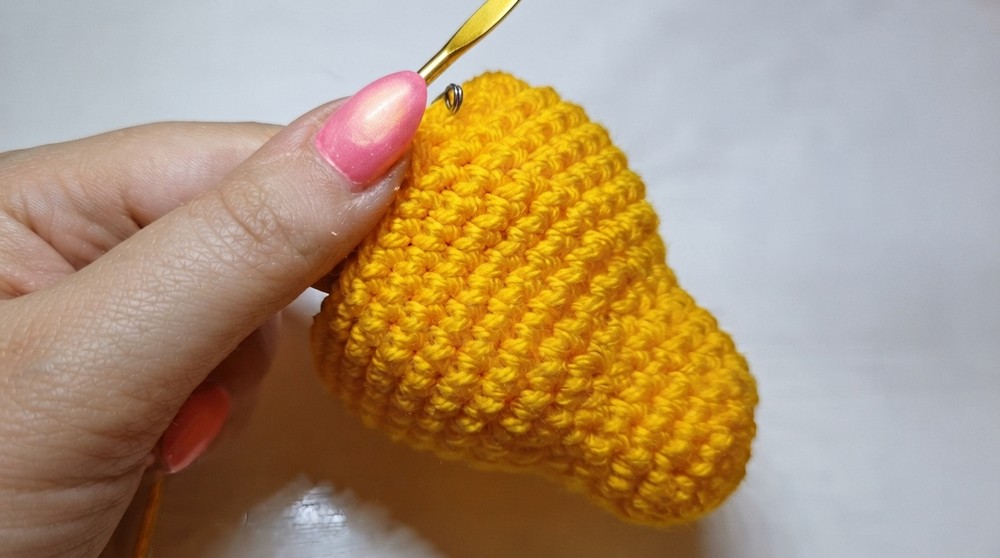
- Begin decreases by alternating 2 sc, followed by 1 dec. Repeat until the round ends.
- Round 18:
- Alternate 1 sc, 1 dec throughout the round.
- Stuffing:
- Pause here to add stuffing into the body through the open end.
- Ensure the stuffing fills the figure evenly for a smooth shape.
- Final Rounds:
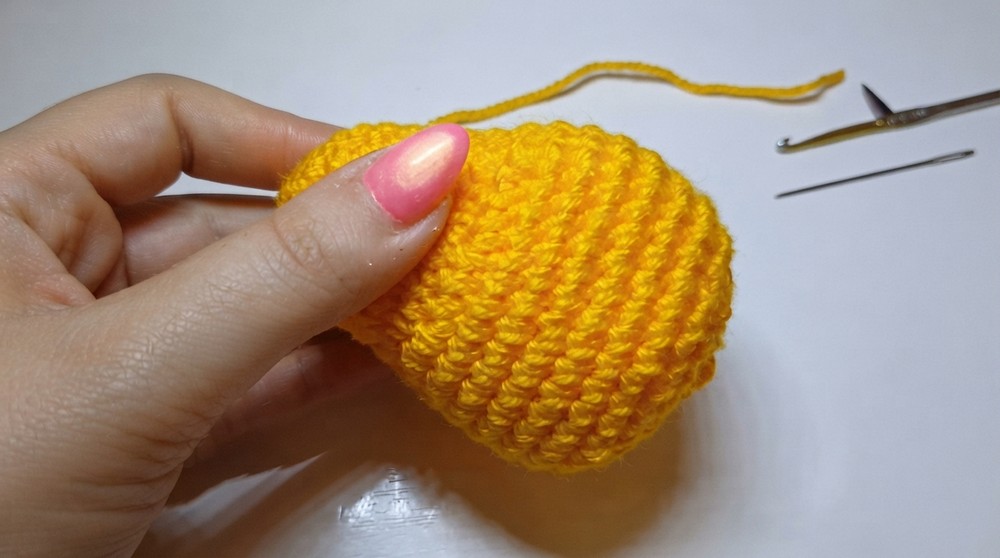
- Work consecutive dec around (no filler stitches) until the opening closes.
Step 2: Closing
- After creating 12 consecutive decreases, pull the yarn tight. This will close the top opening completely.
- Insert the yarn into a tapestry needle and use it to close the final hole by sewing through the remaining stitches.
- Continue weaving the yarn through multiple stitches of the project to secure the end, ensuring it doesn’t unravel. Trim off any excess yarn once done.
Step 3: Facial Details
- Eyes:
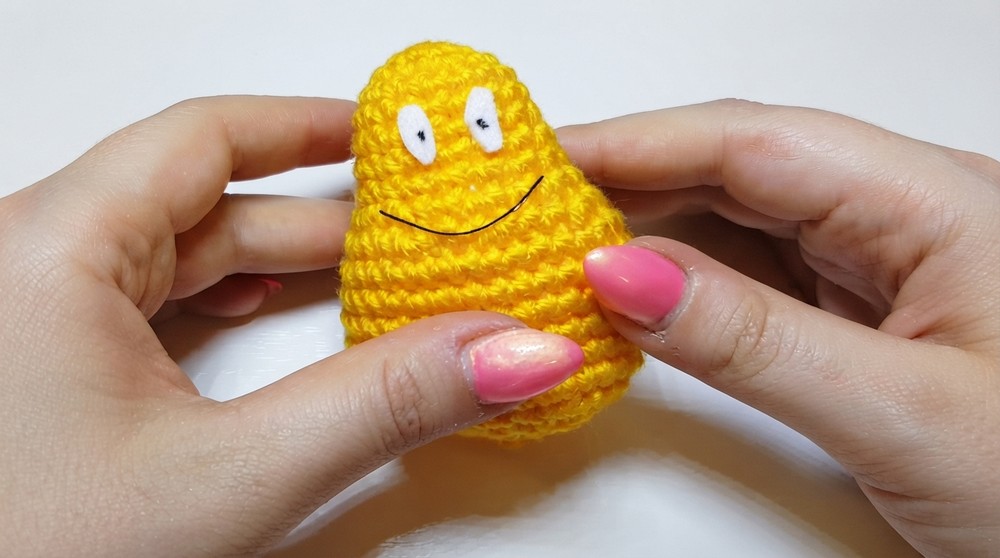
- Cut two oval shapes from white felt for the eyes.
- Use a permanent black marker to create dots for the pupils on the felt.
- Attach the eyes to the body using glue or sewing thread.
- Mouth:
- Use black cotton thread and a needle to embroider a simple curved mouth beneath the eyes.
Assembly & Finished Size
Once the figure is stuffed, crocheted closed, and decorated with felt and thread, the finished Barbazoo measures approximately 15–20 cm tall. The dimensions may vary slightly depending on your yarn type and tension.
Conclusion and Ending Words
Our Barbazoo is finally ready! I hope you enjoyed the tutorial and found it clear. This charming character is a perfect idea to complete the Barbapapà family or to create a special, handmade gift! Leave me a comment if you have any questions or suggestions, and don’t forget to subscribe to the channel to stay updated on new projects.