
Free Crochet Little Car Pattern for Your Home
Try this free crochet pattern to make a quick and lovely little car that’s perfect for kids, decorations, or just for fun.
A tiny car packed with charm, it doesn’t get more adorable than this. This Free Crochet Little Car Pattern brings cute and cozy vibes to the table. With its softly rounded shape, bold wheels, and compact design, this little car is as fun to look at as it is to make. It’s perfect for kids’ toys, nursery decor, or even as a playful collectible for those who love handmade treasures.
Pattern By Anerom
The texture of the car gives it a snug and plush feel that’s easy on the hands, yet the shape holds firm thanks to tight stitches and careful stuffing. What really makes this project stand out are the details: the tiny wheels that add character, the smooth curves of the car body, and the opportunity to customize the color combinations. Bright primary colors give it a classic toy appearance, but soft pastels or bold monochromes can make it modern and unique.
Quick Crochet Pattern to Create the Cutest Little Car
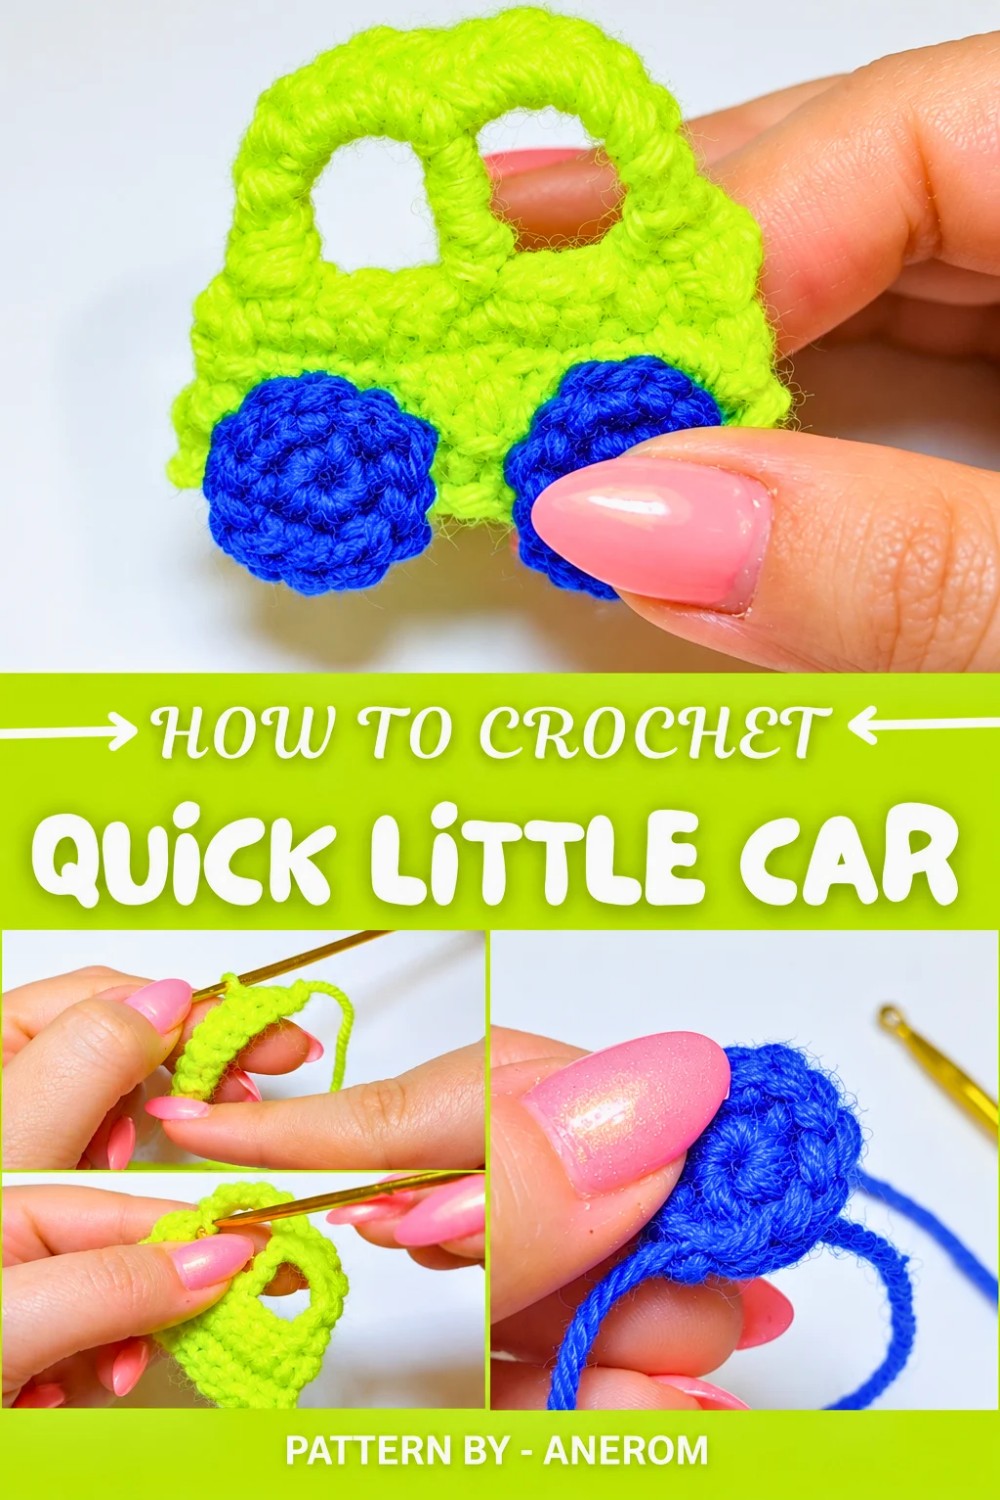
The construction process is straightforward and enjoyable. The body and wheels are worked separately, a technique that ensures each element stands out distinctly. Once completed, the pieces are sewn together for a seamless finish. Choosing a yarn with slightly firm ply is key to ensuring the structure looks polished while still being soft enough for little hands to play with.
A little tip? Work your stitches tightly with a smaller hook size to ensure the car holds its stuffing well and keeps its shape. Add embroidery or felt details for an extra personal touch. This tiny car is versatile, fun, and a joy to bring to life, perfect for spreading smiles.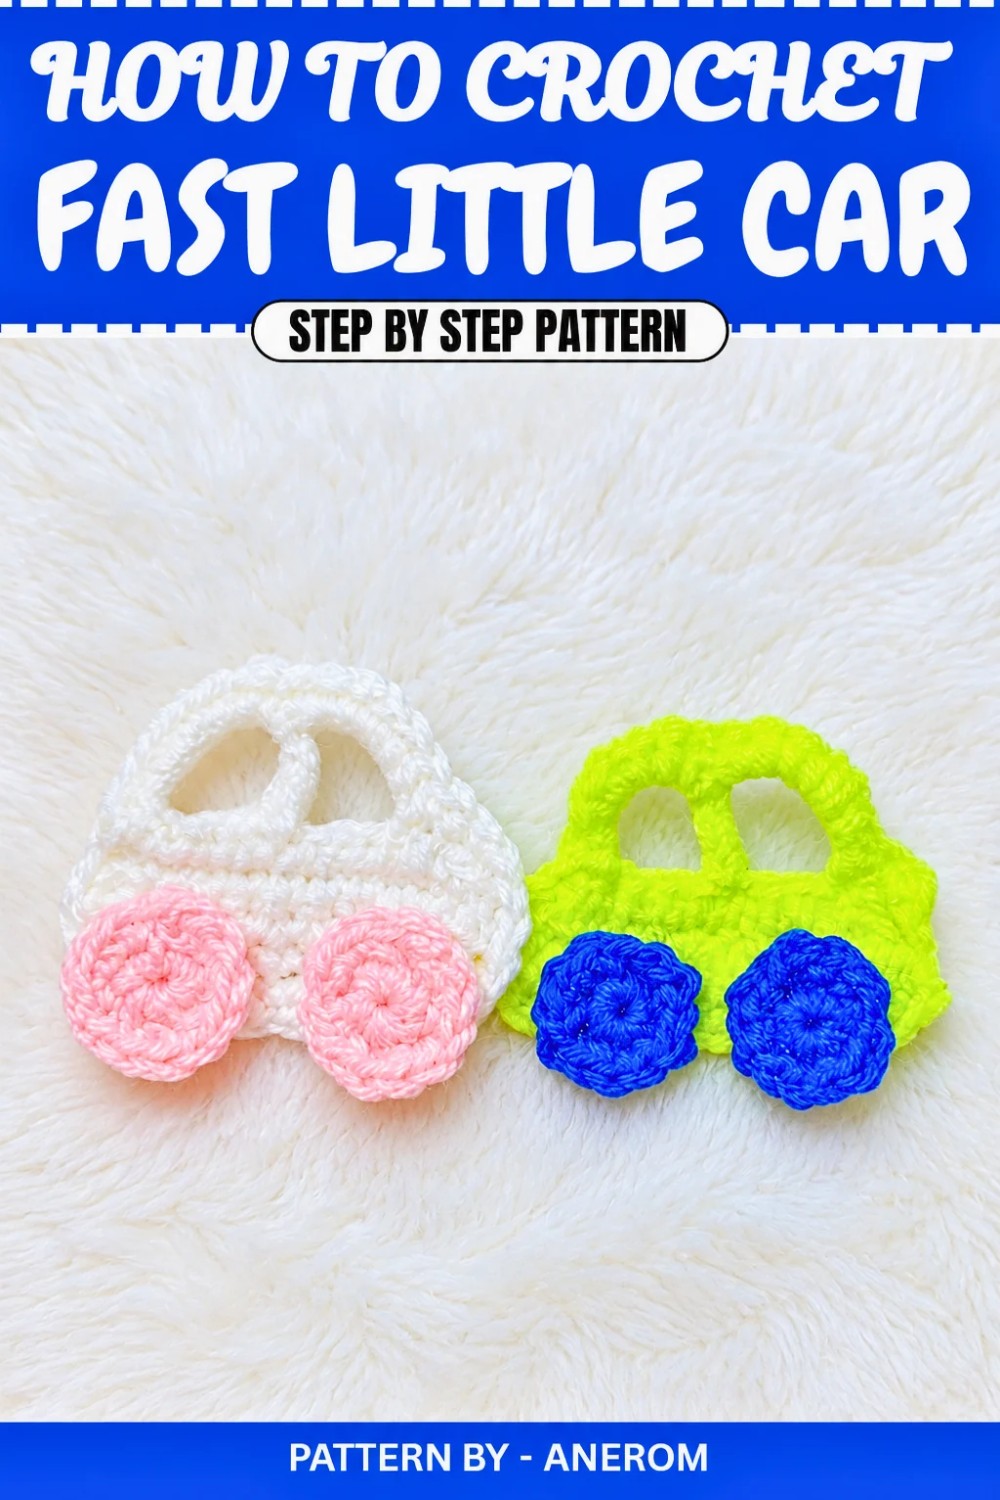
Free Crochet Pattern: Mini Crochet Car with Wheels
Quick Overview of Pattern
- Begin by creating a foundation chain for the base of the car.
- Work rows of single crochet to form the body.
- Add arches to the body using chain loops and taller stitches like treble crochets.
- Create two small circles for the wheels using a magic ring.
- Assemble and stiffen the car with glue to give it structure and shape.
Notes
- Use a stitch marker to keep track of your rows and stitches.
- Keep your tension consistent for a neat finish.
- Make sure to stuff the car or stiffen it at the end to hold the shape.
Skill Level
Beginner to Intermediate
This project is great for beginners familiar with basic crochet stitches like single crochet, chain, and slip stitch, but it also includes slightly more advanced stitches like treble crochet for the arches.
Materials
- Yarn: Choose two to three colors for the car body and wheels. You can use any medium weight yarn of your choice.
- Hook:
- 3.0mm crochet hook.
- Tapestry Needle: For sewing and weaving in loose ends.
- Scissors: To trim yarn and finish your work.
- Glue: Fabric glue or hot glue to attach the car wheels.
- Optional Stiffener: Diluted white glue or fabric stiffener for shaping the car.
Measurements / Sizing
The finished crochet car measures approximately 7–9 cm in length, depending on yarn tension and the materials used.
Gauge
Gauge is not critical for this project. However, keep stitches tight to ensure the car has a good shape and holds together well.
Stitch Abbreviations
- ch – Chain
- sc – Single crochet
- sl st – Slip stitch
- tr – Treble crochet
- MR – Magic ring
Special Stitches
Magic Ring (MR)
The magic ring is used to start circular crochet projects. Create a loop with the yarn, insert your hook, yarn over and pull through, then work the stitches as specified into the ring. Pull the loose end to close the ring tight.
Treble Crochet (tr)
- Yarn over twice.
- Insert the hook into the designated stitch.
- Yarn over and pull through the loop (four loops on the hook).
- Yarn over, pull through two loops (three loops on the hook).
- Yarn over, pull through two loops again (two loops on the hook).
- Yarn over, pull through the remaining two loops.
The Crochet Pattern
Step 1: Car Body
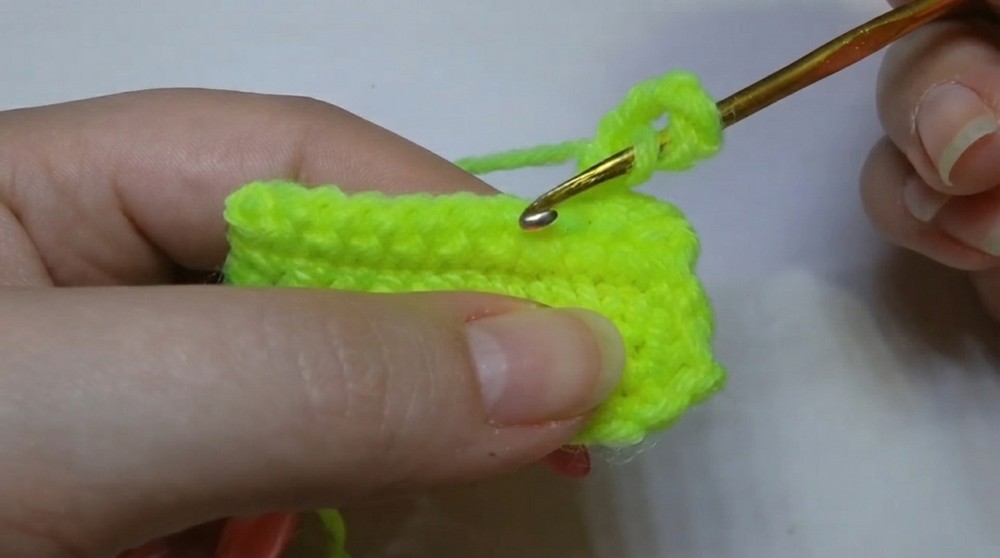
- Foundation Chain:
- Create a slipknot to begin your work.
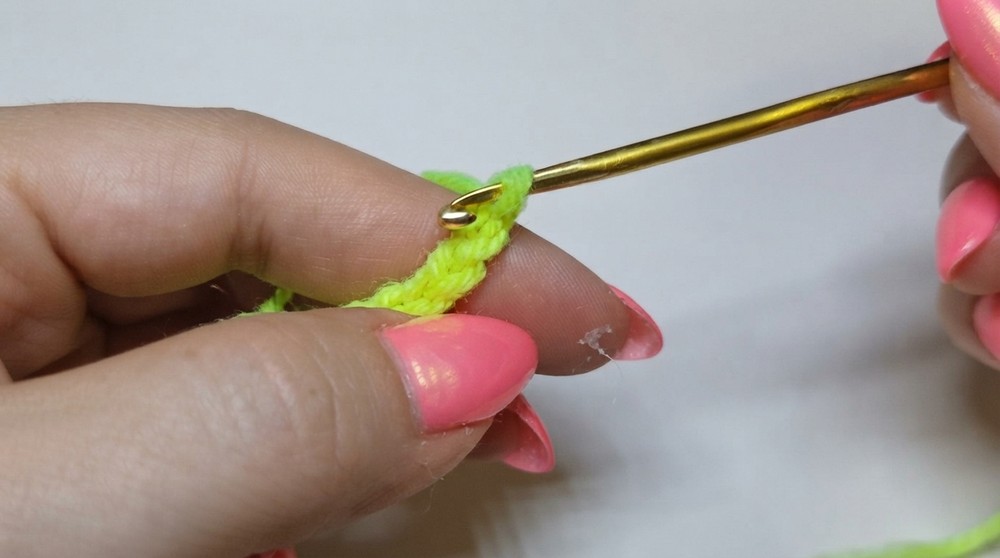
- Chain 12.
- Row 1:
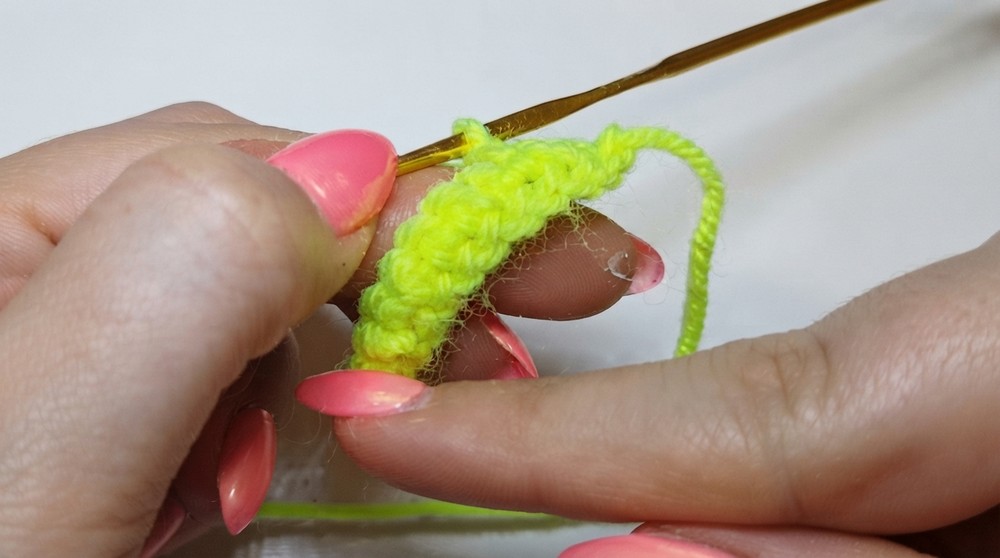
- Starting from the second chain from the hook, work 1 sc in each chain across. (11 sc).
- At the end of the row, ch 1 and turn your work.
- Rows 2–4:
- Work 1 sc in each stitch across, continuing to make a new row after each turn. (11 sc per row).
- At the end of each row, always ch 1 before turning.
- Starting the Car Roof (Row 5):
- After completing the 4 rows, work 1 ch.
- Make 1 sc in the first stitch and 1 sc in the second stitch.
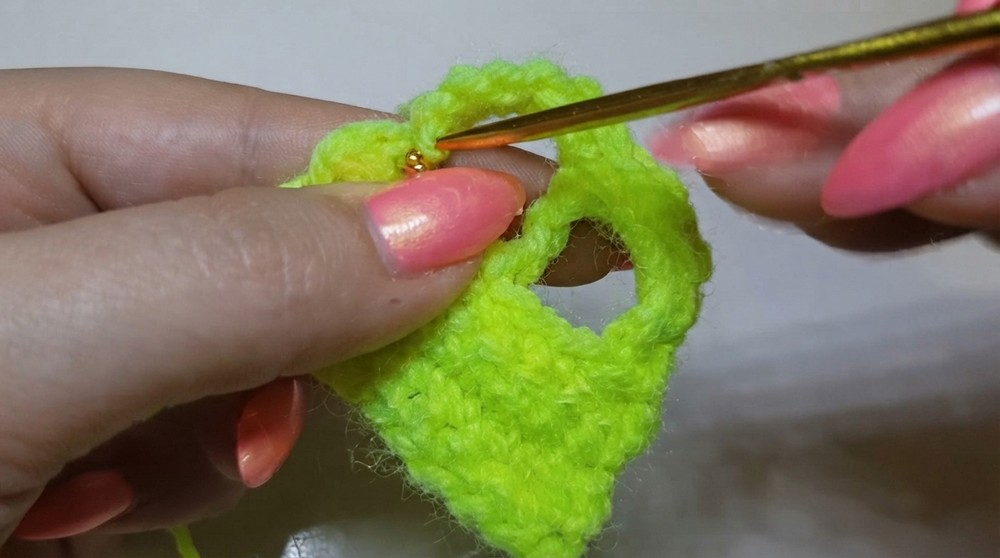
- Chain 5.
- Skip the next 2 stitches and make 1 tr in the third stitch.
- Yarn over twice, insert the hook into the third stitch, and complete your treble crochet.
- Chain 5 again.
- Skip the next 2 stitches and make a sl st in the third stitch.
- Work 1 sl st in the next stitch.
- Chain 1 and turn your work around for the next step.
- Row 6: Fill the loops made by the chains in the previous step with single crochets:
- Work 6 sc into the space of the first ch 5 loop.
- Move to the next loop and repeat, working another 6 sc into the space.
- In the following stitch, work 1 sl st.
- Pull the yarn and trim it, leaving a tail.
- Use your tapestry needle to weave in the loose end through the project and secure it.
Step 2: Wheels
- Round 1:
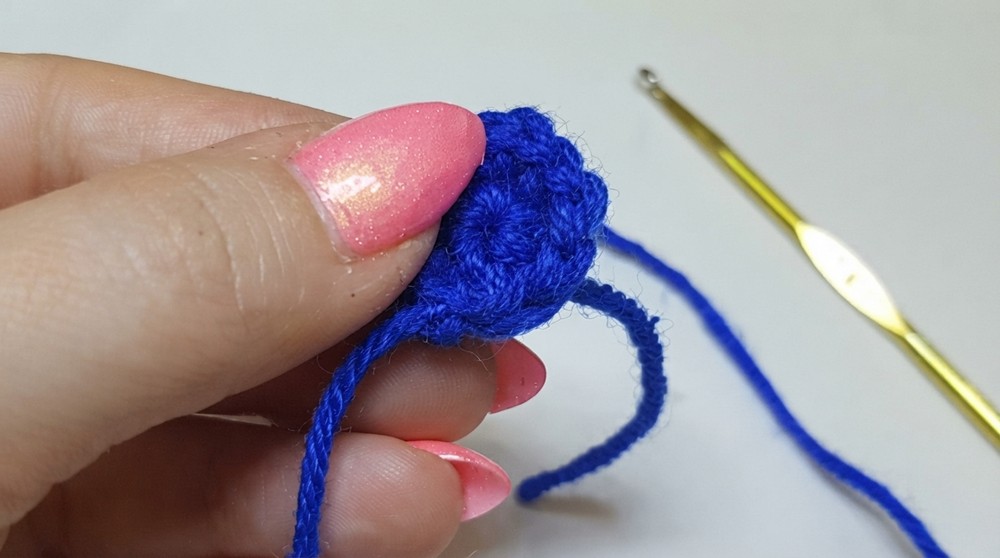
- Start with a magic ring.
- Work 6 sc into the ring. Pull the tail to tighten the center.
- Round 2:
- Work 2 sc in each stitch around to create 6 increases (12 sc).
- Finish with a sl st in the next available stitch. Fasten off and leave a tail.
- Use the tapestry needle to weave and secure loose ends. Make two wheels using the same method.
Step 3: Assembly
- Attaching the Wheels:
- Take your glue (fabric glue or hot glue works best).
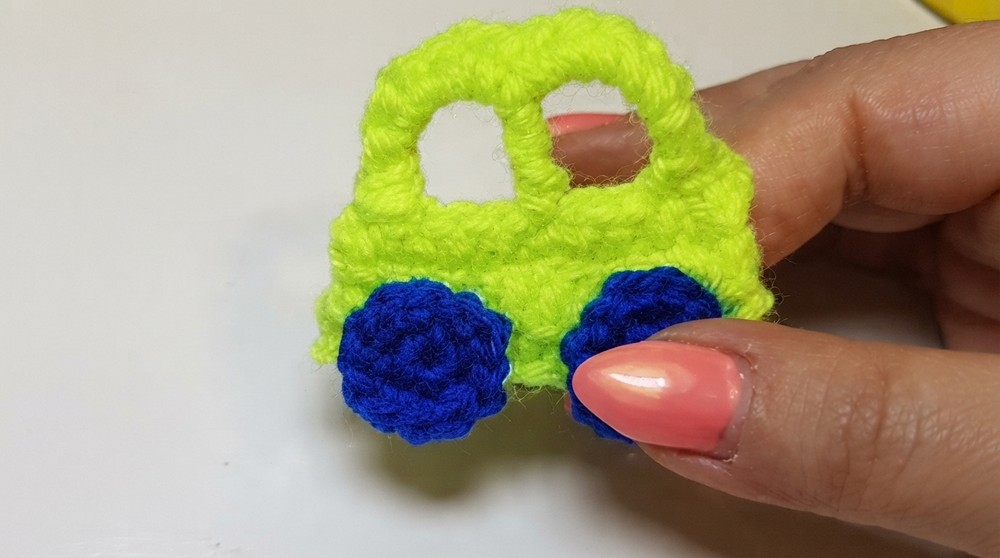
- Apply glue to the back of each wheel and press them onto the sides of the car base at the front and back. Hold them in place for a moment to ensure proper adhesion.
- Stiffening the Car:
- If desired, use a mix of diluted white glue and water to stiffen the car. Apply it evenly across the body to hold its shape.
- Allow the car to dry completely before handling further.
Conclusion and Ending Words
Congratulations, You have completed your very own crochet car with wheels. This adorable project is perfect as a toy, decoration, or handmade gift. Feel free to experiment with different yarn colors to create unique designs.