
Free Crochet Amigurumi Drop Pattern for Stress-Relief Fun
Stitch your own crochet amigurumi drops with a free pattern that’s perfect for making memory keepsakes, party ornaments, or travel mascots.
Pattern By Anerom
Tiny drops filled with charm can bring personality to your bags, shelves, and even your desk. These little wonders are easy to make, playful, and full of possibilities for personalizing your belongings. Soft and colorful, each drop has a comforting and cheerful vibe that’s perfect for brightening your space. Whether you’re looking for something cute to hang on your school bag or a fun gift idea, these crochet drops have got you covered.
Learning this project introduces you to some of the most essential crochet techniques like single crochet stitches, increases, and decreases. These stitches come together to form rounded shapes, teaching you how to create volume and structure with just a hook and yarn. It’s simple enough for beginners but still exciting enough to hold the attention of more experienced crafters.
Free Amigurumi Drop Crochet Pattern for Creative Projects
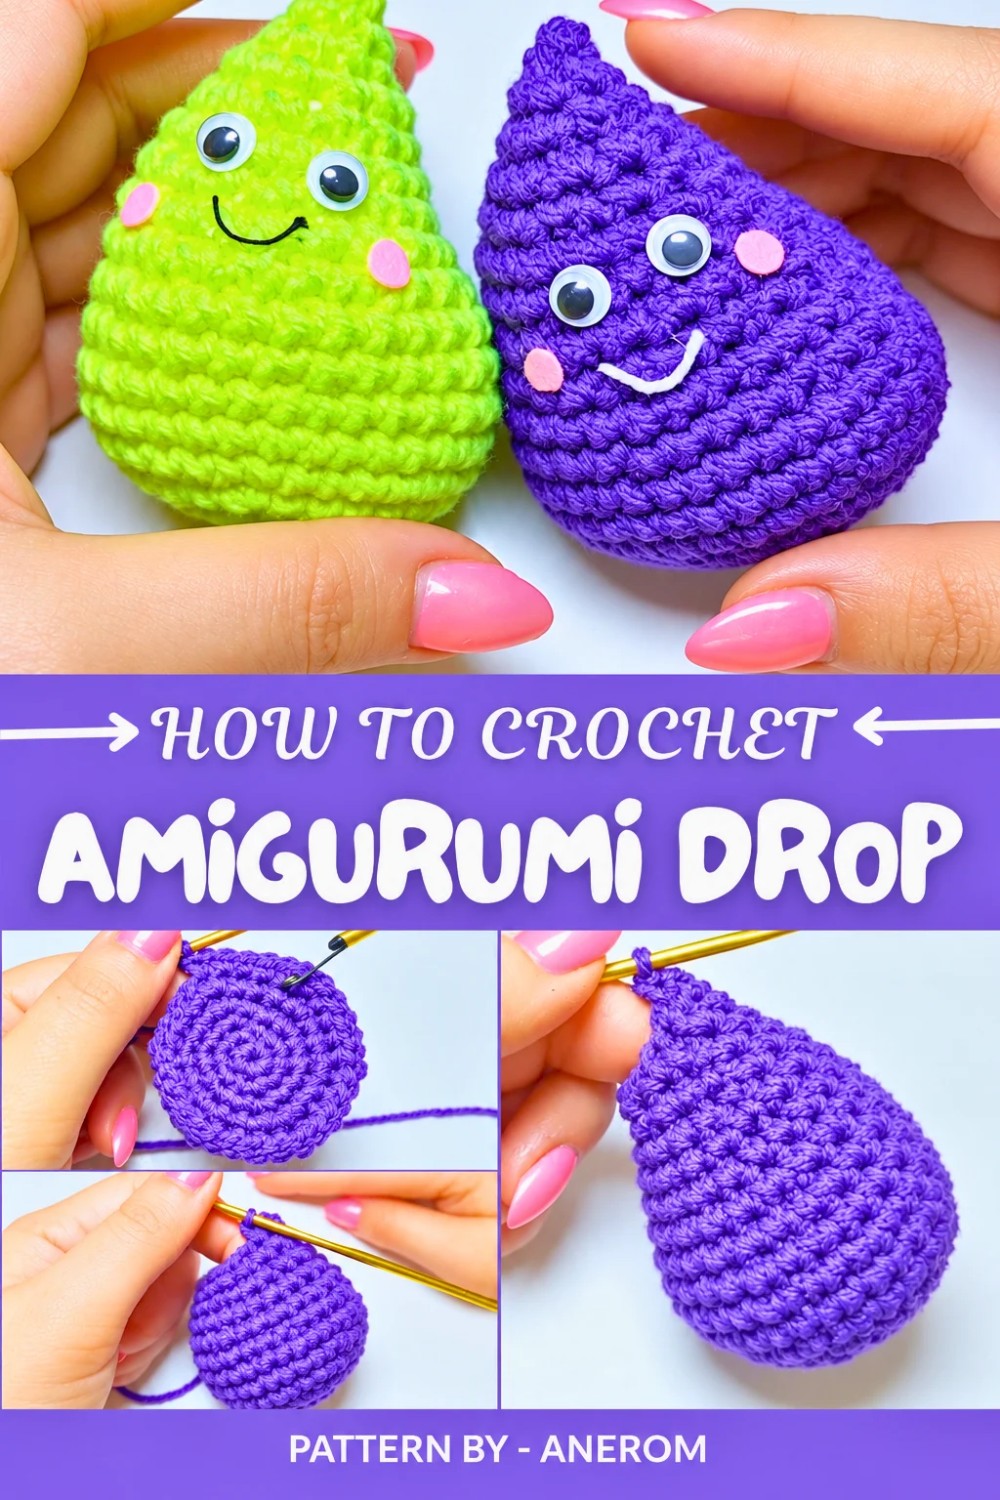
Here’s the cool part, once you’ve mastered the basics, you can use the same method to make other shapes. You could create mini balls, small fruits, animal heads like turtles or penguins, or even decorative accents for holiday wreaths. You’ll be surprised how a small tweak in color or shape can bring these adorable crochet drops to life in so many unique ways.
These playful crochet drops are much more than a simple project. They're full of personality and open the door to countless creative ideas that you can enjoy and share with others.
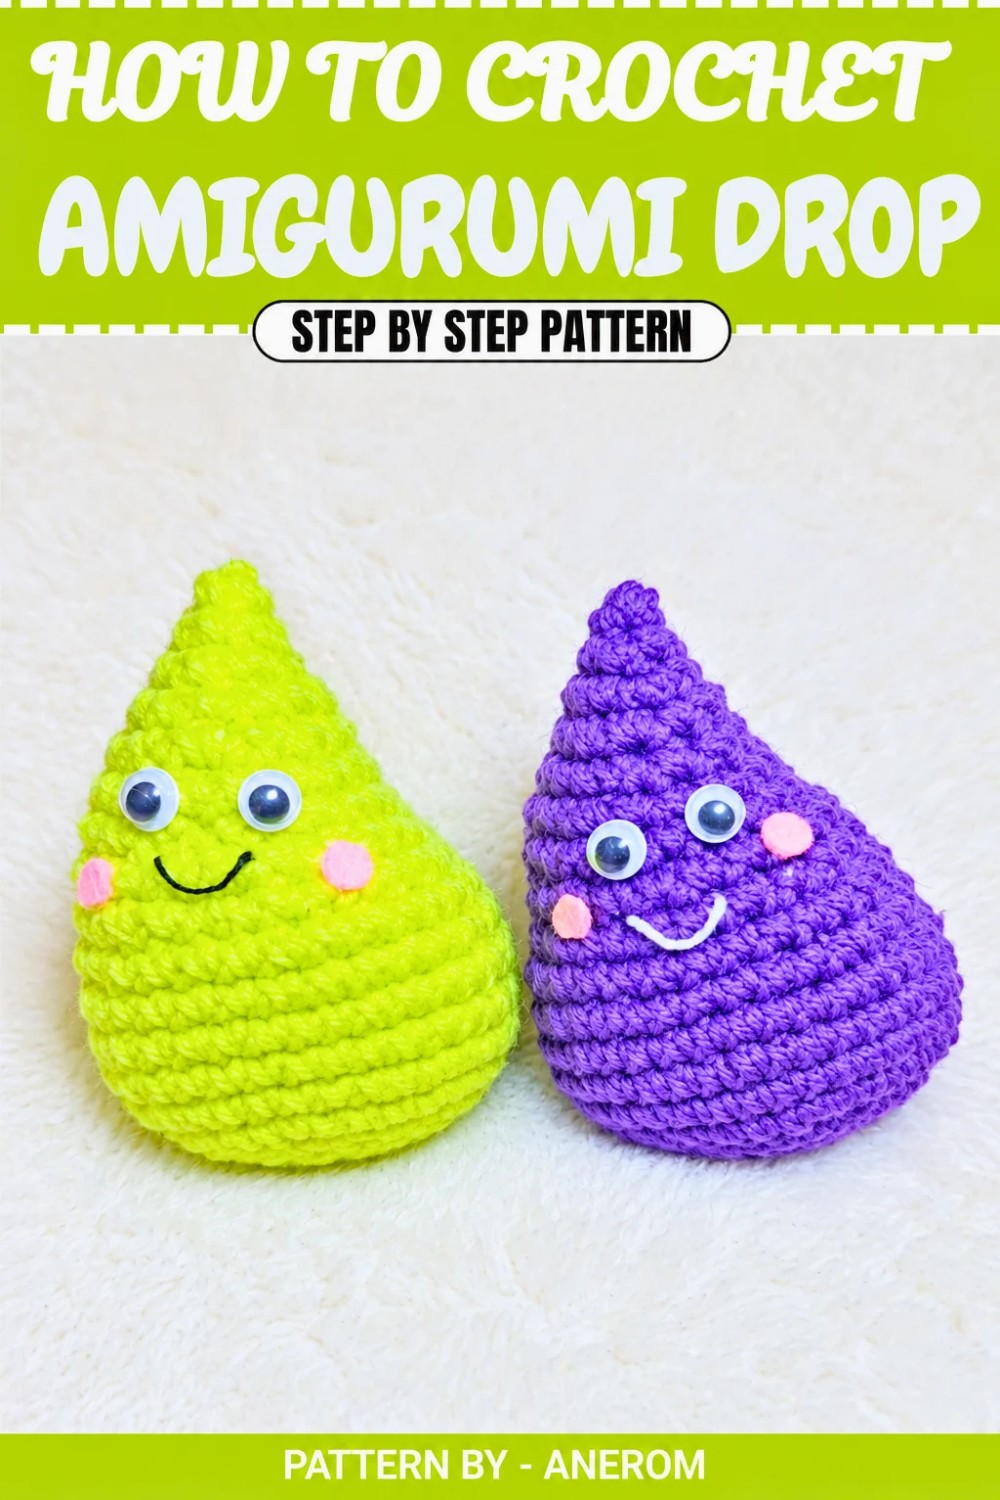
Crochet Pattern: Amigurumi Drop
This pattern will guide you step by step to create an adorable amigurumi drop (goccia) using basic crochet techniques. The pattern also includes optional decoration instructions to give your drops a personal touch.
Quick Overview of Pattern
- Project Level: Beginner
- Finished Size: Approximately palm sized (2 to 2.5 inches in height) when using a 3 mm hook and #3 acrylic yarn.
- Type: Amigurumi
- Special Notes: Work in continuous rounds unless stated otherwise. Use a stitch marker to keep track of the beginning of each round.
Materials
- Yarn: Medium weight acrylic yarn (size #3) in your desired color(s)
- Crochet Hook: 3 mm
- Fiberfill Stuffing
- Tapestry Needle (for sewing and weaving in ends)
- Scissors
- (Optional) Pink felt for cheeks
- (Optional) Googly eyes
- (Optional) Black or white embroidery thread for the mouth
- (Optional) Fabric glue
Gauge
Gauge is not critical for this project. Use consistent tension for smooth, even stitches.
Stitch Abbreviations
- ch: Chain
- mr: Magic ring
- sc: Single Crochet
- inc: Increase (2 sc in one stitch)
- dec: Decrease (join two stitches together)
Special Stitches
Magic Ring: Create a loop with the yarn, insert the hook into the loop, yarn over (yo), pull up a loop, then yo and pull through the loop to secure the stitch. Work the indicated number of stitches into the ring and pull it tight to close.
Crochet Pattern Instructions
Base of the Drop
1.Round 1: Magic Ring (Foundation round)
- Create a magic ring (mr).
- Work 6 sc into the ring. (Total: 6 stitches)
2. Round 2: Increase Around
- Work 2 sc in each stitch around. (Total: 12 stitches)
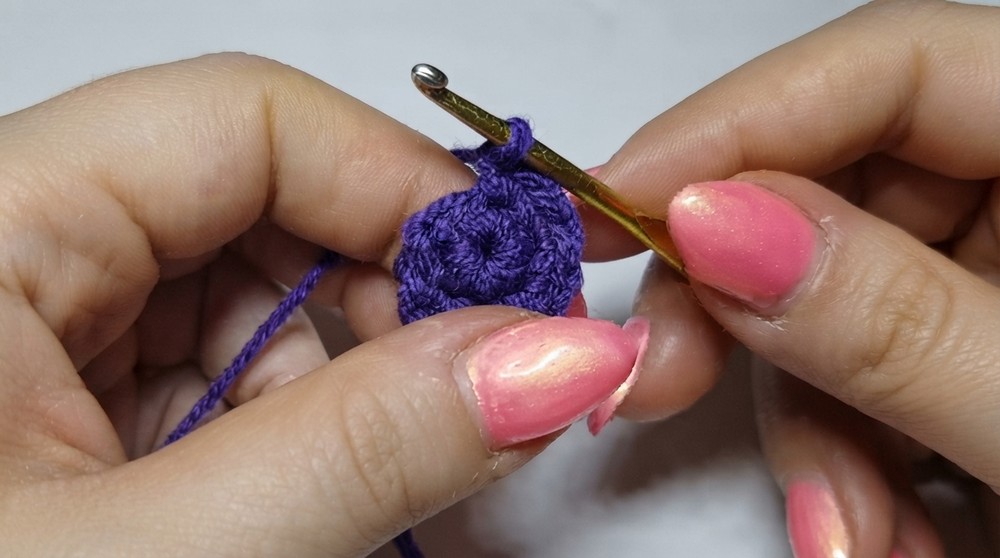
3.Round 3: 1 sc, 1 inc
- Work 1 sc in the first stitch.
- Work 1 inc (2 sc in one stitch) into the following stitch.
- Repeat (1 sc, 1 inc) around the circle. (Total: 18 stitches)
4.Round 4: 2 sc, 1 inc
- Work 1 sc in the first stitch.
- Work 1 sc in the second stitch.
- In the third stitch, work 1 inc
- Repeat (2 sc, 1 inc) around the circle. (Total: 24 stitches)
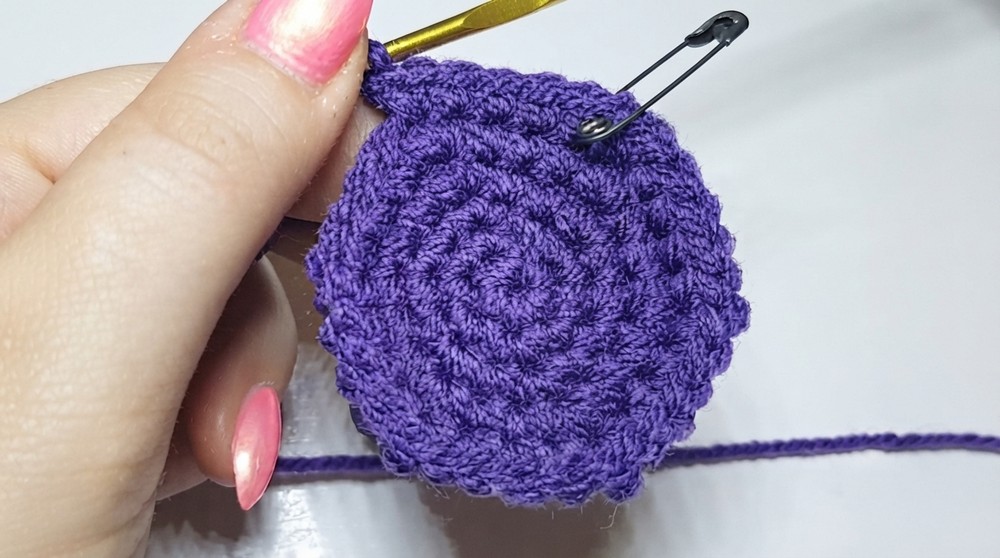
5.Round 5: 3 sc, 1 inc
- Work 3 sc in the first three stitches.
- In the fourth stitch, work 1 inc.
- Repeat (3 sc, 1 inc) around the circle. (Total: 30 stitches)
6.Round 6: 4 sc, 1 inc
- Work 4 sc in the first four stitches.
- In the fifth stitch, work 1 inc.
- Repeat (4 sc, 1 inc) around the round. (Total: 36 stitches)
Middle Section
7.Rounds 7 to 9: Plain Rounds
- Work 1 sc in each stitch around for 3 rounds (no increases or decreases).
- Keep 36 stitches per round.
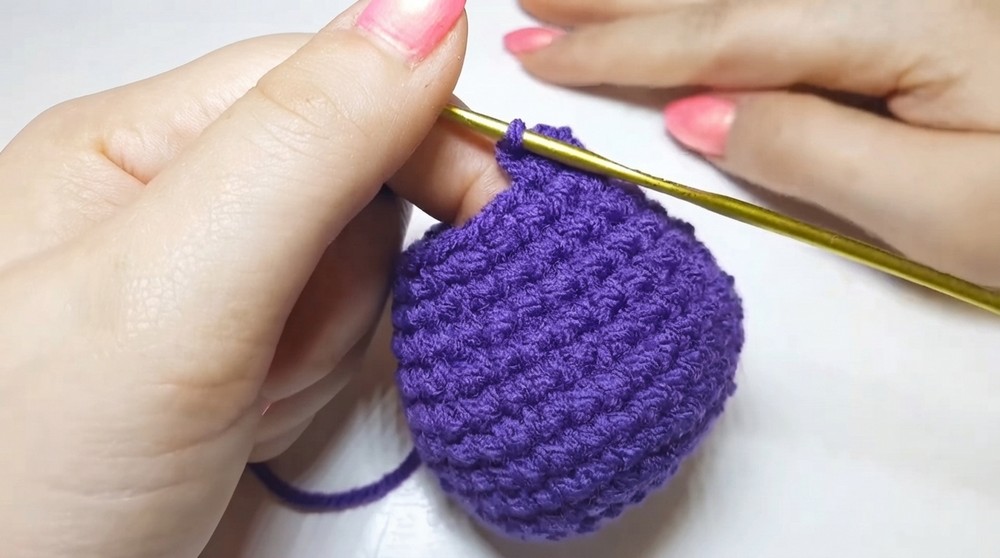
8.Round 10: 4 sc, 1 dec
- Work 4 sc in the first four stitches.
- In the next two stitches, work 1 dec to join them together.
- Repeat (4 sc, 1 dec) around the round. (Total: 30 stitches)
9.Round 11: Plain Round
- Work 1 sc in each stitch around with no increases or decreases. (Total: 30 stitches)
10.Round 12: Sequence Round
Follow this sequence:
- Work 3 sc.
- Work 1 dec.
- Work 4 sc.
- Work 1 dec.
- Work 1 sc.
- Work another 1 dec.
- Work 1 sc.
- Work another 1 dec.
- Work 1 sc.
- Work another 1 dec.
- Work 4 sc.
- Work 1 dec.
- Work 4 sc.
11.Round 13: Plain Round
- Work 1 sc in each stitch for 1 round with no increases or decreases.
12.Round 14: Sequence Round
Follow this sequence:
- Work 2 sc in the next two stitches.
- Work 1 dec.
- Work 3 sc.
- Work 1 dec.
- Work 1 sc.
- Work 1 dec.
- Work 1 sc.
- Work 1 dec.
- Work 1 sc.
- Work 3 sc.
- Work 1 dec.
- Work 1 sc.
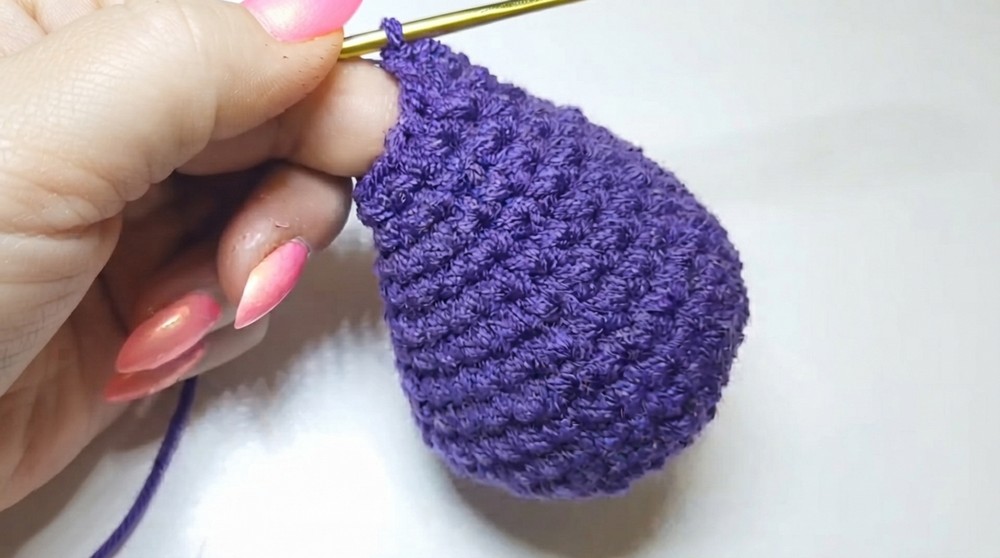
13.Round 15: Plain Round
- Work 1 sc in each stitch around with no increases or decreases.
14.Round 16: Final Decreases
Follow this sequence:
- Work 2 sc.
- Work 1 dec.
- Work 1 sc.
- Work another 1 dec.
- Work 1 sc.
- Work another 1 dec.
- Work 1 sc.
- Work another 1 dec.
- Work 1 sc.
- Work another 1 dec.
- End with 2 sc.
15.Round 17: Plain Round
- Work 1 sc in each stitch around with no increases or decreases.
16.Round 18: 1 sc, 1 dec
- Work 1 sc in the first stitch.
- Work 1 dec in the next pair of stitches.
- Repeat (1 sc, 1 dec) for the entire round.
Stuffing
- Pause here to gently stuff your droplet with fiberfill stuffing to shape it evenly.
Finalizing
- Add more stuffing to the tip of your droplet to fill any empty areas that might make it collapse.
- Work 4 consecutive decreases to close the opening of the droplet.
- Cut the yarn, leaving a tail.
- Thread the tail through a tapestry needle. Insert the needle into the remaining stitches to close the hole securely.
- Weave in the tail and hide it in your work. Trim any extra pieces of yarn.
Assembly & Decoration
Decorate your droplet as follows:
- Attach googly eyes using glue.
- Create pink felt cheeks and glue them beneath the eyes.
- Use black or white embroidery thread to sew a cute smile.
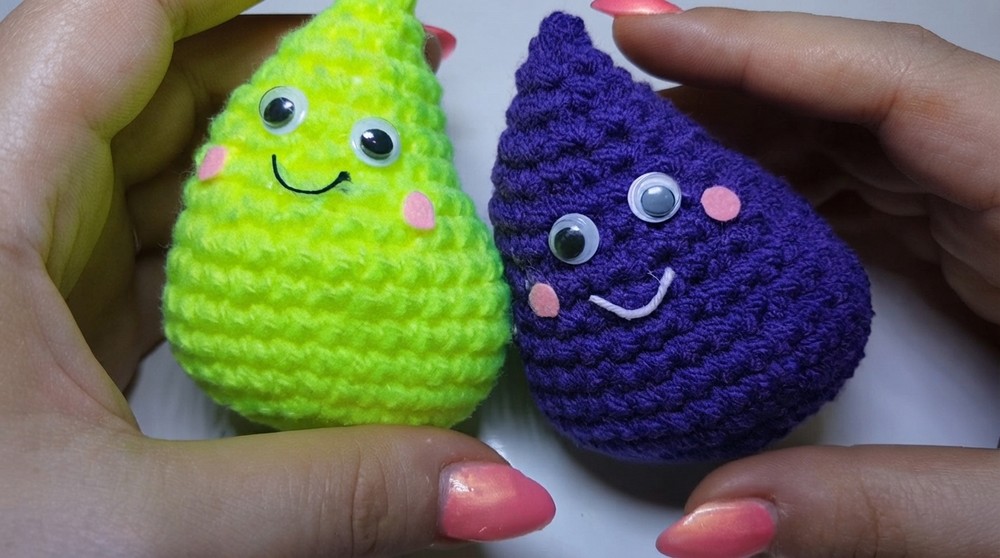
Feel free to skip decorating if you'd prefer a simpler look!
Conclusion
Congratulations, Your crochet amigurumi droplet is complete. These adorable creations are perfect for decorations, gifts, or simply as a fun crafting project. Experiment with yarn colors, sizes, and faces to give them unique personalities.