
Quick Crochet Barbapapa to Brighten Bags with This Free Pattern
Enhance your crochet projects with a Free Quick Barbapapa Amigurumi Pattern while you make a classic cartoon plushie for nostalgic best friends.
Stitching Barbapapa characters is a truly fun and creative way to explore your love for handmade projects. These adorable designs are full of charm and personality, making them perfect as gifts, playful decorations, or even collectibles. The project focuses on simplicity, letting you enjoy the journey of transforming yarn into cute little characters that kids and adults alike will adore. This creation captures Barbapapa’s iconic round and soft shape, giving it a unique charm that stands out among other crochet projects.
The project is worked with basic crochet techniques such as the magic ring, single crochet, increases, and decreases, and it’s crafted using soft acrylic yarn with a 3mm hook. The finished piece has clean and smooth shapes that make it irresistible. To enhance the design, simple additions like white felt for the eyes and a permanent marker for details are used, giving the character its playful and recognizable expression.
Fun Crochet Barbapapa for Party Favors – Free Pattern Inside
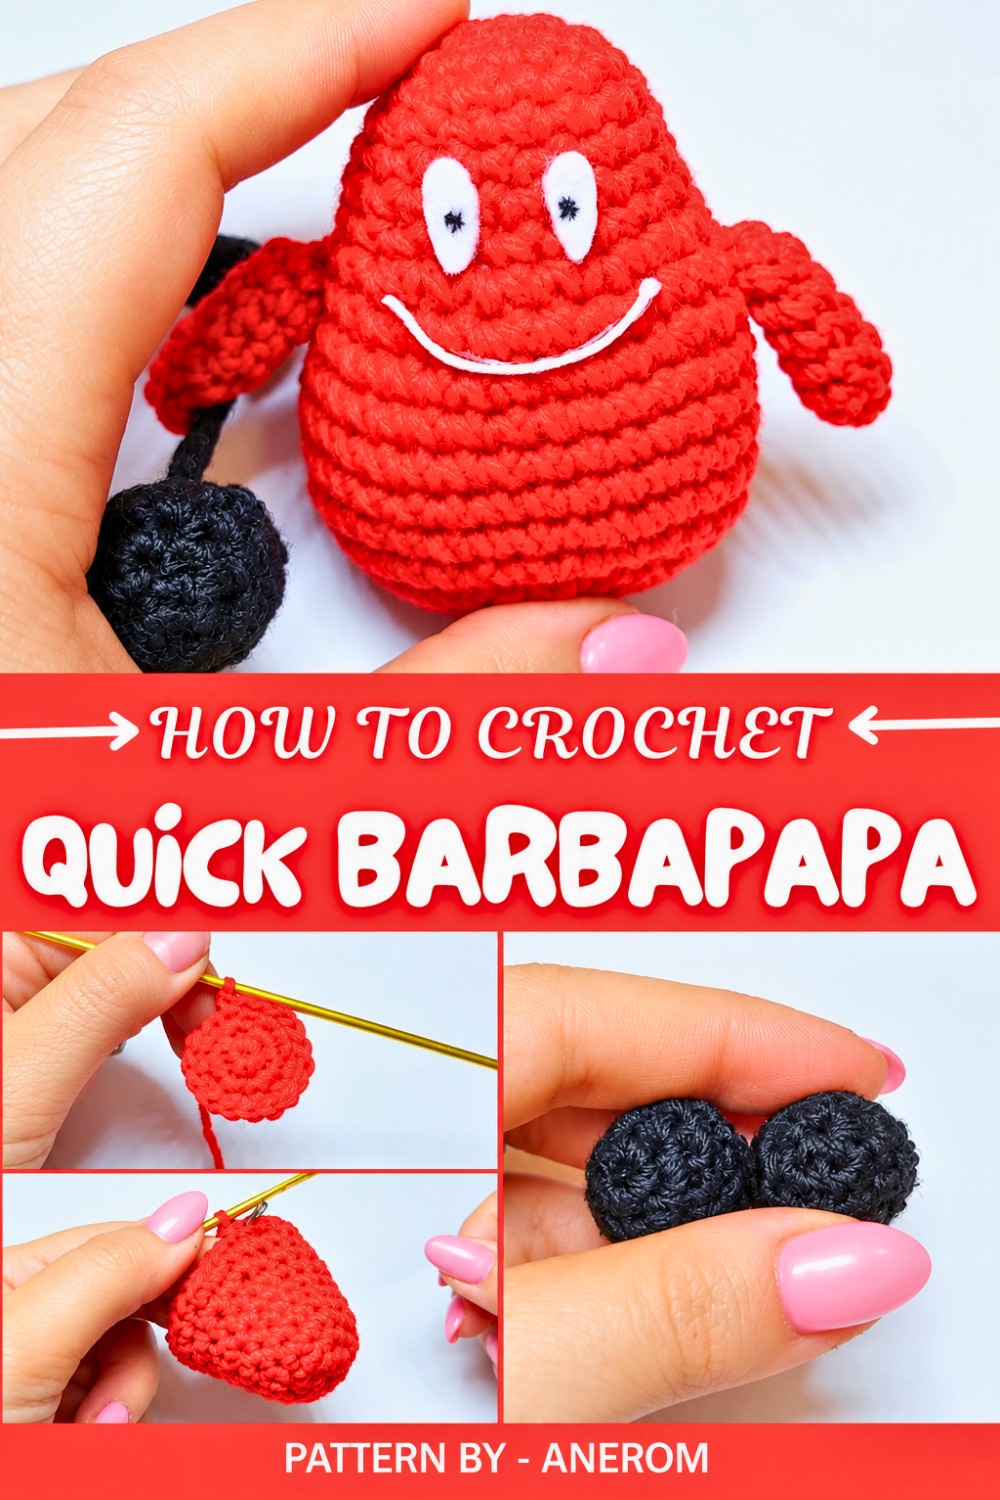
The creator, Anerom, shares this project on her charming YouTube channel, where she features step by step crochet tutorials. Her approach is beginner friendly, making it simple even if you’re new to crocheting. She goes beyond just explaining the process, she shares helpful tips, like how to stuff and assemble the parts or use hot glue for quick assembly. Each Barbapapa creation feels like a small work of art, finished with care and attention to detail.
Whether you’re making it for a child, as a collectible, or as a keepsake for yourself, this crochet project adds a delightful and personal touch to your crafting journey. Check out Anerom's tutorials for more inspiration and creative ideas.
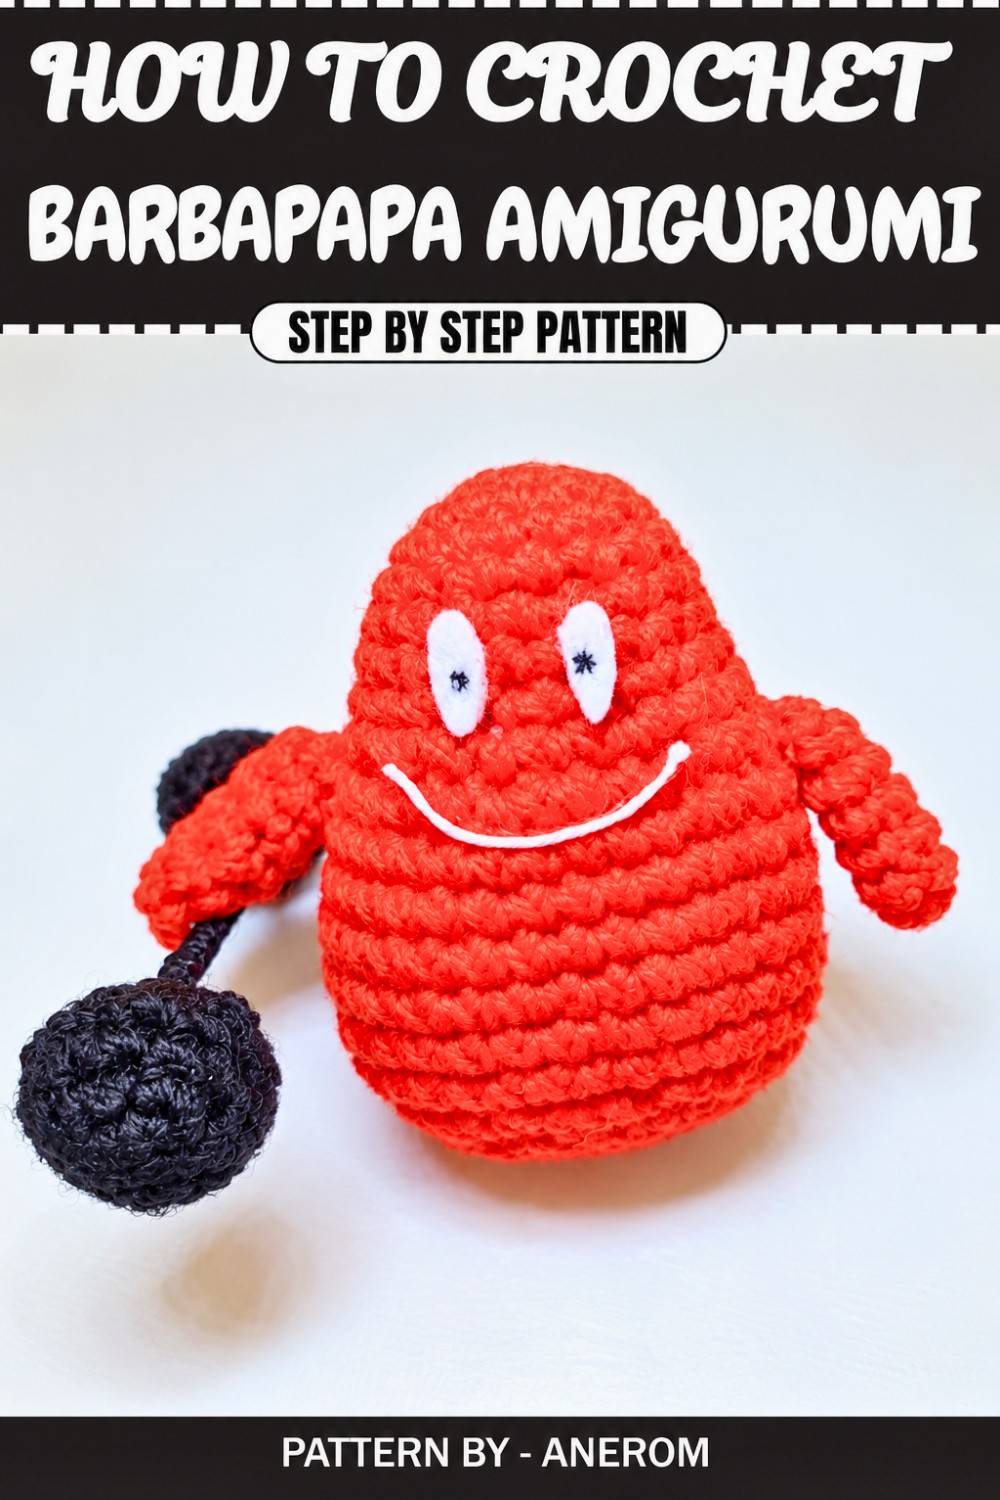
Crochet Barbapapa Pattern
Follow this step by step guide to crochet the charming Barbapapa family member, Barbaforte. This fun project uses simple techniques and can add a pop of creativity to your surroundings or delight your little ones. With some acrylic yarn and basic crochet stitches, you’ll bring this adorable character to life in no time.
Quick Overview of the Pattern
- Style: Barbaforte crochet character from the Barbapapa family.
- Details: Compact, adorable character with unique features like a weighted design and hand crocheted details.
- Techniques: Magic ring, single crochet, increases, decreases, stuffing, and assembly.
Notes
- This pattern uses basic stitches and techniques, making it suitable for beginners.
- Use a stitch marker to keep track of your rounds, especially for increases.
- Be cautious while working with darker yarn colors, as it might be slightly challenging to see stitches clearly.
Skill Level
Beginner.
Materials
- Yarn: Acrylic yarn, size 3 in red for the body, arms, and black for the weights.
- Hook: Crochet hook size 3 mm.
- Stuffing: Fiberfill or similar stuffing material for shaping the body and weights.
- Eyes and Mouth: White felt for eyes, black permanent marker for pupils, red thread for mouth.
- Accessories: Yarn needle (for sewing and weaving ends), stitch markers, scissors.
- Glue: Hot glue to attach eyes and weight details efficiently.
Measurements / Sizing
Finished Barbaforte will measure approximately 8–10 cm in height (depending on tension and yarn used).
Gauge
Gauge is not critical for this project, but ensure you maintain consistent tension throughout to create a uniformly shaped character.
Stitch Abbreviations
- ch – Chain
- sc – Single crochet
- st(s) – Stitch(es)
- sc inc – Single crochet increase (2 single crochet stitches in one stitch)
- dec – Single crochet decrease (decrease two stitches into one)
- sl st – Slip stitch
Special Stitches
- Magic Ring: Form a loop with yarn and insert hook to pull up a loop, then crochet around the loop to begin a circular base. Essential for this project.
The Crochet Pattern
Body
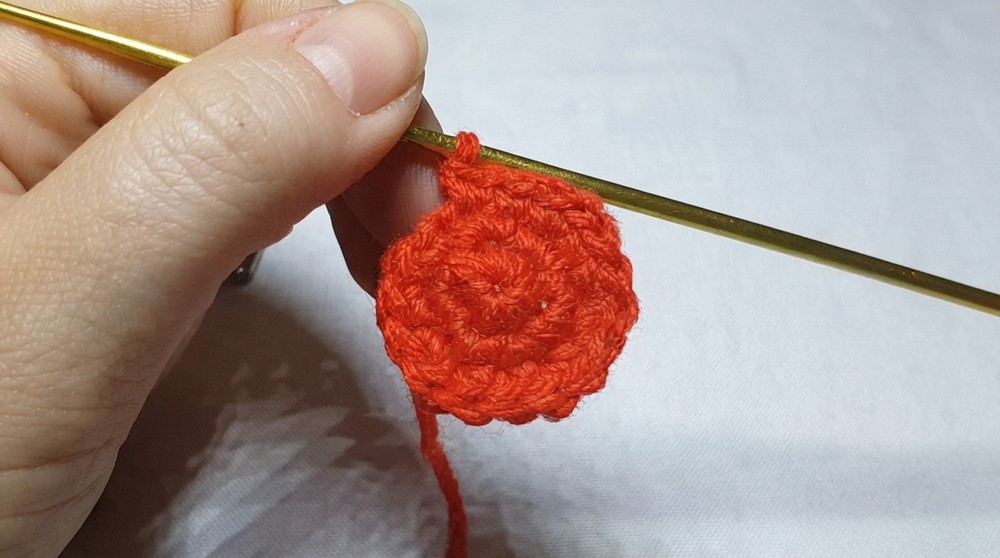
- Round 1: Using red acrylic yarn and a 3 mm hook, create a magic ring and crochet 6 sc into the ring. Pull the short end of yarn to tighten the ring.
- Round 2: Work 2 sc into each stitch (sc inc) around, making a total of 12 sts.
- Round 3: 1 sc in next st, sc inc in next st, repeat the sequence around (18 sts). Use a stitch marker to mark the first stitch in each round.
- Rounds 4–8: Work 1 sc into each st around. (18 sts per round; 5 rounds).
- Round 9: 1 sc in next st, sc inc in next st, repeat the sequence around (27 sts).
- Round 10: 2 sc in the next two sts, sc inc in the next st, repeat around (36 sts).
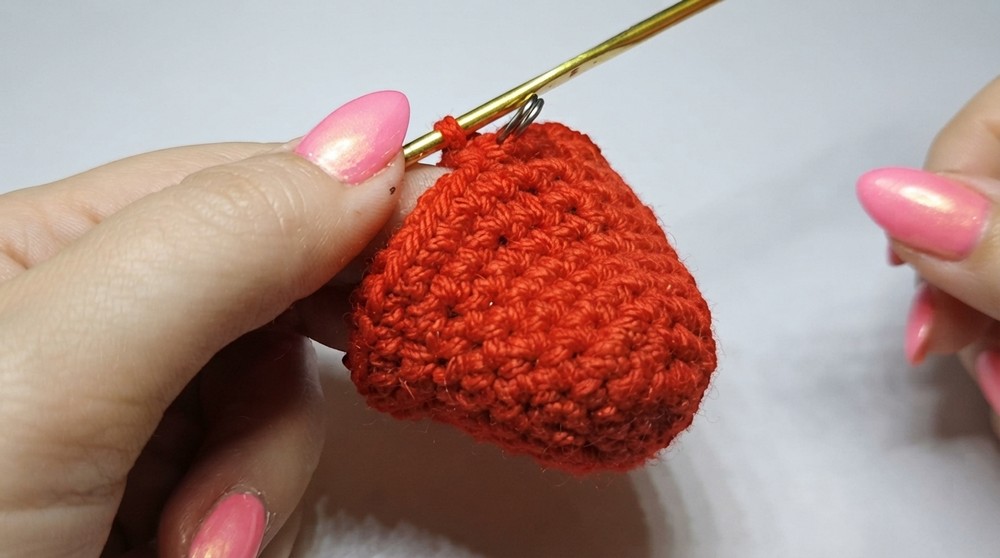
- Rounds 11–16: Crochet 1 sc in every st for six rounds.
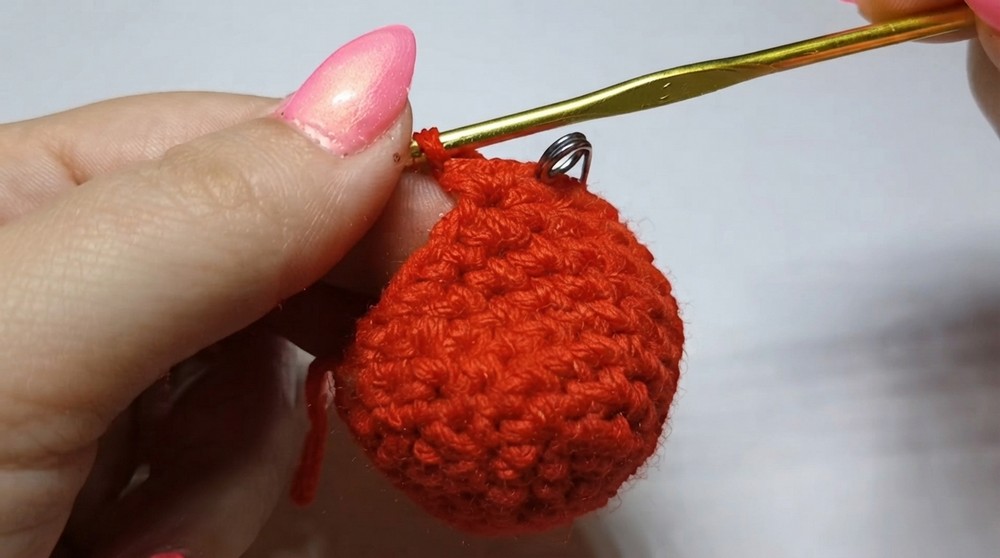
Decrease the Body:
- Round 17: 2 sc into the next two sts, dec over the next two sts, repeat around (27 sts).
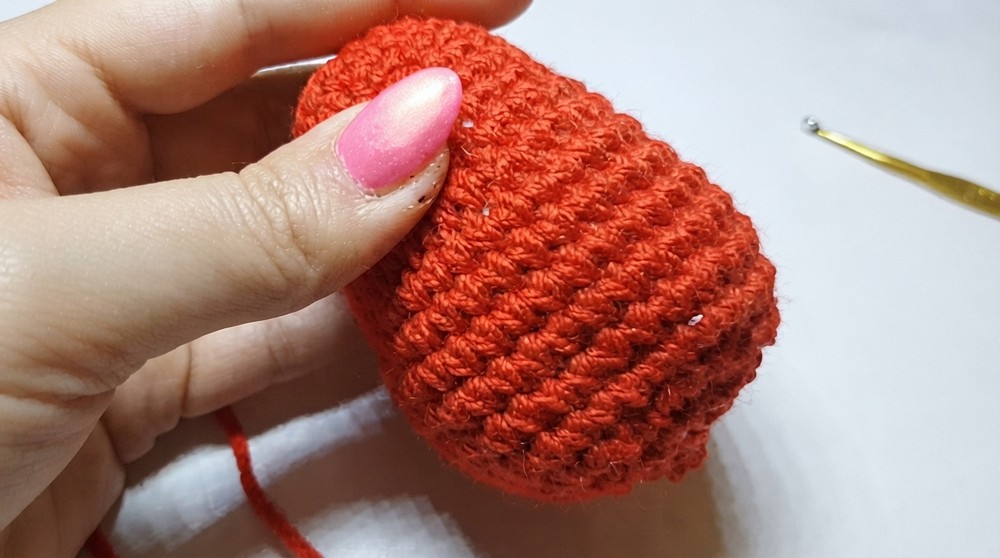
- Round 18: 1 sc, dec over the next two sts, repeat across the round (18 sts). Carefully stuff the body before continuing.
- Round 19: Work 6 consecutive decreases to close the top of the body (6 sts).
- Fasten off, leaving a long tail of yarn. Use a yarn needle to weave the end through the remaining stitches and pull tight to close the hole completely.
Arms (Make 2)
- Round 1: Using red yarn and a 3 mm hook, create a magic ring and crochet 6 sc into the ring. Pull the yarn to tighten.
- Rounds 2–6: Work 1 sc into every st around for five consecutive rounds (6 sts per round).
- Finish off with 1 sl st in the first st. Leave a long tail for sewing.
Weights (Make 2)
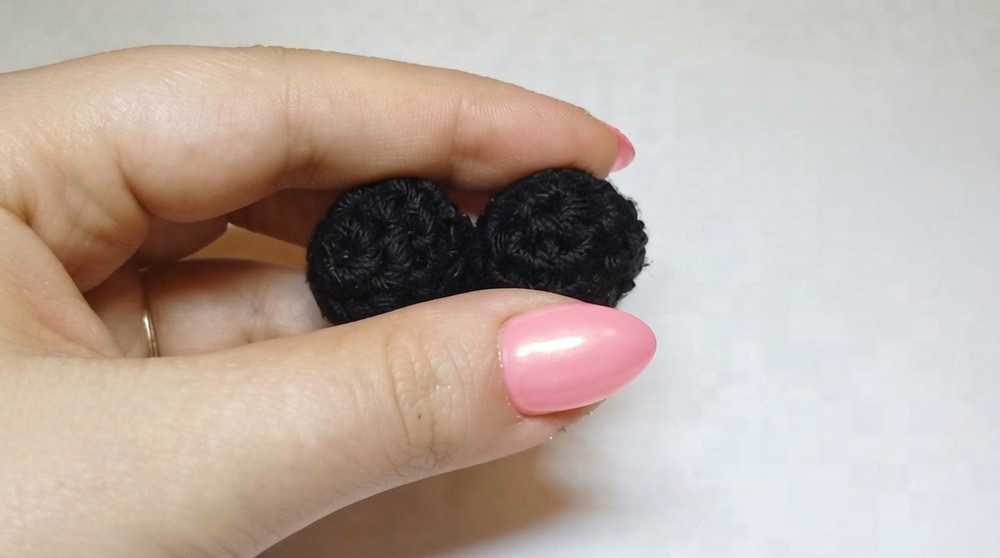
- Round 1: Using black yarn, make a magic ring and crochet 6 sc into the ring. Tighten the circle.
- Round 2: Work 2 sc into each st around (sc inc). You will have 12 sts at the end of the round.
- Rounds 3–4: Crochet 1 sc into every st around for two rounds (12 sts per round).
- Lightly stuff each weight with fiberfill.
- Round 5: Perform 6 consecutive decreases (6 sts) to close the shape. Fasten off and leave a tail of yarn for sewing.
Assembly & Finished Size
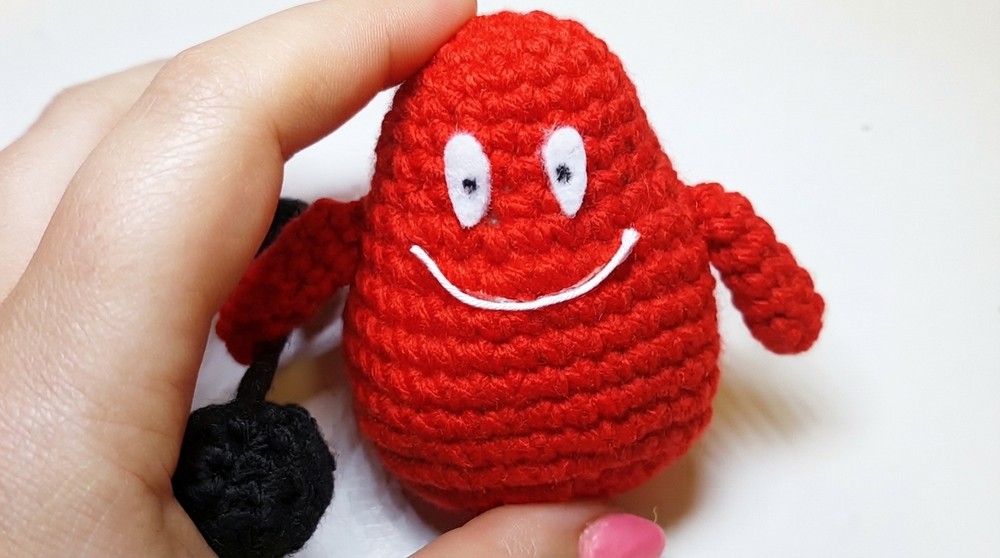
- Using the yarn tail from the arms, sew the arms onto both sides of the body. Position them evenly for a balanced look.
- Attach the weights to the hands using hot glue or sewing, if preferred. Alternatively, use a wooden stick or toothpick wrapped with black yarn to act as a handle for the weights.
- Cut small oval shapes from the white felt for the eyes. Use hot glue to attach them to the head.
- Use a black marker to draw pupils in the center of the felt eyes.
- For the mouth, use red thread and stitch it onto the face in an arch shape. Ensure it’s evenly spaced below the eyes for a friendly smile.
- After completing all assembly steps, fluff the stuffing to adjust the overall shape.
Conclusion
And that’s it! Your Barbaforte is now ready to decorate your space or become part of your Barbapapa collection. From learning basic crochet skills to creating a one-of-a-kind character, this project is perfect for beginners and a fun task even for seasoned crocheters. While there may be minor challenges like managing tension or working with dark yarns, patience and attention to detail will ensure a beautifully finished Barbaforte.