
Sweet Crochet Oreo Cookies Free Pattern to Satisfy Your Creativity
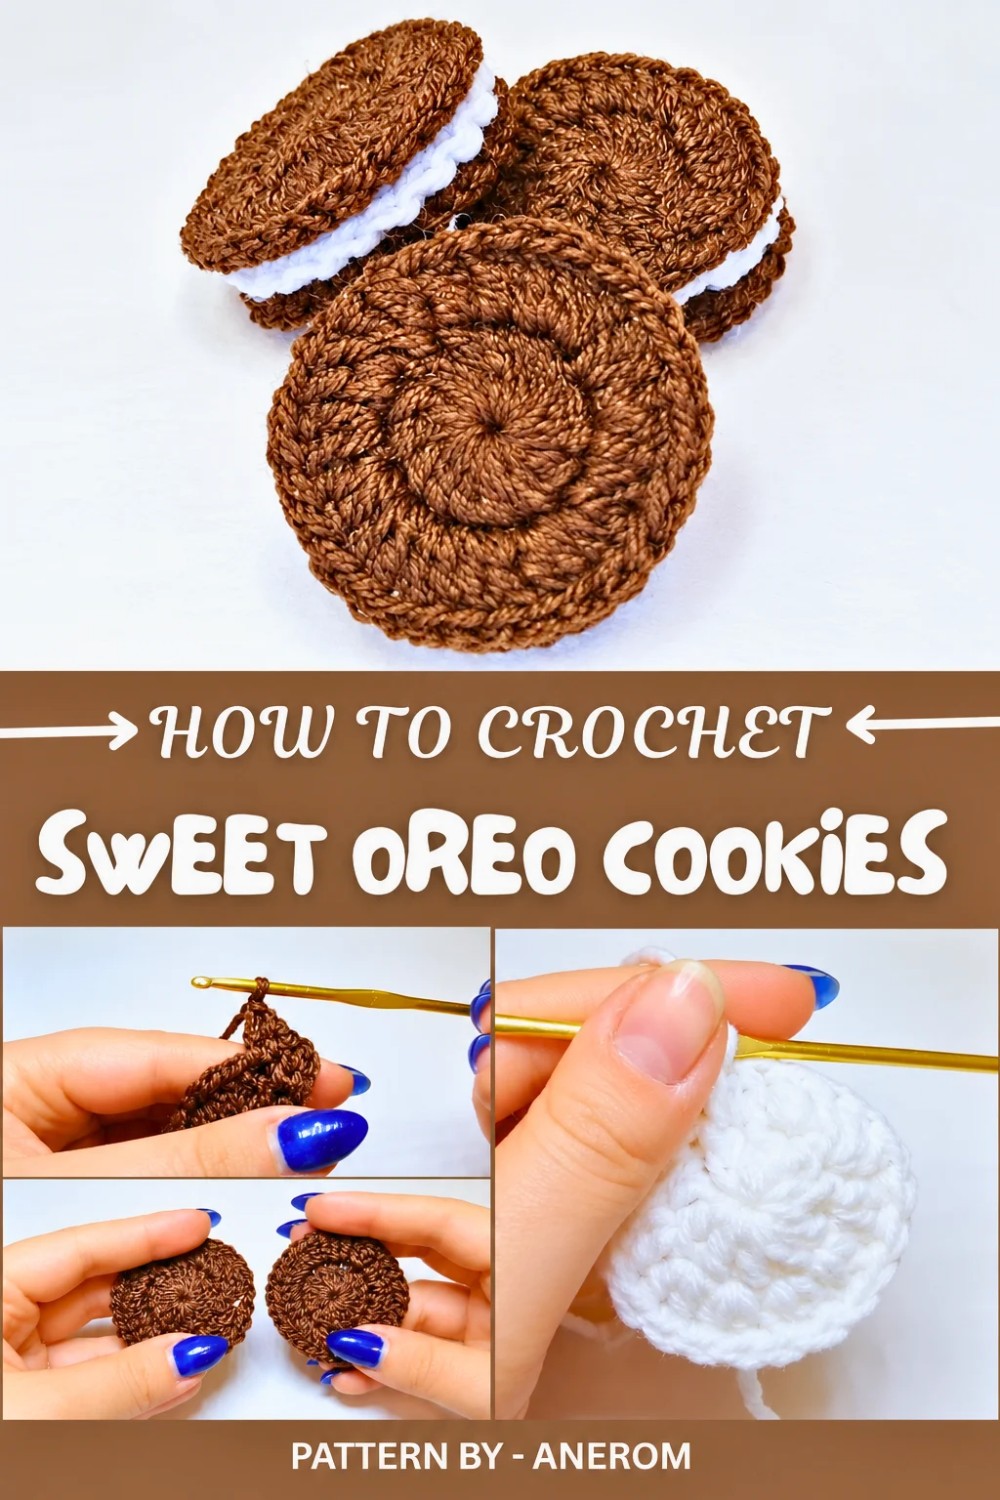
Launch your crochet queue with a Free Sweet Crochet Oreo Cookies Pattern while you make a plush biscuit stack that sits cute on your living room tray.
One of my favorite memories growing up was enjoying a cold glass of milk with a plate of Oreo cookies. There was something so special about their perfect round shape and creamy center that made snack time extra fun. Recently, I stumbled upon a crochet pattern that combines my love for these delicious treats with my passion for crocheting, and I couldn’t resist trying it out. What could be more fun than turning this classic dessert into something you can make with just yarn and a crochet hook? Not only do these crochet cookies look adorable, but they can also be used as cute home decorations, keychains, or even fun little gifts for friends and family.
These little cookies are crocheted using simple stitches like double crochet and slip stitch, making them a beginner friendly project for kids and adults alike. You’ll work in rounds using a magic circle technique to start, which is also great practice for making other crochet creations like coasters, mini donuts, or even tiny fruits. The beauty of these cookies lies in their simplicity, they’re quick to make, soft to touch, and guaranteed to bring a smile to your face.
Free Easy Crochet Oreo Cookies Pattern to Stitch Sweet Memories
Featured By Anerom
By following this pattern, you’ll learn how to crochet in rounds, create increases, and assemble each layer neatly into a finished product. You’ll also discover the magic of combining stitches to crochet realistic and fun shapes, which is a skill you can use for countless creative projects. If you’re just starting out, this pattern will help you build confidence while showing you how small tweaks can completely transform your designs. It’s really incredible how yarn and basic stitches can mimic something as delightful as Oreo cookies.
Once you master this pattern, the possibilities are endless. With these same techniques, you’ll be able to crochet colorful macarons, sandwiches, or even little cake layers. They make perfect decorations for pretend play or handmade gifts, and you can use different colors to add variety to your creations. So grab your yarn, and let’s have some fun.
Oreo Inspired Crochet Biscuit Pattern
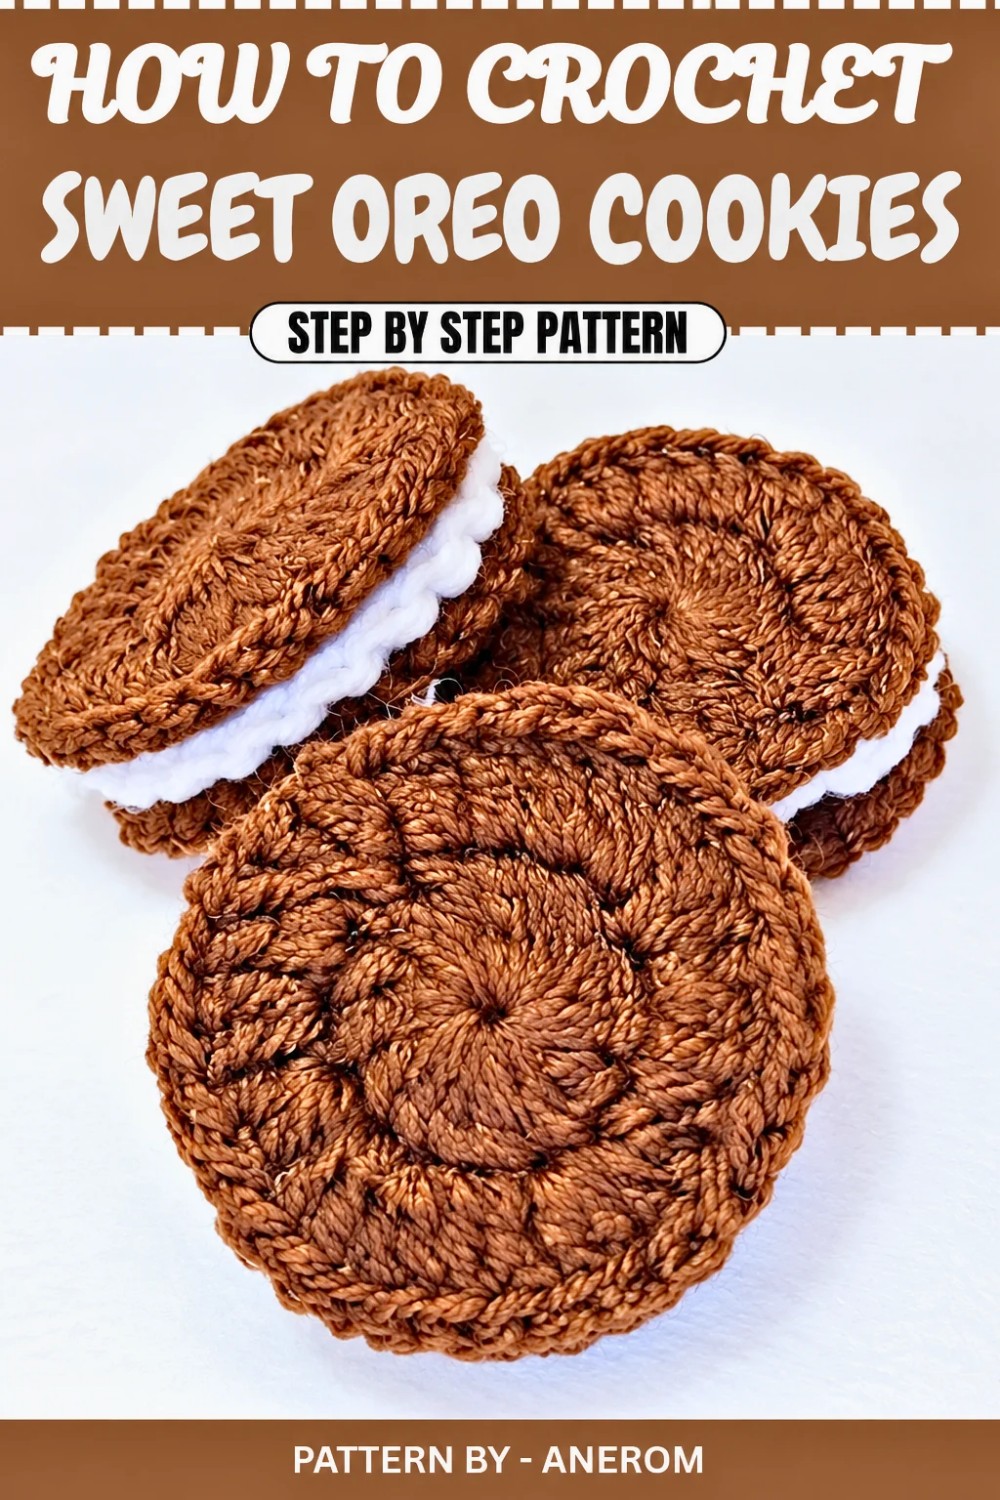
In this step by step guide, you’ll learn how to crochet adorable Oreo inspired biscuits that are both fun and simple to make. These tiny crochet biscuits work wonderfully as decorative items, keychains, or even special gifts. They are crafted using basic crochet techniques and can be personalized with cotton or acrylic yarn. With their realistic cookie and cream layers, these little creations are guaranteed to bring a smile to anyone’s face. Let’s grab our hooks and get started.
Quick Overview of Pattern
- Create cute crochet biscuits inspired by the iconic Oreo cookies.
- Includes two brown cookie layers and a white cream layer in between.
- Easy to assemble with hot glue or by stitching the layers using a yarn needle.
- Perfect for beginner crocheters looking for a fun and quick DIY project.
Notes
- The biscuits consist of three pieces: two brown cookie layers and one white cream center.
- The project involves basic crochet stitches like the magic ring, single crochets, double crochets, and slip stitches.
- Hot glue is recommended for attaching the layers, but sewing is also an option if you prefer a stitched finish.
Skill Level
Beginner-Friendly – This project uses basic stitches and straightforward assembly, making it easy for beginners while still being fun for experienced crocheters.
Materials
- Yarn:
- Brown acrylic yarn (size 3) for cookies.
- White acrylic yarn (size 3) for cream.
- Hook Size: 3 mm crochet hook.
- Notions:
- Yarn needle (for weaving in loose ends).
- Scissors.
- Hot glue gun.
Measurements / Sizing
- The finished biscuit measures approximately 5 cm in diameter.
Gauge & Stitch Pattern
Gauge is not critical, but ensure your stitches are tight enough to avoid gaps.
Stitch Abbreviations
(US Terminology)
- ch – Chain
- sl st – Slip Stitch
- dc – Double Crochet
- MR – Magic Ring
The Crochet Pattern
This pattern consists of two brown cookie layers and one white cream layer. Follow the steps below to make each part:
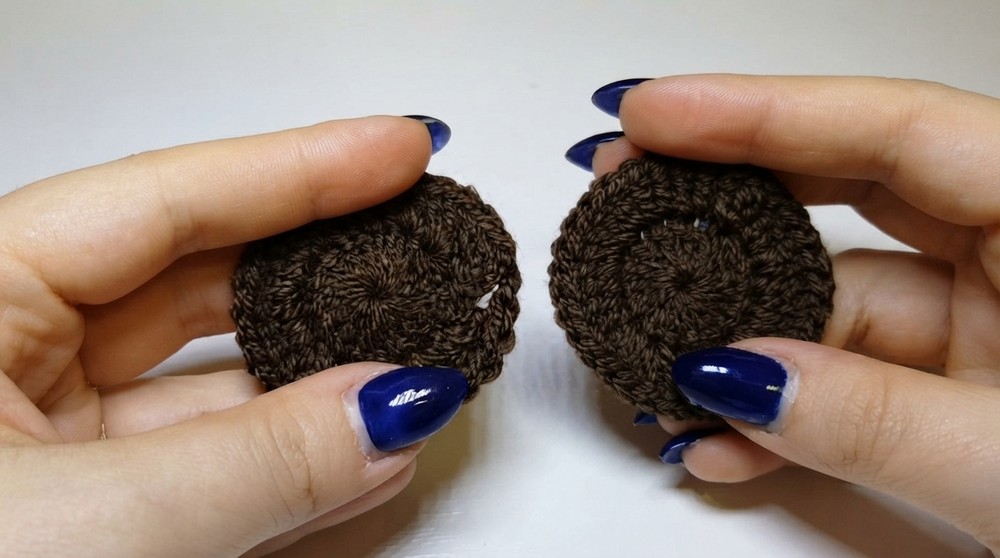
Part 1: Brown Cookie Layers (Make 2)
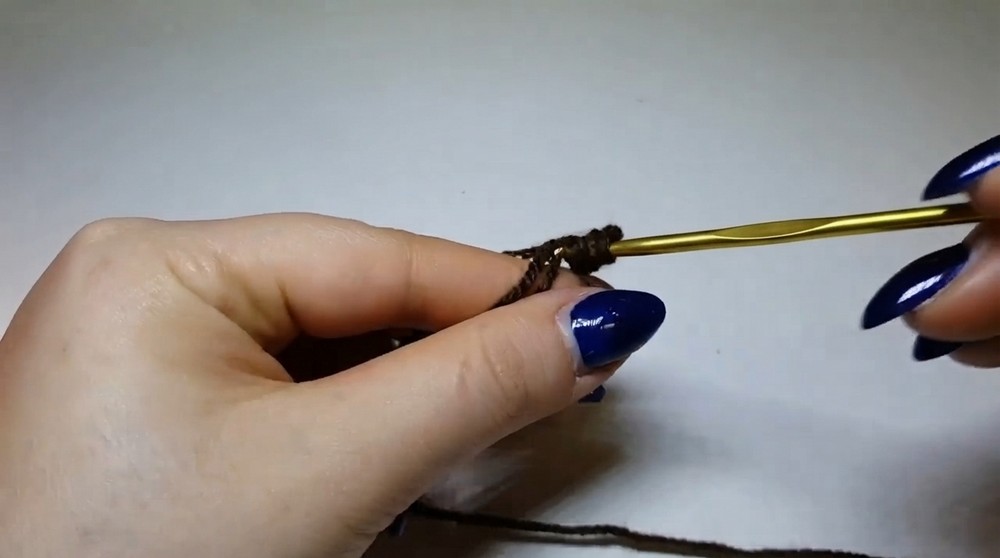
- Start with brown acrylic yarn. Create a magic ring (MR).
- Round 1: Work 2 chains (counts as first dc), then 15 dc into the magic ring. Pull the ring tight and join the round with a sl st in the top of the 1st chain. You should have 16 dc in total.
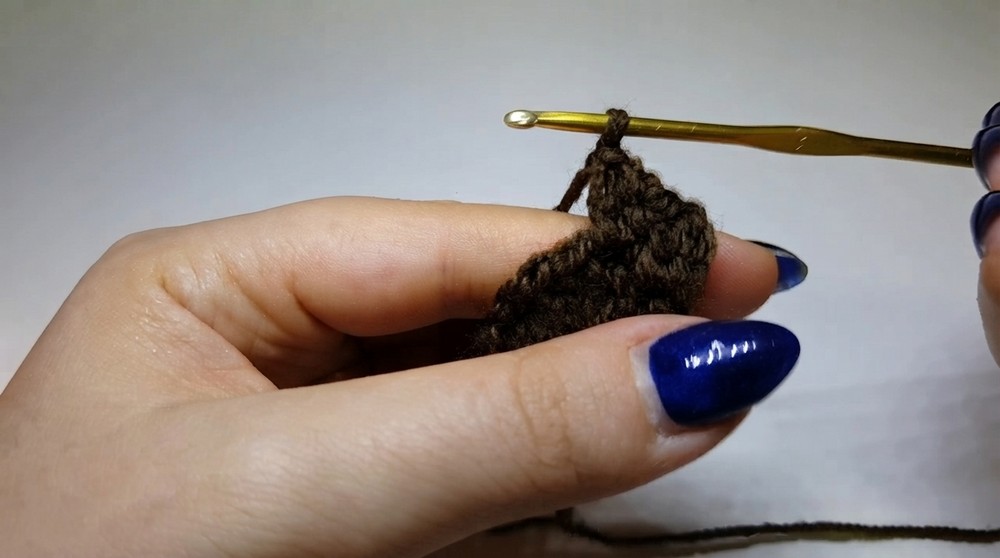
- Round 2: Chain 3 (counts as the first dc). Work 1 dc into the same stitch where the ch begins (increase).
- Then, continue working 2 dc in each stitch around the circle. Join with a sl st in the top of the 3rd chain from the beginning chain. You should have 32 dc in total.
- Cut the yarn and fasten off. Use the yarn needle to weave in the loose ends carefully.
- Make two identical brown cookie layers.
Part 2: White Cream Layer
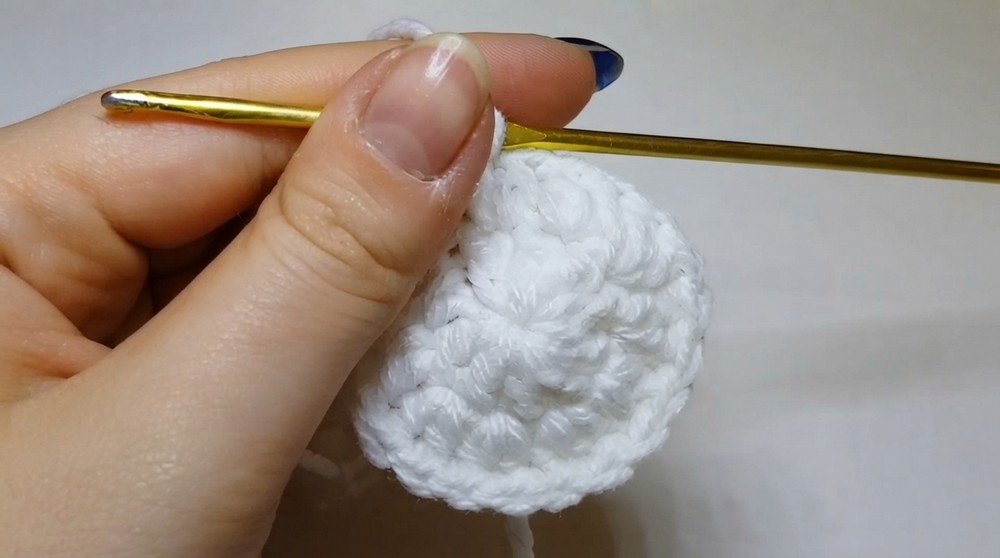
- Start with white acrylic yarn. Create a magic ring (MR).
- Round 1: Work 2 chains (counts as first dc), then 9 dc into the magic ring. Pull the ring tight and join the round with a sl st in the top of the 1st chain. You should have 10 dc in total.
- Round 2: Chain 3 (counts as the first dc). Work 1 dc into the same stitch where the chain starts (increase). Then, continue working 2 dc in each stitch around the circle. Join with a sl st in the top of the 3rd chain from the beginning chain. You should have 20 dc in total.
- Cut the yarn and fasten off. Use the yarn needle to weave in the loose ends carefully.
Assembly
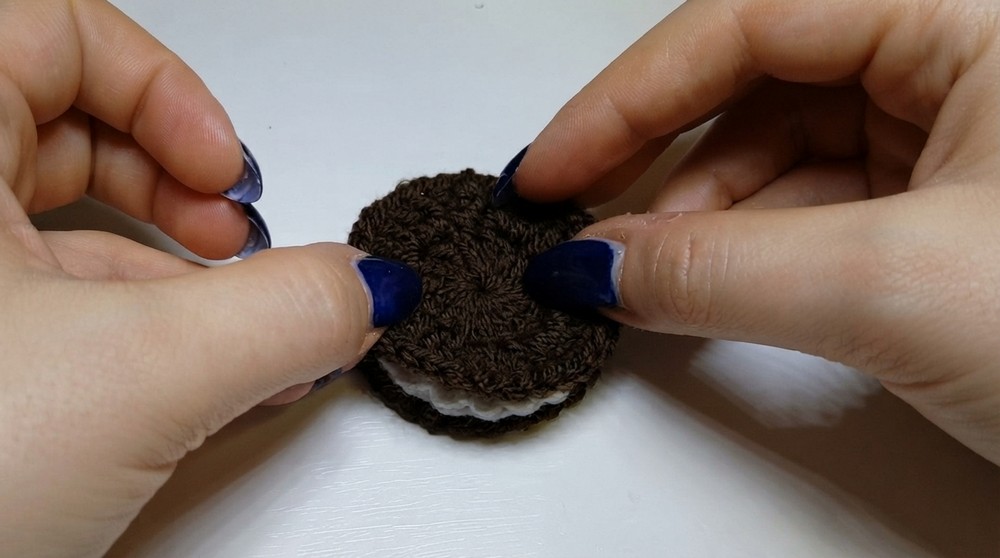
- Lay one brown cookie layer flat with the front side facing down. Apply a thin layer of hot glue on the back side.
- Place the white cream layer on top of the glued area and press it gently to secure it.
- Apply another layer of hot glue on the back side of the cream layer.
- Place the second brown cookie layer on top, aligning it carefully with the first cookie layer. Press gently to ensure the layers stick firmly.
- Allow the glue to dry completely before handling the finished piece.
Finished Size
The completed crochet biscuit will measure approximately 5 cm in diameter.
Conclusion and Ending Words
Your crochet Oreo inspired biscuit is now complete! These cute and charming creations are perfect as keychains, decorations, or small gifts. The process of crocheting and assembling these biscuits is simple yet so satisfying, making it ideal for beginners who want to create something fun and useful.