
Blossom with Joy Using This Free Crochet Cactus Pattern
Catch a Free Crochet Amigurumi Cactus Pattern to stitch a cute green plant friend that sits on your study desk to bring cozy natural vibes daily.
Tiny plants with no need for soil or sunlight? These adorable crochet cacti are like little masterpieces that fit perfectly on your desk, shelf, or even as gifts to cheer up your loved ones. With cheerful shapes and a refreshing pop of color, they add a warm and playful vibe to homes, no watering required.
The most charming thing about these mini cacti is how fun they look. From their rounded bodies to their cute little pots, each piece feels full of personality. Some even have extra touches like rosy cheeks, tiny smiles, or small flowers on top, making them irresistible to look at. Whether made in earthy tones or bold, bright colors, these little plants can be customized to suit any mood or style.
Crochet a Sweet Cactus with This Free Pattern Now
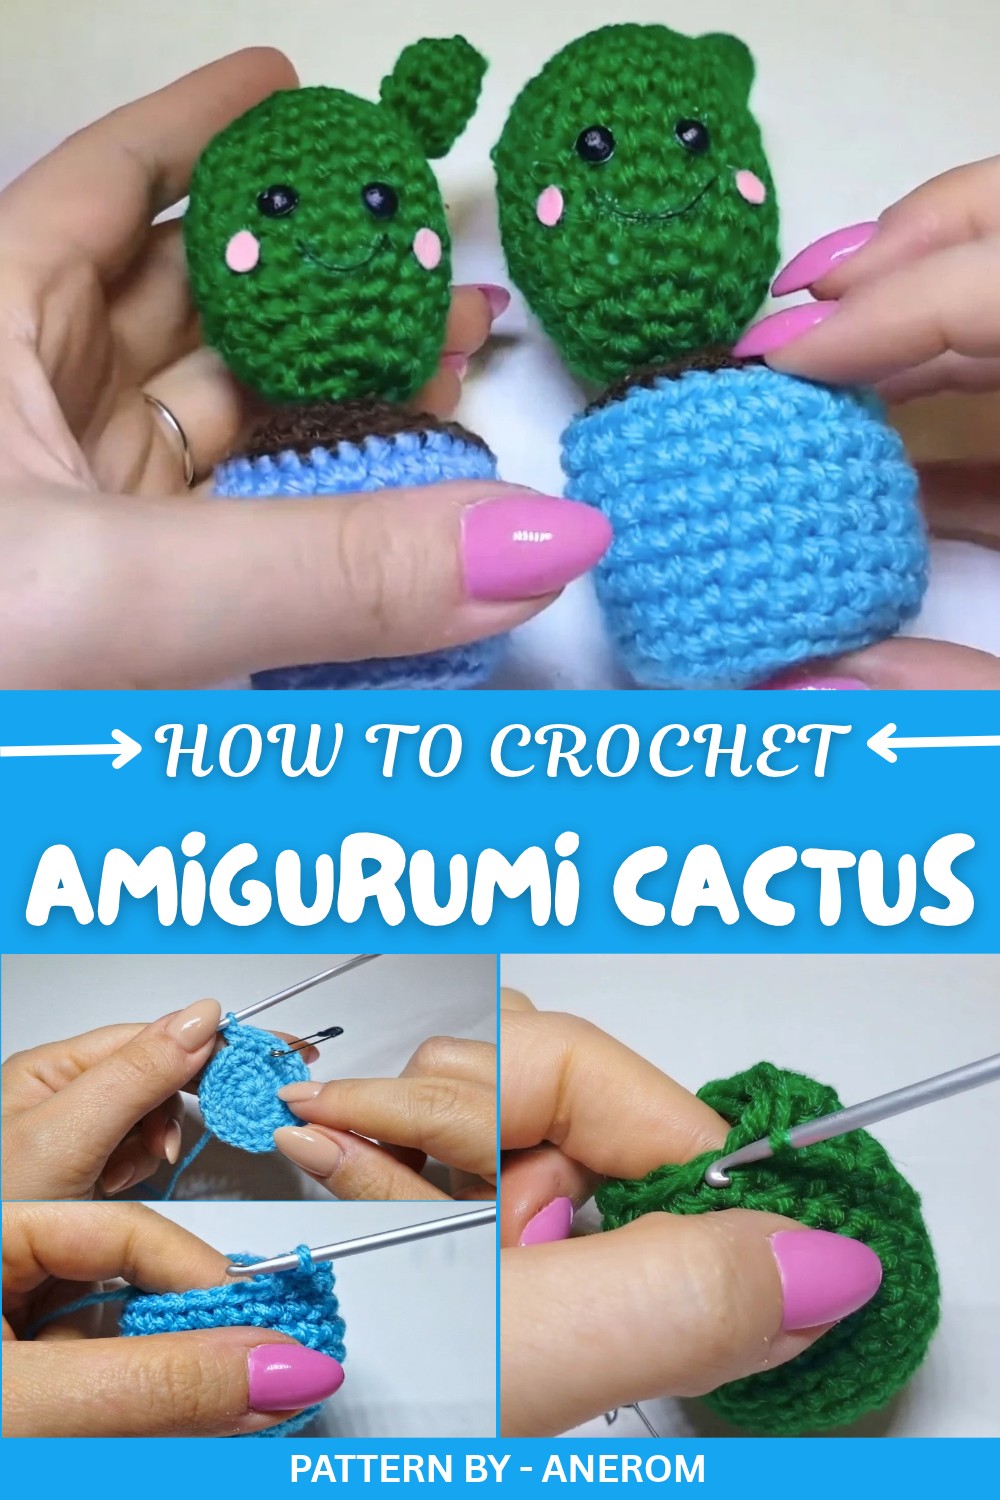
On the Anerom YouTube channel, the process is laid out step by step with thoughtful tips to make the experience smooth and enjoyable for everyone. Even those new to handling yarn and hooks can follow along with her calm and easy explanations. She adds clever touches, like showing how different hook sizes influence the final product and offering advice on assembly and finishing details like felt cheeks and stitched smiles. With basic materials like acrylic yarn, a hook, some stuffing, and optional accents, it’s affordable and quick to bring these playful cacti to life.
Perfect for gifts, home décor, or just something fun to brighten your desk, these mini cacti deliver joy without the mess of real plants.
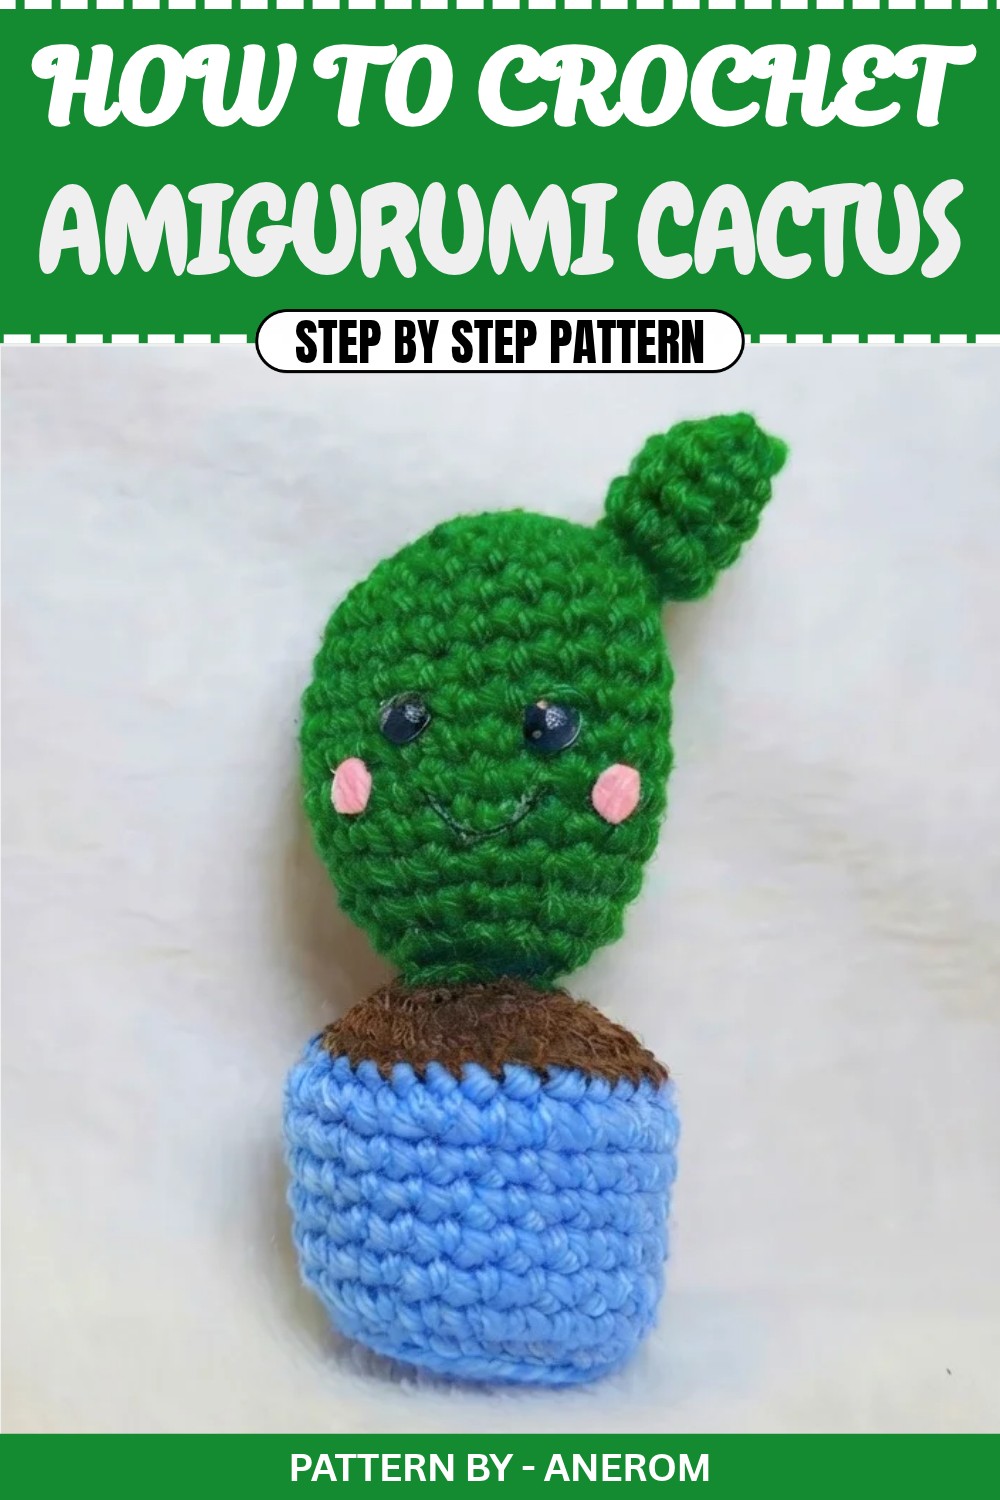
Crochet Cactus Amigurumi Pattern
This adorable project is perfect for beginners, with simple stitches and clear instructions. Whether you want to brighten up your workspace, gift to a loved one, or add some charm to your decor, this tiny crochet cactus is perfect for you.
Quick Overview of Pattern
- Type: Crochet Cactus Amigurumi
- Purpose: Decorative desk accessory, handmade gift idea, or a fun decor piece
- Difficulty: Beginner friendly, easy to follow
- Customization: Use different yarn colors and hook sizes for personalized results
Notes
- The cactus and pot can be customized by using different yarn sizes, types, and colors.
- Using a smaller crochet hook (2.5mm) results in a denser and smaller finish, while a larger crochet hook (3mm) results in a slightly bigger and softer finish.
- Accessories like felt and beads are optional but enhance the decorative look of the cactus.
Skill Level
Beginner: Basic crochet stitches (magic ring, single crochet, increases, decreases, and slip stitches) are required for this project.
Materials
- Yarn:
- Green (for the cactus)
- Blue (for the pot)
- Brown (for the soil)
- Pink felt (optional, for cheeks)
- Black cotton thread (for the mouth, optional)
- Hook: 2.5mm or 3mm crochet hook
- Stuffing: Fiberfill for stuffing the cactus and the pot
- Accessories:
- Two small black half-pearl beads for the eyes
- Yarn needle for sewing
- Hot glue or strong adhesive for attaching decorations
- Stitch marker or pin
- Scissors
Measurements
- The finished cactus size depends on the hook and yarn used, but with a 2.5mm hook and No. 3 yarn, the approximate height is around 6-7 cm including the pot.
Gauge
Gauge is not critical for this pattern. Ensure your stitches are tight enough to hold the fiberfill and maintain the shape of your cactus. Adjust the hook size as needed for tighter or looser stitching.
Stitch Abbreviations
- sc: Single crochet
- inc: Increase (2 single crochets in the same stitch)
- dec: Decrease (single crochet two stitches together)
- sl st: Slip stitch
Special Stitches
Working in Back Loops Only (BLO)
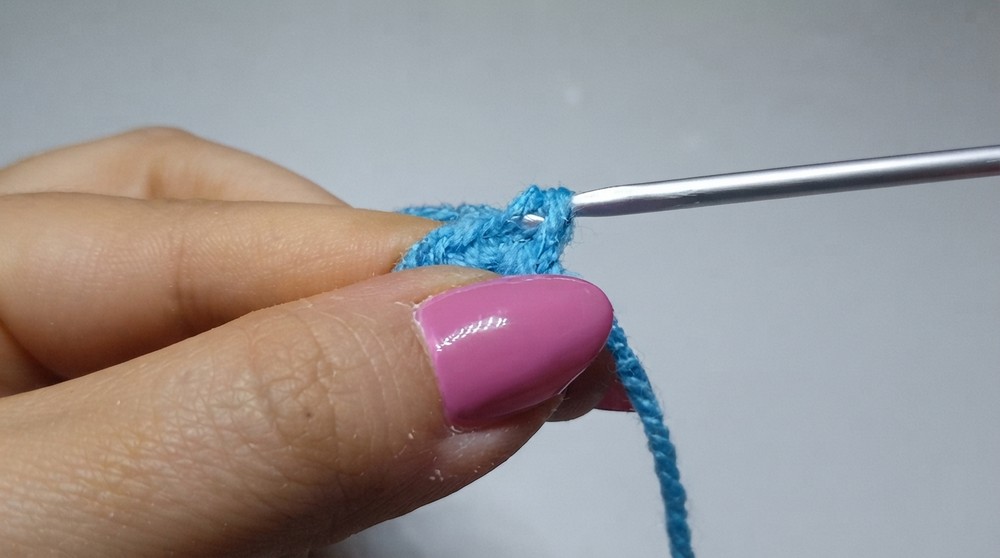
Instead of inserting the hook through both loops of a stitch, insert it only into the back loop of the stitch, leaving the front loop unworked. This creates a ridged effect and is useful for shaping.
The Crochet Pattern
Below are step by step instructions for creating this adorable cactus and its pot, following the transcription closely.
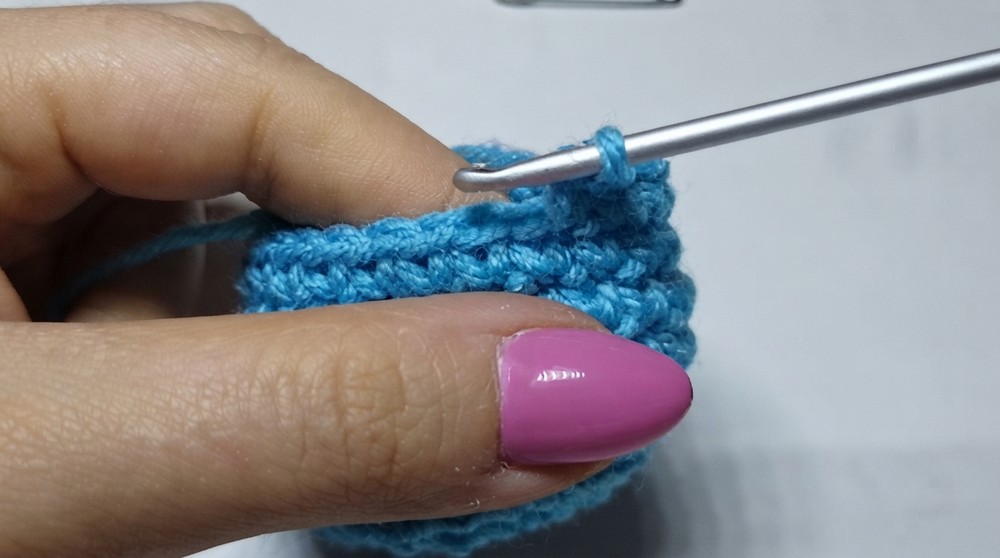
Part 1: The Pot
- Foundation:
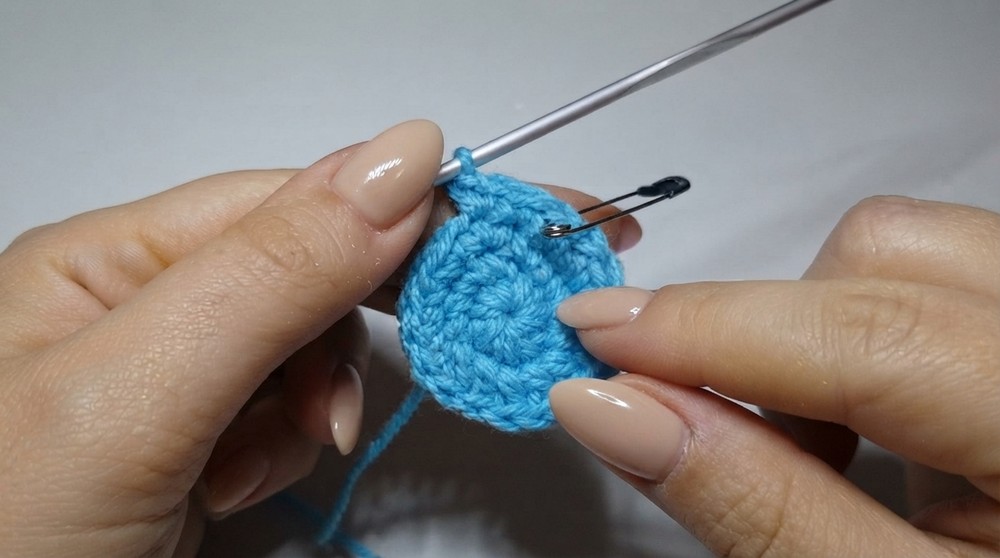
- With blue yarn, create a magic ring.
- Round 1:
- Work 6 single crochets (sc) into the magic ring. Tighten the ring by pulling the loose end.
- Total stitches: 6
- Round 2:
- Work 1 increase (inc) in each stitch around.
- Total stitches: 12
- Round 3:
- Alternate between 1 sc and 1 inc. Repeat for the entire round.
- Total stitches: 18
- Round 4:
- Alternate between 2 sc and 1 inc. Repeat for the entire round.
- Total stitches: 24
- Round 5: (Working in BLO – Back Loops Only)
- Crochet 1 sc into each back loop of the stitch for the entire round.
- Total stitches: 24
- Rounds 6–10:
- Work 1 sc into each stitch for 5 rounds, returning to normal stitching through both loops in these rows.
- Total stitches: 24
- Round 11:
- Alternate between 3 sc and 1 inc. Repeat for the entire round.
- Total stitches: 30
- Finishing Round:
- Work 1 sl st into the next stitch to secure. Cut the yarn, leaving a long tail for weaving in and sewing.
- Use a yarn needle to hide the tail in the stitches. Your pot is now complete!
Part 2: The Soil
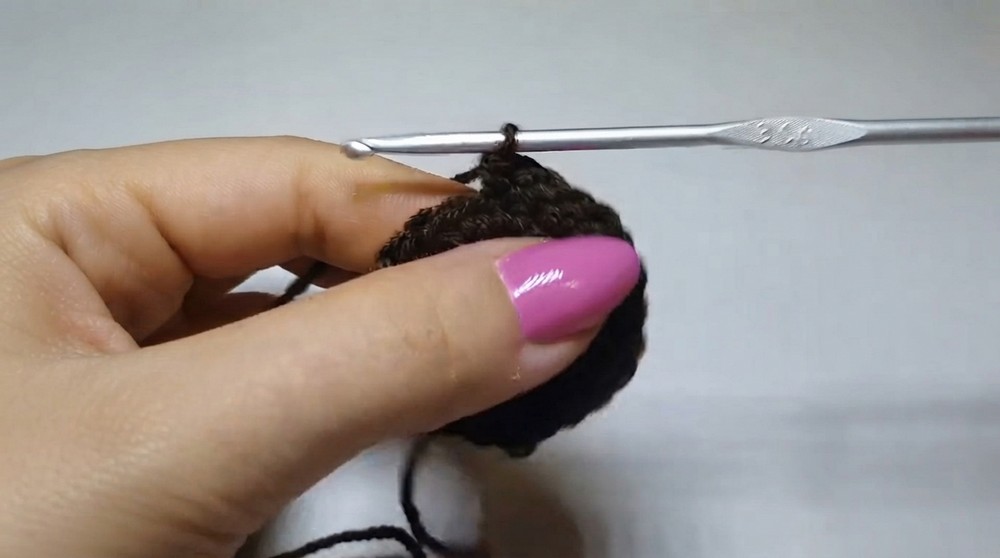
- Foundation:
- With brown yarn, create a magic ring.
- Round 1:
- Work 6 sc into the magic ring. Tighten the ring by pulling the loose end.
- Total stitches: 6
- Round 2:
- Work 1 inc in each stitch around.
- Total stitches: 12
- Round 3:
- Alternate between 1 sc and 1 inc. Repeat for the entire round.
- Total stitches: 18
- Round 4:
- Alternate between 2 sc and 1 inc. Repeat for the entire round.
- Total stitches: 24
- Finishing:
- Work 1 sl st into the next stitch to secure. Cut the yarn, leaving a long tail for sewing the soil to the pot.
Part 3: The Cactus
- Foundation:
- With green yarn, create a magic ring.
- Round 1:
- Work 6 sc into the magic ring. Tighten the ring by pulling the loose end.
- Total stitches: 6
- Round 2:
- Work 1 inc in each stitch around.
- Total stitches: 12
- Round 3:
- Alternate between 1 sc and 1 inc. Repeat for the entire round.
- Total stitches: 18
- Round 4:
- Alternate between 2 sc and 1 inc. Repeat for the entire round.
- Total stitches: 24
- Rounds 5–11:
- Work 1 sc in every stitch for 7 rounds, keeping the stitch count consistent.
- Total stitches: 24 per round.
- Round 12:
- Alternate between 2 sc and 1 dec. Repeat for the entire round.
- Total stitches: 18
- Round 13:
- Work 1 sc in every stitch.
- Total stitches: 18
- Round 14:
- Alternate between 1 sc and 1 dec. Repeat for the entire round.
- Total stitches: 12
- Round 15:
- Work 1 sc in every stitch.
- Total stitches: 12
- Finish the Cactus:
- Work 1 sl st into the next stitch to complete the round. Cut yarn, leaving a long tail for sewing.

Assembly & Finishing
- Stuff All Parts:
- Use fiberfill to stuff the pot, soil, and cactus. Ensure they are firm but not overstuffed to maintain shape.
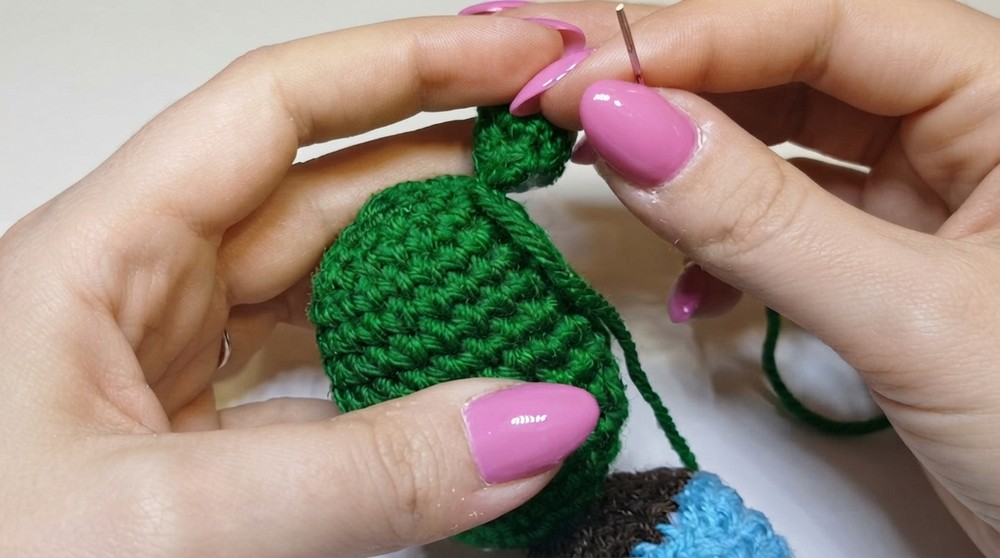
- Sew the Soil to the Pot:
- Sew the brown soil in place over the top rim of the pot using the long tail from the soil.
- Attach the Cactus:
- Sew the cactus to the soil piece using the long tail from the cactus piece.
- Decorate Your Cactus:
- Using pink felt, cut out small circles for the cheeks and glue them to the cactus. Attach the black half pearl beads as eyes using hot glue. Use thin black thread to stitch a simple smile on the cactus to give it a cute face.
Finished Size
The completed cactus, when using a 2.5mm hook and No. 3 yarn, measures approximately:
- Height: 6 to 7 cm
Conclusion
Congratulations on completing your crochet cactus amigurumi! This quirky little project makes the perfect desk companion, a unique gift, or a colorful addition to your home. With endless possibilities for customization, you can experiment with colors, sizes, and decorative elements to make each cactus truly unique.