
Free Mini Dress Pattern to Crochet for Party Decorations
Try this amazing free pattern to crochet adorable mini dresses that are perfect for personalized gifts, unique room decorations, or fun crocheting projects.
Pattern By Anerom
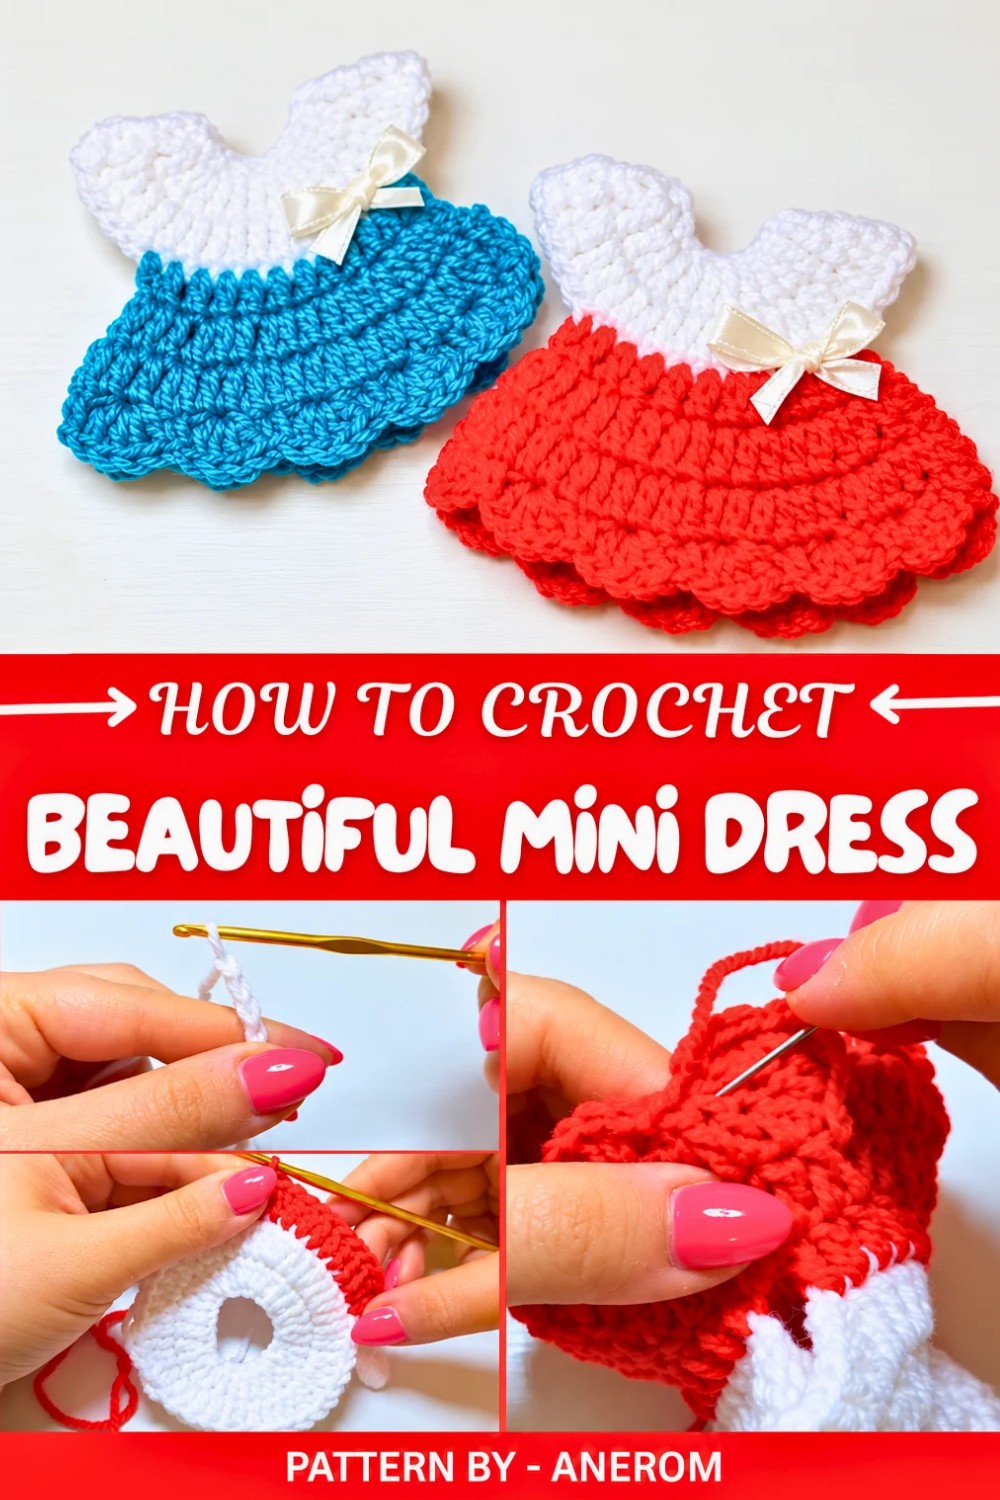
Some of my favorite projects are the ones that look tiny but feel extra special, and this sweet mini dress is exactly that kind of item. The Free Crochet Mini Dress Pattern lets you work up a small, charming dress that’s perfect for doll outfits, room décor, or little keepsakes. It’s a fun project for anyone who enjoys yarn work and wants something cute and quick that still looks polished and thoughtful.
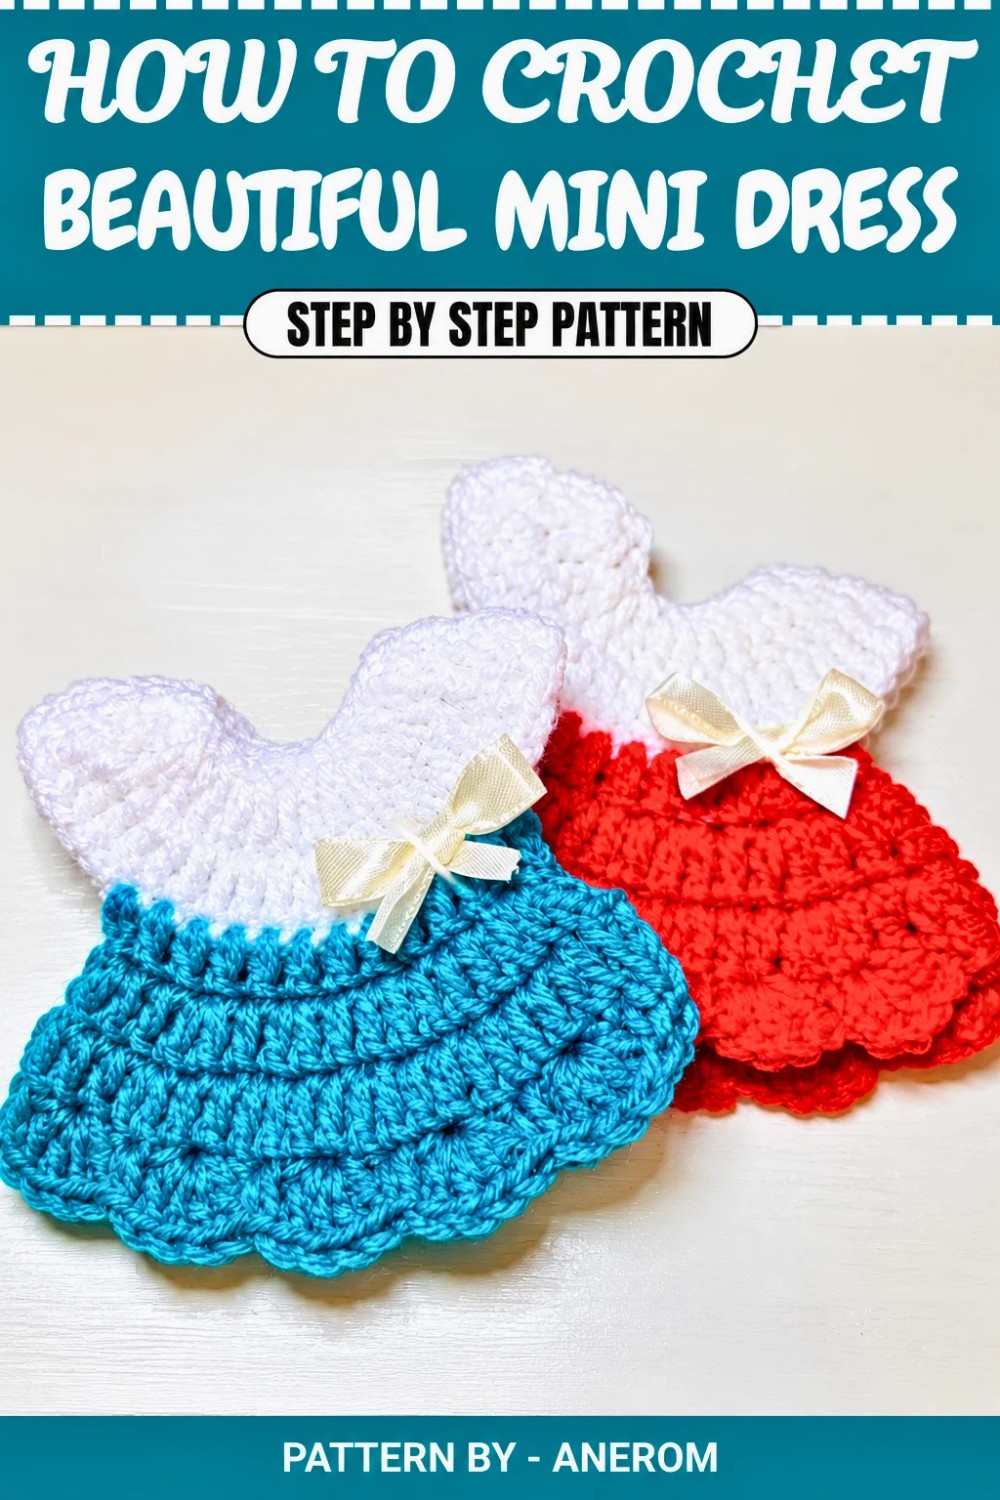
This mini dress stands out for its soft texture and graceful shape. The skirt usually flares slightly, giving it a gentle, flowing look, while the top sits neat and fitted, like a classic dress in miniature form. You can play with colors to add stripes, contrasting borders, or a bold bodice and lighter skirt. Extra touches like tiny bows, lace style edging, or a ruffled hem make it eye catching. The finished piece feels light in the hand, with smooth stitching and a tidy outline that makes it lovely as a hanging ornament, shelf décor, doll clothing, or part of a themed display.
Free Crochet Mini Dress Pattern That Beginners Will Love
It mostly uses simple stitches such as single crochet and double crochet, so anyone familiar with the basics can follow along without feeling overwhelmed. Repeating rows and clear shaping keep the process calm and straightforward, while still offering enough interest to keep more experienced yarn lovers engaged.
This mini dress works beautifully as a thoughtful handmade gift, a charming décor accent, a cute wearable piece for dolls, or a collectible item for those who enjoy small handmade treasures. It’s a gentle, low pressure project that lets you enjoy your yarn time and end up with something genuinely adorable. If you like small, pretty makes that don’t take forever, this Free Crochet Mini Dress Pattern is likely a great fit for your style and skill level.
Crochet Pattern: Simple and Adorable Mini Dress
This guide teaches you how to crochet a cute and versatile mini dress using acrylic yarn. Whether it’s for gifts, decorative purposes, or creative projects, this mini dress is fast, fun, and easy to make. You can customize the size and color to suit your taste.
Quick Overview of Pattern
- Project Type: Mini Crochet Dress
- Techniques Used: Basic crochet stitches, increasing, simple seaming, and decorative edging
- Customizable Features: Colors, size, and adornments like ribbons or bows
Notes
- The base of the mini dress is worked in two parts: the upper body and the skirt.
- Acrylic yarn is used in the tutorial, but you can substitute with cotton for a slightly smaller dress or a different texture.
- You can customize the colors for a solid or two tone look, and the edging can be adjusted to add more or less flair.
Skill Level
Beginner to Intermediate – The project uses basic crochet techniques, making it accessible to beginners but engaging enough for experienced crocheters.
Materials
- Yarn: White and red acrylic yarn, Category #3 (DK Weight)
- Hook: 3 mm crochet hook
- Other Tools: Scissors, yarn needle, decorative ribbon or bow, craft glue
- Optional: Stitch marker
Measurements / Sizing
The finished mini dress size depends on the yarn and hook used. With the recommended materials, the dress measures around 10 cm (4 inches) tall.
Gauge
Not critical for this project. Adjust your hook size to achieve the desired dress size.
Stitch Abbreviations
- ch: chain
- sc: single crochet
- dc: double crochet
- sl st: slip stitch
- st(s): stitch(es)
Special Stitches
- Increase: Crochet two stitches into the same stitch (used to widen the dress).
The Crochet Pattern
Upper Part of the Dress (Bodice)
Step 1: Create the foundation
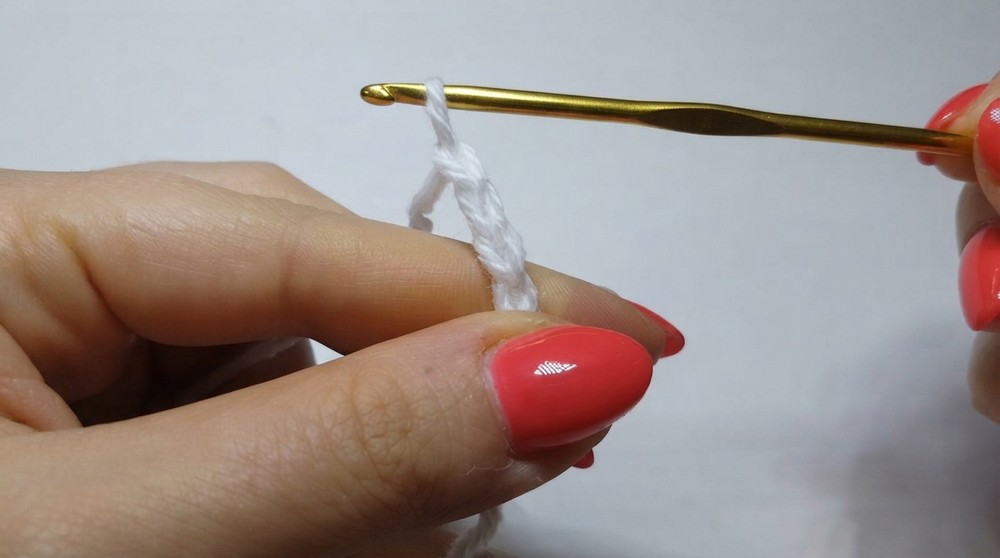
- Use the white yarn. Make a slipknot and secure it on your hook.
- Chain (ch) 16 to start your foundation.
- Join with a slip stitch (sl st) into the first chain to form a circle. Make sure the chain isn’t twisted.
Step 2: Work the first round
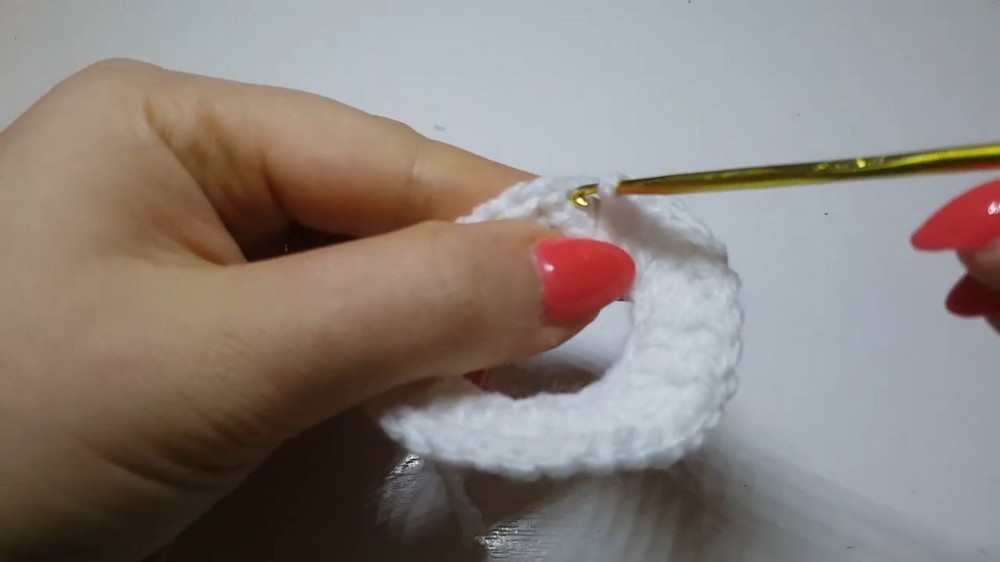
- Chain 2 (ch2), which counts as the first double crochet (dc).
- Work 1 double crochet (dc) in the same stitch (this creates the first increase).
- In the next chain, work an increase: 2 dc into the same stitch.
- Repeat: Work 2 dc in each chain around the circle.
- Close the round with a slip stitch (sl st) into the second chain of the starting ch2.
Step 3: Work the second round
- Chain 2 (ch2) and work 1 dc in the same stitch (first increase of this round).
- In the next stitch, work 1 dc (no increase).
- In the following stitch, work 2 dc (increase).
- Repeat the pattern around: 1 dc in one stitch, 2 dc in the next stitch.
- Close the round with a slip stitch (sl st).
Lower Part of the Dress (Skirt)
Step 1: Attach the second color
- Switch to the red yarn (or your chosen skirt color). Create a slipknot.
- Attach the new yarn into any stitch with a single crochet (sc) and chain 1 (ch1).
- This stitch counts as the first dc.
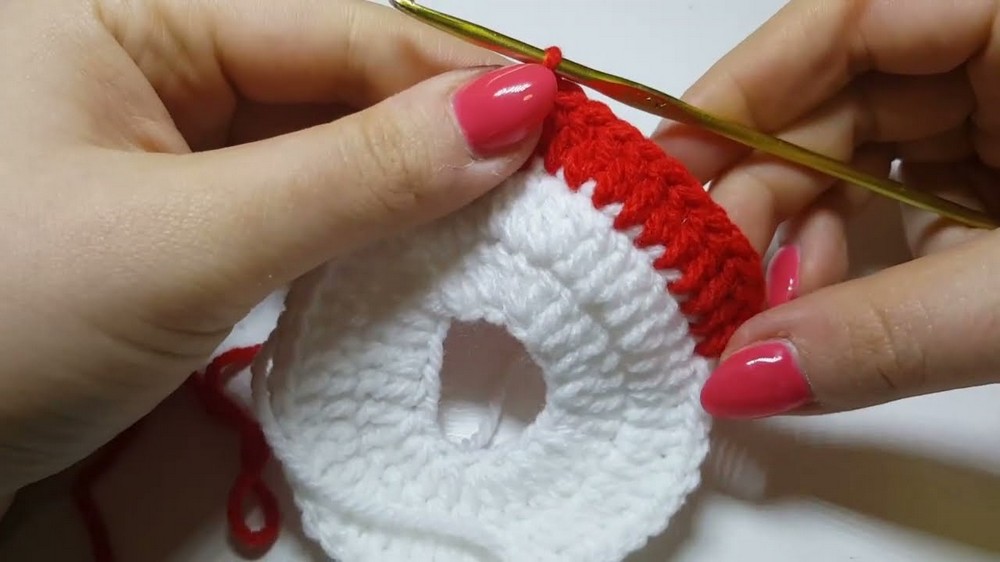
Step 2: Work the first round of the skirt
- Work 11 more double crochets (dc), for a total of 12 sts in this section.
- Fold the bodice in half to locate the opposite side, and count 12 stitches to mark the next starting point.
- Join the skirt on the opposite side by working into the 13th stitch on the bodice with a slip stitch (sl st).
Step 3: Mirror the shape on the opposite side
- Turn your work and begin the second set of 12 dc across the opposite side, reaching back toward the starting point.
- Close with a slip stitch (sl st) in the starting chain on the first side.
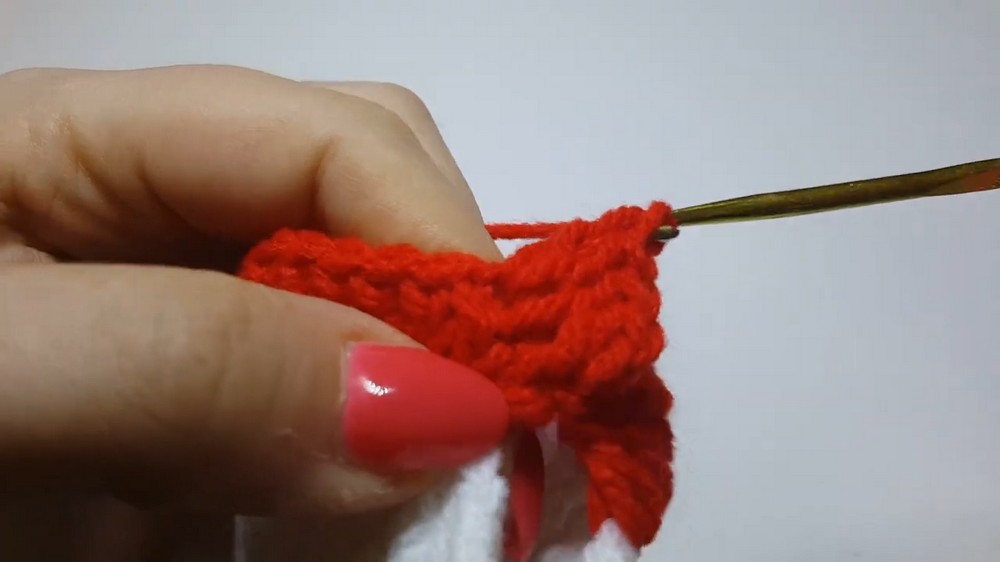
Step 4: Shape the skirt
- Chain 2 (ch2) and work 1 dc in the same stitch (increase).
- Work 1 dc in the next stitch, then 1 dc in the following stitch (two single dc without increases).
- In the fourth stitch, work an increase (2 dc in the same stitch).
- Repeat the pattern: 2 single dc, 1 increase.
- Close the round with a slip stitch (sl st).
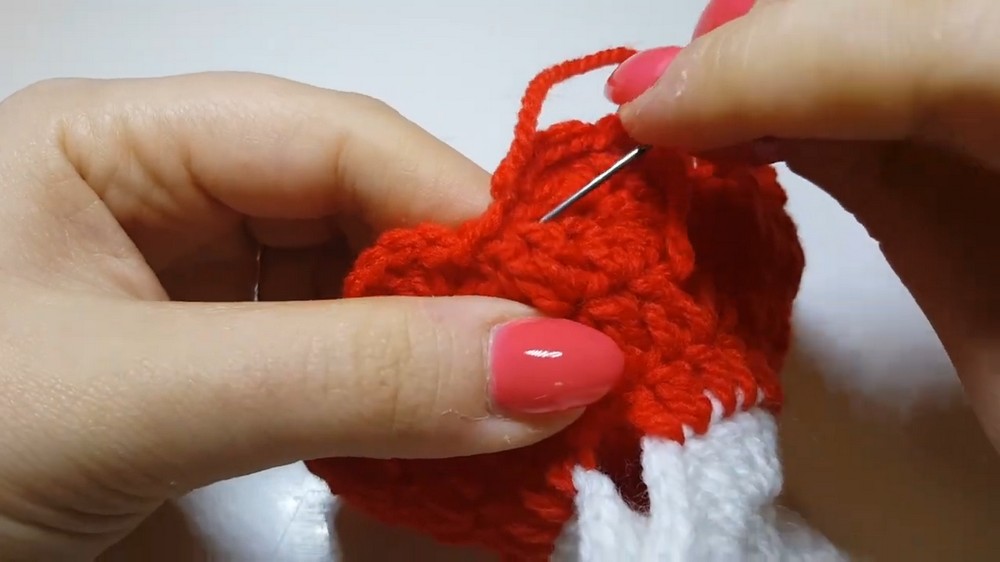
Step 5: Add frills or keep it simple (Optional)
- If you prefer a straight skirt, continue with additional rounds in the same pattern. You can alternate between 1 dc, 1 dc, and an increase depending on the desired width.
- For a ruffled or scalloped edge:
- Skip the next stitch.
- Work 4 dc into the next stitch.
- Skip another stitch; join with a single crochet (sc).
- Repeat this pattern to create a wavy or scalloped hemline.
Assembly & Finished Size
- Once the skirt is complete, secure your final stitches with a slip stitch (sl st).
- Cut the yarn, leaving a 2–3 inch tail, and weave in the ends using a yarn needle.
- Add finishing touches! Use a small bow or ribbon and attach it to the bodice with craft glue or a few stitched threads for embellishment.
Conclusion and Final Words
Your mini crochet dress is complete! This quick and fun project is perfect for decorations, ornaments, or gifts. Customizing the dress with different colors, yarn types, or adornments can make each creation unique. If you enjoyed this tutorial and tried making the dress, let us know—we’d love to hear from you.