
Free Handmade Crochet Square Pattern for Vibrant Designs
Upgrade your crochet skills with this free square pattern that combines creativity, color, and unlimited possibilities.
Soft corners, bold edges, and a timeless appeal, this crochet square offers so much more than just shapes and stitches. With every loop and turn, it brings the charm of handmade traditions to life. Whether strung together for a snuggly blanket, bright table decor, or even chic patchwork bags, these squares hold the potential to brighten up any living space.
Pattern By Anerom
The magic happens on the Anerom channel, where simple materials and approachable techniques morph into captivating designs. Building the square starts with a clever magic ring, followed by layers of textured stitches like double crochets and chain spaces, creating balance and structure. The playful contrast between smaller loops and larger corner loops adds both character and elegance to the square, while the defined edges keep it looking polished and professional.
Free Crochet Square Pattern Perfect for Cozy Blankets
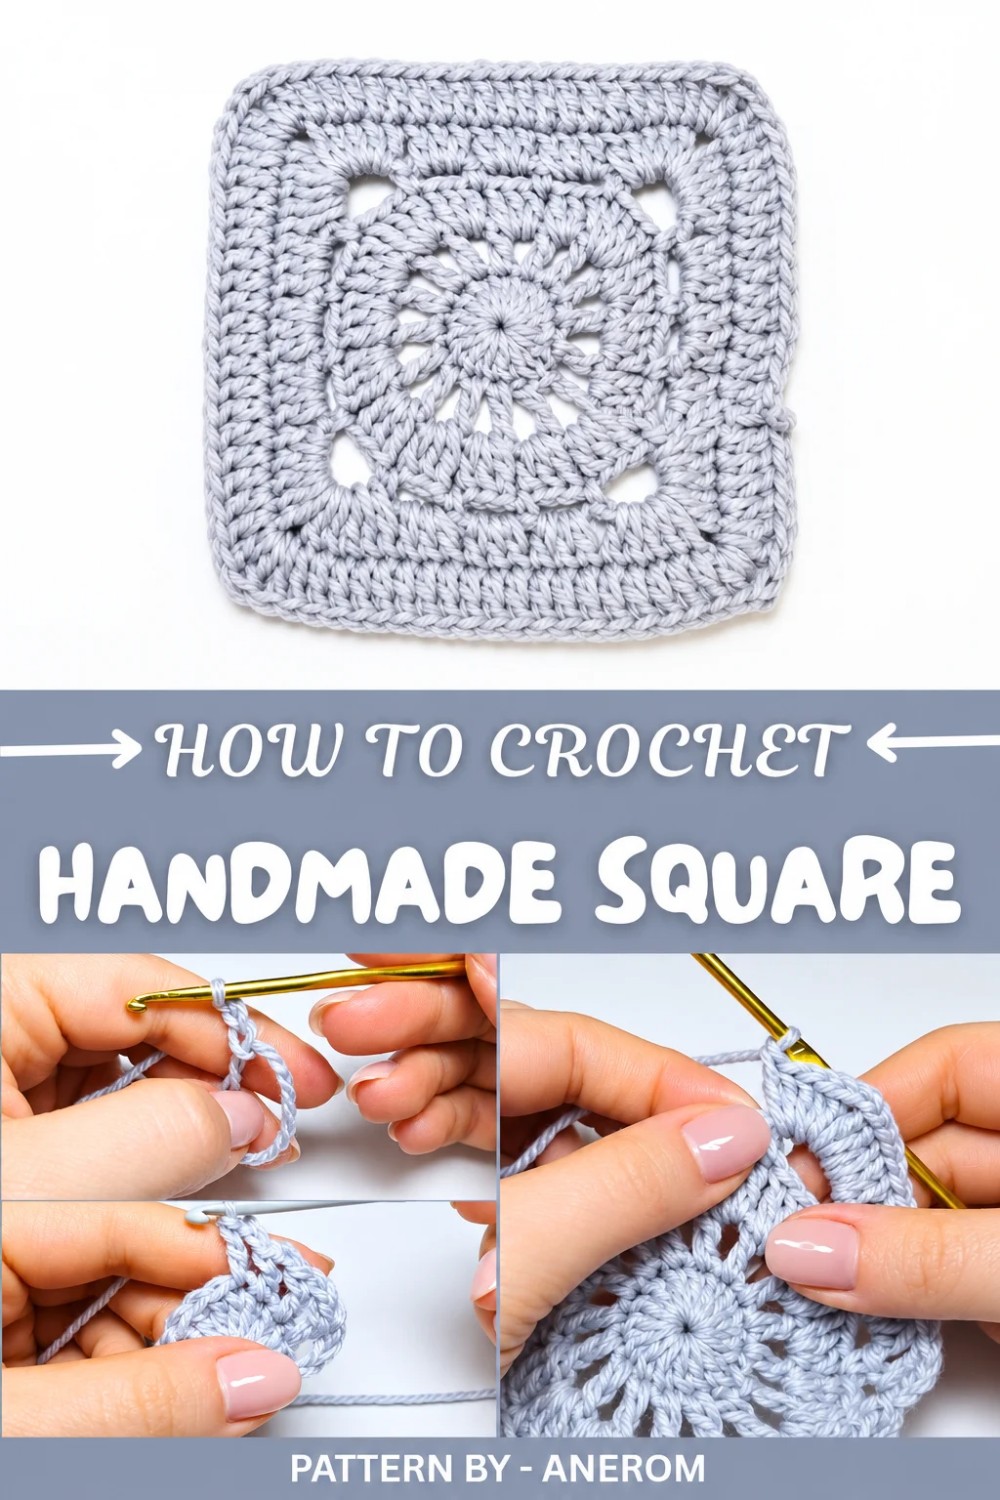
What stands out most is how effortlessly the square transitions between sections, sharp corners tucked neatly into their spaces, while the delicate chain loops soften the overall appearance. The tutorial itself makes it easy to learn this method step by step, guiding anyone, whether first timers or experienced hands, through the process. Thanks to Anerom's relaxed and engaging teaching style, turning yarn into something so practical and stunning has never felt so achievable.
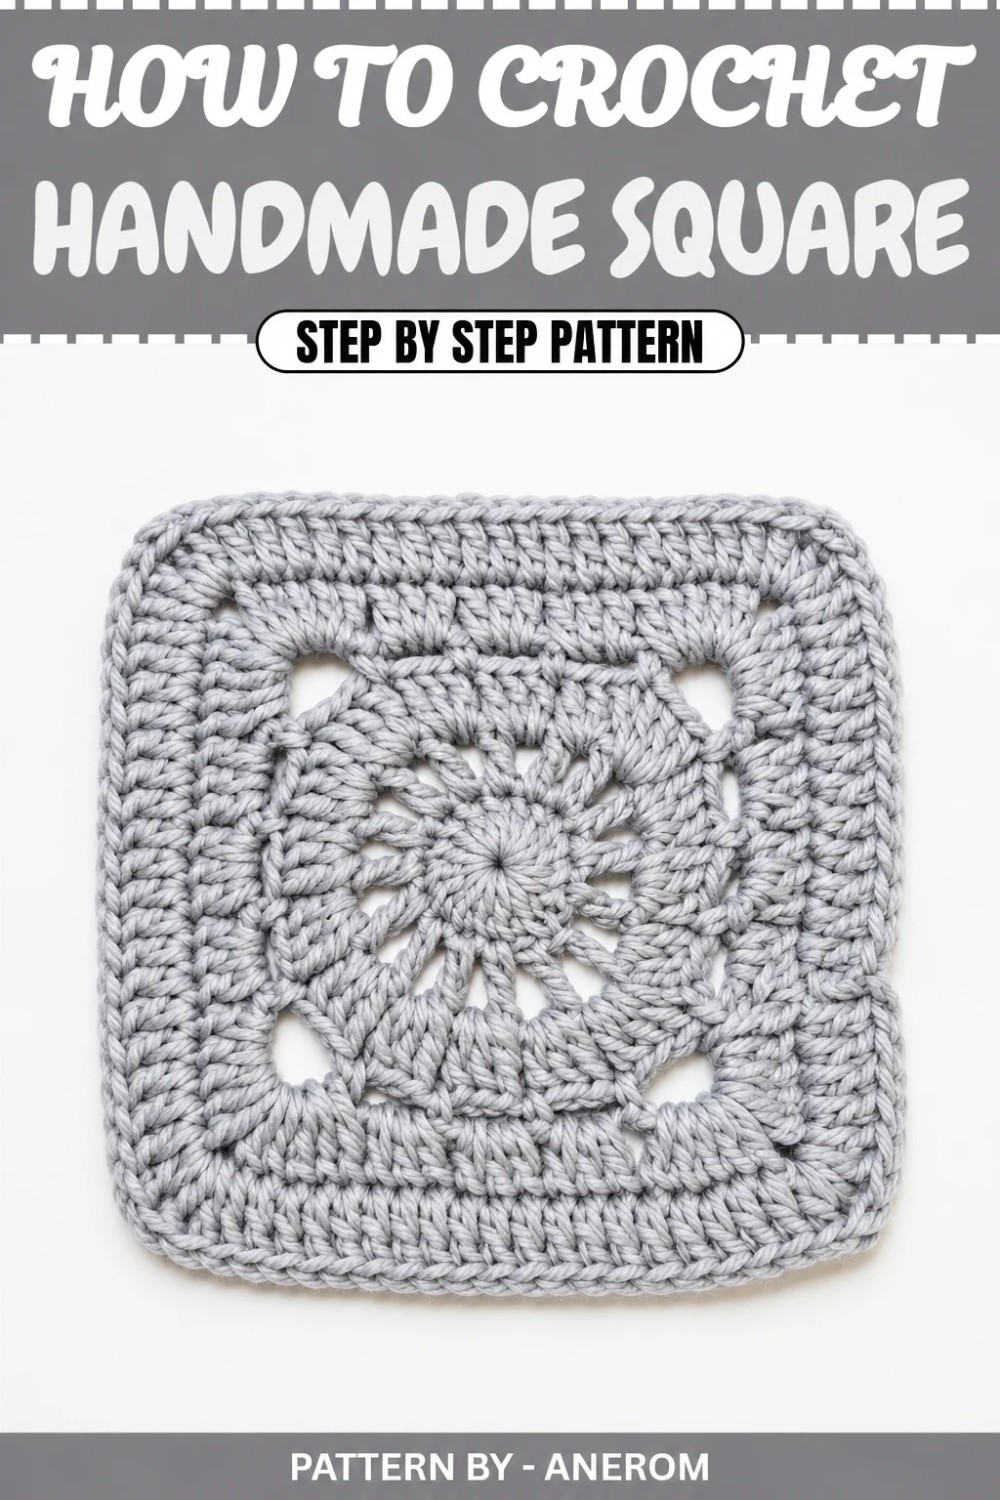
Beginner Friendly Crochet Square Pattern
This basic square is designed to be combined with other squares, using the same color or different colors, to create beautiful blankets or other projects. It's an incredibly easy pattern to follow and is suitable for all skill levels, including beginners.
Quick Overview of Pattern
- Project: Crochet simple square (“mattonella”)
- Purpose: Join multiple squares to create blankets, throws, or other larger projects.
- Suitability: Perfect for beginners.
- Construction: Worked in rounds, starting from a magic ring and expanding outward.
Notes
- The square is worked in rounds.
- The pattern alternates between basic stitches to create texture and structure.
- Tighten the magic ring securely to ensure the center remains closed.
- Ensure consistency in stitch tension to achieve a uniform look.
Skill Level
Beginner — simple pattern with basic stitches.
Materials
- Yarn: Acrylic yarn, size 3 (used in the tutorial, gray color).
- Hook Size: 3 mm crochet hook.
- Tapestry Needle: For weaving in ends.
- Scissors: For cutting the yarn.
Measurements / Sizing
Final dimensions depend on the yarn, hook size, and number of rounds completed. Adjust the number of rounds to customize the size of your square.
Gauge
Exact gauge is not crucial for this project. However, ensure your stitches are consistent for best results.
Stitch Abbreviations
- ch: Chain
- sl st: Slip Stitch
- dc: Double Crochet (Maglia Alta)
- sc: Single Crochet (Maglia Bassa)
- tr: Treble Crochet (Maglia Altissima)
Special Stitches
- Magic Ring: A circular foundation used to start projects worked in the round.
The Crochet Pattern!
Round 1
- Begin with a magic ring.
- Chain 3 (this counts as the first double crochet).
- Work 15 double crochets into the magic ring.
- Pull the short end of the yarn in the magic ring tightly to close the center.
- Slip stitch into the 3rd chain of the starting chain 3 to join the round.
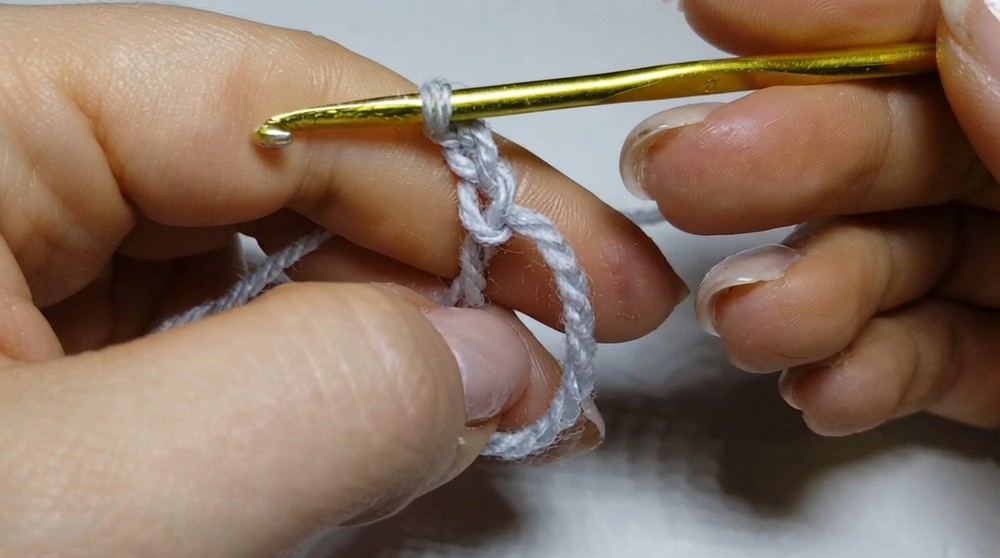
Total: 16 dc (15 dc + chain 3 counts as a dc).
Round 2
- Chain 4 (this counts as 1 double crochet + 2 chains for spacing).
- Work 1 dc into the next stitch.
- Chain 2, then work 1 dc into the next stitch.
- Repeat (1 dc, chain 2) into each stitch around the previous row.
- After the last chain 2 space, slip stitch into the 2nd chain of the starting chain 4 to join the round.
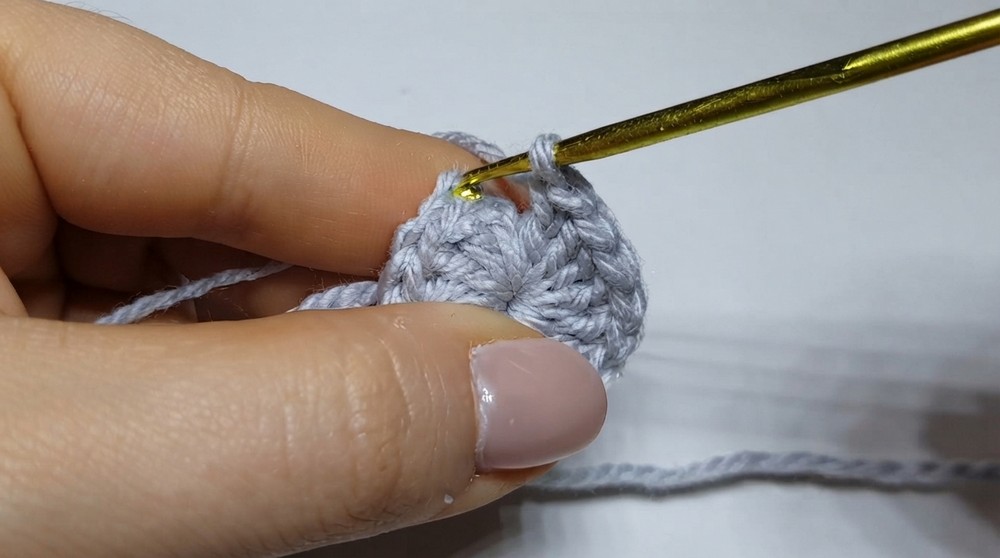
This round consists of alternating 1 dc and chain 2 spaces around.
Round 3
- Chain 2 (counts as the first double crochet).
- In the first chain 2 space, work 2 dc.
- Chain 1.
- In the next chain 2 space from the previous round, make 3 dc.
- Repeat (3 dc into each chain 2 space, chain 1) for every chain 2 space around.
- Slip stitch into the top of the starting chain 2 to close the round.
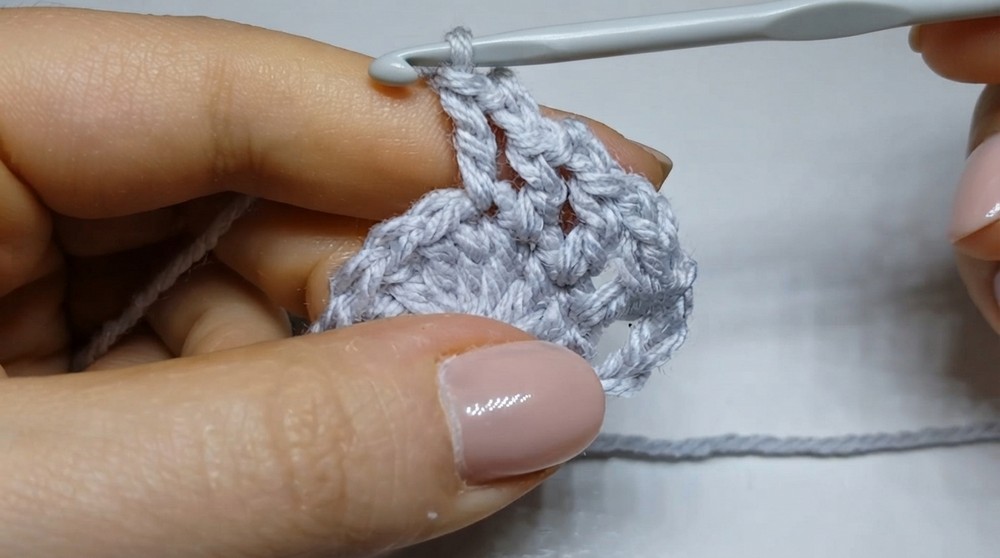
Round 4
- Chain 4.
- Work 1 single crochet into the next chain 1 space.
- Chain 3, then single crochet into the next chain 1 space.
- Repeat (chain 3, sc in the next chain 1 space) two more times.
- At the corner (next chain 1 space), chain 5 instead of 3.
- Single crochet into the next chain 1 space after the corner.
- Continue creating sides by working chain 3, sc in the next chain 1 space.
- Add chain 5 at each corner.
- Once at the starting chain, slip stitch to the end.
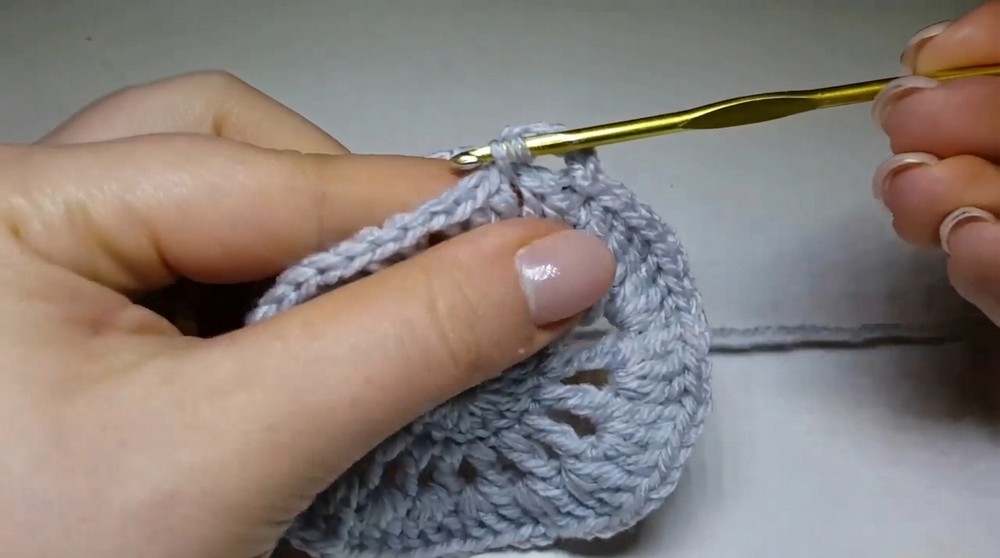
This round creates the structure of the square with corners (5 chain spaces) and edges (3 chain spaces).
Round 5
- Chain 2.
- In the first chain 3 space, work 2 dc.
- Next, into the second chain 3 space, work 3 dc.
- Repeat (3 dc into every chain 3 space) until reaching a corner.
- In the corner (chain-5 space), work: 5 dc, chain 2, 5 dc.
- Resume working 3 dc into each chain 3 space.
- Continue repeating this structure around the square, creating 5 dc corners and 3 dc edges.
- Slip stitch to finish the round.
Round 6
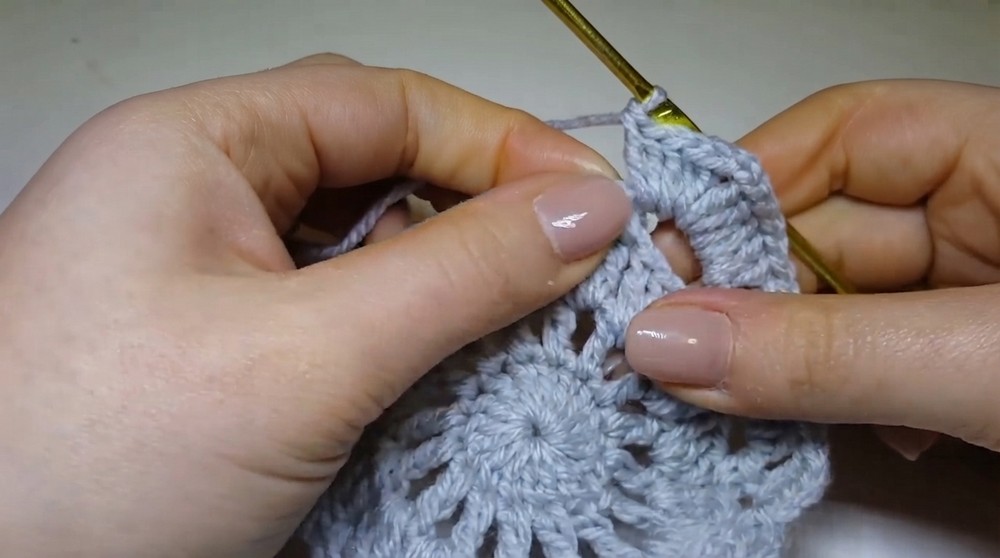
- Chain 2. Work 1 dc in each stitch across the edge until reaching the corner.
- In each corner (chain 2 space of the previous round), work: 1 dc, 1 tr, 1 dc.
- Continue with double crochets along each edge and work corners as described.
- Slip stitch to the starting chain 2 at the end of the round.
Assembly & Finished Size
- If making a project with multiple squares, weave in the ends of each square using a tapestry needle.
- Blocks can be joined together using slip stitches, single crochet, or sewing, depending on the desired finish.
- Final size depends on the number of rounds and blocks used.
Conclusion
Congratulations! You’ve completed a beautiful, simple crochet square. Repeat this pattern with different colors or yarns and join the squares to create vibrant blankets, table runners, or other creative projects. This pattern is versatile and easy enough for beginners but still fun for experienced crocheters.