
Amazing Free Crochet Backpack Pattern to Spruce Up Style
Show off your personal style everywhere you go by stitching a gorgeous handmade bag using this trendy and totally free crochet backpack pattern.
Creating crochet accessories for your handmade amigurumi dolls can elevate their charm and style. One such adorable addition is a tiny, functional backpack perfect for doll outfits. This little design has a simple shape but stands out because of its intricate flap, realistic straps, and button closure. Whether you use playful colors or neutral tones, the finished piece adds both sophistication and practicality to your doll creations.
Cozy Free Crochet Backpack Idea You’ll Enjoy Making
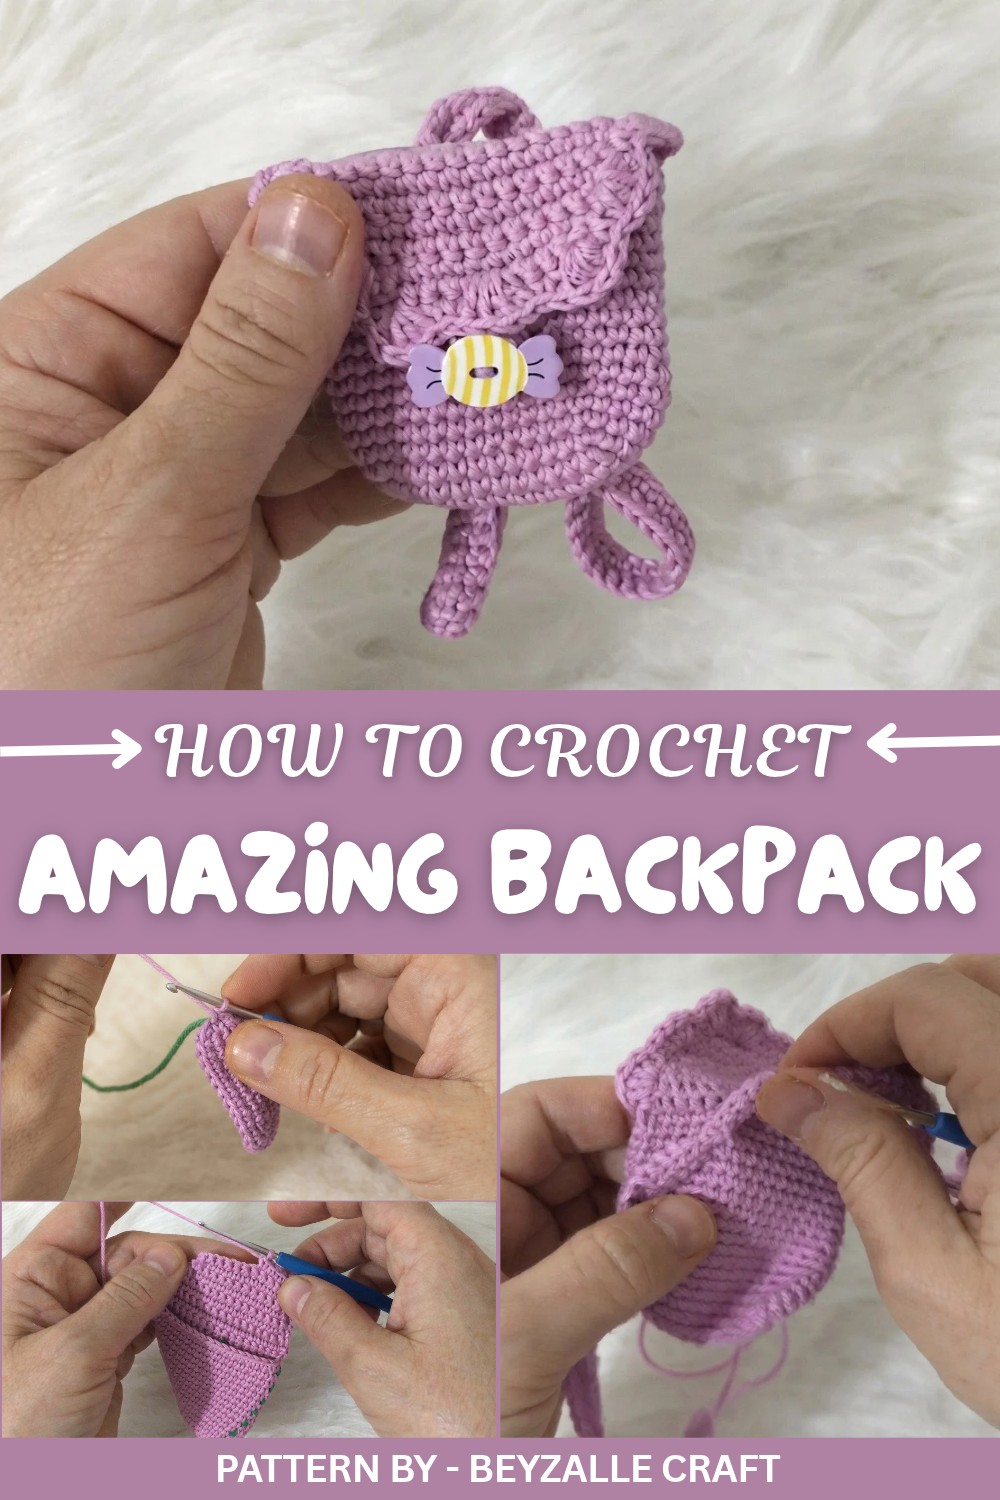
It starts with a solid rectangular base, followed by seamless rounds to build the bag’s body. The most attractive part of this backpack is the small flap, which features a neat button closure for a realistic touch. Additionally, adjustable straps give the design a polished, lifelike feel. The working style is beginner friendly, relying on single crochet stitches, simple increases, and decreases to shape the bag. This makes it a stress free and enjoyable project even for those new to crochet.
What truly makes this design stand out is how versatile it is. You can adjust the size for bigger dolls or even use finer yarn to create a smaller version for petite dolls. Adding small embellishments like beads or embroidered flowers turns this backpack into a personalized masterpiece.
The creator behind Beyzalle CRAFT explains every step with clarity, ensuring this pattern is easy to follow. Her videos are fun, relaxing, and filled with practical tips for sizing and finishing touches. If you love crocheting adorable accessories with maximum impact and minimum effort, this pattern will be your new favorite. Take your crochet projects to the next level and enjoy every step of creating these cute backpacks.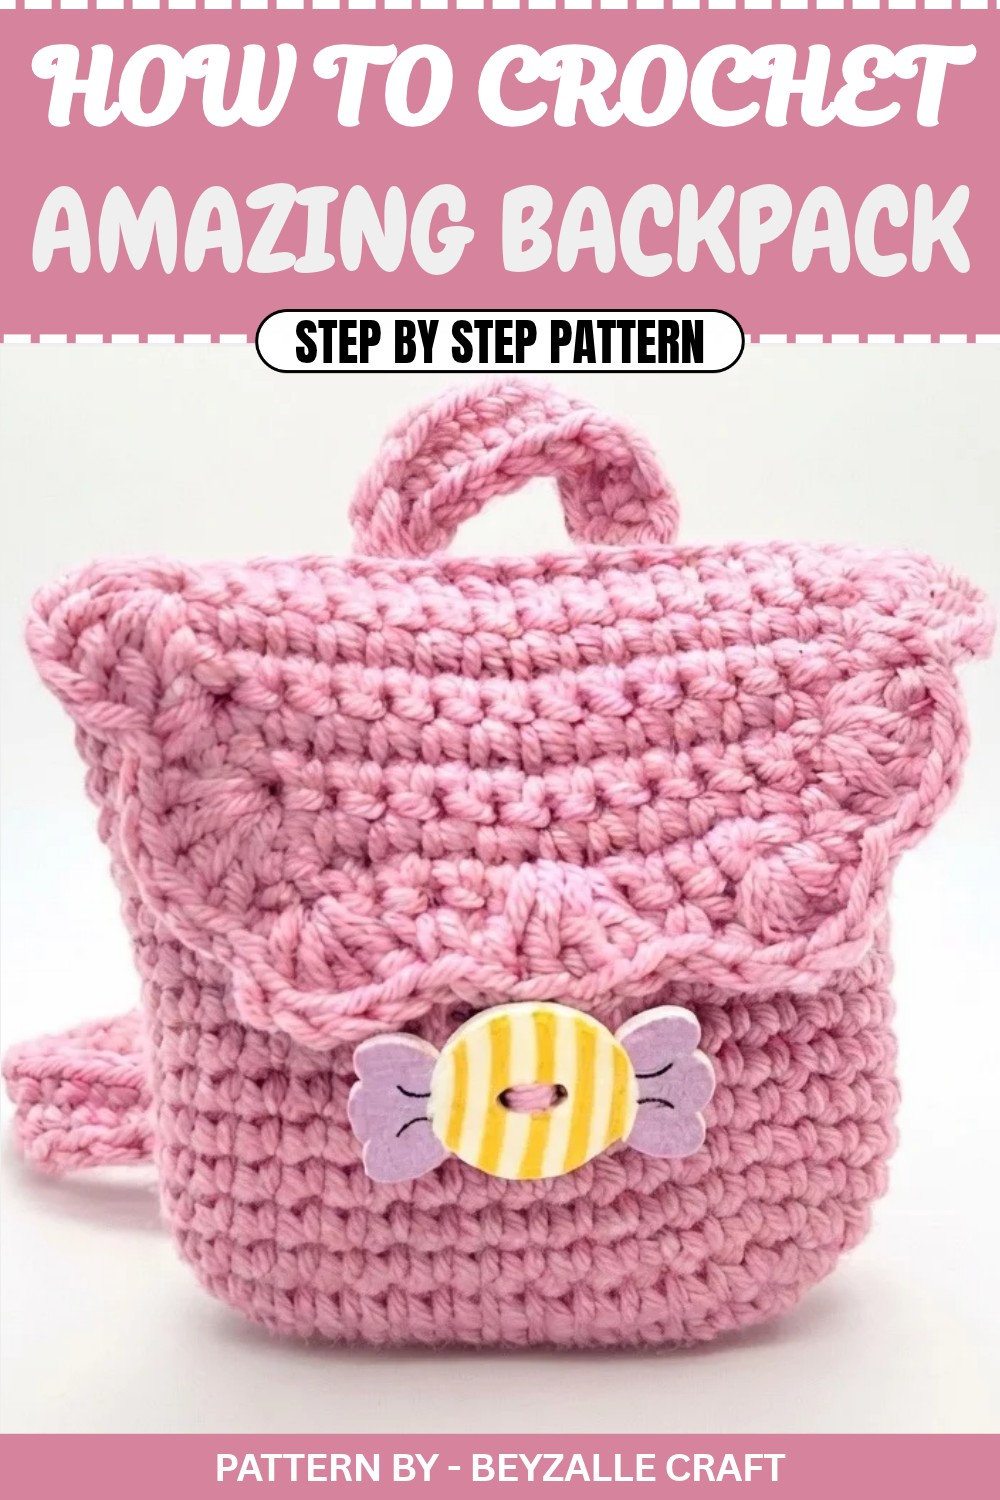
Amigurumi Backpack Crochet Pattern for Dolls
Whether you’re looking to make an adorable accessory for your amigurumi doll or simply want to try a fun and quick crochet project, this guide will help you create the perfect tiny backpack. With minimal materials and an easy method, you can customize the size and details to fit your doll’s style and personality.
Quick Overview of the Pattern
- Project: Amigurumi backpack for dolls
- Difficulty Level: Beginner friendly
- Techniques Used: Foundation chain, single crochet, increases, decreases, slip stitch, and BLO (Back Loop Only)
- Key Highlights:
- Fully functional miniature backpack with a button fastening
- Adjustable size with customization options
- Can be decorated with small details like flowers
Notes
- You can customize the size of the backpack by altering the foundation chain length as explained below.
- Ensure consistent tension throughout for a neat finish.
- This project is ideal for leftover yarn due to its small size.
Skill Level
Beginner – Basic crochet knowledge such as single crochet (SC) and working in the round is needed. Pattern includes clear instructions to guide beginners.
Materials
- Yarn: Cotton yarn in your preferred color (e.g., lilac used in the video)
- Hook: 1.75 mm crochet hook
- Notions:
- Wooden button or any preferred button for the closure
- Tapestry needle for sewing
- Stitch marker
- Scissors
Measurements / Sizing
- The backpack size can be adjusted based on the size of your amigurumi doll. For smaller or larger backpacks, adjust the number of foundation chains.
- Approximate dimensions for the shown backpack: Suitable for an amigurumi doll around 10–12 cm in height.
Gauge
- Not critical for this project but aim for tight, even stitches, as looser stitches may cause the backpack to lose shape.
Stitch Abbreviations
- CH: Chain
- SC: Single crochet
- INC: Increase (two SC in the same stitch)
- DEC: Decrease (combine two SC into one)
- ST(S): Stitch(es)
- BLO: Back loop only
- SL ST: Slip stitch
Special Stitches
- Back Loop Only (BLO): Instead of inserting your hook under both loops of the stitch, insert it into only the back loop (the one farthest from you). This creates a ribbed effect.
Backpack Construction
Base Construction
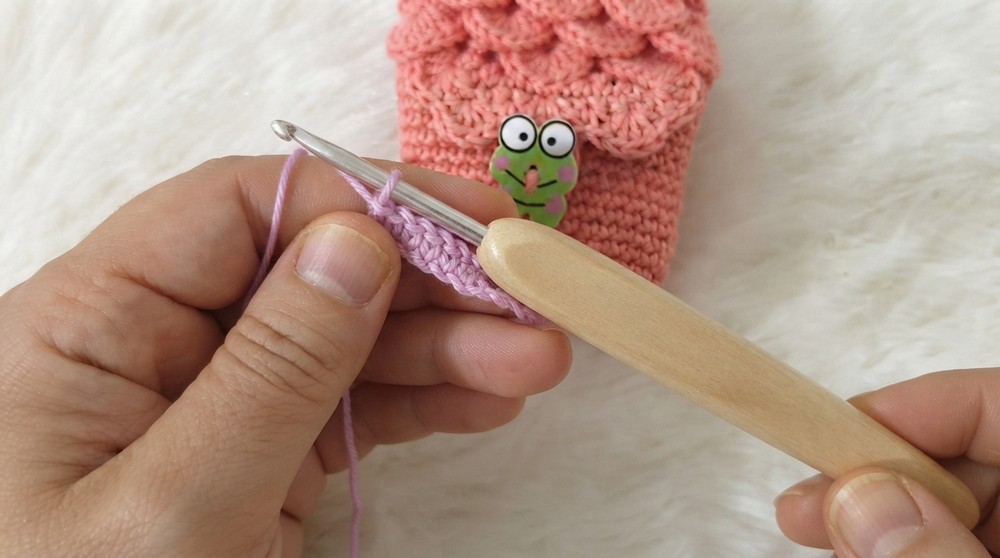
- Foundation Chain: Begin with 12 CH.
- Round 1:
- Starting from the 2nd chain from the hook, work 10 SC.
- Into the last chain, work 3 SC to form a rounded end.
- Turn to the opposite side of the foundation chain and work 9 SC.
- In the final chain, work 2 SC. Total: 24 stitches.
- Round 2:
- Work 1 INC, 9 SC, 3 consecutive INC, 9 SC, 2 INC at the end. Total: 30 stitches.
- Round 3:
- Work 1 SC, 1 INC, 10 SC, [1 INC, 1 SC] x 3, 10 SC, 1 INC, 1 SC, 1 INC. Total: 36 stitches.
Body of the Backpack
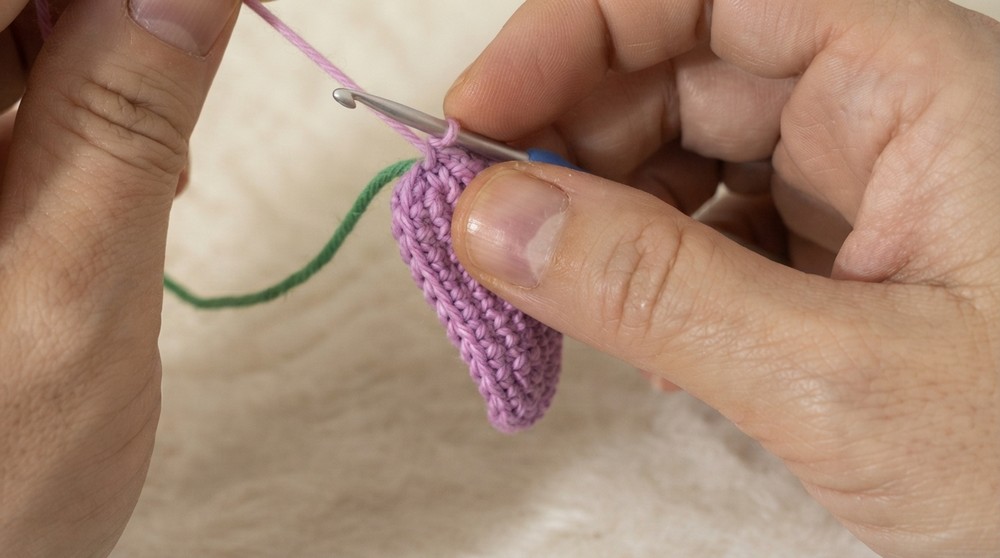
- Work 36 SC continuously for 13 rounds (Rows 4–17).
- This will create the height for the main body of the backpack. Adjust the height as desired.
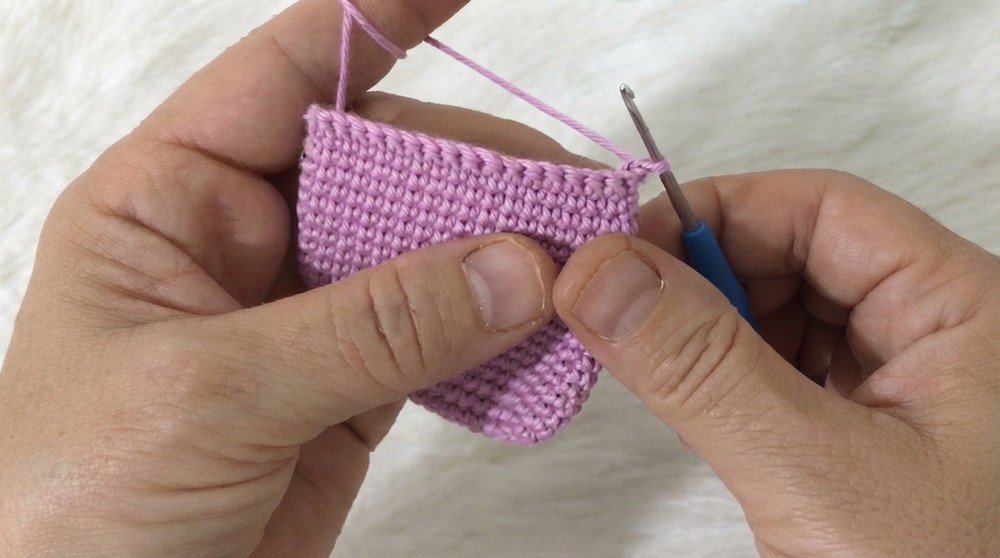
Backpack Flap
- Row 18: Chain 1, turn, and work 17 SC across.
- Row 19: Work 17 SC in Back Loop Only (BLO). Chain 1 and turn.
- Row 20: Decrease at the start, then work 13 SC in between, and finish with 1 decrease. Total: 15 stitches. Chain 1 and turn.
- Row 21: Work 15 SC with no decreases. Chain 1 and turn.
- Row 22: Decrease at the start, work 11 SC in between, and finish with 1 decrease. Total: 13 stitches. Chain 1 and turn.
- Row 23: Work 13 SC with no decreases. Chain 1 and turn.
- Row 24: Decrease at the start, work 9 SC, and finish with 1 decrease. Total: 11 stitches.
- Row 25: Work 11 SC evenly across. Chain 1 and turn.
- Row 26 (Buttonhole Row):
- Start with 1 decrease, then work 3 SC.
- Create a button loop by chaining 12 CH.
- Work 11 SL ST back along the chain and reattach the loop with 1 SC in the next stitch.
- Continue working 3 SC and finish with 1 decrease. Fasten off and weave in the ends.
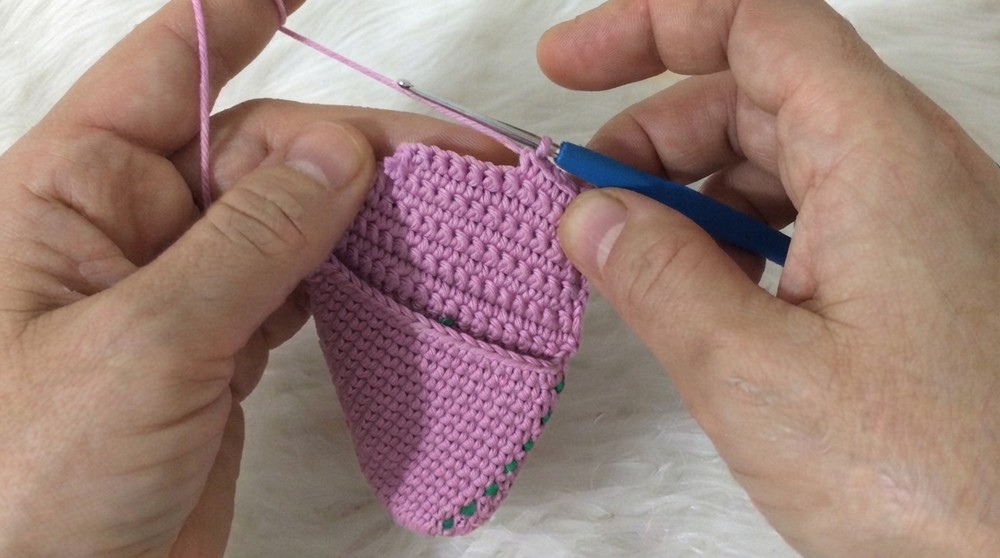
Decorative Border
- Add a decorative scalloped border along the opening and flap edge:
- Starting at one edge, work 4 DC into the same stitch to create a scallop.
- Move to the next stitch with a SL ST.
- Continue this pattern (4 DC, SL ST) around edges and flap. Fasten off.
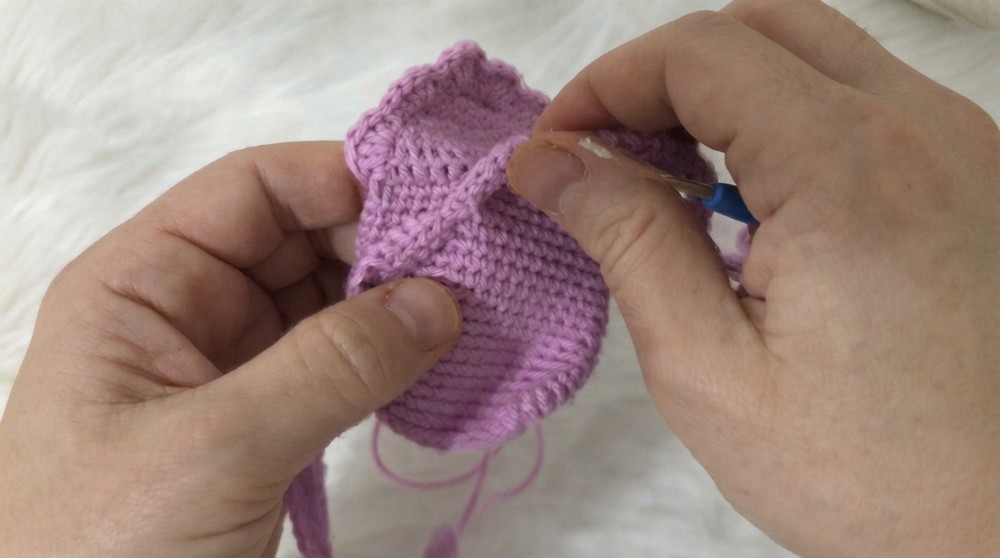
Backpack Straps
- Strap Creation:
- Chain 75–80 CH for a single strap.
- Work 1 SC into each CH across. Turn and work a second row of SC for added strength. Fasten off.
- Repeat step 16 to create a second strap.
- Attach Straps:
- Insert the straps through the bottom holes on the backpack and pull them through.
- Secure the straps at the top with small stitches to keep them in place if needed, but avoid fully stitching them to allow adjustability.
Final Assembly
- Sew the button securely to the front of the backpack, ensuring it aligns with the button loop on the flap.
- Adjust straps as needed and make minor adjustments to fit your amigurumi doll.
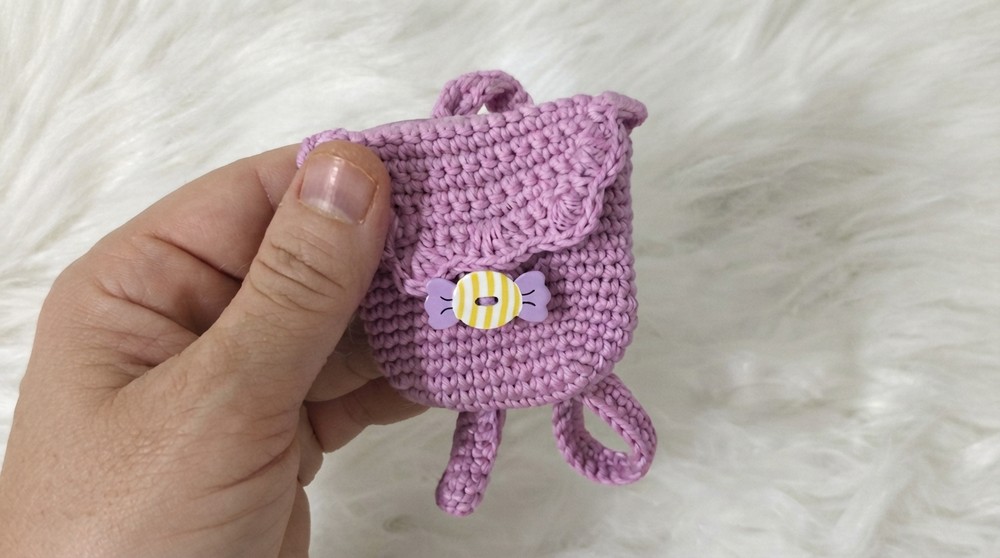
Finished Size
- Approximate size: Fits dolls between 10–12 cm. You can adjust the size by modifying the foundation chain length and strap length as desired.
Conclusion and Final Touches
Congratulations, your delightful handmade crochet backpack is complete. You’ve added a stylish and functional accessory to your amigurumi doll’s wardrobe, and now they’re ready to step out in style. Feel free to customize your backpack with unique colors or add small embellishments like flowers, beads, or embroidery.