
Adorable Free Crochet Beret with Ears Pattern for Cute Outfits
Upgrade your autumn wardrobe with this cozy and free crochet beret pattern featuring adorable animal ears for the perfect beanie style.
A cute and stylish crochet hat can completely change the look of an amigurumi doll or even a child’s outfit. This design is especially charming because it combines a classic round beret shape with playful animal style ears, giving it both elegance and fun at the same time. The soft texture and rounded top sit nicely on the head, while the ears make it look sweet and a little bit whimsical.
The Free Crochet Beret with Ears idea from Beyzalle CRAFT is more than just a hat; it’s a flexible accessory you can adapt for dolls or real babies and kids. In the video, she shows how to start from the top with a magic ring, then build the crown using “false” treble stitches before switching to beautifully crossed double crochets. This cross stitch section creates a textured band around the beret that looks very stylish and modern.
Free Crochet Beret Pattern with Ears and Shine
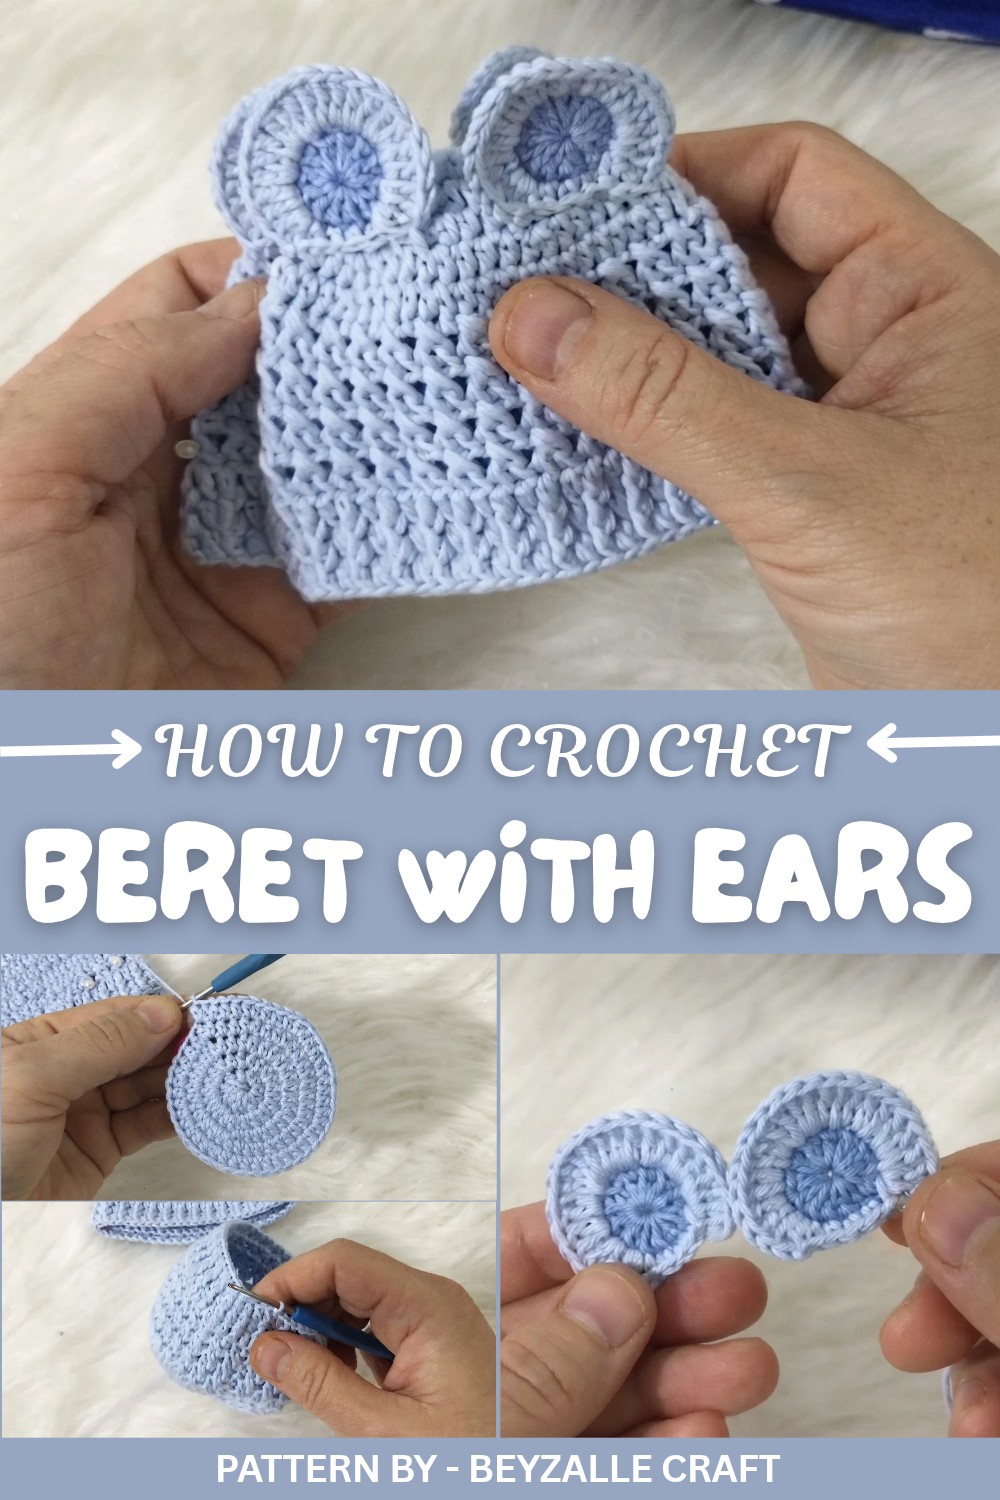
One of the most attractive features is the contrast between the smooth top, the criss cross body, and the ribbed edge made with front and back post double crochets. This ribbed band helps the beret sit snugly on the head. The ears are worked in a slightly darker shade and shaped with clever increases, giving them a full, rounded look that stands out without being too big.
This pattern explains how you can easily adjust the size by adding more increase rows at the top, so you can make it for different doll sizes or even for children at home. You can leave it plain for a simple, clean look, or decorate the beret with pearls, beads, or sequins for little girls. This free pattern style is practical, cute, and perfect for anyone who loves to crochet accessories with character.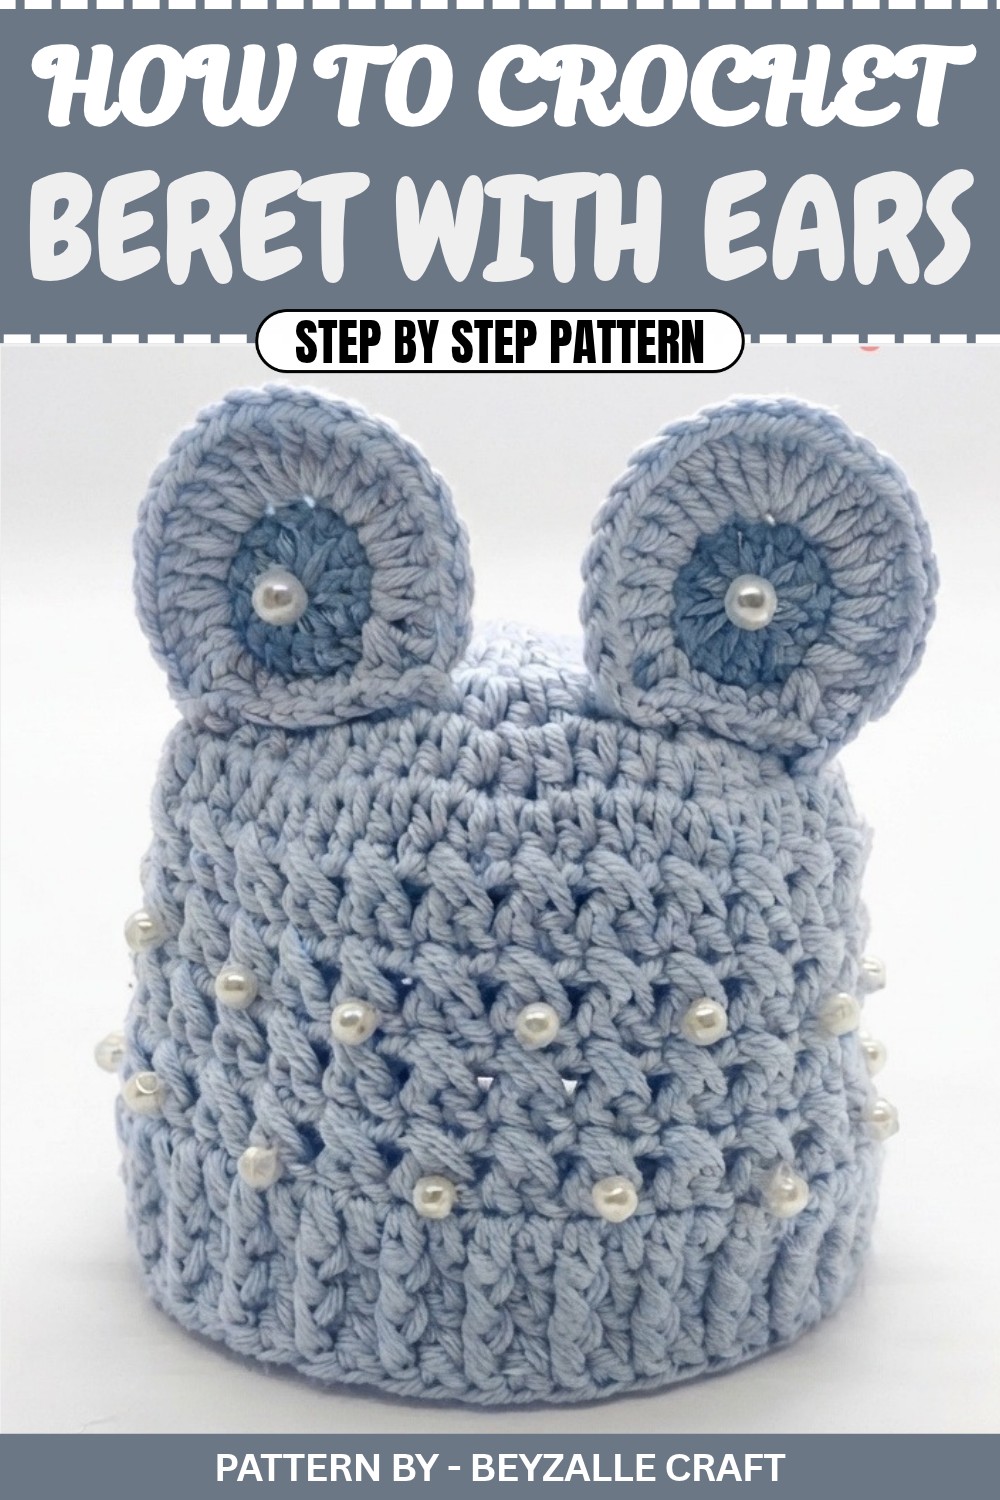
Crocheted Knitted Style Beanie with Ears – Free Amigurumi Pattern
This delightful pattern will guide you through creating a crochet knitted style beanie specially designed for amigurumi dolls. With a charming cross stitch texture and cute ear attachments, this project is quick and fun to make. Whether you're personalizing your doll collection or crafting a handmade gift, this pattern promises a perfect finish.
Pattern Overview
- Project: Knitted style beanie with ears for amigurumi dolls
- Difficulty Level: Beginner friendly
- Scope: Beanie body, cross stitch section, ribbed brim, and ear attachments
- Dimensions: Designed for standard amigurumi dolls, with adjustable sizing
Materials Needed
- Yarn: Cotton yarn in two colors (main color for the beanie and secondary color for the ears)
- Hook Size: 1.75 mm crochet hook
- Stitch Marker: To mark rounds
- Scissors: For trimming yarn ends
- Tapestry Needle: For sewing and finishing
Gauge
Not critical; however, aim for consistent tension for a neat finish.
Stitch Abbreviations
- MR: Magic Ring
- CH: Chain
- HDC: Half Double Crochet
- DC: Double Crochet
- FPDC: Front Post Double Crochet
- BPDC: Back Post Double Crochet
- SC: Single Crochet
- SL ST: Slip Stitch
- Inc: Increase (two stitches in the same stitch)
The Crochet Pattern
Step 1: Beanie Body
Round 1: Start with a magic ring (MR). Work 9 HDC into the ring. Close the ring tightly to form the starting circle. (9 stitches)
Round 2: Work 2 HDC into each stitch around. Mark the start of the round with a stitch marker. (18 stitches)
Round 3: Work 1 HDC, 1 inc (2 HDC in the same stitch), and repeat this sequence 9 times. (27 stitches)
Round 4: Work 2 HDC, 1 inc, and repeat this sequence 9 times. (36 stitches)Round 5: Work 3 HDC, 1 inc, and repeat this sequence 9 times. (45 stitches)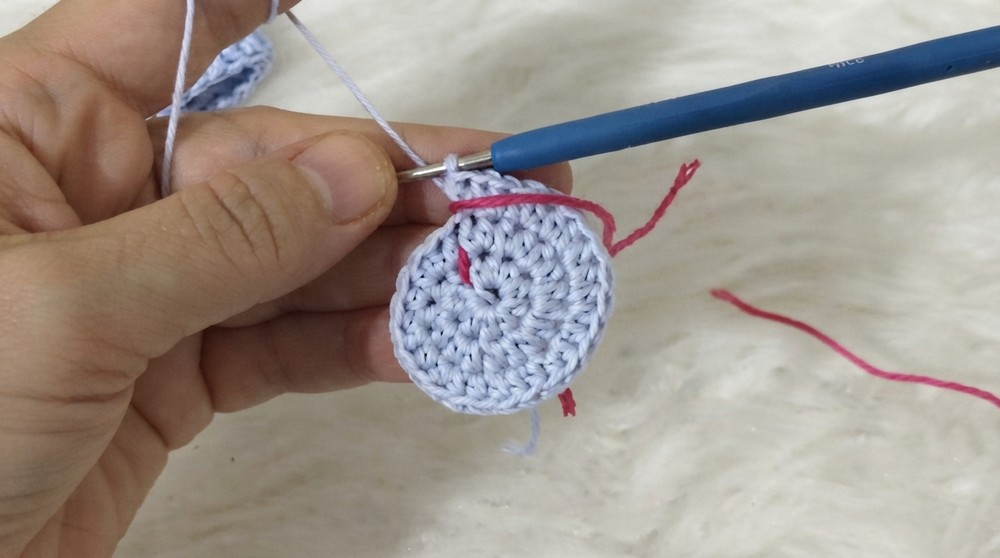
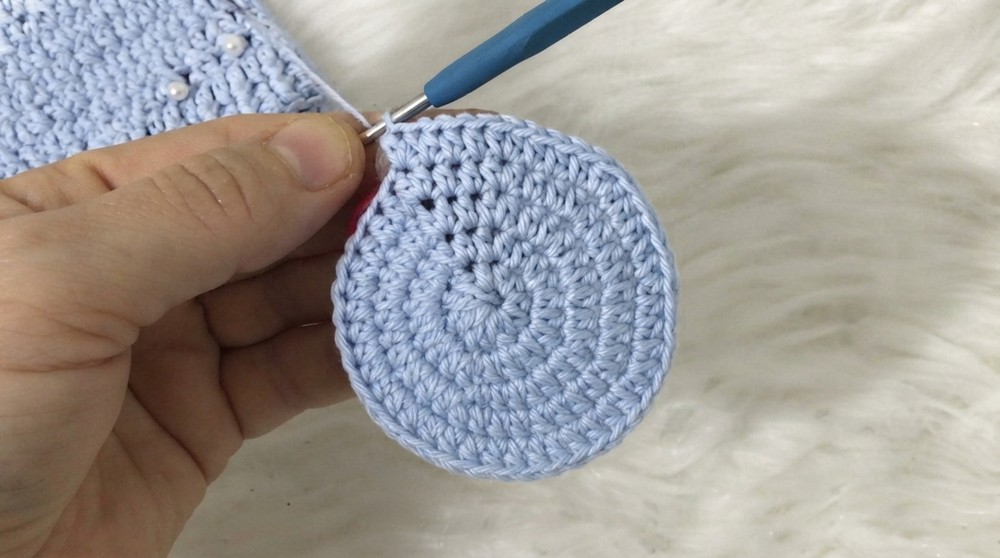
Round 6: Work 4 HDC, 1 inc, and repeat this sequence 9 times. (54 stitches)
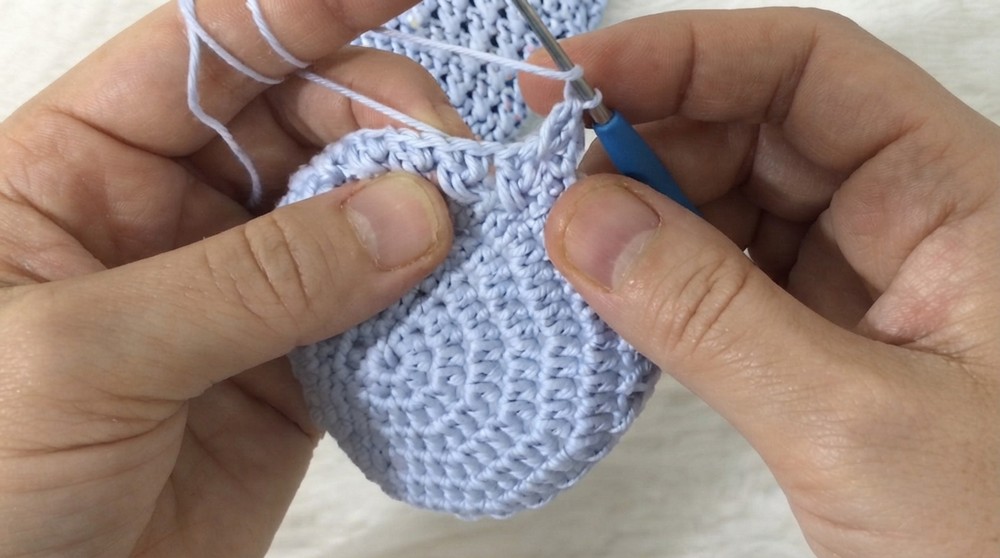
Sizing Note: If the doll’s head is larger, continue increasing rounds by adding one more standard HDC between increases (e.g., 5 HDC, 1 inc; 6 HDC, 1 inc, etc.). Stop when the diameter suits the doll’s head circumference.
Step 2: Cross Stitch Section (Rows 7–10)
To create the textured "knitted style" effect:
Round 7–10:
- CH 2 (counts as the first stitch in the round).
- Skip the first stitch and work 1 DC into the next stitch.
- Work 1 DC into the skipped stitch. This forms a crossed double crochet.
- Repeat this sequence for 27 pairs of crossed double crochet stitches (54 stitches total).
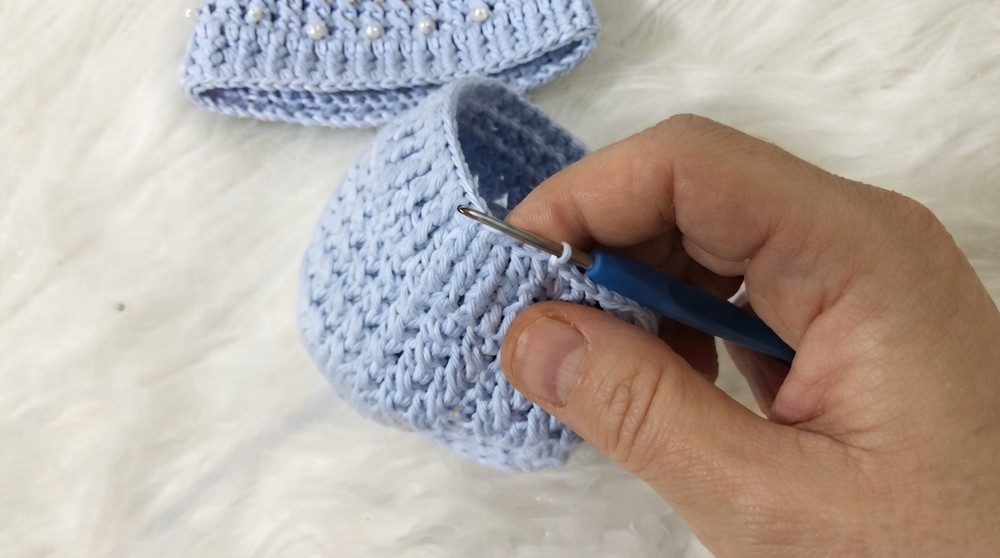
At the end of each row, join with a SL ST to the first DC. Continue for a total of 4 rounds of crossed stitches.
Step 3: Add the Brim
Round 11 (Standard DC Round):
- Work 1 DC into each stitch around (54 stitches).
- Join the round with a SL ST to the starting stitch.
Round 12–13 (Ribbing):
- CH 2. Alternate stitches as follows:
- Work 1 FPDC (front post double crochet) around the post of the next stitch.
- Work 1 regular DC into the top of the next stitch.
- Repeat this sequence around the entire round (54 stitches).
- Complete 2 rounds of ribbing for the brim.
Tie off the yarn and weave in the ends. The body of your beanie is now complete!
Step 4: Ear Attachments (Make Two)
Round 1: Start with a magic ring (MR). Work 12 DC into the ring. Tighten and close the ring. (12 stitches)
Round 2:
- Work 4 increases (4 inc) by adding 2 DC into each of the next 4 stitches.
- In the next stitch, work 5 DC into the same stitch to create a rounded edge for the ear.
- Work another 4 increases (4 inc) using DC. (Remaining stitches: 3)
- Work 3 SC into the next 3 stitches.
- Finish with a SL ST into the last stitch to close the round.
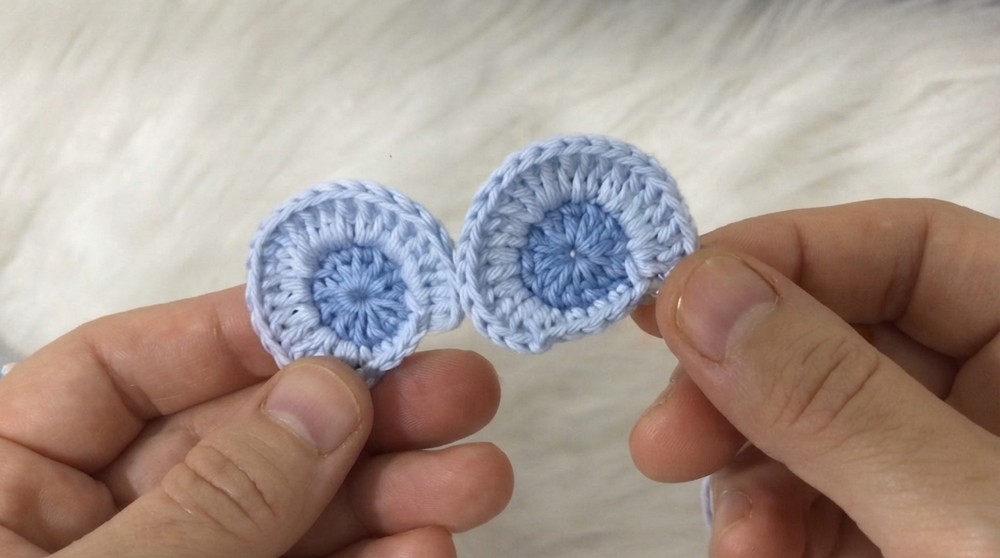
Tie off and leave a long yarn tail (about 15–20 cm) for sewing the ear to the beanie.
Step 5: Attach the Ears
- Fold the beanie in half so that the joining seam is at the back. This allows you to position the two ears symmetrically.
- Slightly move the placement of the ears toward the front of the beanie for a natural look.
- Sew the ears onto the beanie using the long yarn tail and a tapestry needle:
- Ensure the bottom curve of each ear aligns with the fourth round (increase round where the beanie expands), keeping it symmetrical.
- Sew securely around the base of each ear to ensure durability.
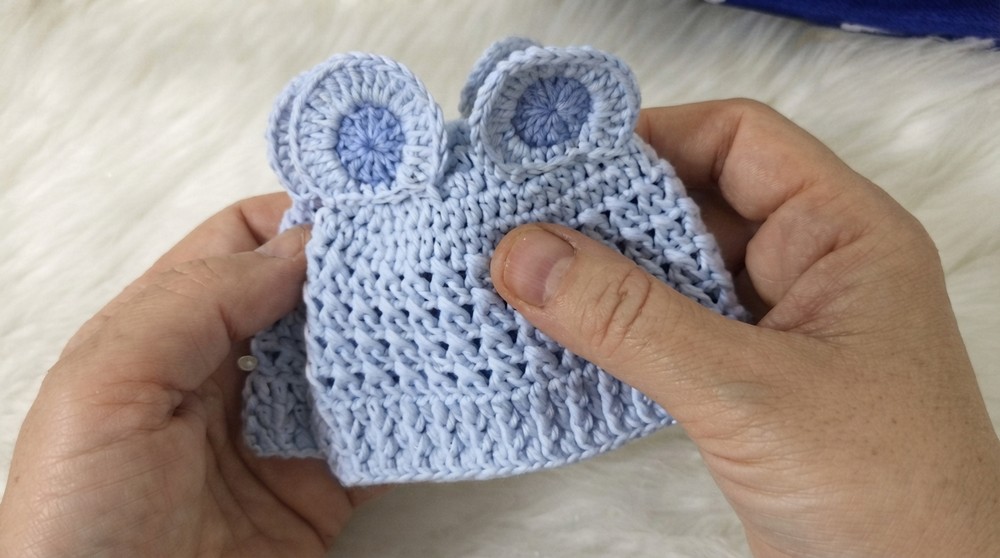
Assembly & Finishing Touches
- Trim and weave in any remaining loose ends with a tapestry needle.
- If desired, embellish the hat with pearls, beads, sequins, or embroidery. For a more neutral or unisex hat, leave the embellishments out.
Finished Size
This crocheted beanie is designed to fit most amigurumi doll heads but can be adjusted for size using the method outlined in Step 1. The ear placement provides a playful aesthetic for any doll.
Conclusion
Congratulations, You’ve just completed a cozy, knitted style crochet beanie that’s perfect for amigurumi dolls. The cross stitch texture and cute ear attachments make it a charming accessory for doll styling or gifting. Whether you leave it simple or decorate it with pearls and other embellishments, you’ve created a show stopping handmade piece.