
Fun Crochet Kiwi Amigurumi Pattern Use As Pincushion
Bring your favorite fruit to life by crocheting this super cute kiwi slice, easy, fun, and perfect for beginners.
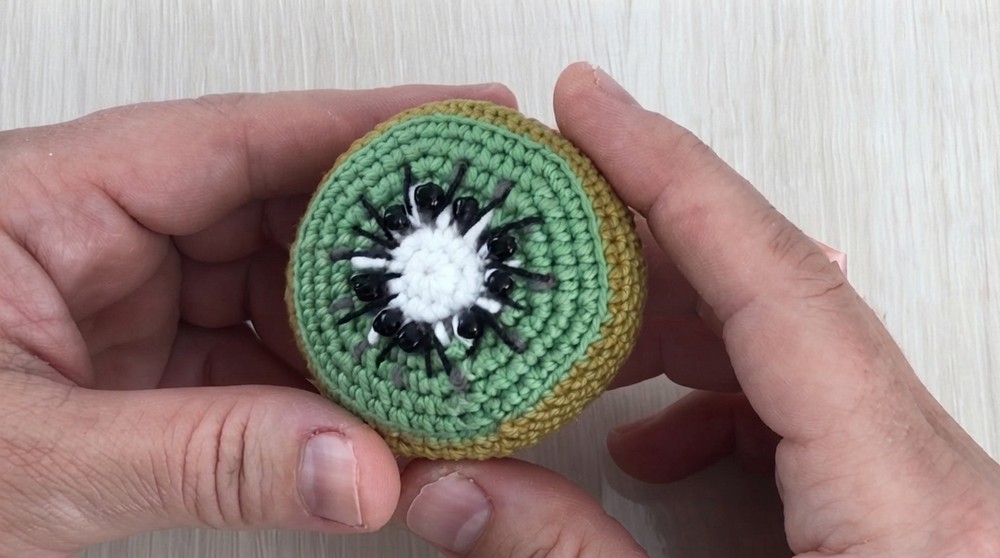
Kiwis are such delightful fruits. With their fuzzy brown skin, vibrant green color, and speckled black seeds, they’re a little slice of tropical charm. Turning that unique look into a soft, adorable keepsake makes for such a fun and rewarding project. This kiwi amigurumi captures the charm of a fresh, halved kiwi, complete with a detailed white center, tiny "seeds," and a soft textured peel that feels wonderfully lifelike.
Perfect in size, this kiwi isn’t just cute but also versatile. It makes a great educational toy for teaching kids about fruits or could serve as a quirky little accessory, like a keychain or bag charm. It’s also an eye catching piece for home decoration, whether placed in a fruit bowl or used as part of a table display.
Crochet Kiwi Amigurumi Pattern Use As Stress Relief Toy
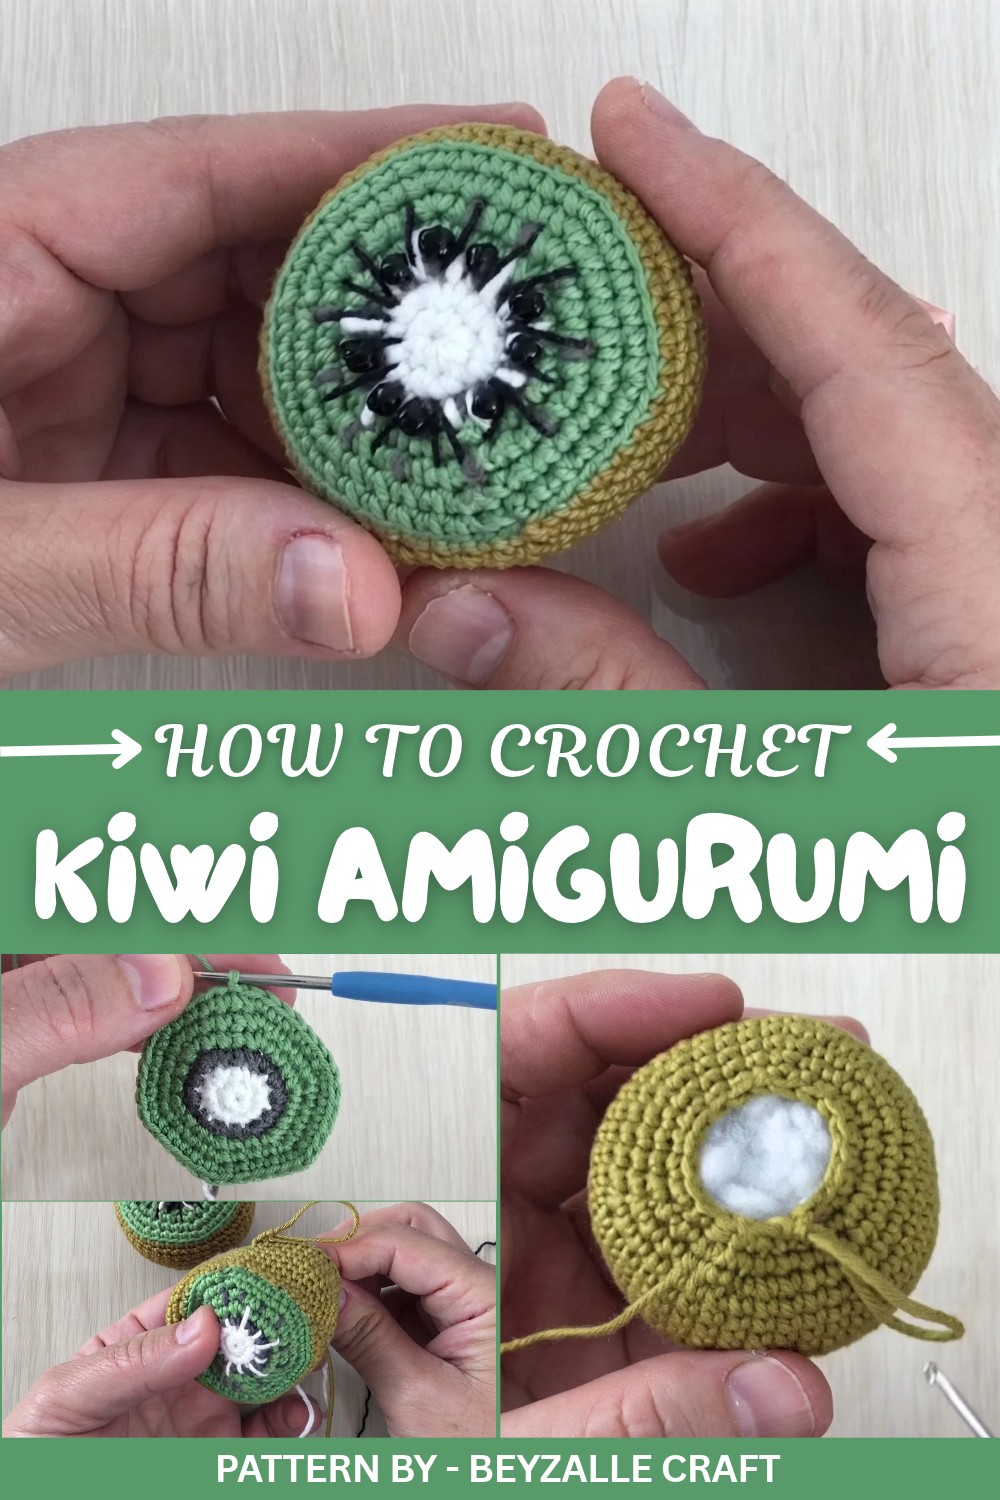
The most striking feature of this project is its attention to detail. The black bead seeds or delicate stitches bring a sense of realism to the fruit, and the combination of green, white, and brown colors gives it a natural, fresh look. It's small, easy to handle, and so quick to complete that it makes for an ideal weekend or evening project.
Thanks to Beyzalle CRAFT, the step-by-step instructions make this amigurumi simple and approachable for crocheters of all levels. This project is perfect for practicing basic techniques like shaping, adding details, and working with color changes. It’s a fun and satisfying way to bring the beauty of nature to your crochet collection, all while learning some exciting new tricks for future projects.
So, why not take a bit of time today to make a kiwi that will brighten any space with its charm and character.
Crochet Kiwi Pattern
Quick Overview of Pattern
- Realistic half cut crochet kiwi slice.
- Compact design worked seamlessly in one piece.
- Great for kids as a fun, educational toy or as decor in fruit baskets.
- Easy to customize by varying the colors (brown edge, green center, white core).
- Decorative details include tiny embroidered white lines and optional black beads.
Notes
- This project uses non pill yarn like Gazal Baby Cotton or Peria Yarn for tidy results.
- The kiwi is worked in the round using a seamless method.
- Bonbons or black yarn can be used to create the seeds.
- Adjust the stuffing to ensure a round and plump shape without overstretching the stitches.
Skill Level
Beginner/Intermediate.
Materials
- Yarn:
- White (core)
- Green (flesh)
- Brown (peel)
- Dark gray for detailing
- Black for seeds or black beads
- Hook Size: 1.75 mm crochet hook.
- Polyfiberfill: For stuffing the kiwi.
- Scissors & Needle: For sewing & weaving ends.
Measurements / Sizing
- Total diameter of finished kiwi: Approximately 8 cm (3.1 inches).
Gauge (Optional)
Gauge is not critical, but tighter stitches will result in a cleaner texture and less visible stuffing.
Stitch Abbreviations
- CH: Chain
- SC: Single crochet
- SL ST: Slip stitch
- MR: Magic ring
- BLO: Back loop only
Special Stitches
- Magic Ring (MR): Begin the round by crocheting stitches into an adjustable loop, pulling tight to close.
- Single Crochet (SC) Increase: Work 2 SC in the same stitch.
- Single Crochet (SC) Decrease: Insert the hook into the next stitch, yarn over, pull up a loop, insert the hook into the next stitch, yarn over, pull up a loop, yarn over again, and pull through all three loops.
Instructions
Step 1: Core (Off White/Cream Section)
Row 1:
- Start with the off white/cream yarn and create a Magic Ring (MR).
- Work 6 SC into the ring.
- Pull the tail tightly to close the ring and join with SL ST (Time: 1:45).
Row 2:
- CH 1. Work 6 INC (12 SC total): Make 2 SC in each stitch.
- Join with SL-ST (Time: 2:20).
Step 2: Grey Ring
Row 3:
- Switch to grey yarn.
- CH 1. Work [1 SC, 1 INC] and repeat 6 times (18 SC total).
- Join with SL ST.
Row 4:
- CH 1. Work [2 SC, 1 INC] and repeat 6 times (24 SC total).
- Join with SL ST.
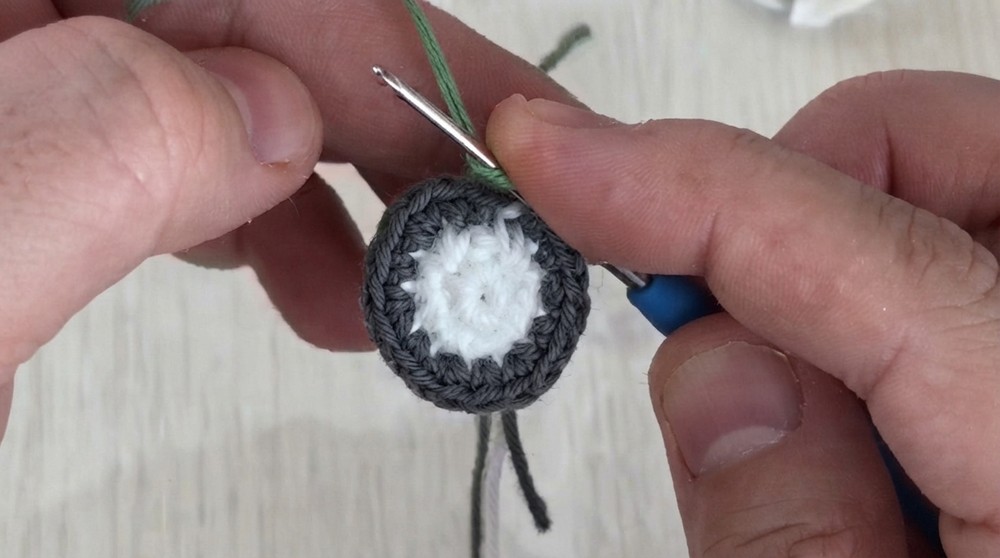
Step 3: Kiwi Flesh (Green Section)
Row 5:
- Attach the green yarn.
- CH 1. Work [3 SC, 1 INC] and repeat 6 times (30 SC total).
- Join with SL ST.
Row 6:
- CH 1. Work [4 SC, 1 INC] and repeat 6 times (36 SC total).
- Join with SL ST.
Row 7:
- CH 1. Work [5 SC, 1 INC] and repeat 6 times (42 SC total).
- Join with SL ST.

Step 4: Kiwi Peel (Brown Section)
Row 8:
- Switch to brown yarn.
- CH 1. Work 42 SC in the back loops only (BLO) (Time: 5:55).
Rows 9 to 15:
- Work 42 SC in each row for a total of 7 rows.
- Move to continuous rounds after Row 8; do not join with SL ST. Use a stitch marker to mark the beginning of each round.
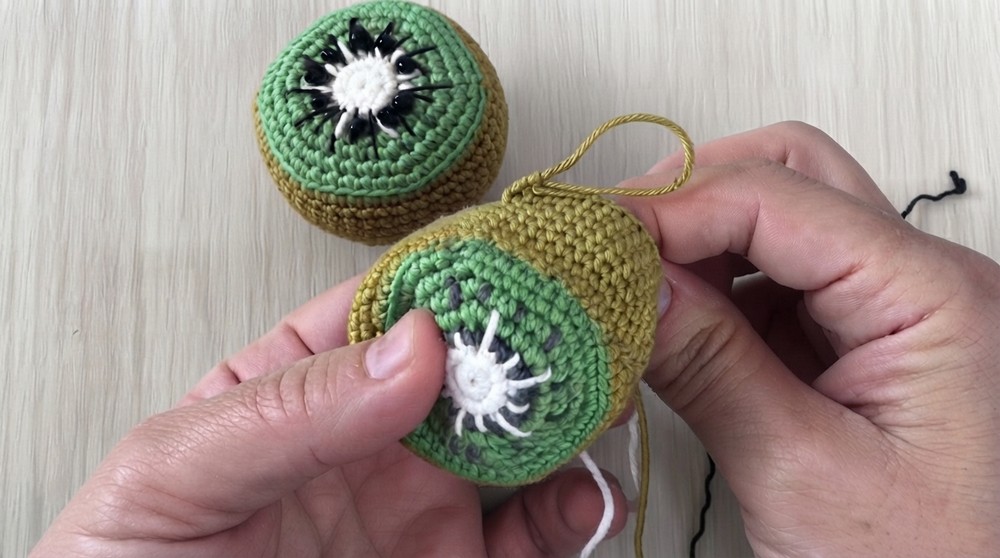
Step 5: Embroidering Kiwi Seeds and Decorative Lines
Before closing the kiwi slice, add embroidery to mimic the realistic look of a sliced kiwi.
- Using the long tail from the cream core, thread a tapestry needle.
- Embroider thick white lines outward from the core to the green section, spaced evenly as seen in the video. (Time: 7:05).
- With the grey yarn, add small dots or light lines between the white stitches in the green section (Time: 7:05 to 12:00).
Optional:
Use black yarn or attach black beads securely to the green area, placing evenly as kiwi seeds.
Step 6: Decreasing and Closing the Kiwi Slice
Row 16:
- Work [5 SC, 1 DEC] and repeat 6 times (36 SC total). Use invisible decreases for a tidy finish
Row 17:
- Work [4 SC, 1 DEC] and repeat 6 times (30 SC total).
Row 18:
- Work [3 SC, 1 DEC] and repeat 6 times (24 SC total).
Row 19:
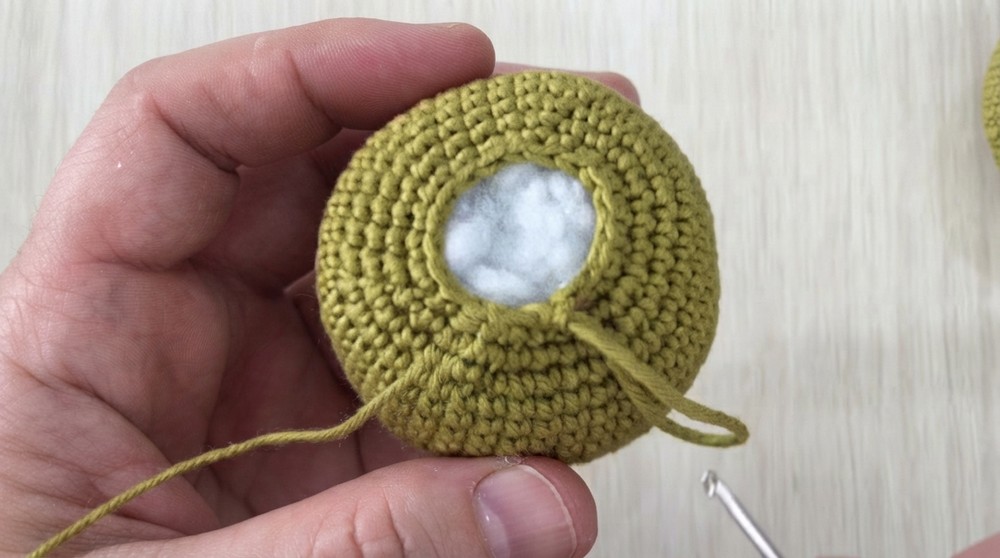
- Work [2 SC, 1 DEC] and repeat 6 times (18 SC total). Before continuing, stuff the kiwi slice firmly but without overstretching the stitches. This ensures the kiwi retains its round shape.
Row 20:
- Work [1 SC, 1 DEC] and repeat 6 times (12 SC total).
Finishing
- Cut the yarn, leaving a long tail.
- Using a tapestry needle, weave through the remaining front loops of the final round.
- Pull tight to close the hole securely. Knot the yarn to ensure it stays closed.
Assembly & Finished Size
- Final Dimensions: Approximately 8 cm diameter.
- Optionally, you can make this kiwi slice an educational toy for kids or turn it into a keychain by attaching a keychain clip. To do this:
- Create a short crochet chain (approx. 20 chains). Attach the chain to the brown peel section or at the back of the slice using your tapestry needle. Add a keyring or clip to convert it into a functional accessory.
Conclusion
And there you have it – a delightful crochet kiwi slice! This quick and easy project is perfect for beginners or more experienced crocheters looking for a small yet satisfying make. Whether you create it as a toy, keychain, or decorative piece, this kiwi will surely capture attention with its vibrant colors and realistic design.