
Free Crochet Mini Amigurumi Mouse Pattern To Spark Joy
You can easily create a charming mini mouse amigurumi today with this clear free crochet pattern designed to make your crocheting fast easy and fun.
Who could resist the charm of a tiny mouse that fits in the palm of your hand? With its delicate features, soft texture, and cheerful little ears, this mini amigurumi mouse seems like it jumped straight out of a storybook. Perfect as a thoughtful gift, a charming home decoration, or a collectible keepsake, this project guarantees a smile on anyone’s face. Small enough to complete in no time, yet detailed enough to impress, it’s the ideal balance of adorable and approachable.
A free mini crochet mouse pattern to use and enjoy forever
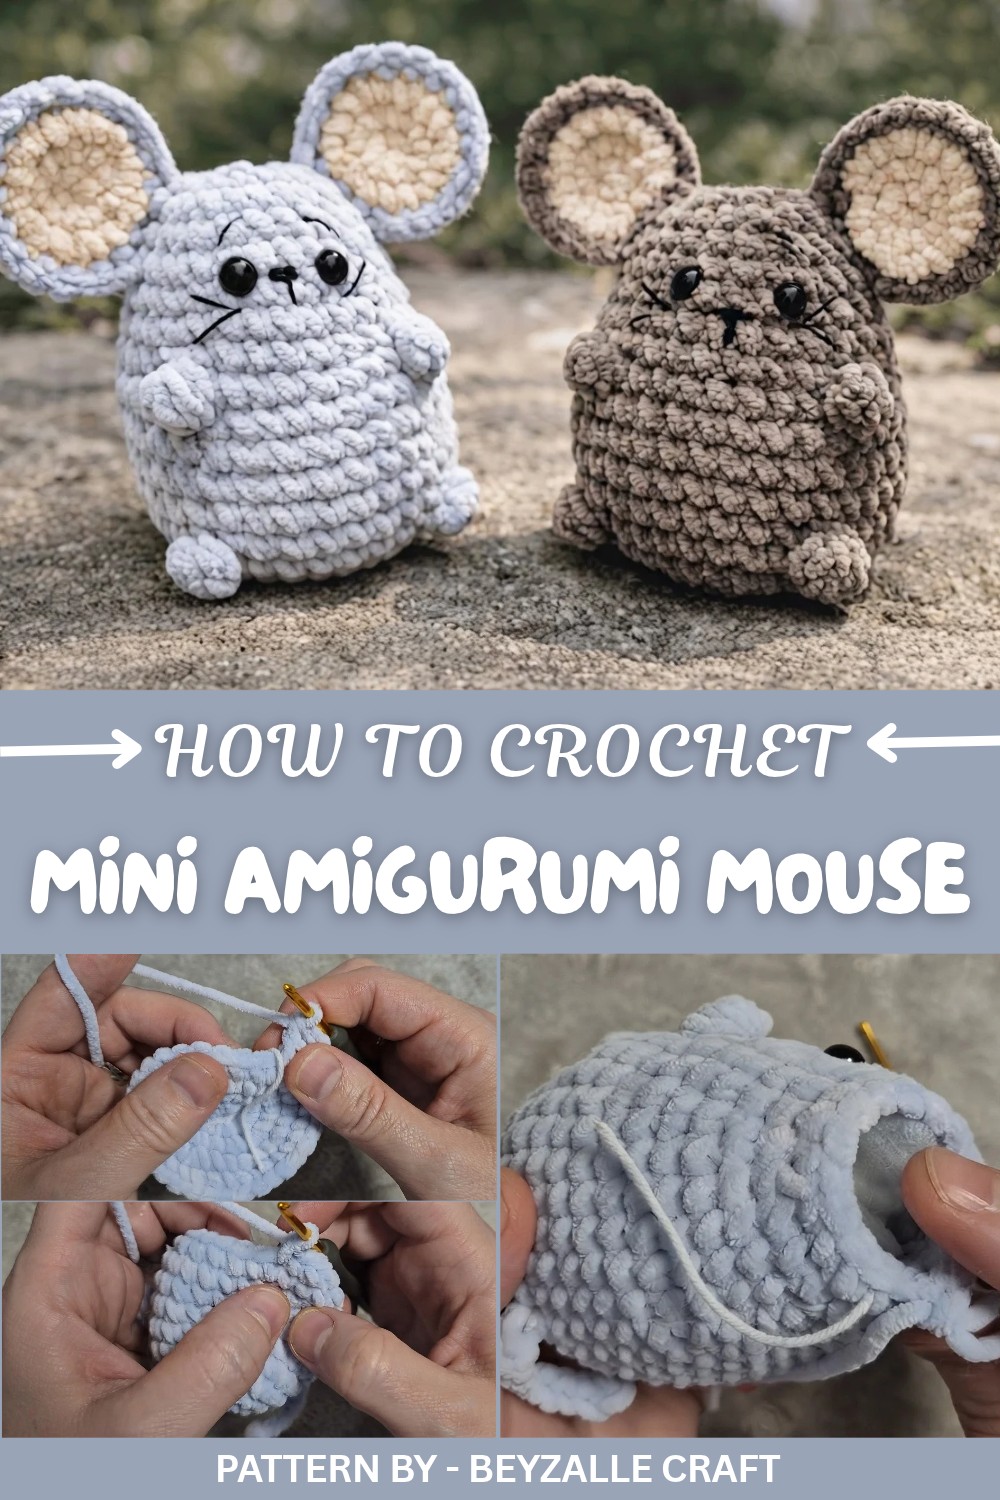
Measuring around 10cm when finished, this little mouse is shaped with precision and care using soft velvet yarn for a plush, luxurious feel. Don't have velvet yarn on hand? No worries—cotton yarn also works beautifully, adding a different, textured flair. The skills needed are perfect for beginners or those looking to dive into simple amigurumi. With foundational techniques like single crochet, invisible decreases for clean shaping, and a few clever tricks such as the popcorn stitch for dimension, it’s as fun to work on as it is to show off.
Pattern By Beyzalle CRAFT
The "Free Crochet Mini Amigurumi Mouse Pattern" is an invitation to bring tiny joy into your day. Whether you're experienced or just getting started, this sweet project will help you stitch up a delightful new friend in no time. Try it once, and you may end up with a whole family of these lovable mice.
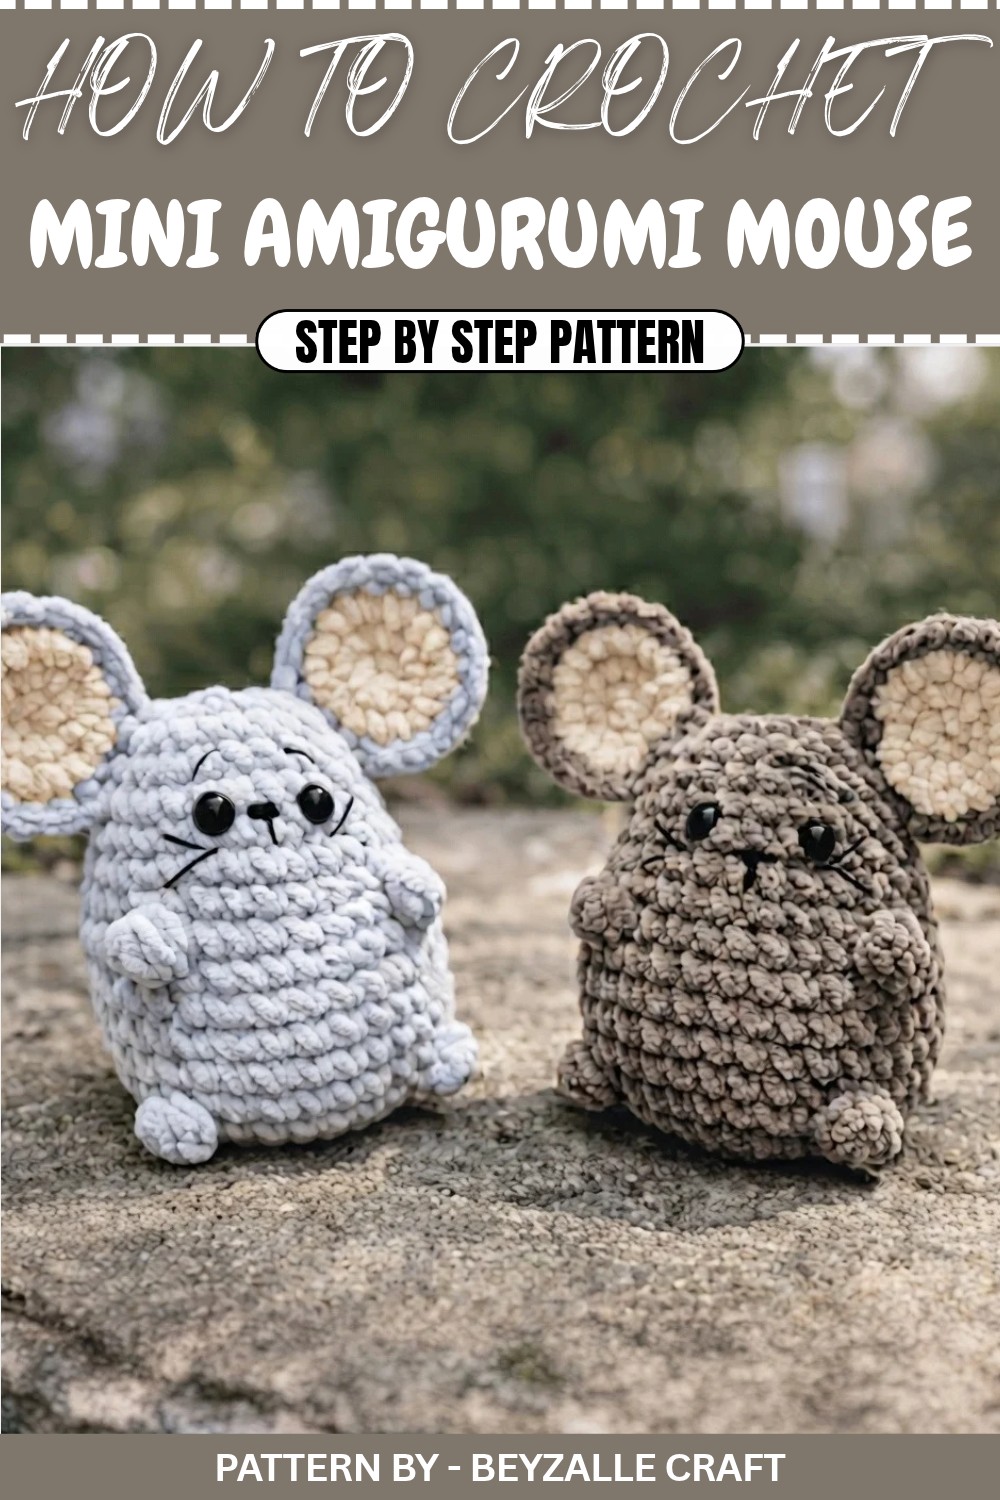
Crochet Pattern: Velvet Yarn Mouse Amigurumi
This project is perfect for beginners and professionals alike and can be finished quickly. We’ll make the mouse in a light gray color for better visibility on video, ensuring a clean and vibrant look. The pattern utilizes the popcorn stitch for the paws, includes simple sewing for the ears, and a detailed explanation for positioning eyes and other facial features. Let’s dive in and create this adorable toy step by step.
Quick Overview of Pattern
- Type: Velvet Yarn Crochet Mouse Amigurumi
- Difficulty Level: Designed for beginners and professionals.
- Techniques Used: Crocheting in the round, popcorn stitch, basic increases and decreases.
- Special Features: Soft velvet finish, cute detailed face, included tail while crocheting body.
Notes
- Velvet yarn tends to slip, so avoid tight stitches and work with steady tension.
- The magic ring can be tricky with velvet yarn. This pattern uses chain stitches to start.
- Stitch markers are essential to identify rounds, especially for body sections.
- Only simple sewing is required (ears and facial features).
Skill Level
Beginner – Basic knowledge of stitches (single crochet, slip stitch, increases, decreases) is required. Popcorn stitch instructions are included in the pattern.
Materials
- Yarn: 50g velvet yarn (light gray for body, optional white for inner ear).
- Hook: 3.0 mm crochet hook.
- Eyes: Two safety eyes (10 mm, adjust size as desired).
- Stuffing: Polyfill or cotton for the body and head.
- Scissors: For cutting yarn neatly.
- Darning/Embroidery Needle: For sewing ears and facial features.
Measurements / Sizing
- Approximate size: Small sized mouse, height 8–10 cm when using 3.0 mm hook and velvet yarn.
Gauge
Gauge is not critical for amigurumi; ensure your stitches are tight enough to avoid stuffing showing through.
Stitch Abbreviations
- ch = chain
- sc = single crochet
- inc = increase (2 single crochets in the same stitch)
- dec = decrease (single crochet two stitches together)
- pop st = popcorn stitch
- sl st = slip stitch
Special Stitches
- Popcorn Stitch:
- Yarn over, insert hook into the stitch, pull up a loop, yarn over, pull through two loops (work one dc but leave it unfinished). Repeat this process four times into the same stitch.
- Pull yarn through all loops on hook, chain 1 to secure.
- Push the popcorn toward the desired direction using your fingers.
The Crochet Pattern
Body and Tail
- Foundation Chain: Start with ch 2 instead of a magic ring.
- Round 1: Work 8 sc into the first chain (8).
- Round 2: Inc in each stitch around (16).
- Round 3: 1 sc, 1 inc, repeat 8 times (24).
- Round 4: 2 sc, 1 inc, repeat 8 times (32).
- Rounds 5–6: Sc in each stitch (32 per round).
Tail
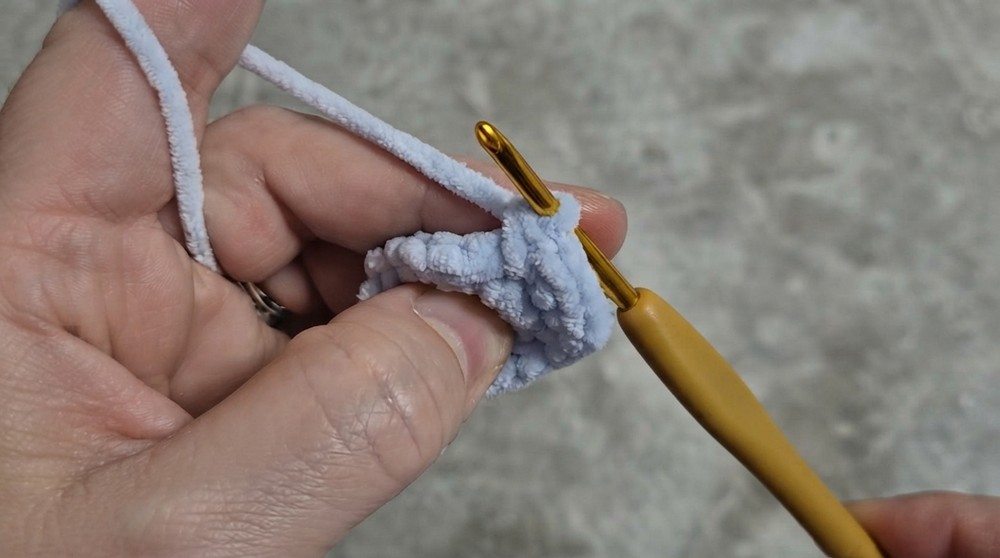
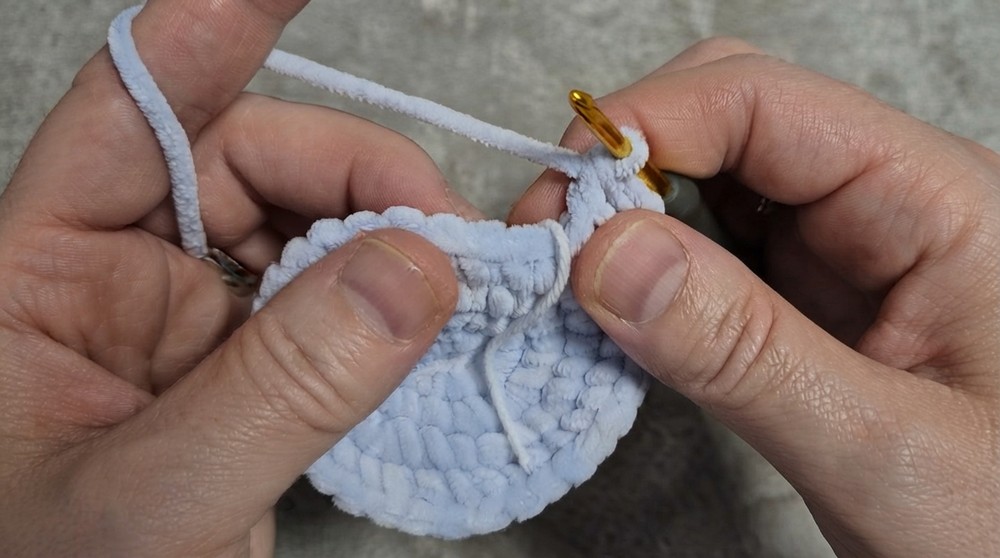
- Before starting Round 6, ch 10.
- Beginning from the second chain, use sl st in each stitch down the chain (9 sl st total).
- Attach the tail base to the body and continue Round 6.
Popcorn Paws
- Round 6: Sc 11, then work pop st into the next stitch. Secure popcorn with a sl st into the same stitch.
- Sc 8, create another pop st, secure it with a sl st.
- Sc 11 to finish the round (32).
Rounds 7–10
- Sc in each stitch (32 per round).
Head and Decreasing Rounds
- Round 11: Sc 11, work pop st, then sc 8. Work another pop st and finish with 11 sc. (32).
- Round 12: 6 sc, 1 dec, repeat 4 times (28).
- Round 13: Sc in each stitch (28).
- Round 14: 5 sc, 1 dec, repeat 4 times (24).
- Round 15: Sc in each stitch (24).
- Round 16: 4 sc, 1 dec, repeat 4 times (20).
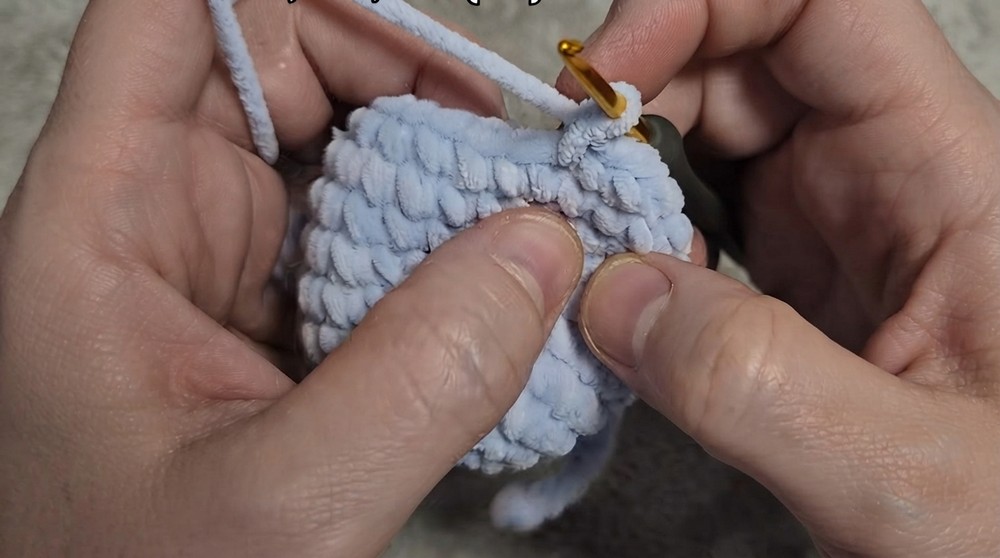
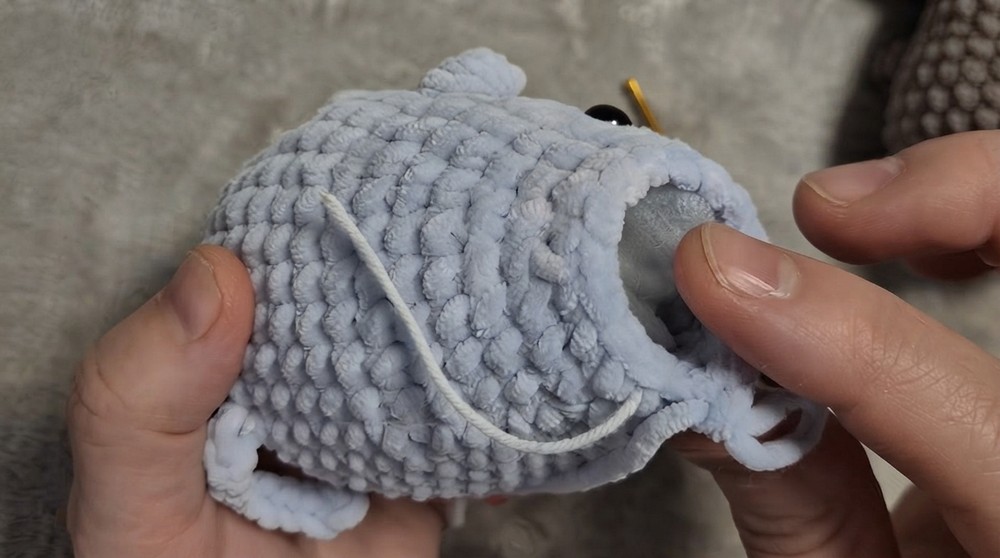
Stuff the body and head firmly.
- Round 17: Sc in each stitch (20).
- Round 18: Start decreases with 3 sc, 1 dec (16). Fasten off after ensuring the shape is stuffed properly. Use your needle to close the top.
Ears
- Outer Ear:
- Foundation Chain: Ch 2.
- Round 1: Work 6 sc into the first chain (6).
- Round 2: Inc in each stitch (12).
- Round 3: 1 sc, 1 inc, repeat 6 times (18).
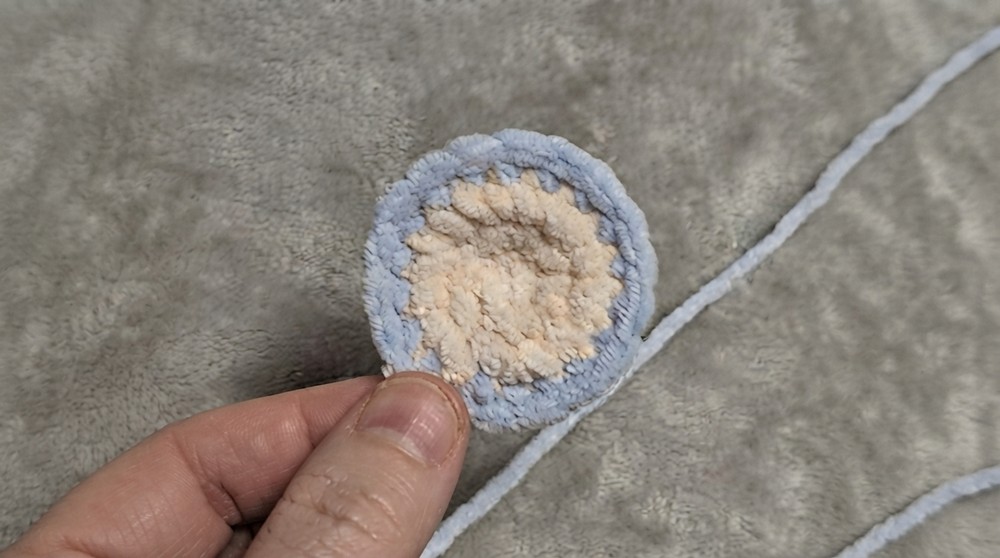
- Inner Ear (Optional, in white): Repeat all steps above.
- Ear Assembly: Place the inner ear onto the outer ear, wrong sides together.
- Using the outer ear yarn, sl st around the edges to join. Fasten off, leaving a tail for sewing. Repeat for the second ear.
Eyes
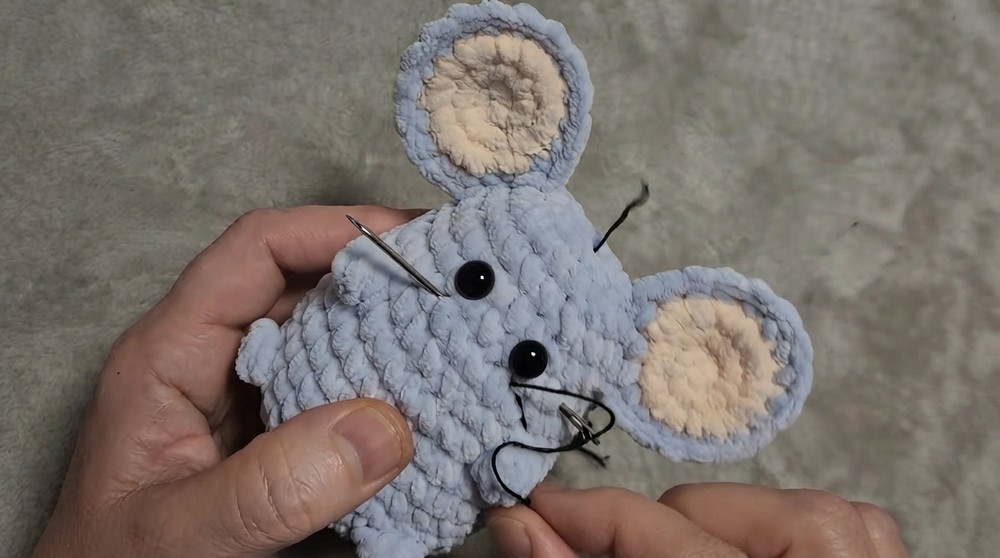
- Count based on popcorn paw placement. Insert safety eyes 11 sc from the base popcorn and leave a 3 sc gap between eyes. Ensure symmetry.
- Secure and burn the eye locks with a lighter to ensure they stay in place.
Facial Features
- For the nose, use a thin black yarn. Stitch onto the tip of the head just below the eyes.
- Optional whiskers: Pull black yarn through the sides of the nose and trim to desired length.
- Use black yarn to embroider eyebrows or a smile if desired.
Assembly & Finished Size
- Sew ears to the top of the head, using the provided placement guideline.
- The finished mouse will measure approximately 10 cm, perfect for gifting or display.
Conclusion
Congratulations! You’ve successfully completed your Velvet Yarn Mouse Amigurumi. This adorable toy is beginner friendly, quick, and perfect for gifting. Experiment with colors, add custom details like bows, or make multiple mice for a playful set.