
Free Crochet Hello Kitty Keychain Pattern to Tag Pencil Bags
Try this free crochet pattern to create a sweet Hello Kitty keychain that you can enjoy as a gift, accessory, or decoration.
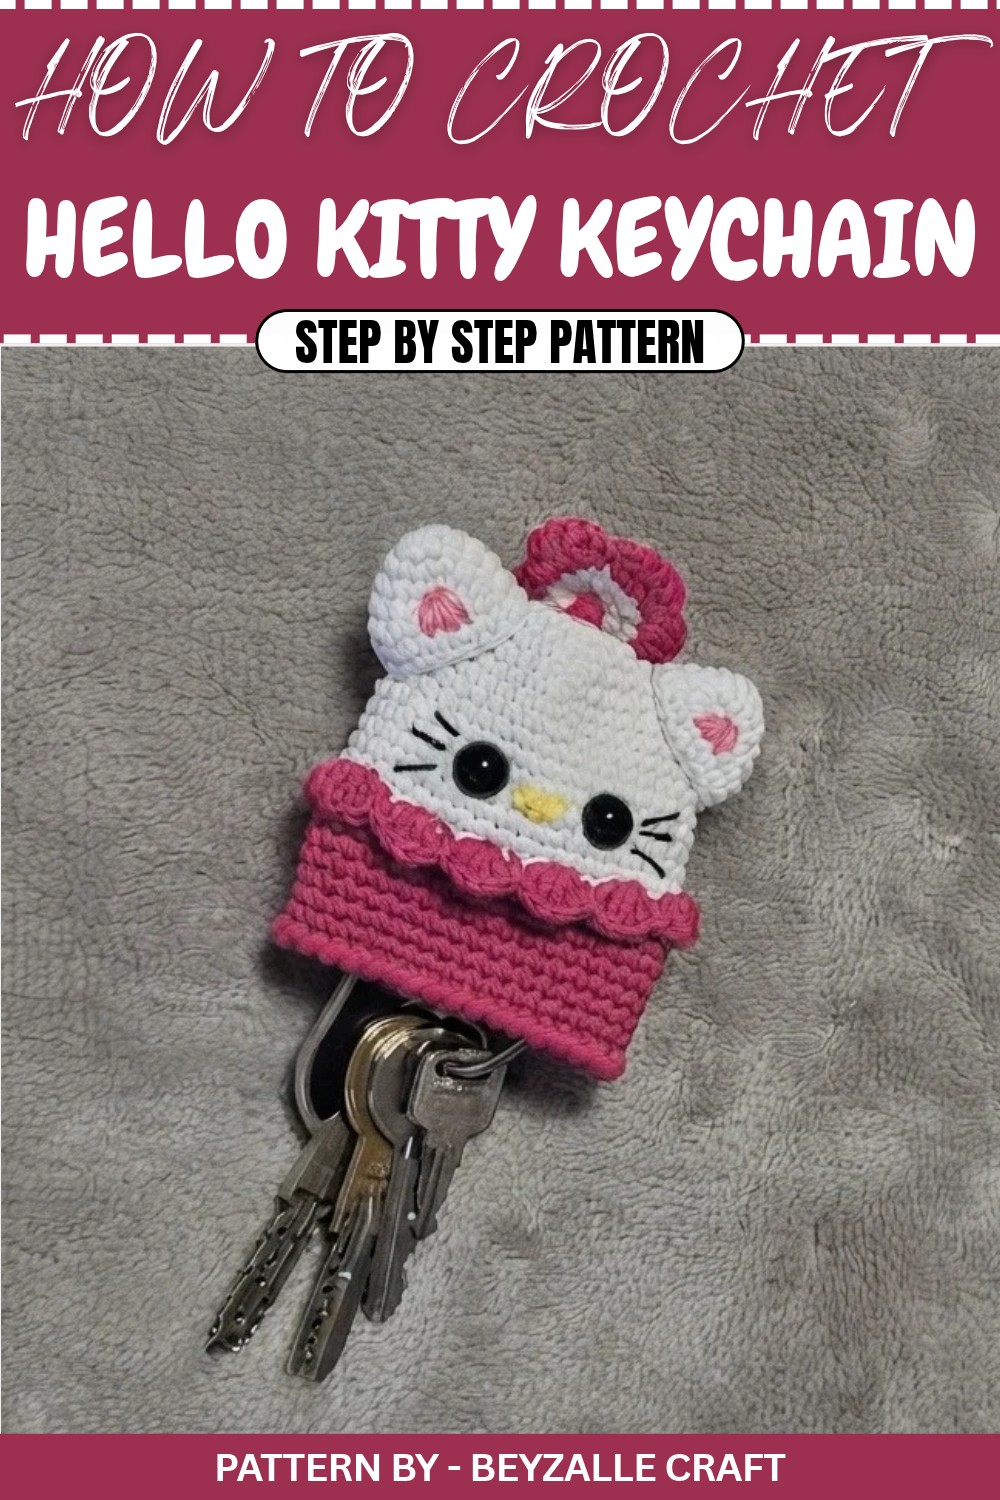
A small handmade keychain with the face of Hello Kitty can turn any set of keys or bag into something cute and special. This tiny project is quick to make, uses only a little yarn, and still looks very detailed and elegant. With its round head, pointed ears, simple eyes, yellow nose, little whiskers and a pretty flower or bow, it has a clean and charming look that suits both children and adults.
A Free Crochet Hello Kitty Keychain Pattern is perfect if you enjoy practical crochet. You can use it as a key holder, bag charm, backpack accessory, or even hang it in your car. Because it is small, you can finish one in a short time, sometimes even in a single sitting, and it is a great way to use leftover white, pink, black and yellow yarns. It also makes a lovely handmade gift or a cute item to sell at craft fairs.
Fan Keepsakes with Free Crochet Hello Kitty Keychain Pattern
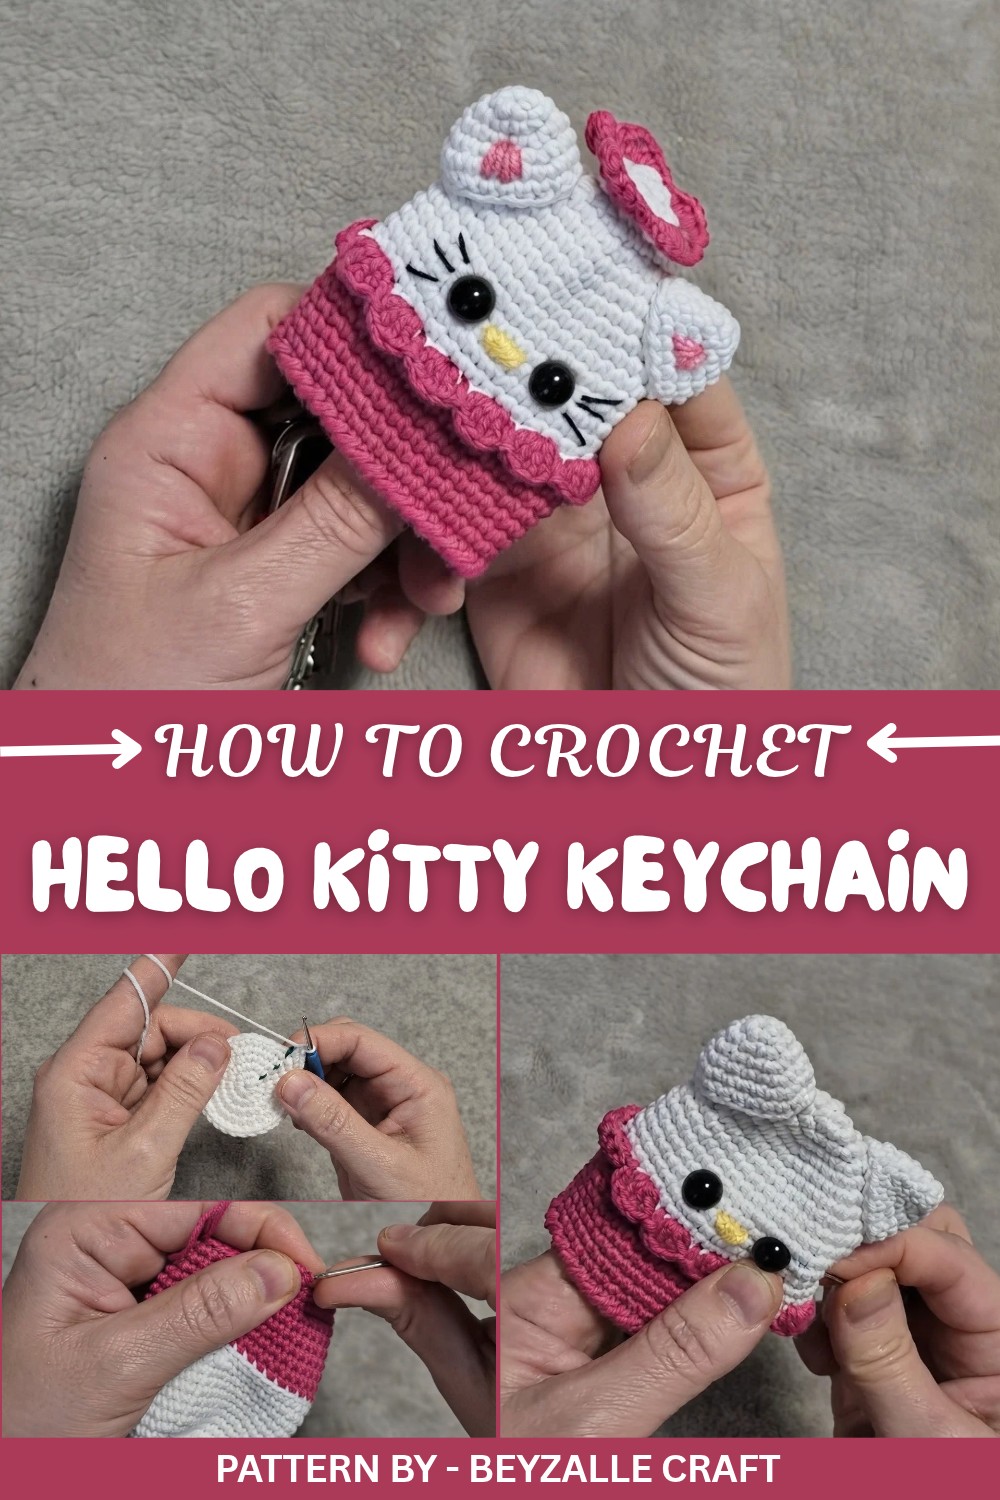
The working style is simple and relaxing. You crochet the head and body in the round, add two ears, decorate with safety eyes or embroidered eyes, then stitch the nose and whiskers. A chain strap or cord is added to turn it into a keychain. The most attractive part of the design is the clear Hello Kitty shape: the white face, upright ears, soft rounded form, and the little flower or bow on one side that gives it a sweet and delicate finish.
On the YouTube channel Beyzalle CRAFT, this pattern is shown step by step in a calm and clear way. The designer explains how to place the ears, eyes, nose, whiskers, and even how to adjust the strap length, so beginners can follow without stress and still get a neat, professional looking Hello Kitty keychain.
Crochet Pattern: Hello Kitty Keychain
This super cute accessory can be completed with minimal supplies and is perfect for using up leftover yarn. You’ll love how quick and simple it is to create this four part project that includes two ears, the head body section, and a decorative flower.
Quick Overview of Pattern
- Skill Level: Beginner-friendly
- Time Required: A single session – you can even complete multiple in one day!
- Structure: Four main pieces (two ears, one head-body section, and decoration).
- Uses: Ideal as a gift, bag charm, or personal key accessory.
Notes
- Minimal Supplies: You only need some yarn, a crochet hook, and safety eyes (or embroider them with black yarn if unavailable).
- Customization: Adjust the size by selecting smaller or larger eyes (10 mm or 12 mm are commonly used).
- Reusable Yarn: This is a stash buster project—use leftover yarn. Only small amounts of yellow and black are required for the nose and whiskers.
- Hook Options: Recommended hook size is 1.75 mm, but a 2.0 mm hook can also be used for a looser gauge.
Skill Level
Beginner friendly. If you can work basic stitches like single crochets, magic rings, and increases, you can easily complete this project!
Materials
- Yarn: Leftover yarn (white for the body and ears, pink or another color for decorations, yellow and black for nose and whiskers).
- Hook: Size 1.75 mm crochet hook.
- Safety Eyes: 10–12 mm or black yarn to embroider eyes.
- Tapestry Needle: To sew pieces together and weave in ends.
- Stuffing: Small amount for the head body section.
- Keyring or Chain: Optional for attaching as a keychain.
Measurements / Sizing
- Final Size: The finished keychain is approximately 5–6 cm in diameter (excluding the chain).
- Adjust size based on yarn weight and hook size.
Gauge
Gauge is not critical for this project, but maintain consistent tension for a polished look.
Stitch Abbreviations
- MR: Magic Ring
- Ch: Chain
- SC: Single Crochet
- Inc: Increase (work 2 SC in the same stitch)
- Dec: Decrease (SC two stitches together)
- Sl st: Slip Stitch
- BLO: Back Loop Only
Special Stitches
- Magic Ring (MR): Begin circular projects with a tightly closed loop.
- Reverse SC (Crab Stitch): Single crochet worked in reverse to create a decorative edge.
Pattern Instructions
1. Ears (Make 2 - White Yarn)
- Round 1: Magic ring, 6 SC into the ring. (6)
- Round 2: (1 SC, Inc) repeat 3 times. (9)
- Round 3: (2 SC, Inc) repeat 3 times. (12)
- Round 4: (3 SC, Inc) repeat 3 times. (15)
- Round 5: (4 SC, Inc) repeat 3 times. (18)
- Round 6: SC evenly around. (18)
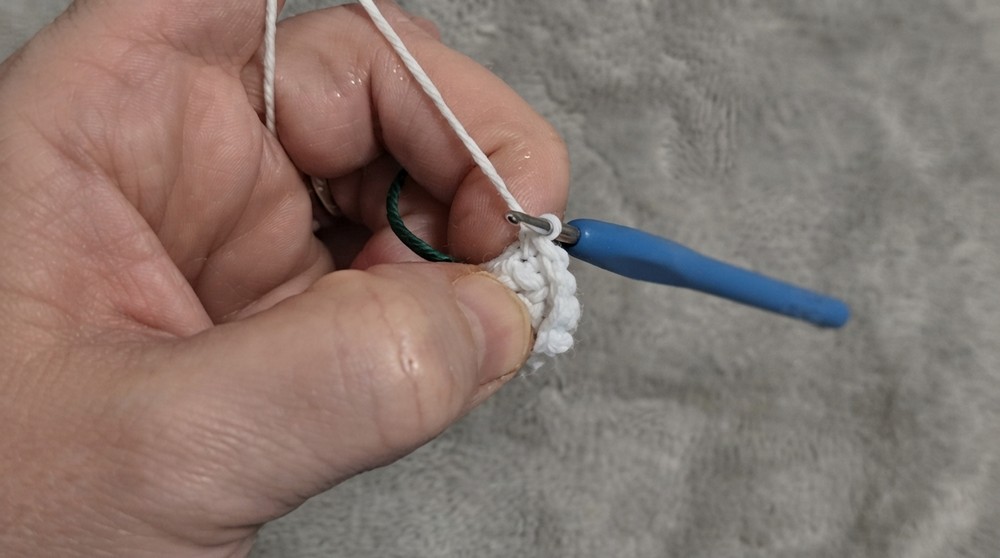
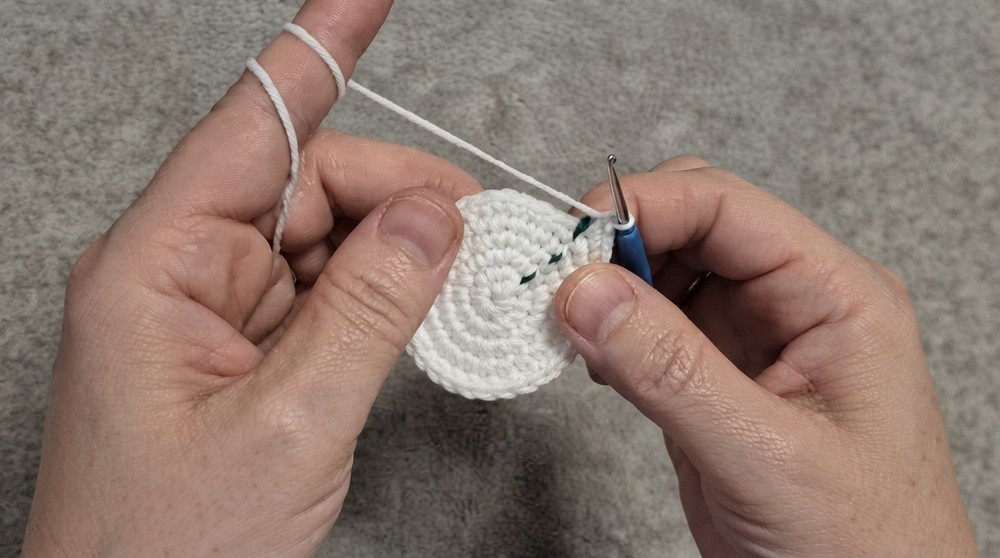
- Finishing: Fasten off and leave a long tail for sewing.
2. Head & Body (Combined Starts with White Yarn)
- Round 1: Magic ring, 6 SC into the ring. (6)
- Round 2: Work 2 SC in each stitch. (12)
- Round 3: (1 SC, Inc) repeat 6 times. (18)
- Round 4: (2 SC, Inc) repeat 6 times. (24)
- Round 5: (3 SC, Inc) repeat 6 times. (30)
- Round 6: (4 SC, Inc) repeat 6 times. (36)
- Rounds 7–15: SC evenly for 9 rounds. (36 per round)
Color Transition to Pink:
On the last stitch of Round 15, switch to pink yarn.
- Round 16: Work in BLO using pink yarn: SC evenly around. (36)
- Rounds 17–24: SC evenly for 8 rounds. (36 per round)
- Round 25 (Decorative Edge): Work Reverse Single Crochet (Crab Stitch) around for a finished look. (36)
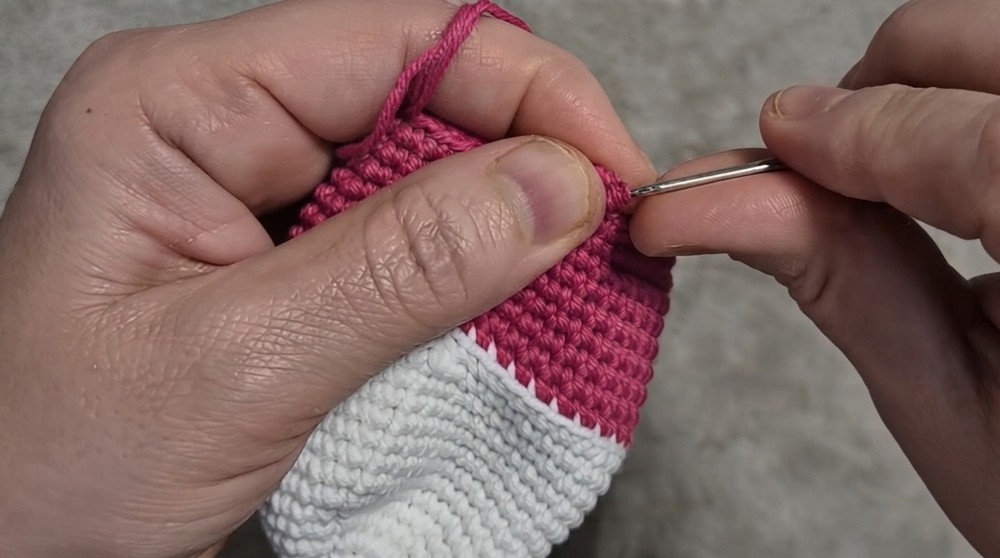
- Finishing: Fasten off the pink yarn. Weave in any loose ends.
3. Decorative Trim (Pink Yarn)
- Return to the front loops of Round 16 (from the waist section).
- Shell Pattern: In each front loop:
- Crochet 4 DC in the same stitch, then Sl st into the next stitch.
- Repeat this shell pattern around the entire waist, giving the keychain a skirt like trim.
4. Flower Detail
- Round 1: Magic ring, 6 SC into the ring. Pull tight. (6)
- Round 2: (SC, Inc) repeat 6 times. (12 SC)
- Round 3: (2 SC, Dec) repeat 3 times. (9 SC)
- Round 4: Switch to pink yarn. Work petals as follows:
(Ch 2, 3 DC into the same stitch, Ch 2, Sl st into the next stitch). - Repeat the sequence 5 times to form 5 petals.
- Finishing: Fasten off and leave a tail for sewing.
Assembly
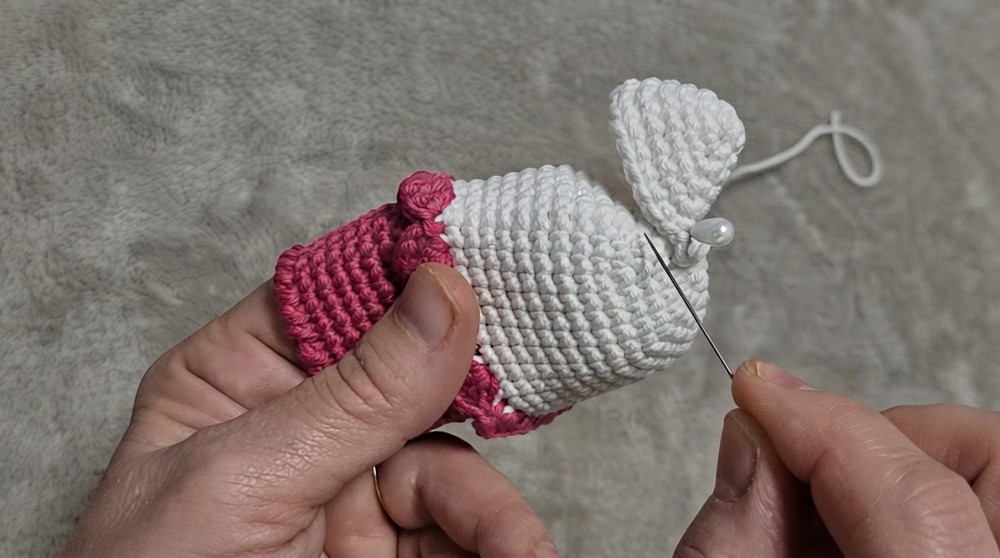
1. Ears
- Position the ears symmetrically on the top of the head (aligned on the 4th round from the top).
- Use the long tail to sew each ear firmly onto the head. Make sure they are evenly spaced apart.
2. Face
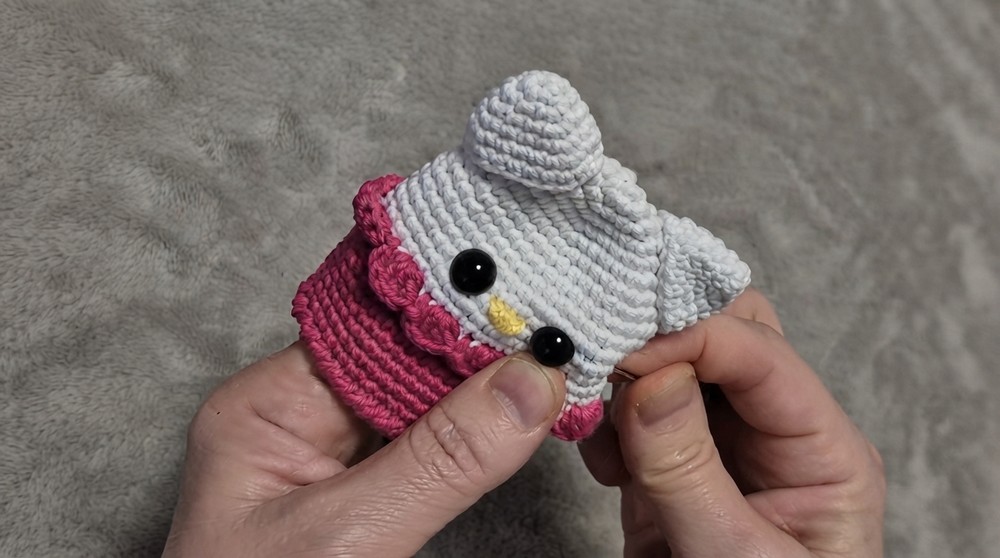
- Safety Eyes: Insert 10–12mm safety eyes between the 4th and 5th rounds, ensuring they are spaced 5 stitches apart.
- Embroidered Features:
- Using yellow yarn, embroider the nose in the center of the face just below the eyes.
- Use black yarn to sew three whiskers on each side of the face.
3. Keychain Loop
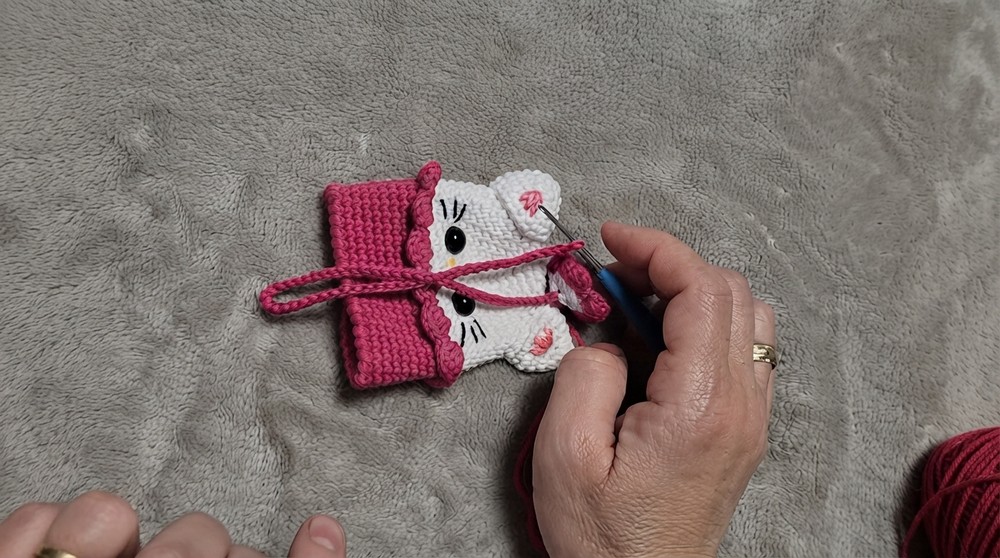
- Using pink yarn, create a chain of 60 stitches (or adjust the length as needed). This will form the hanging loop for your keychain.
- Attach the loop to the top of the head by threading the chain through and securely tying it.
- Weave in any loose ends for a tidy finish.
Assembly & Finished Size
- After assembly, the completed keychain will be approximately 5–6 cm in diameter.
- Ensure that all parts (ears, flower, and keychain loop) are securely attached. If gifting, double check that the stitches and assembly are firm and durable.
Conclusion
Congratulations, You’ve successfully completed your Hello Kitty Amigurumi Keychain. This adorable and beginner friendly project is sure to bring joy whether you’re gifting, selling, or keeping it as a cute accessory for yourself.